
How to Make a Fabric Gift Card Holder
How to Make a Fabric Gift Card Holder
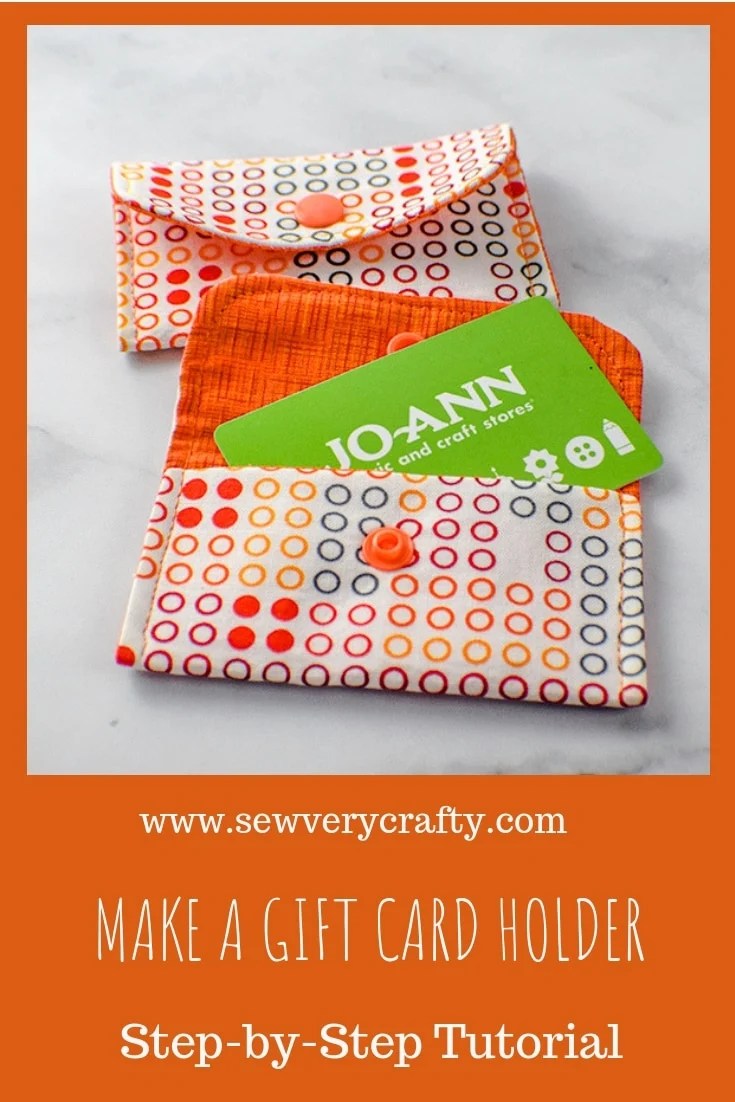
It seems like gift cards seem to be the gift of choice these days but how do you make them special? I thought I would take a few minutes to show you how to make a fabric gift card holder so that you can make your gift card’s special. The beauty of these card holders is being able to choose among thousands of different cotton fabrics for the one that is perfect for your gift. I used fabrics that I obtained from JOANN! but you could also go to Hobby Lobby or fabric.com to get exactly what you need. This post contains affiliate links that if you click on them and make a purchase I may receive a small commission at no extra cost to you.
This is a super simple beginner sewing project that anyone can complete. It is a perfect stash buster project if you have a stash like I do. Fat quarters would also be perfect for this project. You only need two different prints and some interfacing. You can use Velcro as a closure or Kam Snaps like I did. Either way this project can be made in minutes. Whoever you give your next gift card to will appreciate the thought behind these terrific fabric gift card holders. This project was modified from a project I found at All People Quilt.
If you would like a video tutorial of this project head over to YouTube and check out my video and while you are there subscribe to my free YouTube channel.

What you will need:
- 4 1/2″ x 6 1/2″ outer fabric
- 4 1/2″ x 6 1/2″ lining fabric
- 4 1/2″ x 6 1/2″ fusible interfacing like Pellon SF 101
- 1 Kam Snap or 3/4″ Velcro

step 1: cut fabrics
Cut the outer fabric, lining fabric and the interfacing in 4 1/2” x 6 1/2″ rectangles. Round two of the corners of each piece.

Step 2: Fuse the Interfacing
Fuse the interfacing to the wrong side of the main outer piece following the manufacturers instructions. If you are unfamiliar with fusible interfacing it is a simple process to fuse. There is a glue side and a non glue side. You can tell because the glue side is a little shiny. Place the glue side down on the wrong side of the main fabric piece and press with a hot iron until the glue melts and fuses with the fabric and the two can be treated as one.
Step 3: Stitch Outer and Lining Together
With right sides together sew the inner piece and lining piece together using a 1/4″ seam allowance. Make sure to leave a 2″ opening along one of the long edges to turn the piece right sides out. Trim the corners without cutting through the stitching and clip the curves so that they will lay nice and flat.

step 4: Turn
Turn right side out through the opening and press. Sew the opening closed using ladder stitch. If you are unfamiliar with ladder stitch check out this video.

step 5: Fold the short edge
Fold short straight edge up 2″ with lining inside. Topstitch 1/8″ along the sides and top to create the pocket and a finished look.

step 6: Add the Kam Snap
Add the Kam Snap to the Center of the top of the rounded side and the center of the front of the pocket. If you would like you can add sticky back or iron on Velcro to the same places to secure the gift card holder. If you are unfamiliar with how to install Kam snaps check out this video. You have now finished your fabric gift card holder.


I hope you enjoyed this project if you did feel free to sign up for our newsletter and receive access to our free downloadables library.
If you would like a gift card holder that will hold two Gift cards check out my Double Gift card holder.


