
How to Make Fabric Envelopes
How to Make Fabric Envelopes

I wanted to make a fun little Valentine’s Day project that I could slip a little note and a gift card into and decided on this terrific fabric envelope. These fabric envelopes are so simple to make that you will want to make many of them for all of your Valentine’s messages. Anyone with basic sewing skills can make these adorable fabric envelopes in about 20 minutes. The best part about these envelopes is that you can make them using scraps and remnants, my favorite thing to use. I was able delve into my remnant stash once again to find some valentine fabrics that suited this project perfectly. These envelopes are also perfect for Christmas, birthdays and other occasions. Just pick the perfect fabrics and set to making them.
I included a note, a few treats and a gift card in my envelope but you can put any small item that you want in yours to make it the perfect gift for any occasion. These envelopes are reusable because they are fabric and not meant to be thrown out so the recipient can give it as a gift to another. If you do not have the fabrics you need head over to Hobby Lobby or Fabric.com to get the fabrics that are perfect for your envelope project. This post contains affiliate links that if you click on them and make a purchase I may receive a small commission at no extra cost to you.
If you would like a video tutorial of this project head over to YouTube and check out my video. While you are there subscribe to my free YouTube channel.

What you will Need:
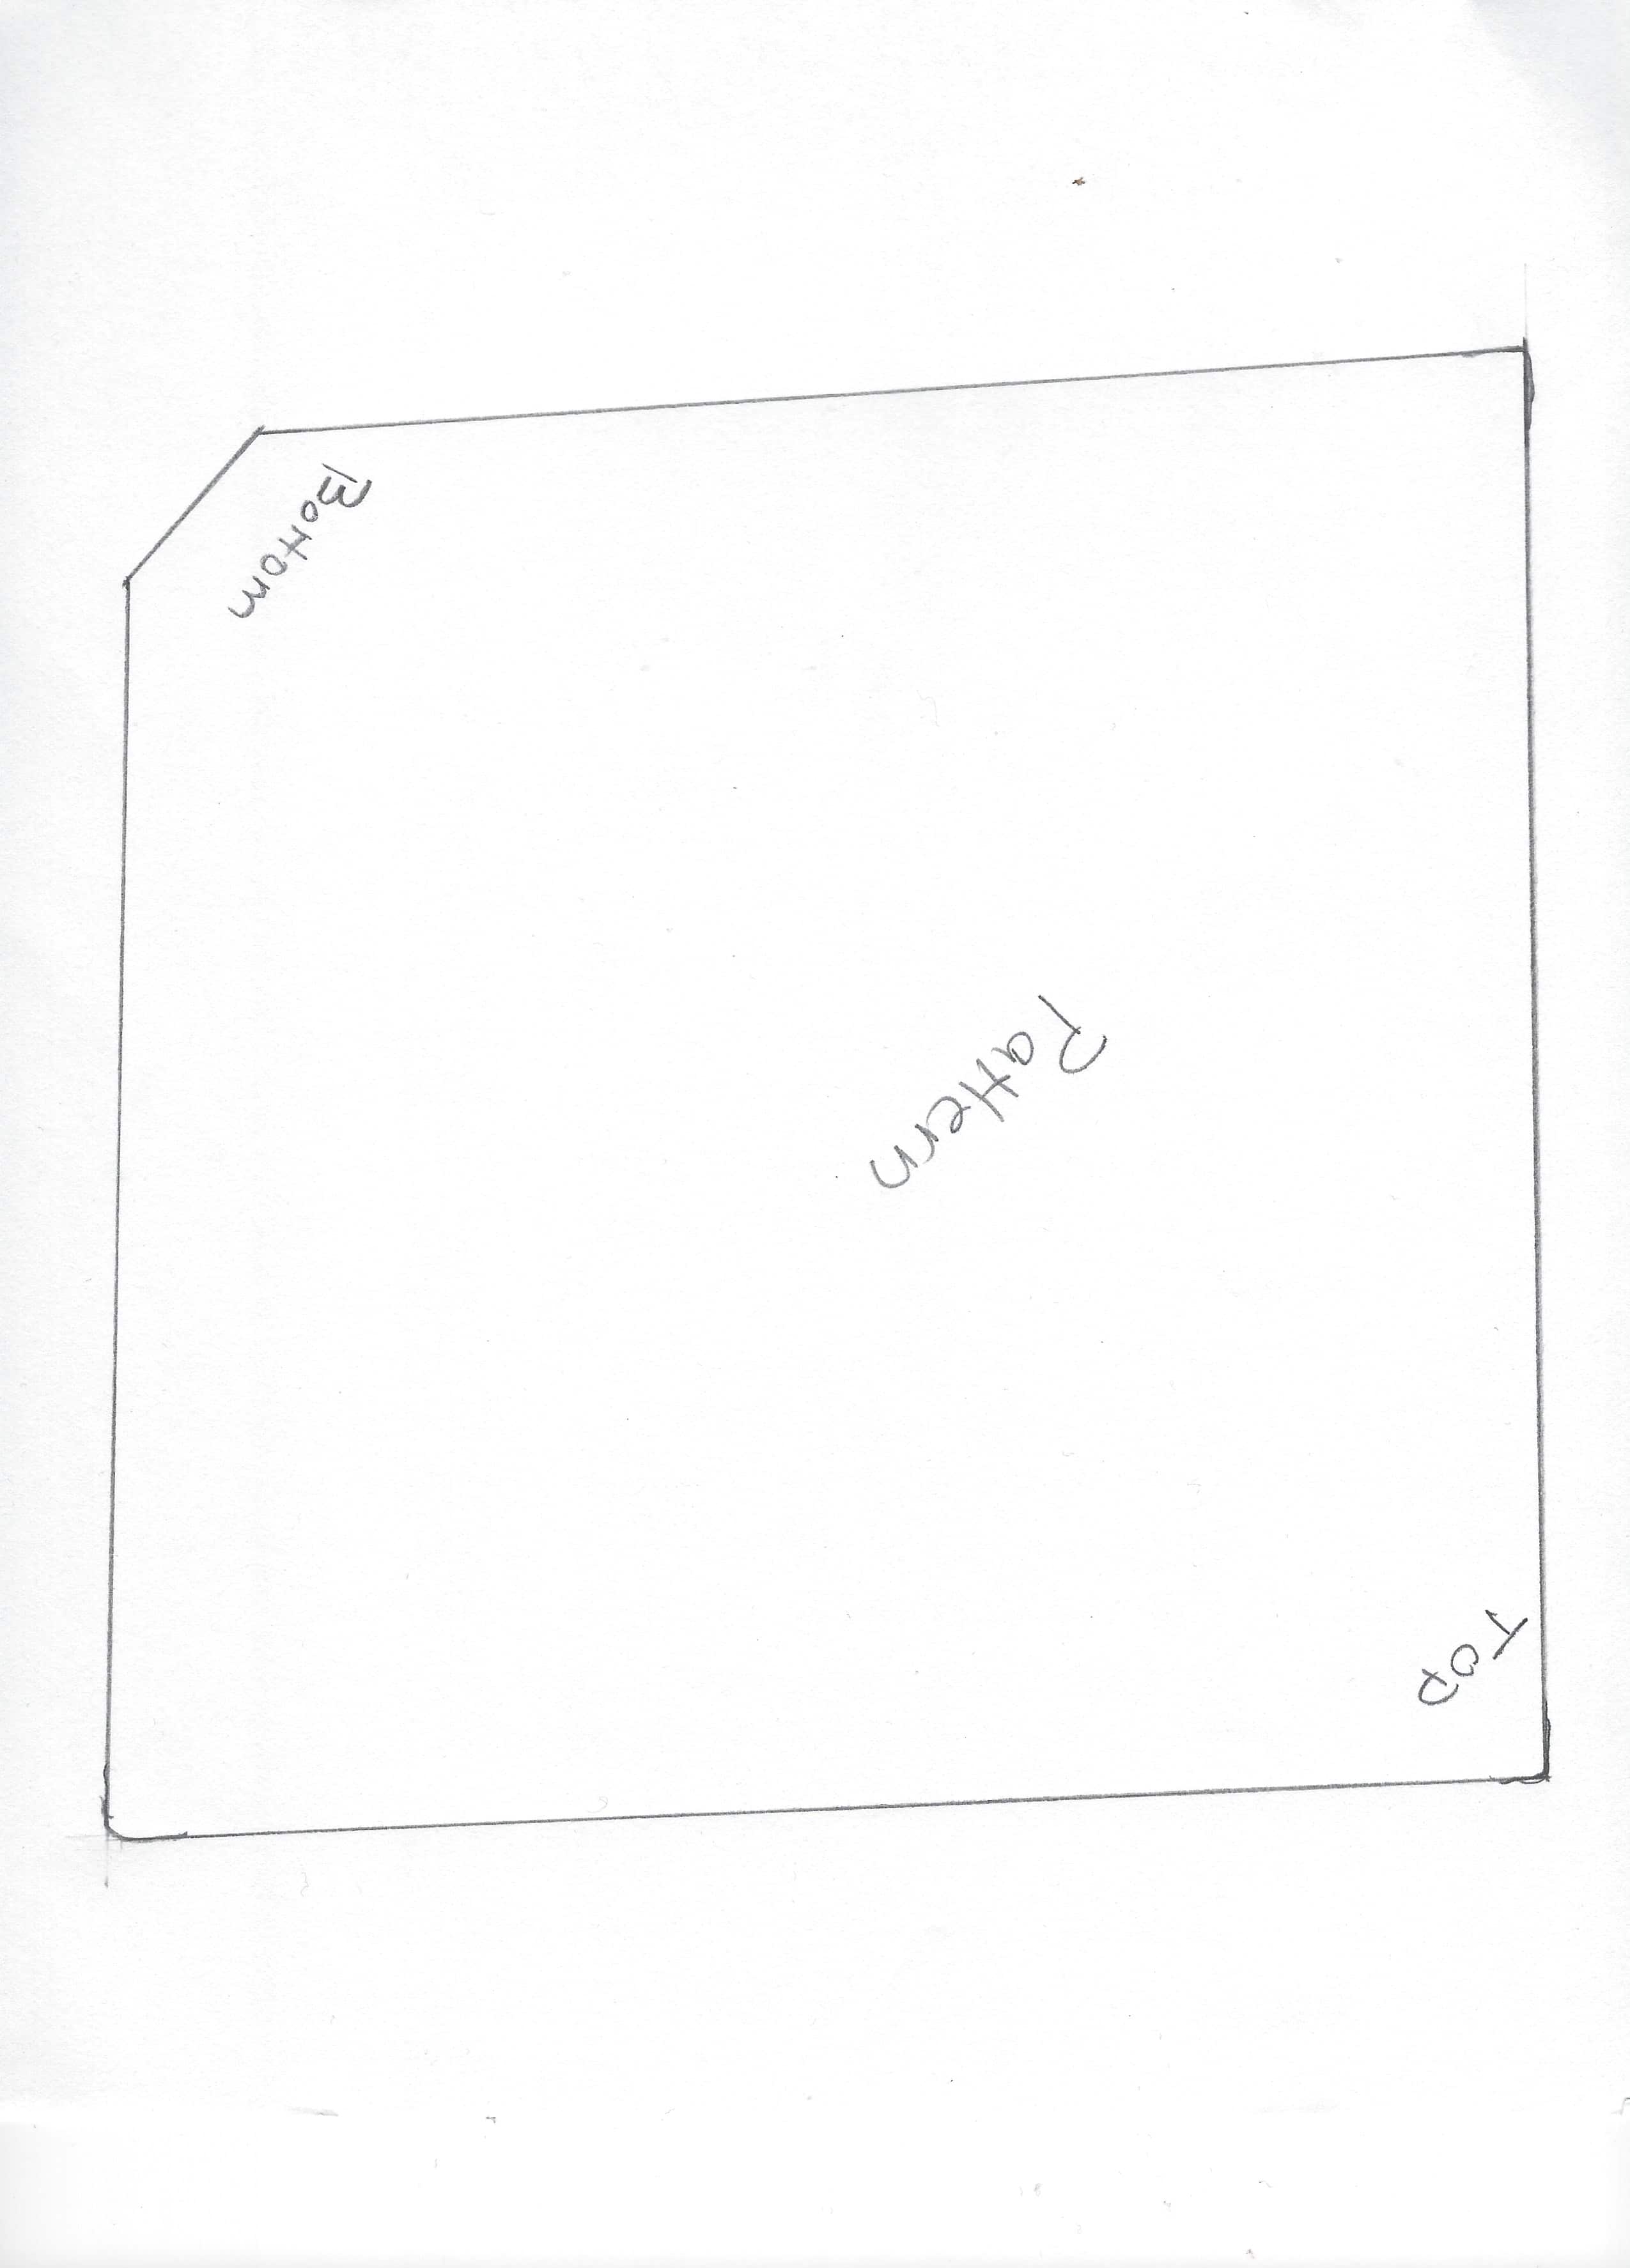
- Pattern
- Scraps, remnants or fat quarters of two coordinating fabrics
- Pellon 808 or similar interfacing
- Matching Kam Snap and pliers
- Standard sewing supplies

Step 1: How to Make Fabric Envelopes
Print out the pattern from the link and cut out one piece from each fabric and the interfacing.

Step 2: How to Make Fabric Envelopes
Fuse the interfacing the the exterior fabric following the manufacturers instructions. If you are not familiar with fusible interfacing there is a glue side and a non glue side. Place the glue side to the wrong side of your fabric and press with a hot iron until the glue melts and fuses the interfacing with the fabric and the two pieces can be treated as one.

Step 3: How to Make Fabric Envelopes
Start with the lining of the envelope and fold the top corner of one side down until it meets the corner of the bottom and pin. Sew the side using a 1/4″ seam allowance. Repeat for the other side but leave a small opening in the seam that you will use for turning the envelope. Make sure that the sides are even or you will have a wonky envelope. My first attempt at this project came out a bit wonky but when I redid it I realized my sides were not even. Once your sides are even you should start to see the envelope shape. Turn the lining right sides out.


Step 4: How to Make Fabric Envelopes
Take the exterior fabric and fold down the sides and sew them in the same way you did with the lining but without leaving an opening. You should now have two pieces of fabric that have an envelope shape.

Step 5: How to Make Fabric Envelopes
Insert the lining into the exterior fabric so that they are right sides together. Sew all around the top of the envelope using a 1/4″ seam allowance.

Step 6: How to Make Fabric Envelopes
Turn the envelope right sides out through the opening you left in the lining. You should now have both fabrics right sides out. Press the seams.

Step 7: How to Make Fabric Envelopes
Top stitch around the top of the envelope for a more finished look. Sew the opening closed using ladder stitch. If you are not familiar with ladder stitch feel free to follow this video.


Step 8: How to Make Fabric Envelopes
Add one side of the Kam snap to the end of the top of the envelope. Fold the top down and measure where the other half of the Kam snap should go and insert it there. Kam snaps are very easy to install. If you are not familiar with how they are installed follow this video.


Step 9: How to Make Fabric Envelopes
Add your gift to the envelope and you are ready to give it as your next gift.

If you enjoyed this project feel free to check out some of my other Valentine’s day projects like my Valentine’s Day Gumball Machine or my Beautiful Fabric Flowers.
If you would like more sewing and crafting projects sign up for our news letter and receive your free list of sewing room must haves.


One Comment