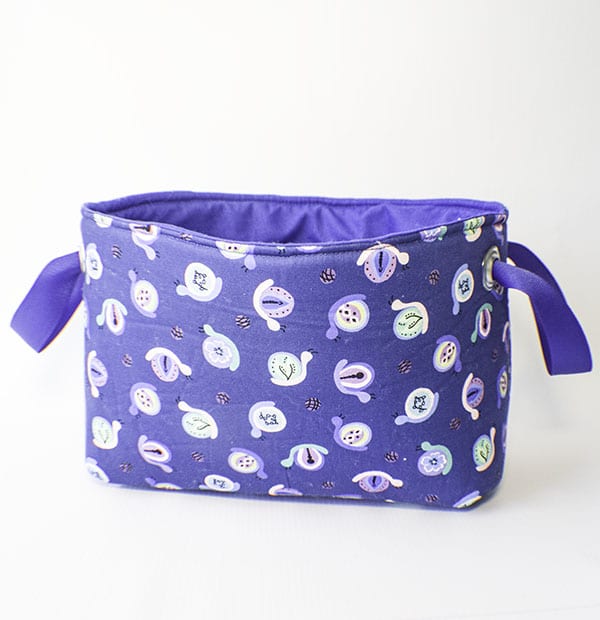
Storage is always a necessity in my house and these storage baskets come in handy. These fabric storage baskets can be made in fabrics to match your decor so they fit in perfectly. They are also a super simple sewing project to make. This is a beginner sewing project that anyone with basic sewing skills can make in no time at all. It requires some specialty hardware but nothing you can't purchase in your local fabric store. Fusible foam will be your besty in this project to give the storage basket structure. If this is your first time using fusible foam don't worry it is easy to use. It is no different than standard fusible interfacing.
For my fabric storage baskets I used standard cotton fabric, single sided fusible foam and extra large grommets and some clothesline cord. I purchased my outer fabric from Fabric Frenzy and the foam and grommets at JOANN Fabric & Craft Stores but you could head to Hobby Lobby, Fabric.com or onlonefabricstore.net to get exactly what you need for your project. I purchased the clothesline rope at Amazon. This post contains affiliate links that if you click on them and make a purchase I may receive a small commission at no extra cost to you. As an Amazon Associate I earn from qualifying purchases.
If you would like to see a video of how to make this simple project head over to YouTube and check out my video and while you are there subscribe to my free YouTube channel.
What you will Need: How to Make Fabric Storage Baskets
- 1/2 yd primary fabric and lining fabric
- 1/2 yard fusible foam stabilizer
- 26” length of 1″ wide grosgrain ribbon
- 4 Extra Large Grommets
- Grommet setter
- Hammer
Step 1: Cut your Storage Basket Fabrics
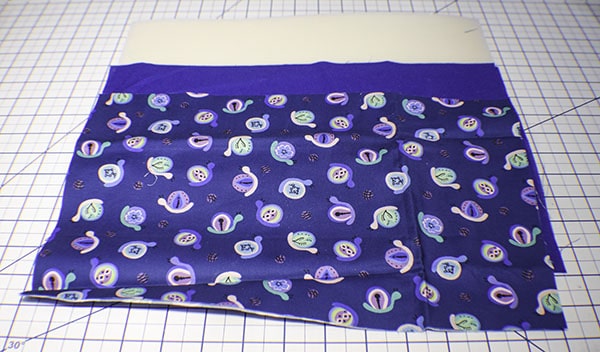
Cut two pieces of your outer fabrics, lining fabrics and fusible foam to measure 9″ x 14″. These storage baskets are small but you can make them any size you like by simply changing the dimensions of the the rectangles that you use. The process of creating the baskets is the same.
Step 2: Fuse the foam
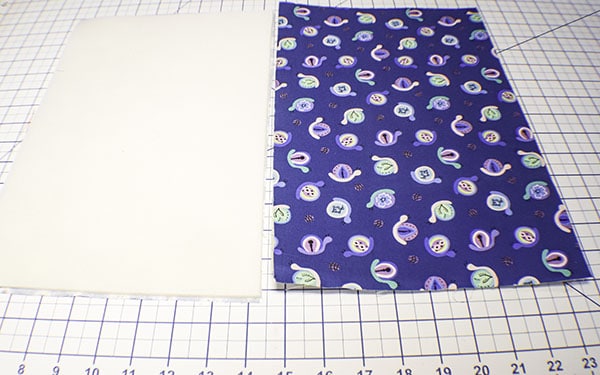
Fuse the foam stabilizer to the two pieces of outer fabric following the manufacturers instructions. You should simply need to place the glue side to the wrong side of the fabric and press using a hot iron until the glue melts and the two fabrics are fused together and can be treated as one.
Step 3: Cut your Corners
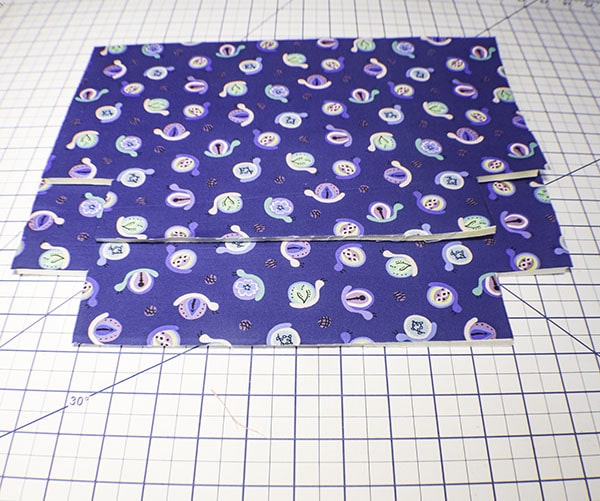
Measure a 2′ x 2″ square from the bottom corners of the main fabric and cut out the shape. You should have two pieces of fused fabric with the corners cut out of the bottom.
Step 4: Sew the Storage Basket Together
Place the two pieces right sides together and pin. Sew the side seams and the bottom using a 1/4″ seam allowance. Do not sew around the corners.
Step 5: Box the Corners
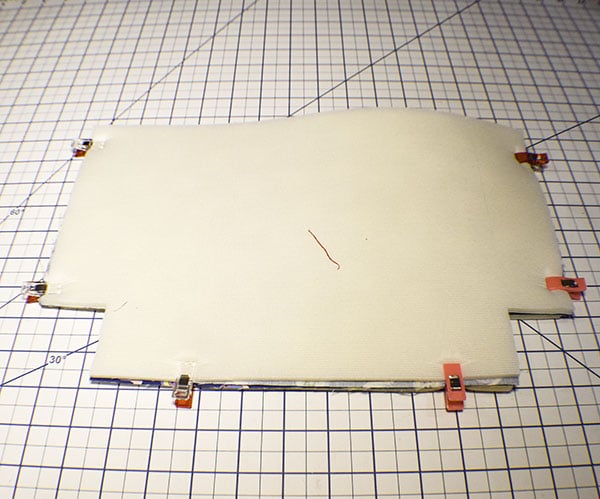
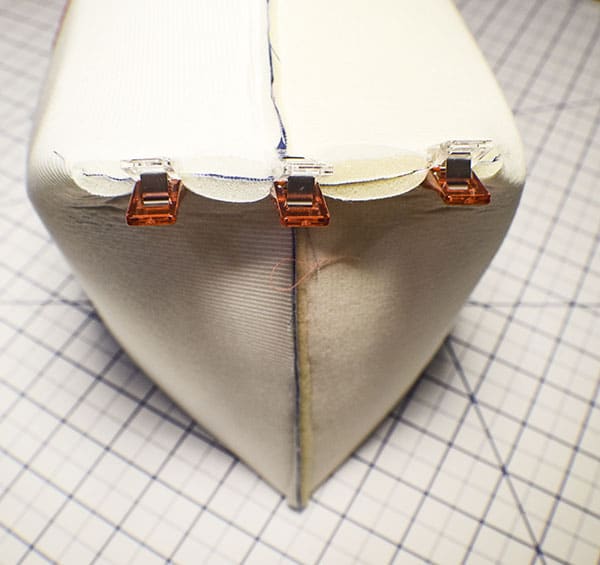
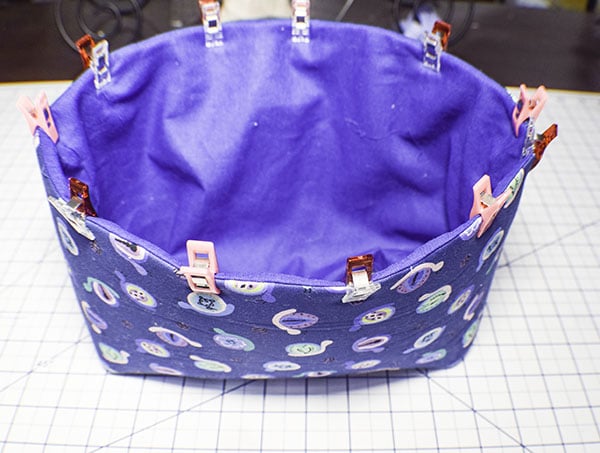
Align the bottom seam and the side seam and lay flat. Sew together using a 1/4″ seam allowance. Repeat for all corners. Turn right sides out. You have now completed your outer treat basket. You will notice that I use clips to hold bag at this points. I highly recommend wonder clips. If you would like your own check out my Amazon shop and purchase some wonder clips for your sewing room.
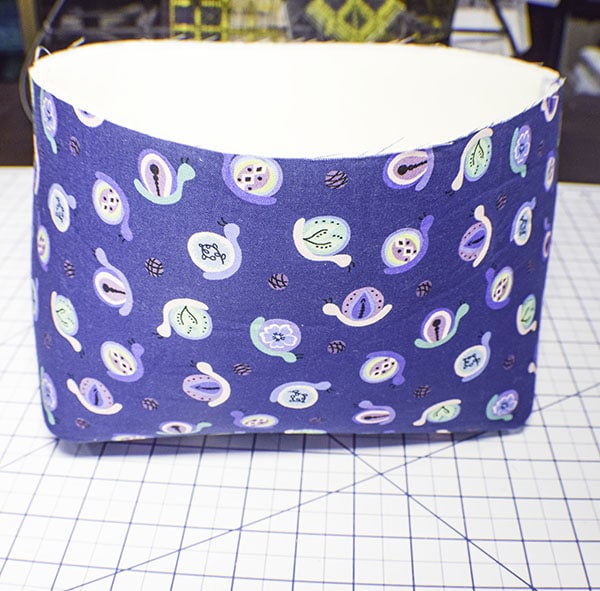
Step 7: Create the Storage Basket Lining
Create the lining in the same way that you created the outer basket but without using the foam stabilizer. You will also leave a 3″ opening in the bottom of the lining for turning. When you come to boxing the corners sew them using a 1/2″ seam allowance for a snug fit.
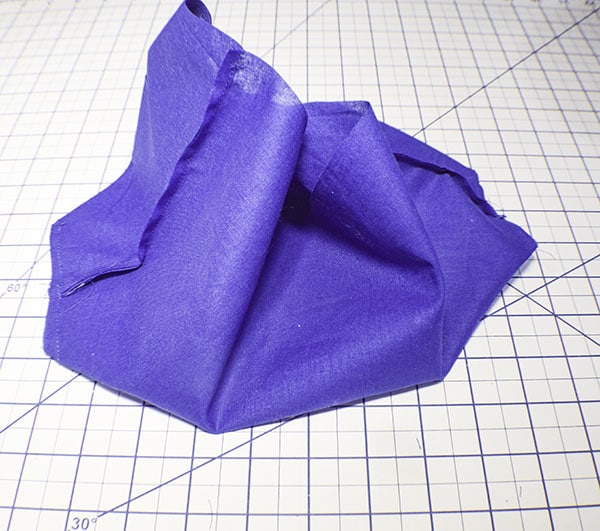
Step 8: Add the Lining
Place the outer bag into the lining bag so that the right sides are together. Using a 1/4″ seam allowance sew all the way around the top.
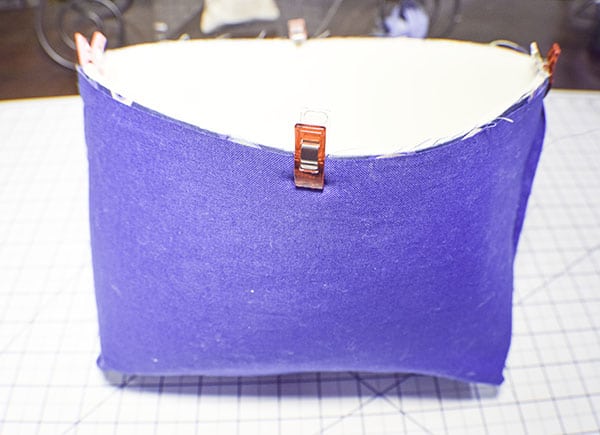
Step 9: Turn the Storage Basket
Turn the bag right sides out through the opening that you left in the lining. Top stitch all the way around the top of the basket. You should have a completed basket at this point. Simply close the opening using your machine or ladder stitch. I chose to add handles to my basket.
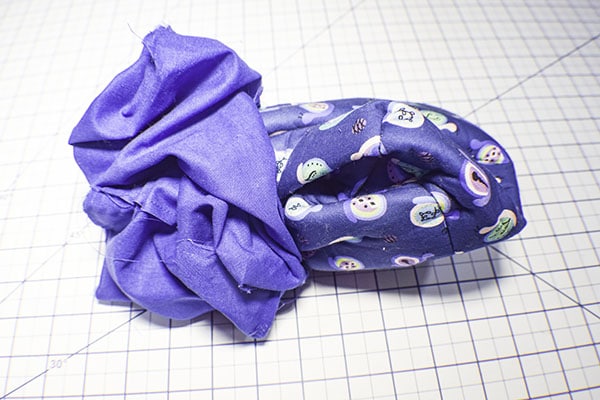
Step 10: Add the Grommets
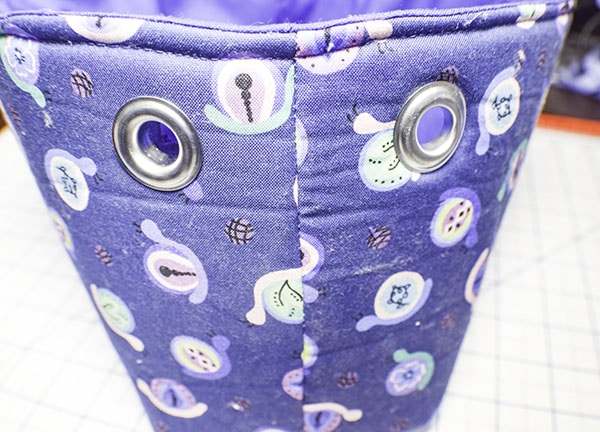
Insert the grommets following the manufacturers instructions. Measure 1″ from the top and 1 1/2″ from the side seams on each side to insert the grommets. You will have 4 grommets all together. This is a terrific video on how to add the grommets to your project.
Step 10: Insert the Ribbon
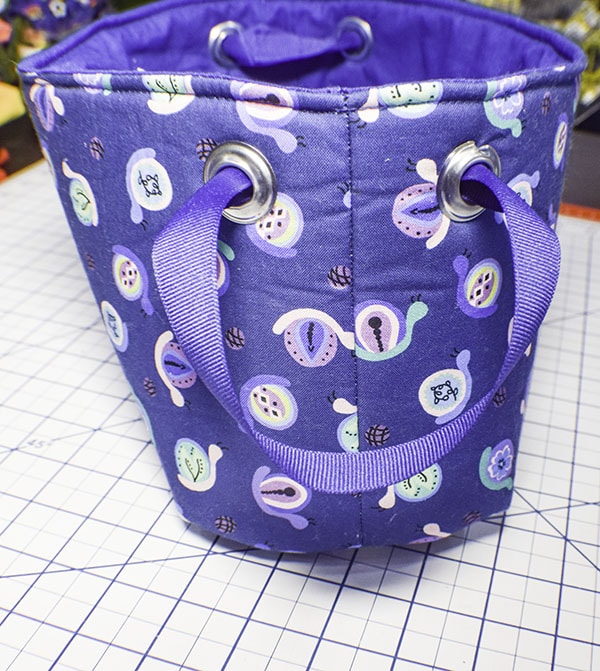
Cut two 13″ pieces of ribbon. Apply Fray Check to the ends to prevent fraying. Insert the two ends into the grommets and cross over the ends. Sew the ends together by stitching a box around the crossed over ends. Repeat for the other side. You have now completed adding handles to your Halloween treat basket.

I hope you enjoyed this storage basket project. If you would like more sewing and crafting projects sign up for our newsletter and receive access to our free sewing and more printables library.
If you would like video tutorials of some Sew Very Crafty's Most popular posts subscribe to our free YouTube channel here.


