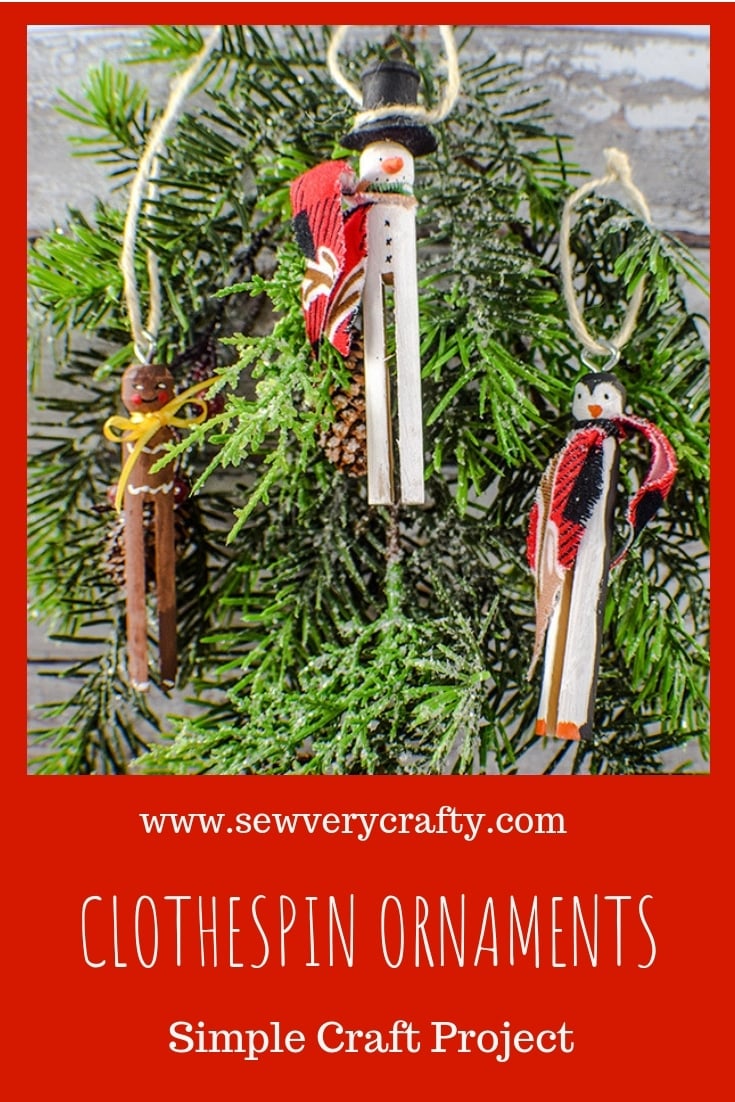
How to Make Clothespin Christmas Ornaments

I love handmade Christmas ornaments. To be honest there is nothing like a handmade Christmas. This year I thought I would make some clothespin Christmas ornaments for my tree. These are super simple to make and only require a few craft supplies that can be found at any craft store. In this project I made three different clothespin ornaments but I am going to walk you through my snowman clothespin ornament step by step. This tutorial will show you just how simple these ornaments are to make.
I obtained my craft supplies from JOANN Fabric & Craft Stores![]() but you could get yours at Hobby Lobby if you like. You can order online and pick up in store to avoid the rush of Christmas crafting time. This post contains affiliate links that if you click on them and make a purchase I may receive a small commission at no extra cost to you. It is never too early to start Christmas crafting and these clothespin ornaments are the perfect way to begin.
but you could get yours at Hobby Lobby if you like. You can order online and pick up in store to avoid the rush of Christmas crafting time. This post contains affiliate links that if you click on them and make a purchase I may receive a small commission at no extra cost to you. It is never too early to start Christmas crafting and these clothespin ornaments are the perfect way to begin.
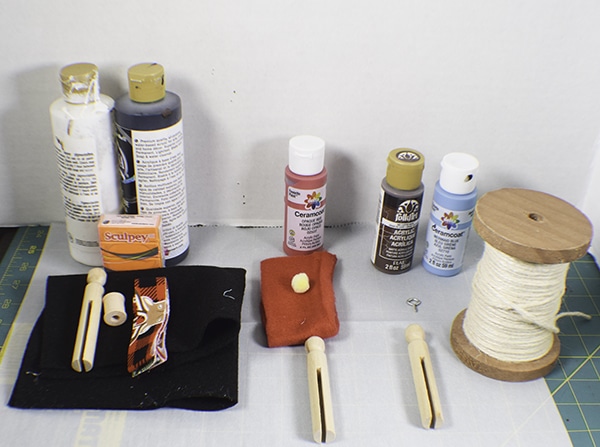
What you will Need: How to Make Clothespin Christmas Ornaments
- Clothespins
- Black Felt scrap
- Small wooden spool
- Acrylic Paints
- Twine
- Small Screw eyes
- Scrap fabric
- Ribbon
- Orange Polymer Clay
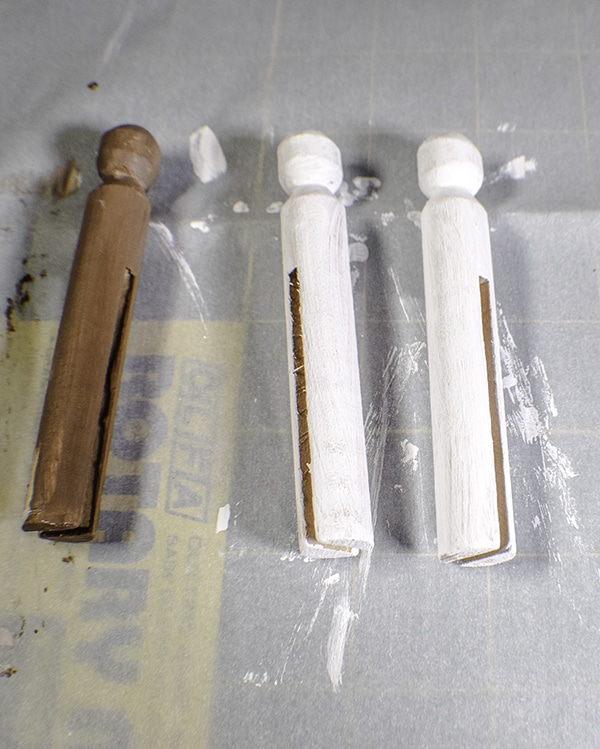
Step 1: Paint your Pegs
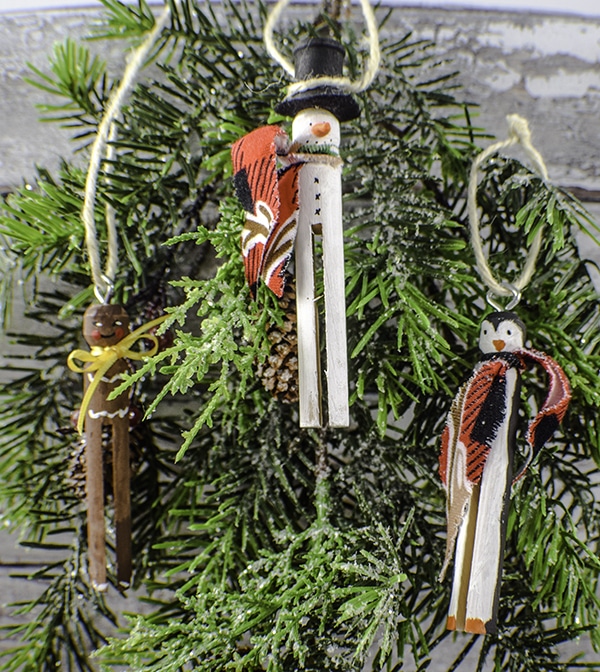
Decide on the characters you would like to paint. I chose a snowman, gingerbread man, and a penguin. Paint your pegs the main color. I painted two of my pegs white and one a light brown. Let dry.
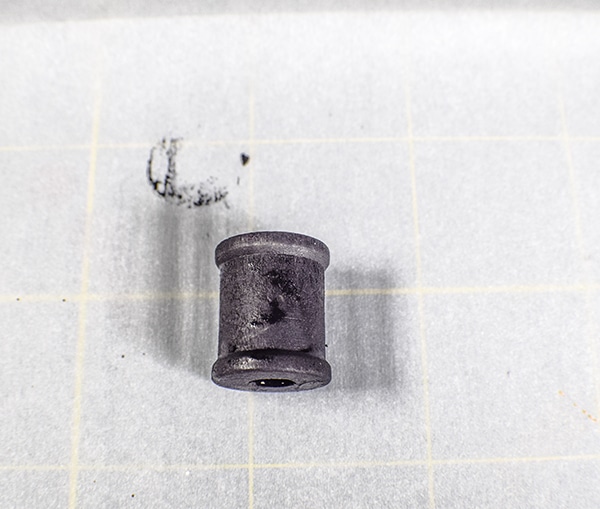
Step 2: Paint the spool
Paint the small wooden spool black. Let dry. Cut a small piece of black felt to act as the brim of the hat. I used a sewing machine bobbin as a template for my brim.
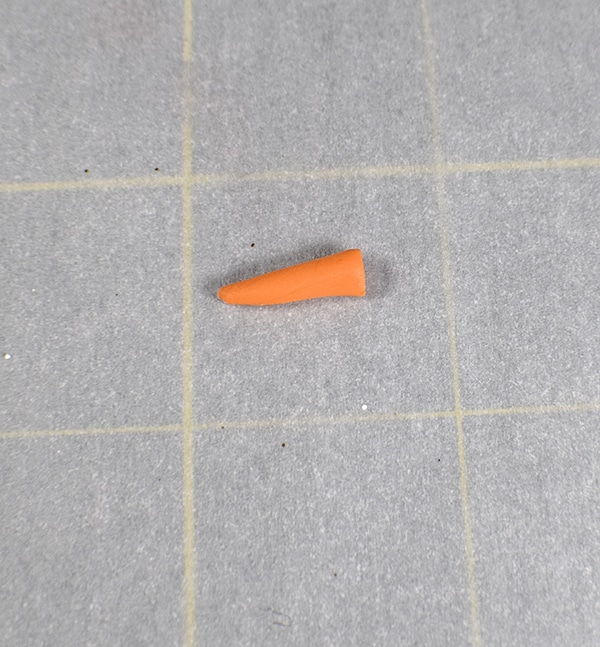
Step 3: Create the nose
I created my nose from a small amount of orange polymer clay. Just bake it according to manufacturers instructions. I simply made it to look like a carrot for a more 3D look. You could just as easily paint your nose onto the peg.
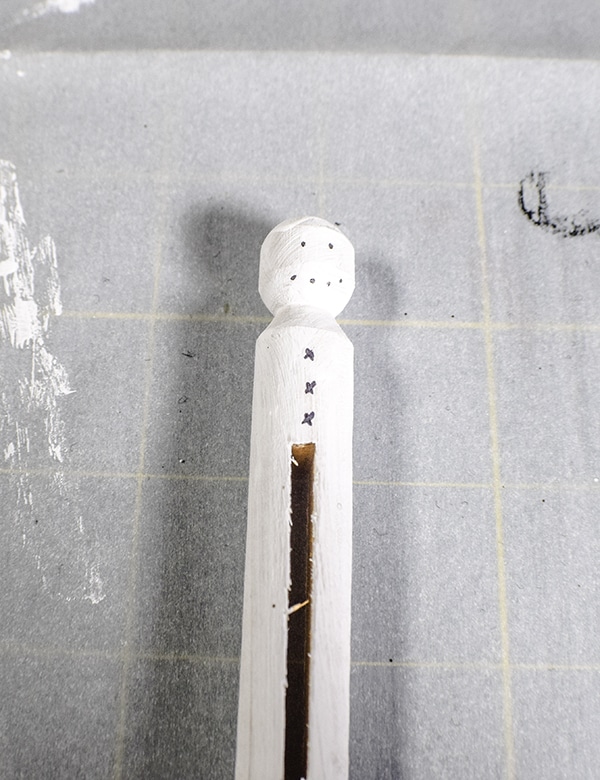
Step 4: Add the face an buttons
I used a black sharpie to add the face and buttons. For the buttons I used Xs and for the faces I just used dots for the eyes and mouth.
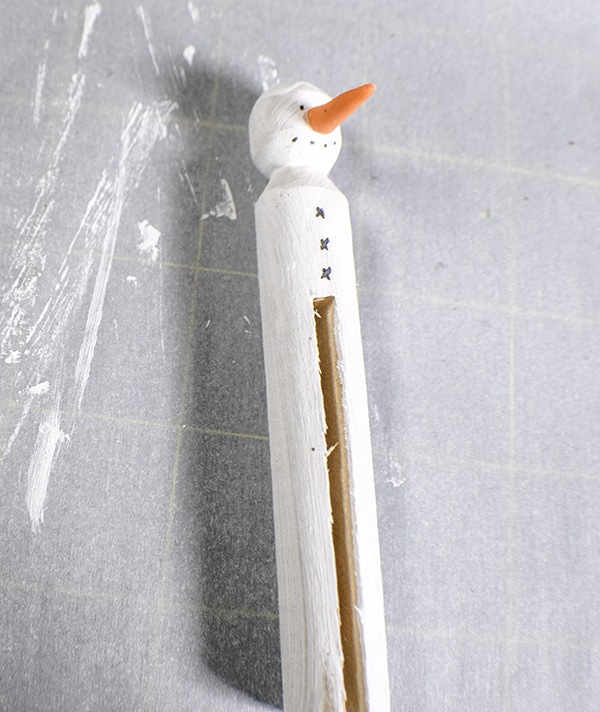
Step 5: add the nose
Using some E6000 glue the nose to the face.
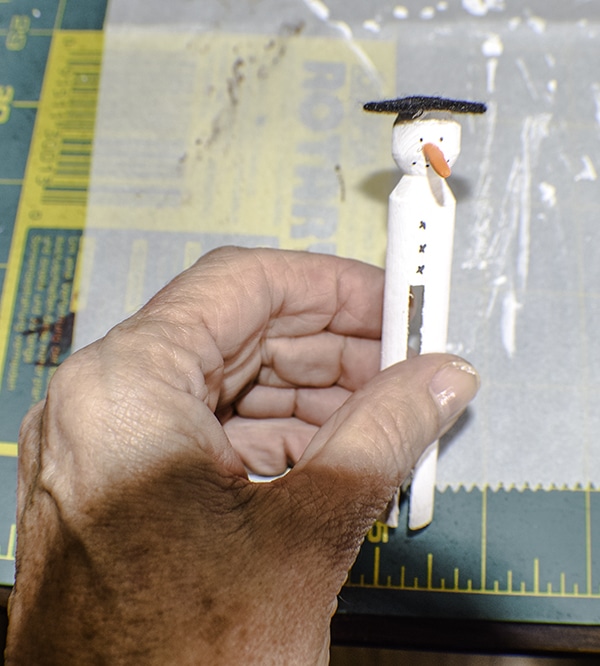
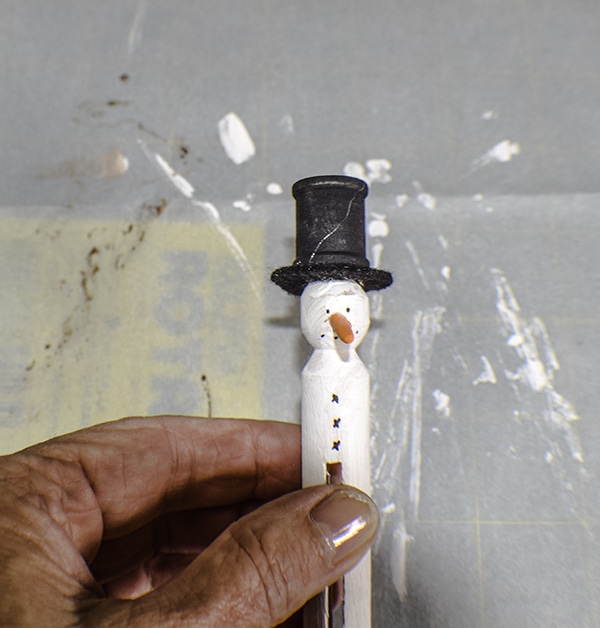
Step 6: Add the Hat Brim and spool
Again using E6000 glue the felt hat brim to the top of the head. Once dried glue the black spool to the top pf the felt. Tie a scrap piece of fabric around the neck of the peg to act as the scarf.
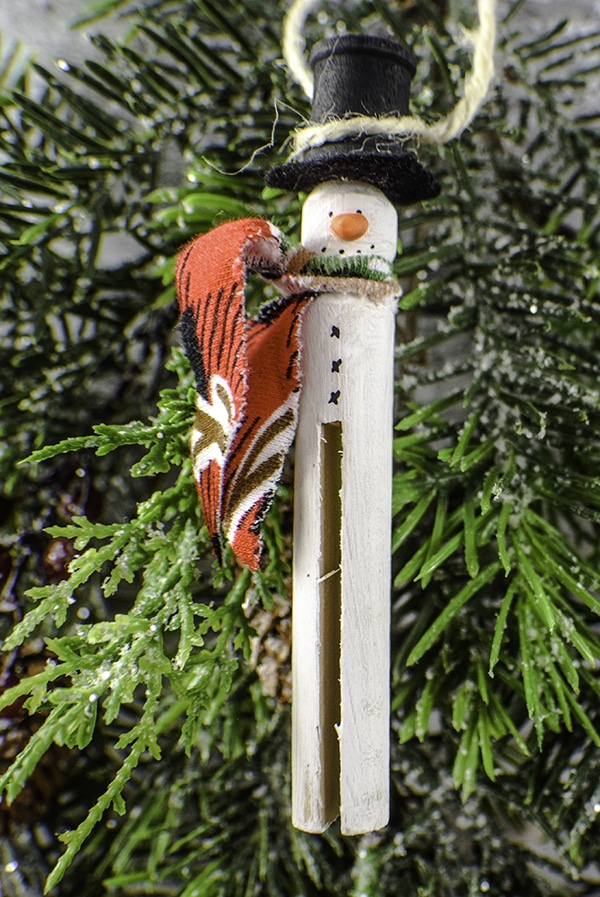
Step 7: Add the Twine
I tied the twine around the hat brim to act as the hanger. For the other two pegs that I made I simple added screw eyes to the top of the pegs and threaded the twine through them to act as hangers. You have completed your snowman clothespin Christmas ornament. For the other two clothespin ornaments simply paint them to match the photograph and add the scarf or bow.
I hope you enjoyed this project. If you would like more sewing and crafting projects sign up for our newsletter and receive access to our free printables library.
If you would like more Christmas sewing and crafting projects check out our Holiday projects Vault.