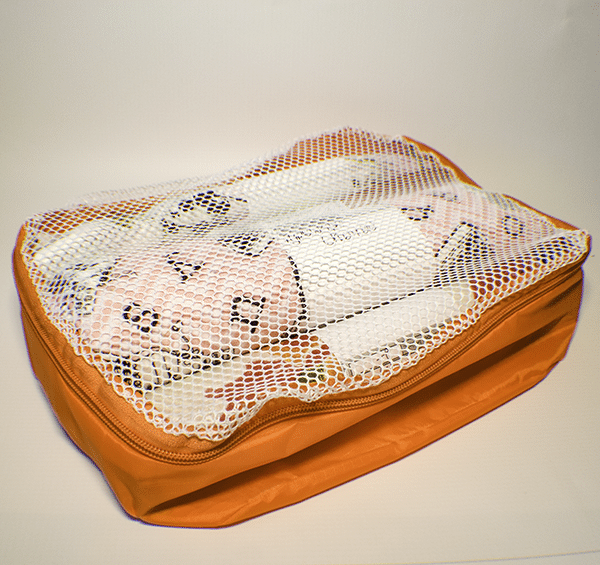
I am still making traveling items since I plan to travel soon. I am going to St. Louis to watch my beloved Cardinals and to Ireland hopefully so I have been making items I can travel with. This is the perfect travel companion. DIY Packing Cubes are perfect for making room in your suitcase for all the things you want to take along to far flung places. This packing cube is super simple and is a beginner sewing project even though it has a zipper. The zipper I used for this project is larger than the standard zipper so it is easier to stitch. I used a #5 continuous zipper for my project but you could use a sport zipper or a purse zipper for your project. Any larger sized zipper will do. I like continuous zippers because I can make them any size I want.
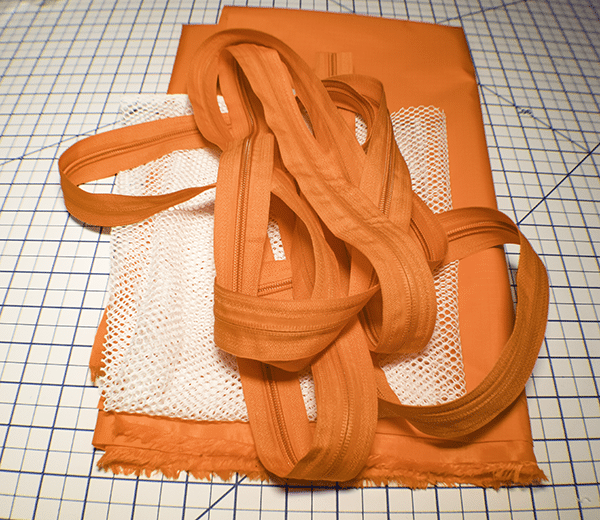
I used ripstop nylon for the base of my packing cube but you could use cotton if you like. This ripstop nylon was purchased at JOANN Fabric & Craft Stores but you could head to Hobby Lobby, Fabric.com or onlinefabricstore.net to get what you need for your project. You can find sport zippers or purse zippers at your local fabric store and continuous zippers online in a variety of colors. This post contains affiliate links that if you click one them and make a purchase I may receive a small commission at no extra cost to you. As an Amazon Associate I earn from qualifying purchases.
If you would like a video of this project head over to YouTube and check out my video. While you are there subscribe to my free YouTube Channel.
What you will Need: How to Make DIY Packing Cubes
- 1/2 yd ripstop nylon or other fabric
- 1/4 yd mesh utility fabric
- 30″ sport zipper or purse zipper or a 31″ continuous zipper
Step 1: Cut your Fabrics
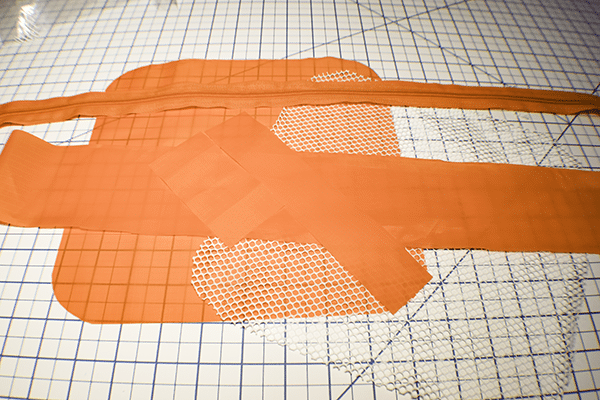
From your main outer fabric cut a 10″ x 10″ square and a 3″ x 36″ rectangle. Cut two additional fabric pieces that measure 1 1/4″ x 5 1/4″ and 2″ x 4″. You will also cut a 10″ x 10″ piece of utility mesh.
Step 2: Round the Corners
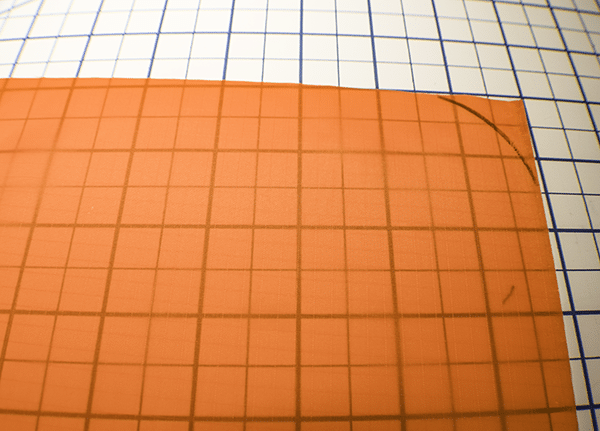
Round all four corners of your 10″ x 10″ outer and mesh fabrics.
Step 3: Create the Zipper Tab
Take the 2″ x 4″ rectangle and fold the short ends to the center then fold in half to enclose the raw edges. Place one end of the zipper into the zipper tab and fold in the sides so that the tab fully encloses the zipper end. Stitch all the way around the zipper tab. On the other end of the zipper place the 1 1/4″ x 5 1/4″ piece and stitch. Open the tab so that it covers the zipper stop if you have one. This piece should now be 36″ long.
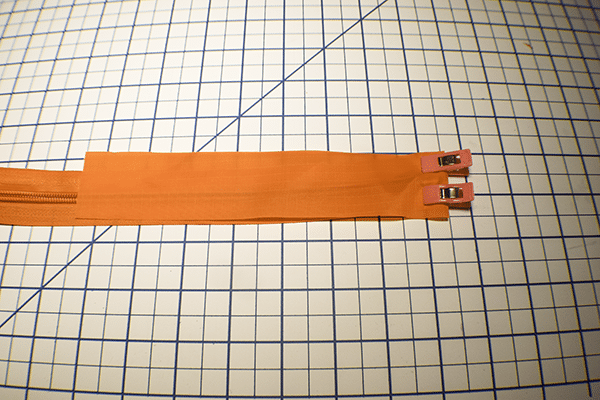
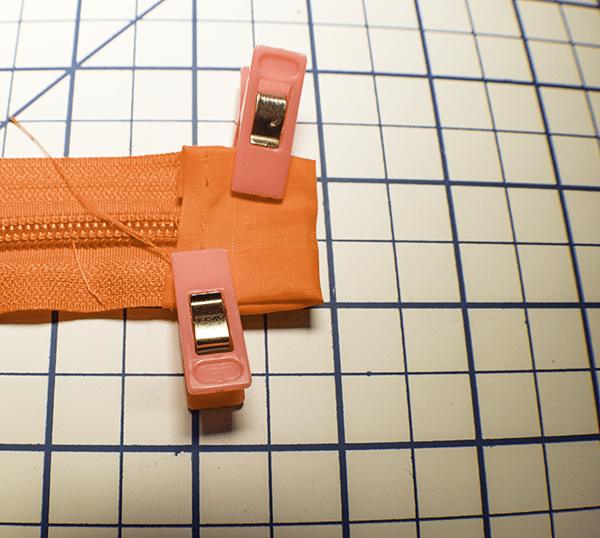
Step 4: Add the Zipper to the Packing Cube
Add one side of the zipper to the 3″ x 36″ rectangle right sides together and stitch using a 1/4″ seam allowance. Flip up the zipper and stitch the short ends right sides together using a 1/4″ seam allowance. Place the main rectangle piece that you have attached to the zipper right sides together with the main fabric piece and stitch together using a 1/4″ seam allowance.
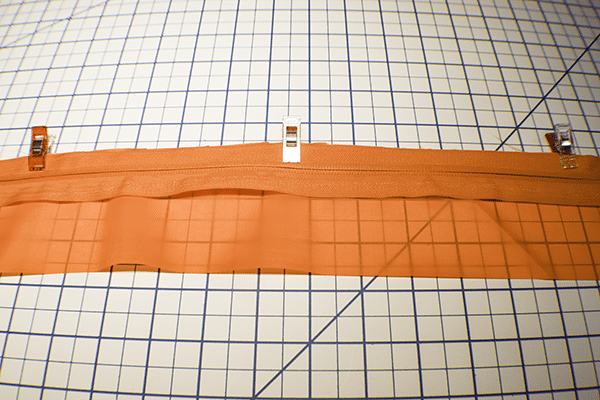
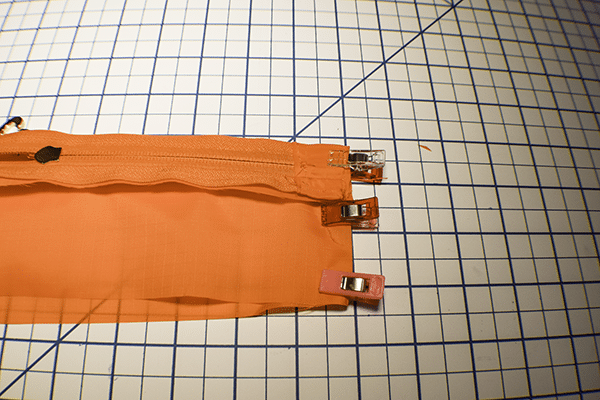
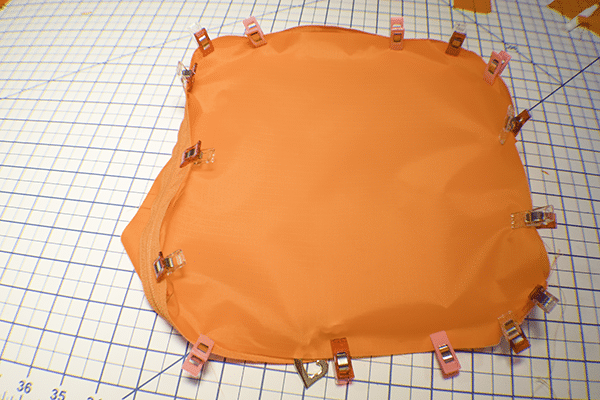
Step 5: Add the Mesh to the packing cube
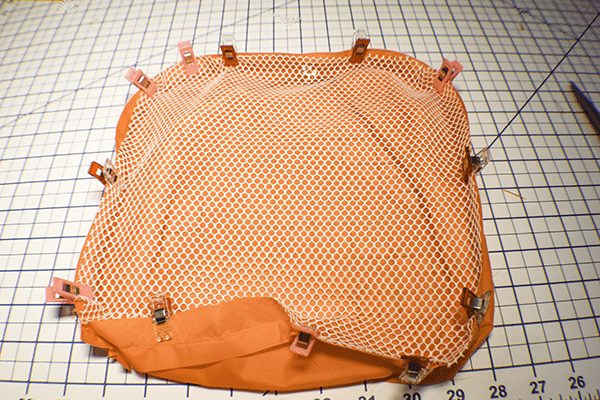
Open the zipper. Place the mesh square right sides together with the other side of the zipper and stitch. Take care with adding the mesh as it tends to stretch when you stitch it. Turn the DIY packing cube right sides out and you have finished. Pack it up and take it on a trip.

I hope you enjoyed this packing cube project. If you would like more sewing and crafting projects sign up for our newsletter and receive access to our free printables library
If you would like video tutorials of some of Sew Very Crafty's most popular posts subscribe to our free YouTube Channel here





Nice tutorial! I’ve been making these ever since AARP sent a set for joining… their fabric was awful so I took them apart, used it as a pattern and made myself a lovely set in cotton. Also made some for presents! You don’t know how much you will love these until you try them!
Thanks. I love the one I made and plan on making more. They are awesome.