Simple DIY Marbled Pen Tutorial
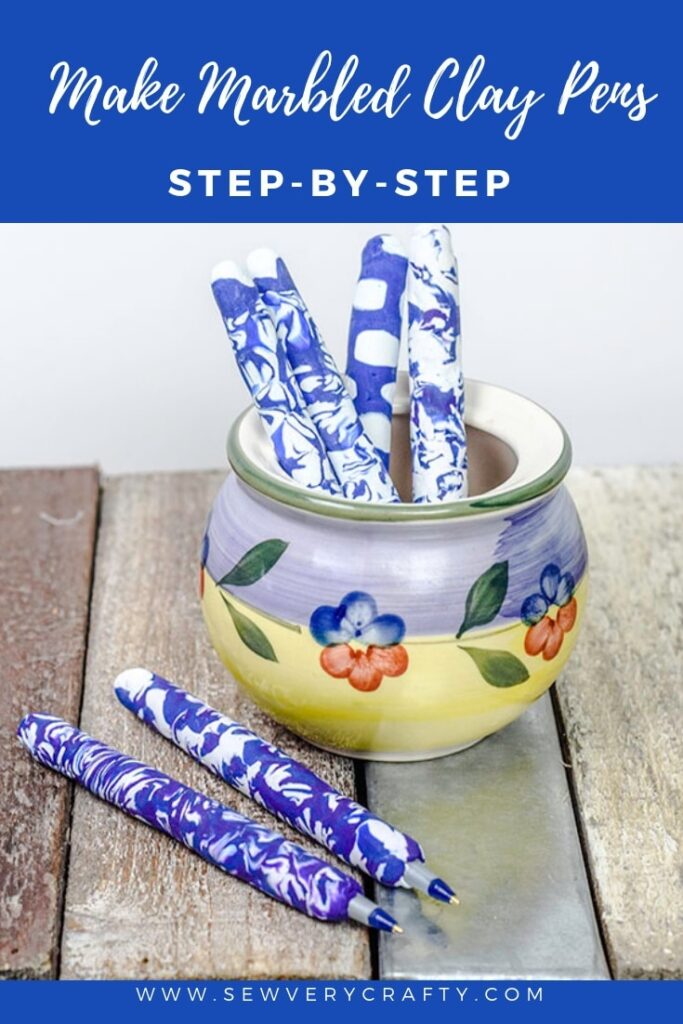
I recently did a marbled polymer clay trinket bowel tutorial and had clay left over so I thought to do this super simple DIY marbled pen tutorial. These pens are not only beautiful they are easy to make using just some Bic Round Stic pens and some polymer clay. It doesn't get any easier than this and it is a project that you can do with your kids. This project is the perfect back to school craft. It is both fun and functional. Trust me when I tell you that you will get so much satisfaction out of making these clay pens that you will make them by the dozen and give them as gifts.
Polymer clay is very easy to work with. All you need is your hands to knead the clay and a craft knife to cut it. The hardest part about working with polymer clay is deciding on the colors you want to use. It comes in so many different colors that you can choose any color combination that you want or use just one color if you like. Anyone that has read this blog knows that I love color. Everything I create has some color in it and these polymer clay pens are no different. I chose blue, white and purple for my pens but the choices are endless.
What you will Need:
- Sculpy Polymer clay in the colors of your choice
- Bic Round Stic Pens
- Craft knife
- Oven
Step 1: Simple DIY Marbled Pen Tutorial
The most important thing before you actually start this project is to use Bic Round Stic pens or something similar. The reason this is important is that you must be able to remove the ink from the pen. The Bic Round Stic pens allows you to pull out the nib and ink cartridge of the pen by simply pulling it out from the top. Pull out the nibs and the ink from as many pens as you would like to marble.
Step 2: Simple DIY Marbled Pen Tutorial
Choose your clay colors. You can use as many different colors as you like. I chose three colors for my pens, blue, white and purple. Knead the clay in your hand until it gets soft then roll it out into a roll. The best way to do this is by rolling it in your hands then placing it on your surface and continue rolling it. Make rolls out of each color that you want to use.
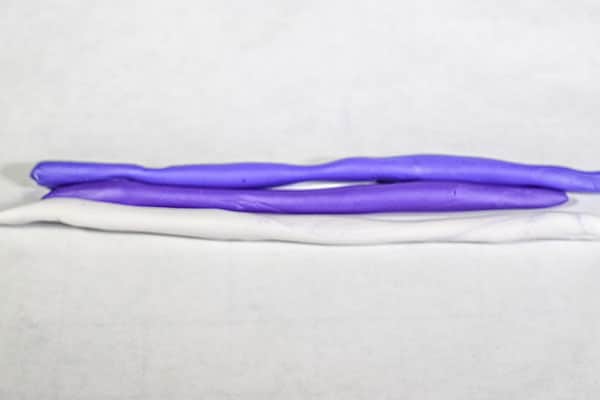
Step 3: Simple DIY Marbled Pen Tutorial
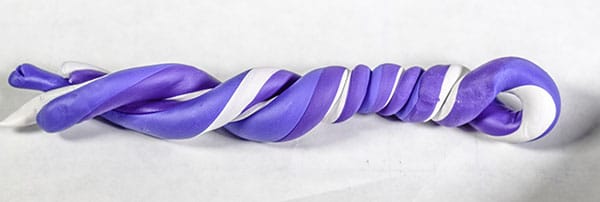
Take the rolls and twist them into a single roll that looks like a candy cane.
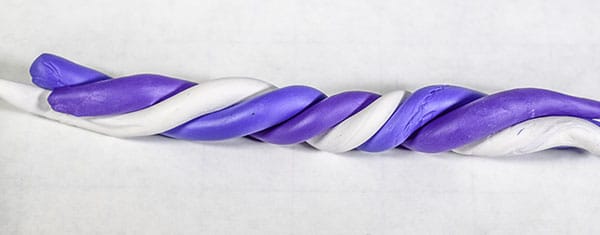
Step 4: Simple DIY Marbled Pen Tutorial
Roll out the rolls on your surface so that all of the rolls become one. Then fold the roll in half.
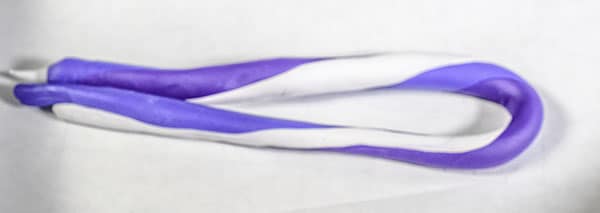
Step 5: Simple DIY Marbled Pen Tutorial
Twist again.
Step 6: Simple DIY Marbled Pen Tutorial
Roll out again and repeat the process.
Step 7: Simple DIY Marbled Pen Tutorial
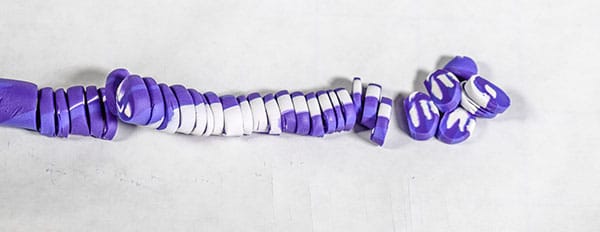
Slice the roll into small pieces.
Step 8: Simple DIY Marbled Pen Tutorial
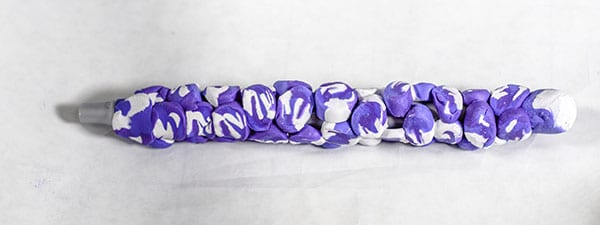
Place the pieces around the pen.
Step 9: Simple DIY Marbled Pen Tutorial
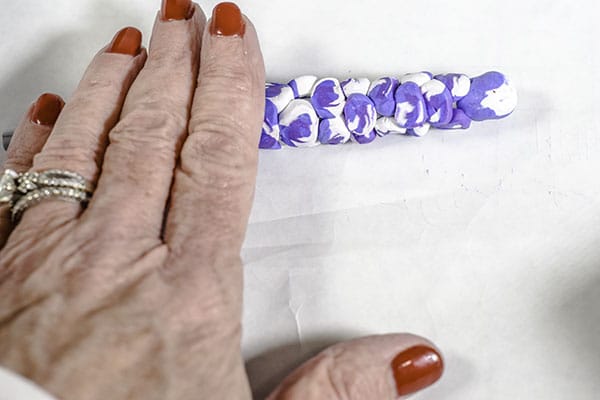
Roll the pen so that the pieces merge together and the pattern becomes more marbled. You have completed the marbled portion of the pen.
Step 10: Simple DIY Marbled Pen Tutorial
Bake the pens in a 275 degree oven for 15 minutes. Let the pens cool. Replace the ink and you have finished your marbled polymer clay pens.


I hope you enjoyed this project. If you would like a fun companion project to make with this one. Check out my tutorial on how to turn a composition book into a beautiful journal using craft paper and duct tape.




One Comment