Make a Key Chain Wallet
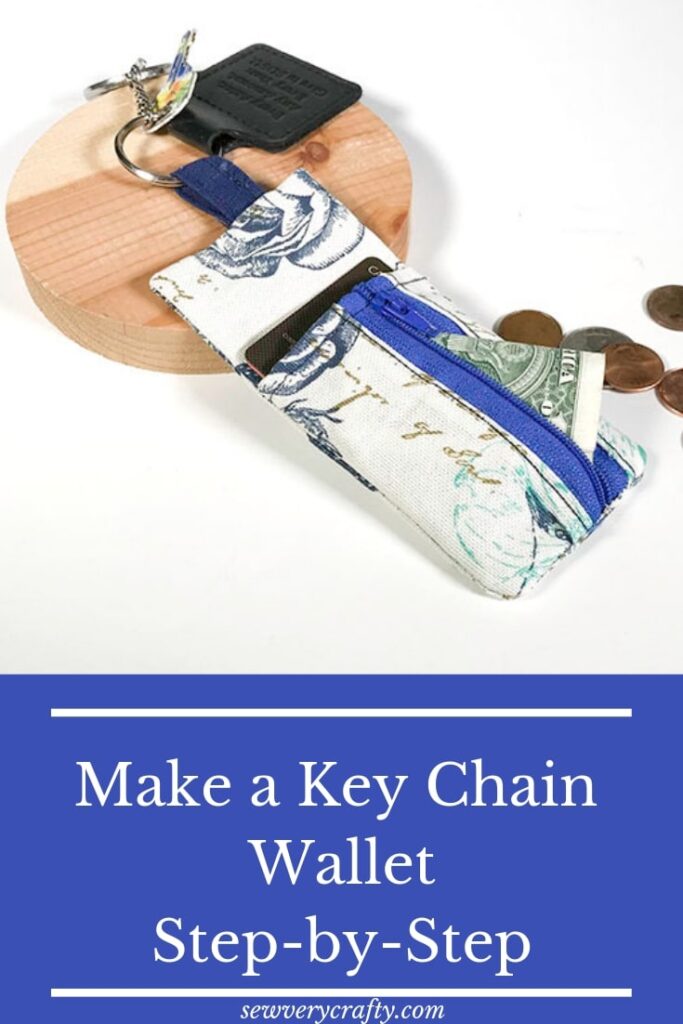
Sometimes you do not want to be bogged down with a purse or handbag and just want to take your keys, some identification and money. With this in mind I thought to make a key chain wallet that I can take on a walk or a quick trip. Maybe you are not a purse person at all. Well this is the answer for you. This key chain wallet is super simple to make and has a place for credit cards, money and change. It even has a zippered pocket. This is a very easy project to make even though it has a zipper. It only requires advanced beginner sewing skills and a little bit of fabric along with a zipper to complete.
I used decorator weight fabric for my key chain wallet but you could use quilting cotton if you like. If you do, I would recommend that you use some interfacing to strengthen the fabric. You could definitely use fat quarters for his project if you use interfacing. I recommend Pellon SF101.
What you will Need:
- 1/4 yd main fabric
- Scrap of coordinating fabric
- 7″ nylon zipper
- Standard sewing supplies
Step 1: Make a Key Chain Wallet
Cut your fabrics as follows:
- 2 outer pieces that measure 3″ x 4″
- 2 outer pieces that measures 3″ x 6″
- 1 coordinating piece that measures 2″ x 4″
Step 1: Make a Key Chain Wallet
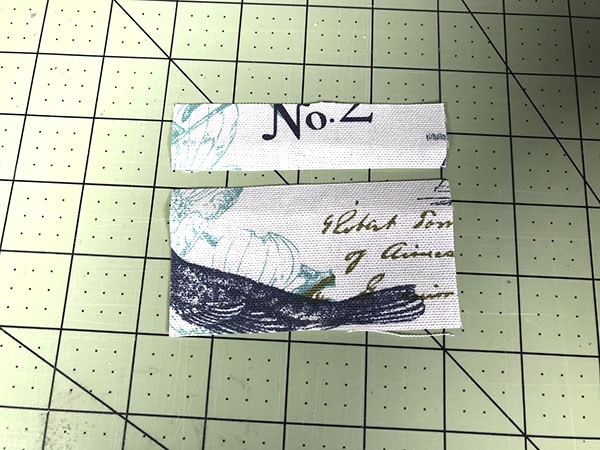
Take one of the 3″ x 4″ outer pieces and measure down 1″ on the 3″ side and cut. You will be adding the zipper here.
Step 2: Make a Key Chain Wallet
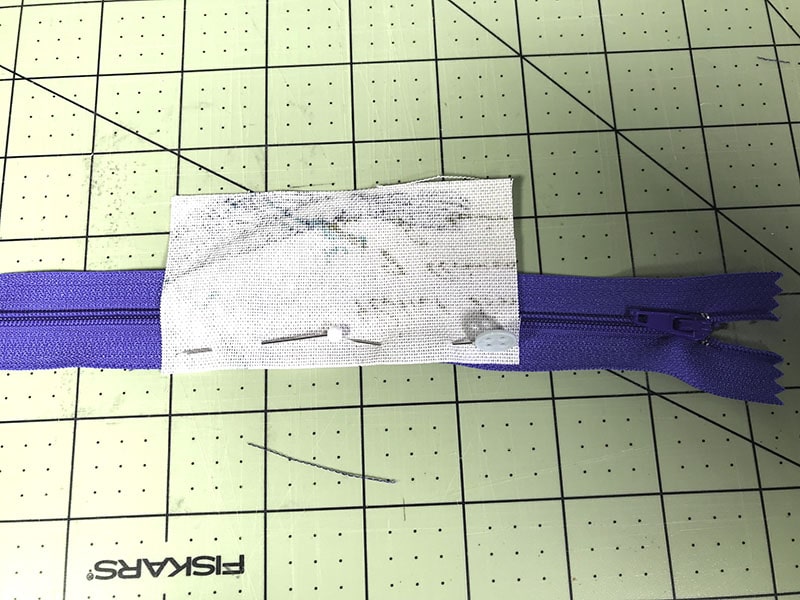
Place one side of the cut piece wrong side on the zipper and sew using a 1/4″ seam allowance. Repeat for the other side. You will have a fair amount of the zipper tape showing. Top stitch along the outer edge of the fabric along the zipper for a more professional look. I placed my fabric in the center of the zipper because I knew that I would be shortening it.
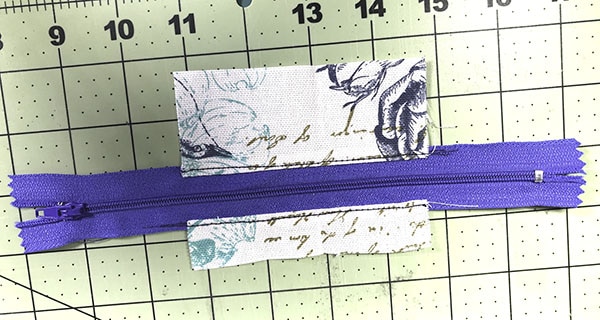
Step 3: Make a Key Chain Wallet
Move the zipper pull to the middle of the fabric piece and cut off both ends of the zipper so that it is even with the fabric pieces. Place the other 3″ x 4″ right sides together with the zipper piece and sew along one short end using a 1/4″ seam allowance. Turn right sides out. Top stitch along the short edge that you just sewed being careful as you sew through the zipper.
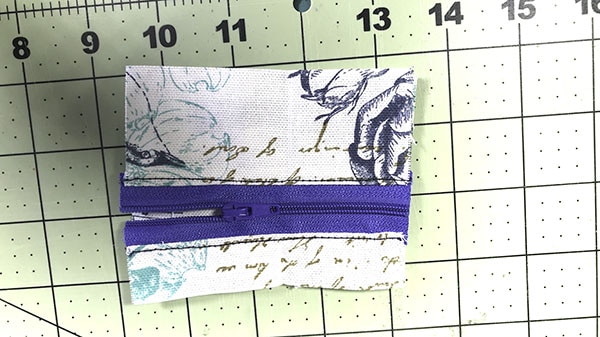
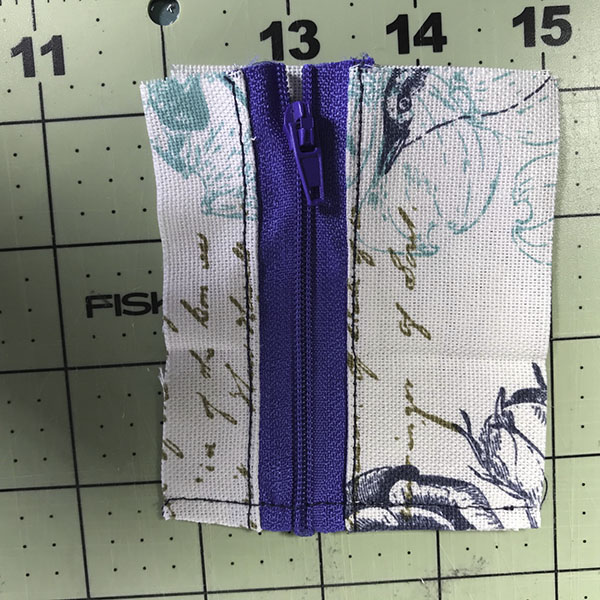
Step 4: Make a Key Chain Wallet
Place the zippered pieces onto one of the 3″ x 6″ pieces so that the right sides are facing up and pin.
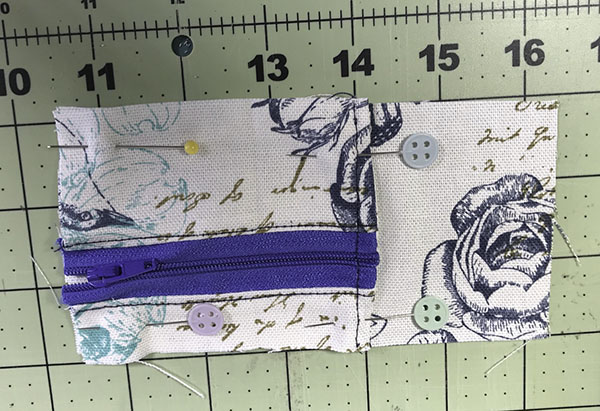
Step 5: Make a Key Chain Wallet
Make the key chain tab by folding the coordinating fabric so that the raw edges face the center. Then fold the piece in half again so that the raw edges are enclosed. Top stitch along both sides of the tab.
Step 6: Make a Key Chain Wallet
Fold the tab in half and place it on the right side of the 3″ x 6″ piece that you just placed the zipper piece on and baste.
Step 7: Make a Key Chain Wallet
Place the other 3″ x 6″ piece of outer fabric on top of the two other pieces right sides together. Sew around the perimeter leaving an opening for turning. Clip the corners and turn the entire piece right sides out. You should see the zipper pouch and the key tab on the outside.
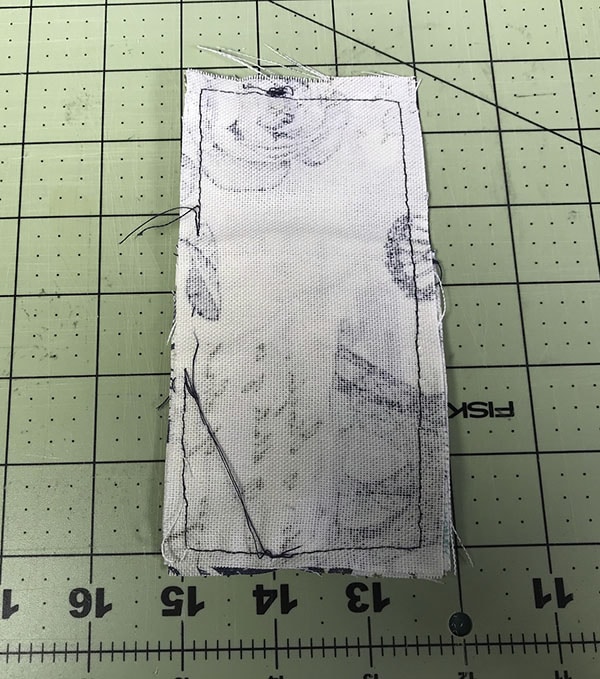
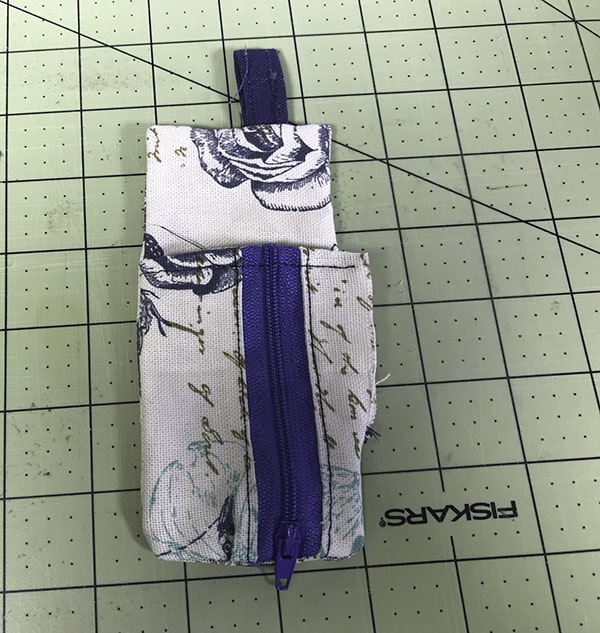
Step 8: Make a Key Chain Wallet
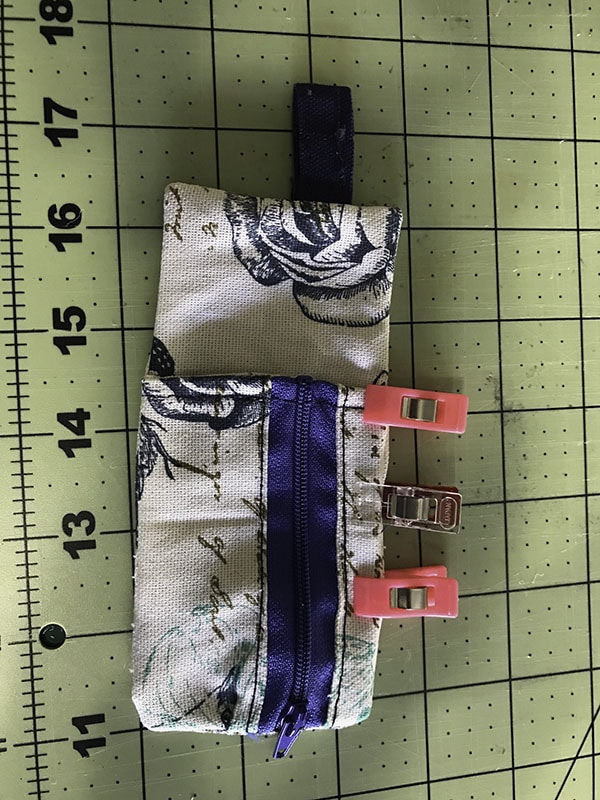
Sew the opening closed using ladder stitch. If you are unfamiliar with ladder stitch take a look at this video. It is an invisible stitch that will close the opening without being seen.

If you enjoyed this project sign up for our newsletter and receive your free eBook of 15 handbag patterns and tutorials.


