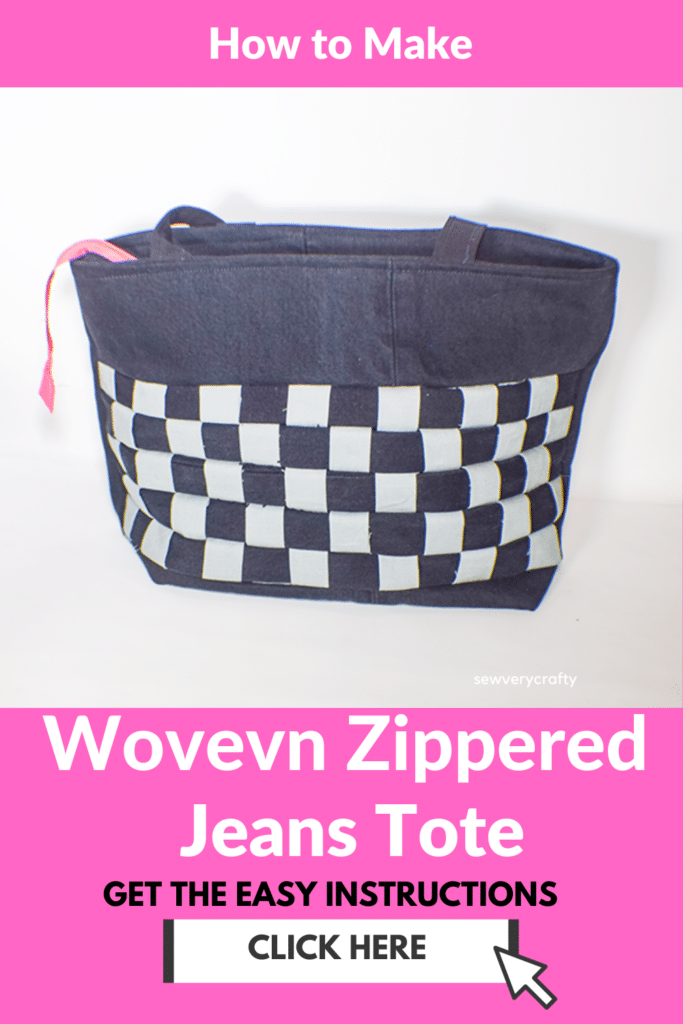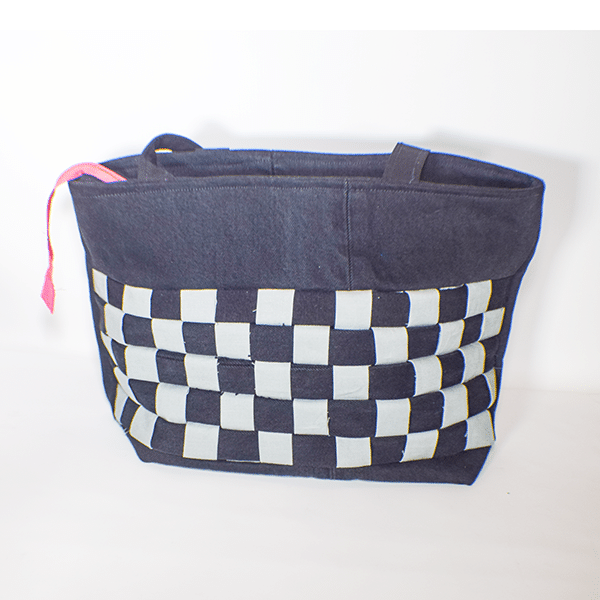
I came across this fun project at Easy to Sew on YouTube and wanted to share it with you. This woven zippered jeans tote has a high end look for a low end price. I used an old pair of jeans and some quilting cotton to make this terrific handbag. This handbag is a simple handbag making project that will really up your handbag making skills. If you would like more bag making projects head over to my handbag page for more.
For this project I used a combination of old jeans and quilting cotton. The old jeans were my husbands and the quilting cotton I purchased at JOANN Fabric & Craft Stores![]() . You can use any cotton woven fabric you like for your project so head ver to Amazon fabrics or
. You can use any cotton woven fabric you like for your project so head ver to Amazon fabrics or
What you will Need: How to Make a Woven Zippered Jeans Tote
- Pair of jeans
- 1/4 yd cotton fabric for handles
- 1/4 yd contrasting fabric for weave
- 1/2 yd lining fabric
- Scrap piece for zipper tab 2″ x 2 1/2″
- 18″ Zipper
- 1/4 yd Pellon 808 or 809 interfacing
- Sewing Machine
- Iron
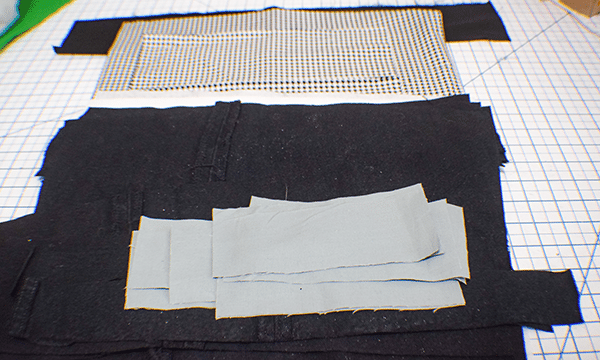
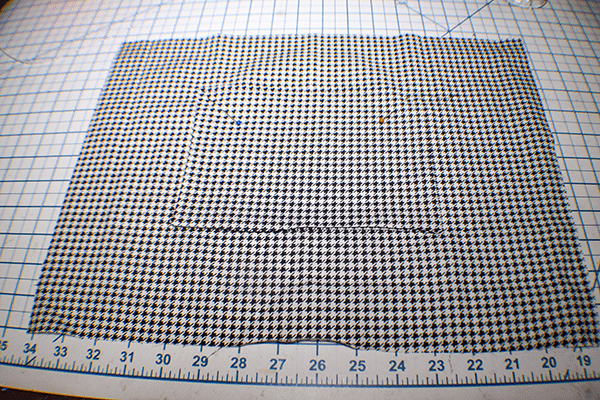
Step 1: Cut out your Fabrics
From the Jeans cut 1 piece that measures 16″ x 4 (Top), 16″ x 6″ (Center), 16 x 4 1/4″ (Bottom), 16″ x 13″ Back); 5 pieces that measure 16 1/2 x 3″; 2 pieces that measure 16″ x 2″ (Zipper placard)
2 pieces that measure 22″ x 4″ from the cotton handle fabric. I did not have enough jeans fabric for the handles.
Cut 1 piece of interfacing that measures 16″ x 4, 16″ x 6″, 16 x 4 1/4″, 16″ x13″
Contrasting Fabric: 14 pieces that measure 7″ x 3″
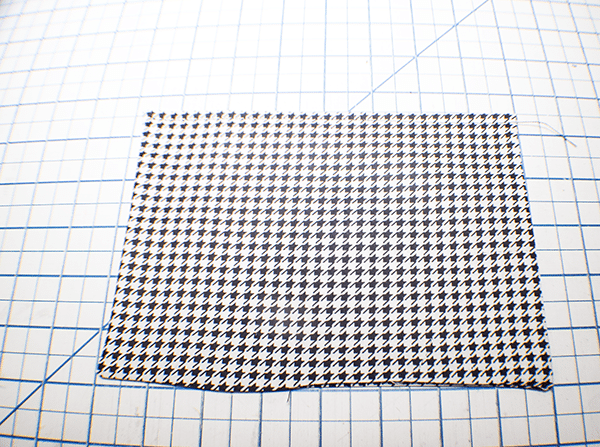
Lining Fabric: 1 piece that measure 8 1/4″ x 11 1/2″ (pocket); 2 pieces that measure 11 3/4″ x 16″
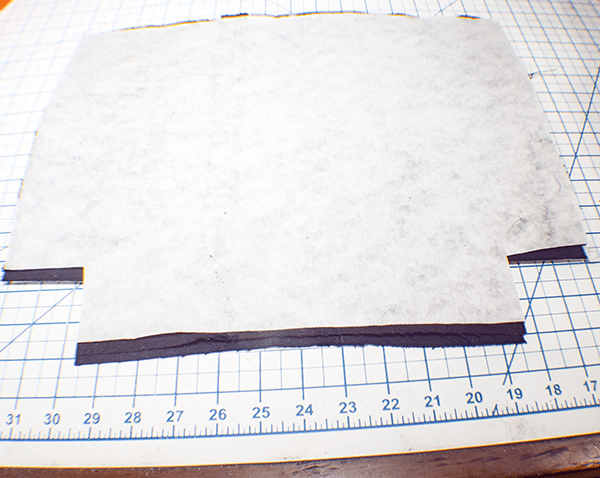
Step 2: Fuse the Interfacing
Fuse the corresponding interfacing pieces to the jeans pieces on the wrong sides using a hot iron.
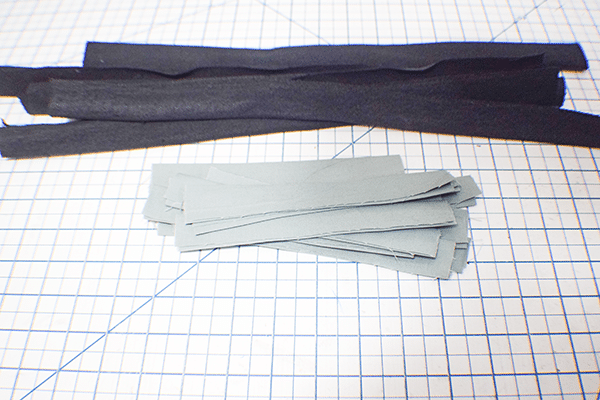
Step 3: Create the Webbing
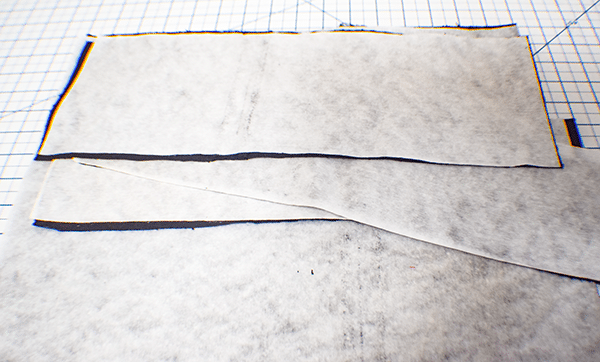
Take the five 16 1/2″ x 3″ pieces and fold them in thirds lengthwise so the they measure 1″ each and press. Do the same for the 14 contrasting fabric pieces.
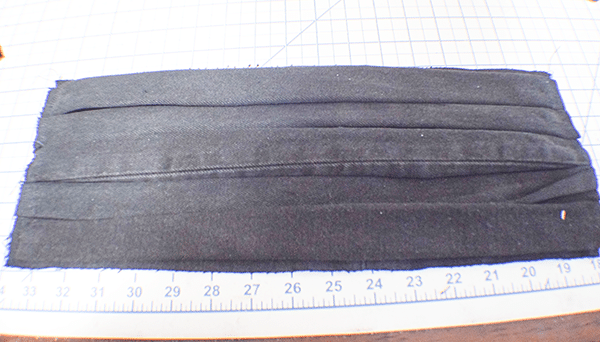
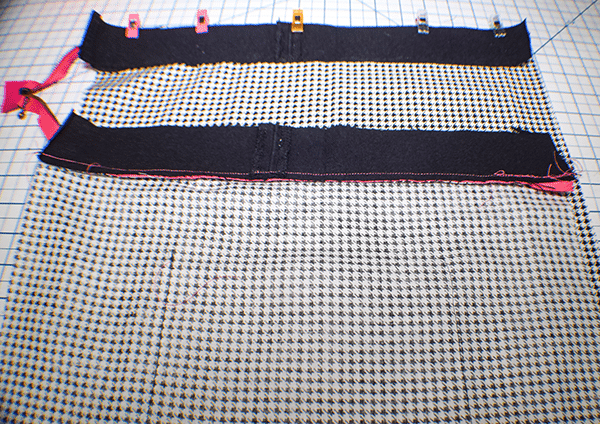
Step 4: Add the Webbing
Add the webbing one piece next to the other on the center jeans piece starting1/4″ below the long raw edge. Stitch along the short ends to secure. Trim the excess from the short ends.
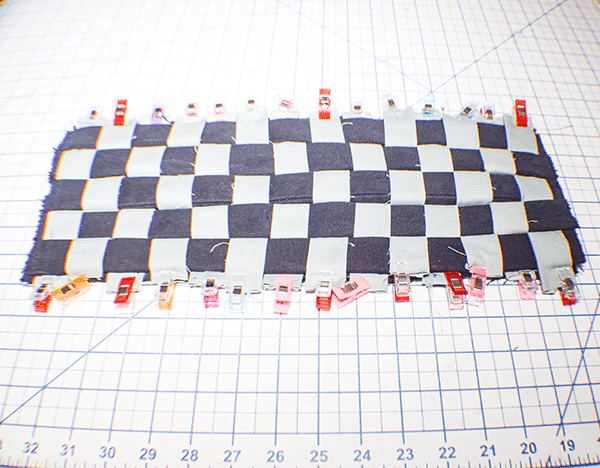
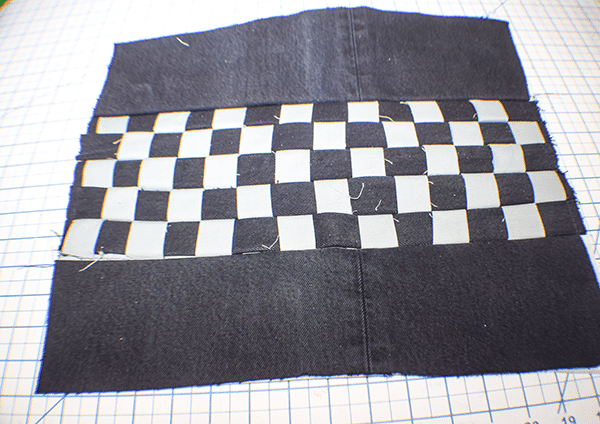
Step 5: Weave the Contrasting Fabrics
Add the 14 contrasting fabric pieces by weaving them in and out of the webbing pieces you just stitched. Once woven, stitch along the long edges to secure. Trim the excess.
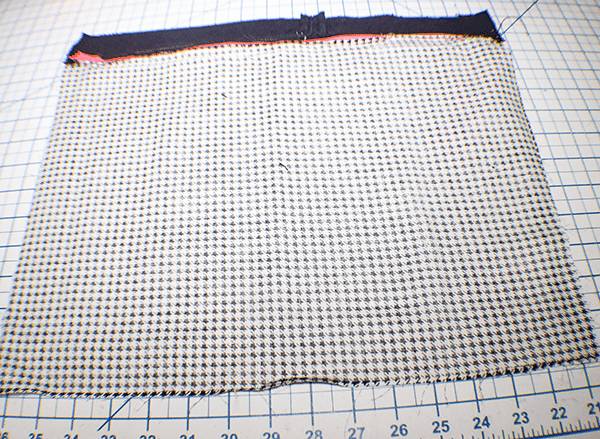
Step 6: Add the Top and Bottom
Stitch the Top and Bottom pieces to the Center piece on each side using a 1/4″ seam allowance. Topstitch along the seam on the unwoven side.
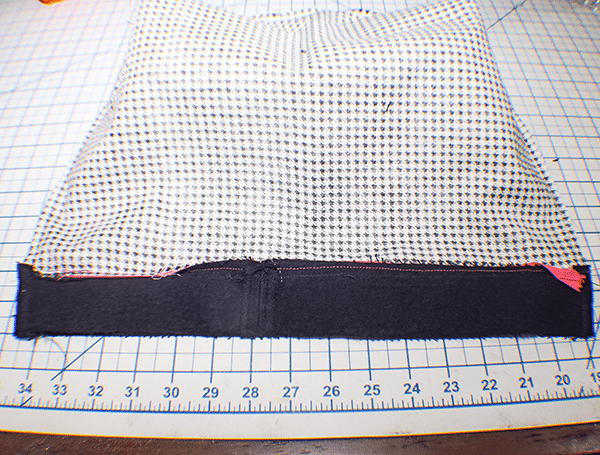
Step 7: Cut the Corners
Cut 2 1/4″ squares from the bottom corners of the front woven panels. Repeat for the back piece.
Step 8: Create the Outer Bag
Place the front woven panel and the back piece right sides together. Stitch along the sides and the bottom. Box the Corners: Take the bottom and side parts of the corners and pinch them together creating a straight line. Stitch along the line using a 1/4″ seam allowance. Turn right sides out.
Step 9: Create the Straps
Tae the two step pieces and fold the long raw edges to the center and press. Fold in half lengthwise to enclose the raw edges and press. Stitch along both sides to secure.

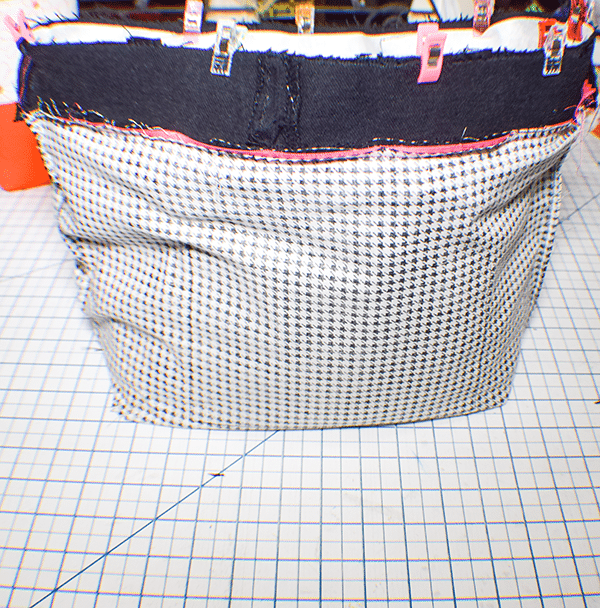
Step 10: Add the Straps
Measure in 4 1/2″ from each side and add the strap short ends on each side of the bag. Stitch to secure.
Step 11: Create and Add the Lining Pocket
Fold the pocket piece in half matching the short raw edges right sides together. Stitch along the sides and bottom leaving an opening in the bottom for turning. Use a 1/4′” seam allowance. Turn right sides out and press. Topstitch along the fold. Add the pocket piece to one of the lining pieces so that it is 3″ from the top and centered. Stitch along the sides and bottom making sure to enclose the opening as you go.
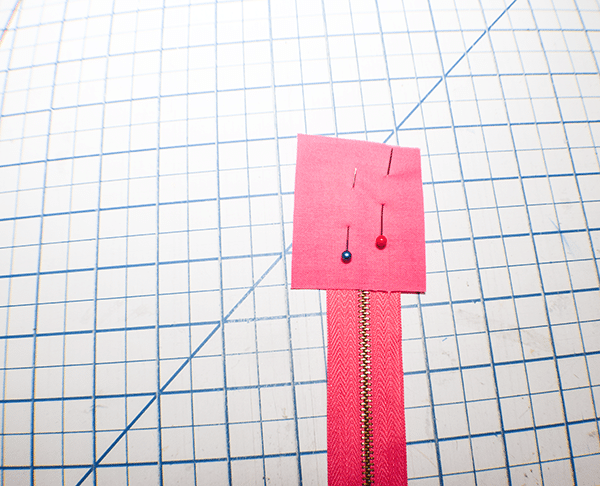
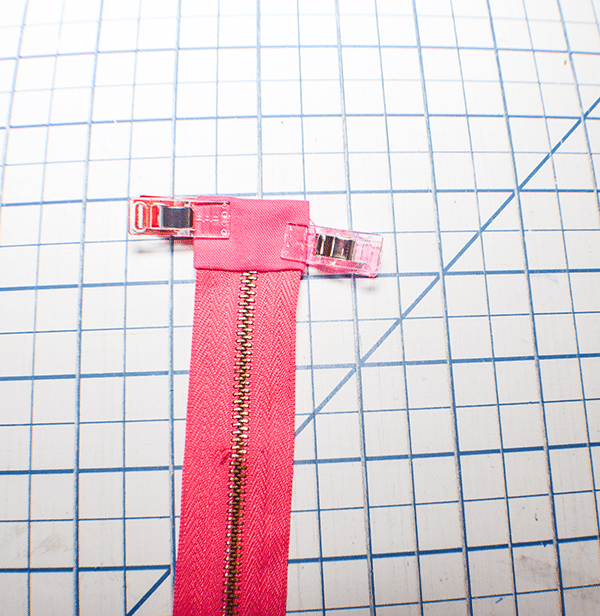
Step 12: Add the Zipper Tab
Place the 2″ side against the end of the zippered fold the sides to the back of the zipper. Stitch along the bottom of the zipper to secure. Open the tab and double fold the Tab so that all raw edges are enclosed. Stitch a box all the way around and secure.

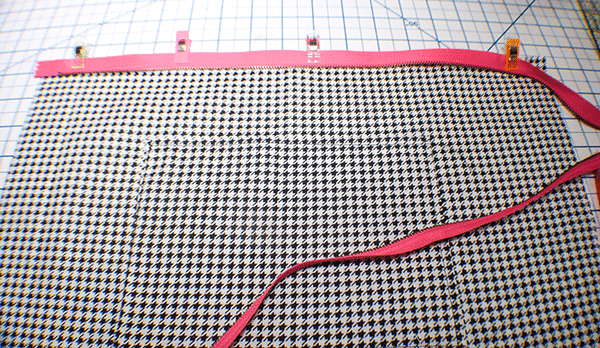
Step 13: Add the Zipper
Take the lining piece with the pocket and place it right sides up on your work station. Measure in 1″ from each end and make a mark. Open the zipper. Measure 1/2″ down the top of the zipper and place it on the first 1″ mark and pin or clip it right sides up. Continue to pin or clip the zipper along the top raw edge of the lining piece until you get to the second 1″ mark. Leave the rest of the zipper hanging. Place one of the zipper placard pieces right sides down on the zipper. Stitch through all layers. Open the placard and topstitch. Repeat for the other side of the lining, placard and the other side of the zipper.
Step 14: Create the Lining
Place the two lining pieces right sides together. Push the zipper ends between the layers. Cut the 2 1/4″ corners from both pieces. Stitch the sides and bottom leaving an opening in the bottom for turning. Box the corners in the same way you did for the outer bag.
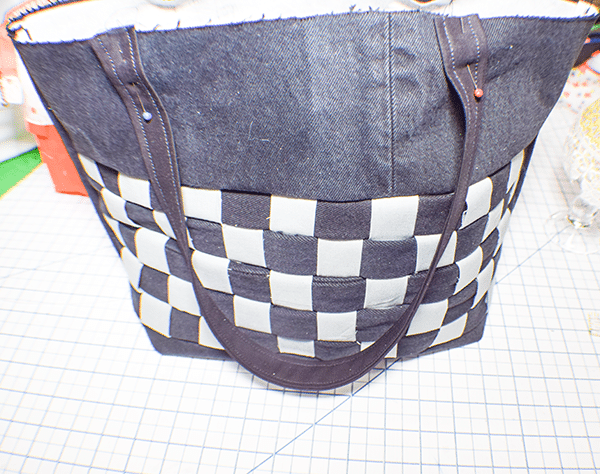
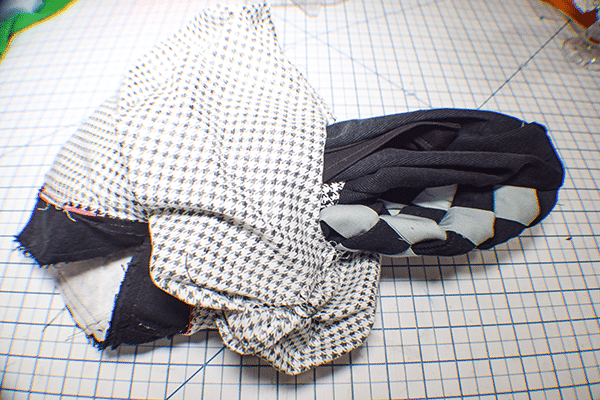
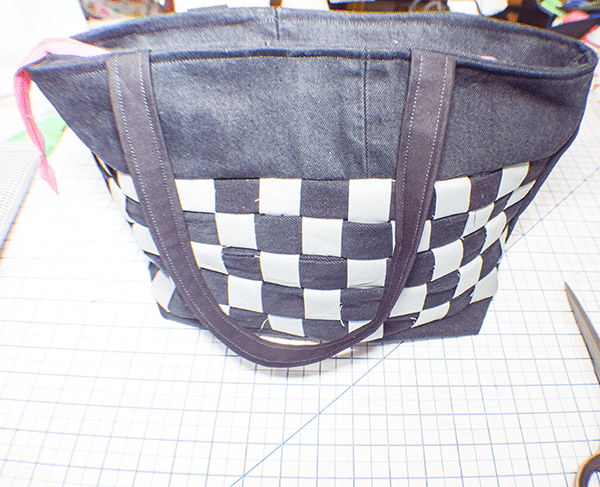
Step 15: Finish the Bag
Place the outer bag into the lining bag so that they are right sides together. Push the straps between the layers and clip or pin. Stitch all the way around the top. Turn right sides out through the opening in the lining. Close the opening using ladder stitch or your machine. Push the lining into the bag and press. Topstitch al the way around the to of the bag and you have finished your woven zippered jeans tote.
I hope you enjoyed this jeans upcycling project. If you would like more sewing and crafting projects subscribe to our newsletter and receive your free eBook of 15 handbag patterns and tutorials taken fro the blog.
If you would like video tutorials of some of Sew Very Crafty mat popular posts subscribe to our free YouTube channel here.