
It is the holiday season and I love decorating for it. Tea towels have always been an issue because I do not have the room to store tons of holiday tea towels. Instead, I found this really neat idea on Notches Sewing on YouTube to make a removable tea towel topper. The pattern was not free so I watched the video and created my own pattern using similar techniques. I did not want to limit the design to just one holiday so I made it universal so that you could use fabrics for all the holidays and just a few tea towels. If you would like another hanging tea towel idea check out this one.
I used basic holiday fabrics that I purchased from the fat quarter shop and JOANN Fabric & Craft Stores![]() but you could head to Amazon Fabrics or
but you could head to Amazon Fabrics or
What you will Need: How to Make a Removable Tea Towel Topper
- 1/4 yd holiday fabric
- 1/4 yd Pellon 808 interfacing
- 2 magnetic snaps
- Tea towels
- Iron
- Sewing Machine
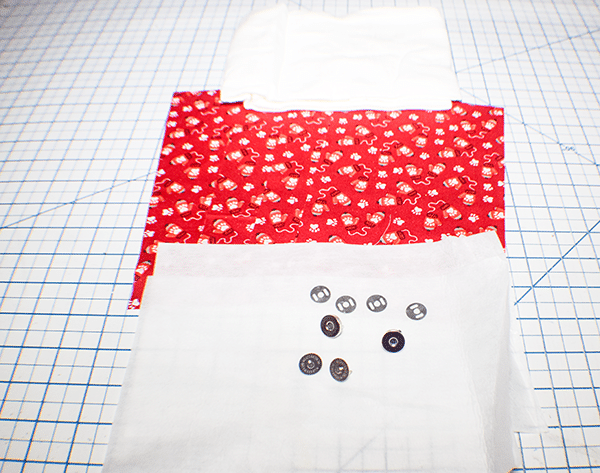
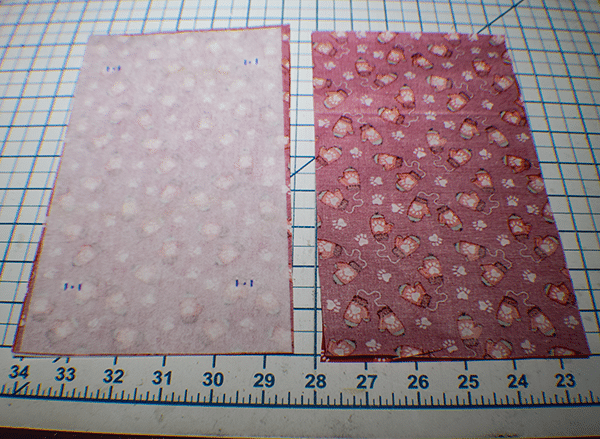
Step 1: Cut out your Fabrics
Cut four pieces of fabric that measure 5 1/2″ x 9 1/2″ and two interfacing pieces that measure the same.
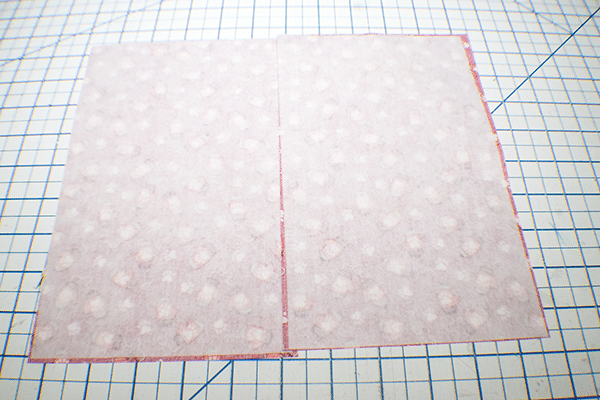
Step 2: Fuse the Interfacing
Using a hot iron fusee the interfacing to the wrong side of two of the fabric pieces.
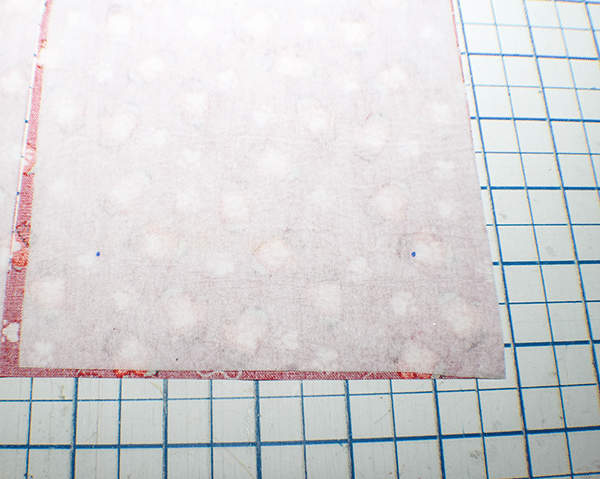
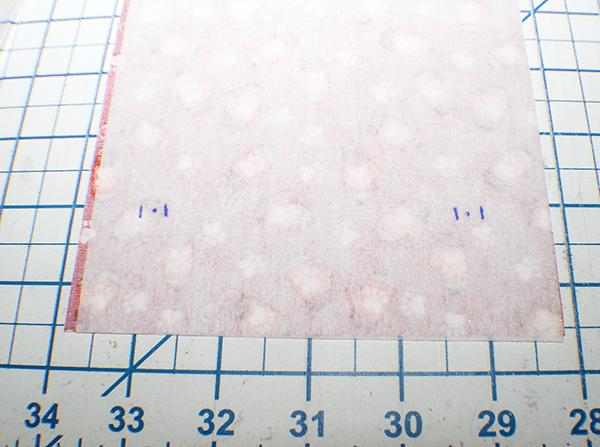
Step 3: Cut the Openings for the Magnetic Snaps
Measure up from the bottom and top of one of the interfaced pieces 1 1/2″ and in 1″ from each side and place a dot. You should have four dots. Place the grommets from the magnetic snaps so that the center circle is on the dot. Mark the two slots on each side for all four snap locations and cut the slots using a small pair o scissors or a seam ripper.
Step 4: Stitch the Topper Pieces
Place the two interfaced pieces right sides together and stitch along both long edges using a 1/4″ seam alliance. Repeat for the other two pieces but leave an opening on one side for turning in a later step. Turn this piece right sides out.
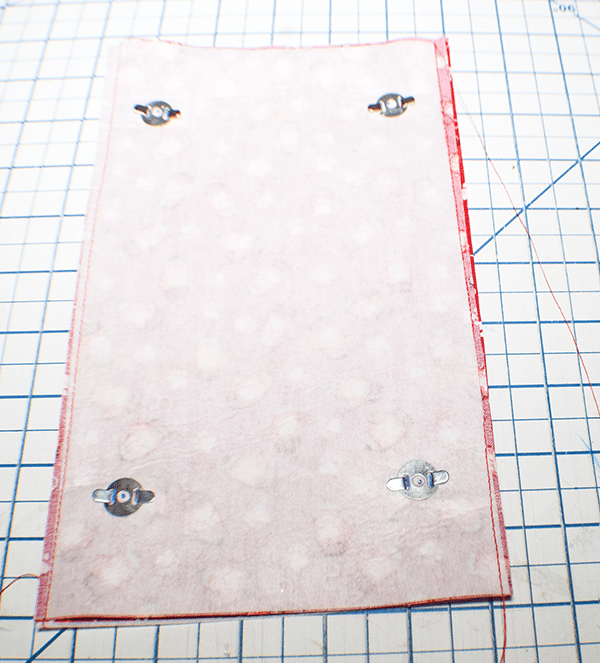
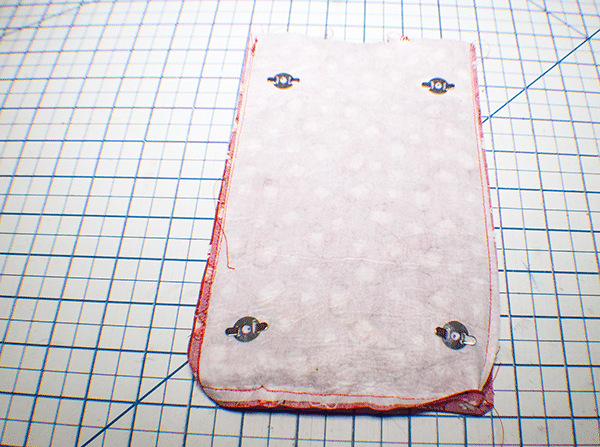
Step 5: Add the Snaps
Add the magnetic snaps through the slits that you previously cut. Add the grommets and fold over the prongs.
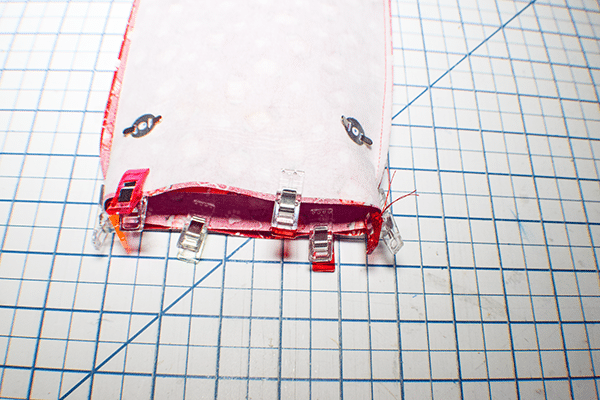
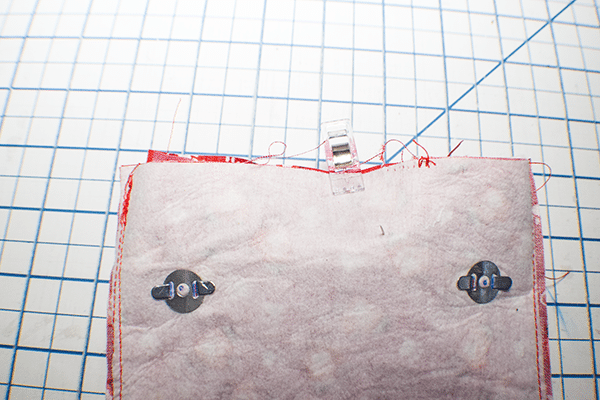
Step 6: Stitch the Two Topper Pieces Together
Insert the piece that is right sides out into the interfaced piece with the snaps so that they are right sides together. Stitch the two pieces together at one end. Fold the pieces over so that they are wrong sides together. Using the burrito method stitch the ends together so that they are right sides together. To do this, push down the inner two ends to the center and place the outer two edges right sides together. Start stitching a little bit at a time. Pull the inner two ends as you go so that they become the outer ends and continue stitching until you are finished.
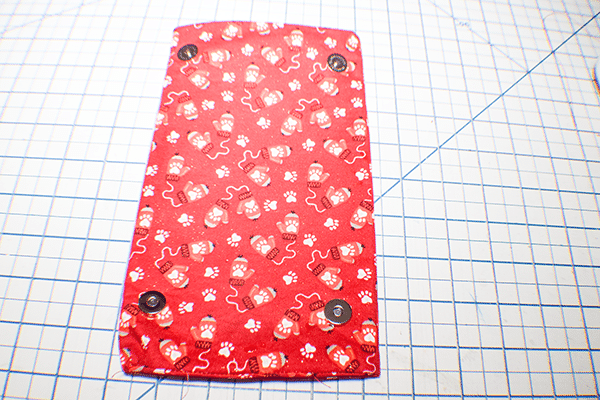
Step 7: Turn Right Sides Out
Turn the entire piece right sides out through the opening you previously left. Press.
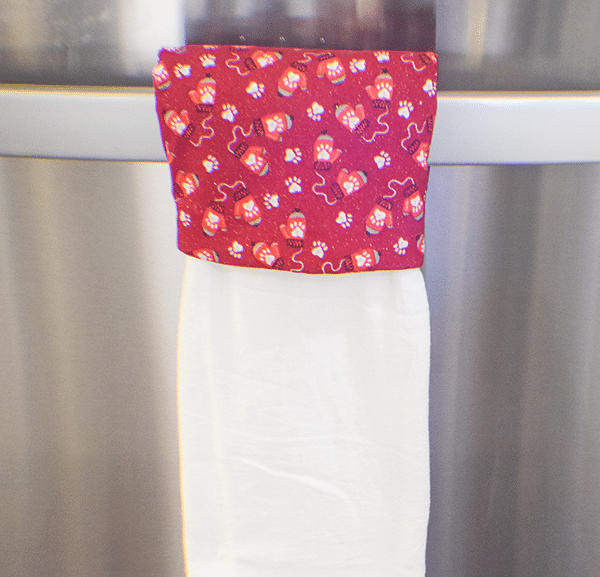
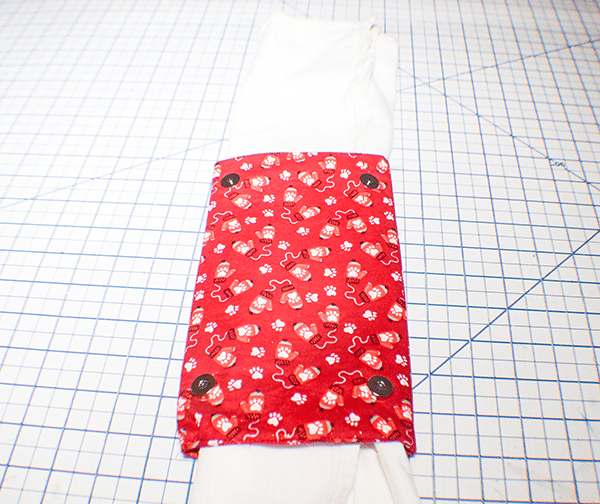
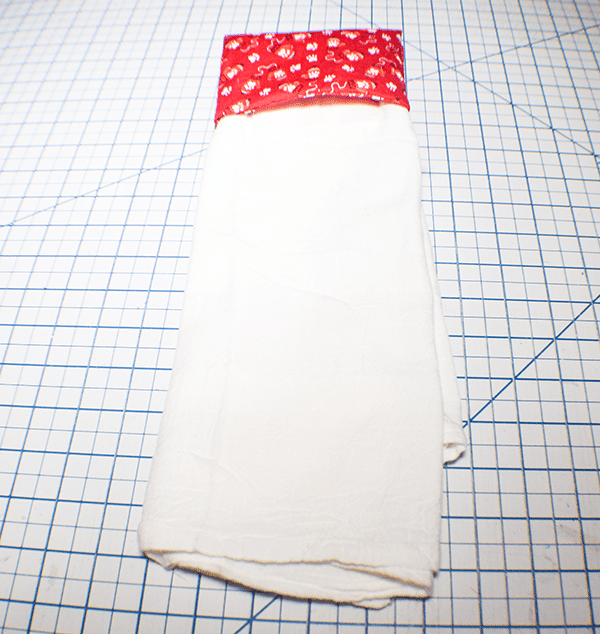
Step 8: Insert the Tea Towel
Fold the tea towel lengthwise so that it is the same width as the sleeve you just stitched. Insert the towel into the sleeve. Fold the sleeve over and hang over a bar to show off your work. The snaps will snap to keep the towel secure.
I hope you enjoyed this simple Tea towel project. If you would like more sewing and crafting projects subscribe to our newsletter and receive access to our free printables library.
If you would like video tutorials of some of Sew Very Crafty's most popular posts subscribe to our free YouTube channel here.


Hi. I have tried this but I am definitely stuck on the burrito bit. Is there a video that shows how to do this please?
I believe I used this video to create this project. I hope it helps. https://www.youtube.com/watch?v=uNxEMtafDoI