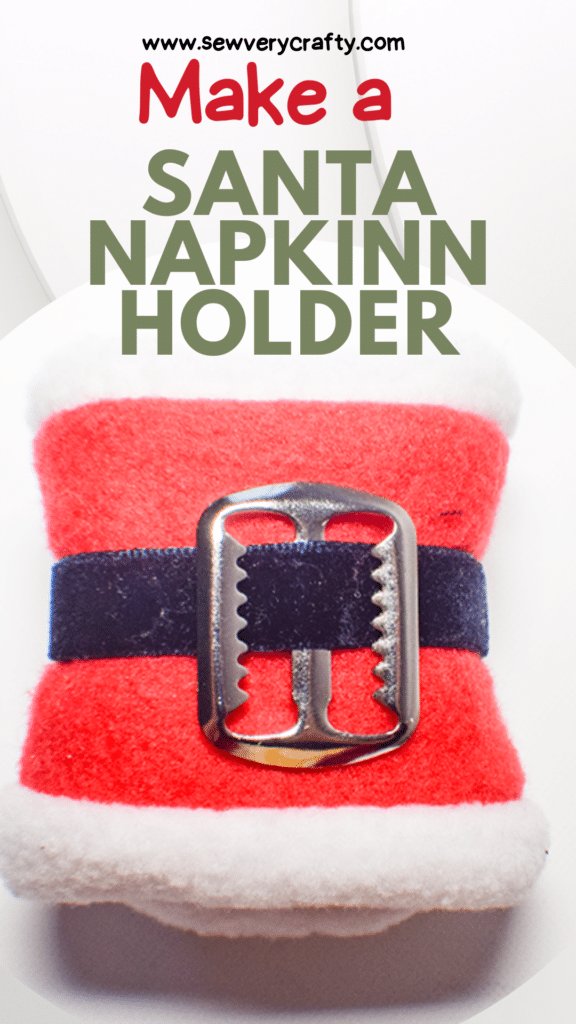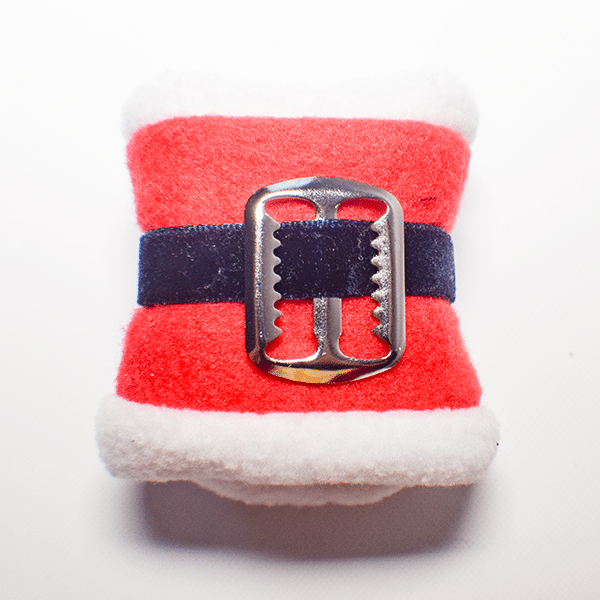
I love Christmas and these Santa napkin holders are the perfect way to liven up your Christmas table. I saw this project on Easy to Sew on YouTube. They are super simple to make. Learn how to make a Santa napkin holder using your beginner sewing skills. It is a fun Christmas project. Just some fleece and a buckle and you are on your way. If you would like more Christmas sewing projects check out my Holiday Project Vault for more.
I used basic cotton fleece in red and white and black ribbon for this project. The fleece and ribbon were purchased at JOANN Fabric & Craft Stores![]() but you could head to Amazon Fabrics or
but you could head to Amazon Fabrics or
What you will Need: How to Make Santa Napkin Holders
- White Fleece
- Red Fleece
- 7″ of 3/4″ black ribbon
- 2″ Velcro
- Small Vest Buckle
- Sewing machine
- Standard Sewing Supplies
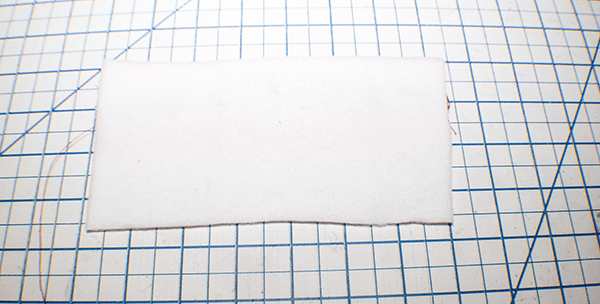
Step 1: Cut your Fabrics
From the white fleece cut a rectangle that measures 3 5/8″ x 7″ and from the red fleece cut a rectangle that measures 2″ x 7″.
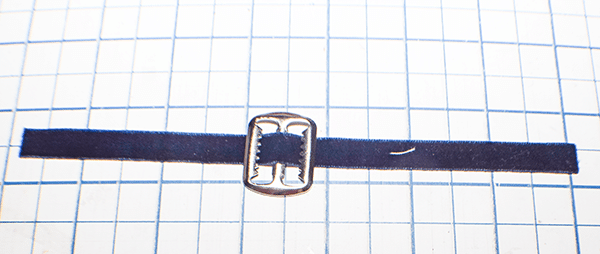
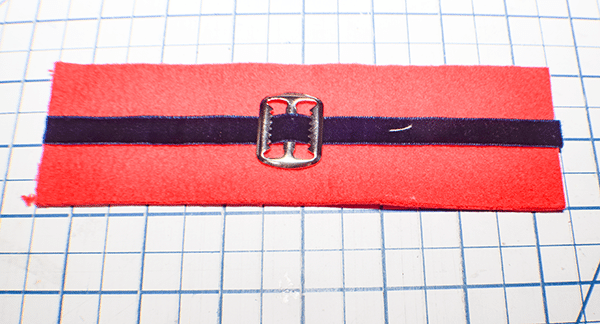
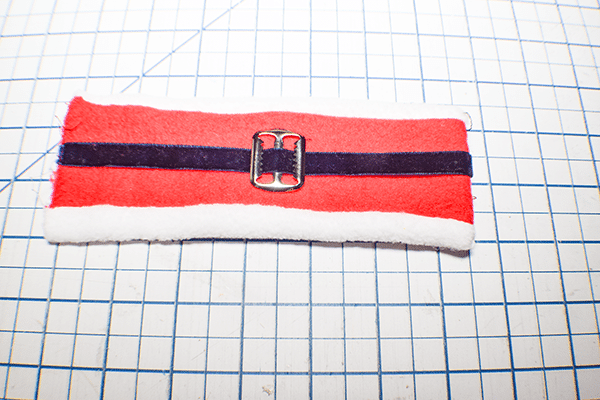
Step 2: Add the Buckle
Thread the ribbon through the buckle. Place the ribbon with the buckle in the center of the right side of the red fleece piece and stitch the ends to secure.
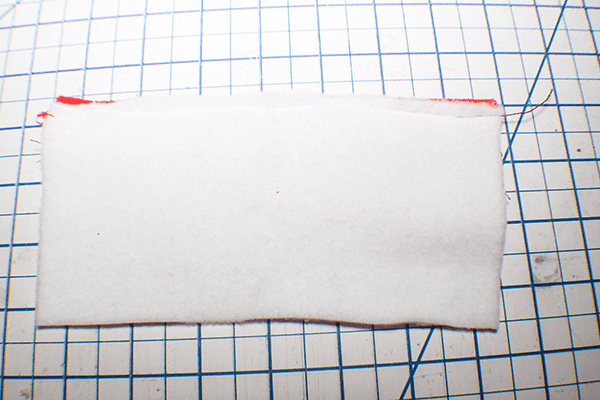
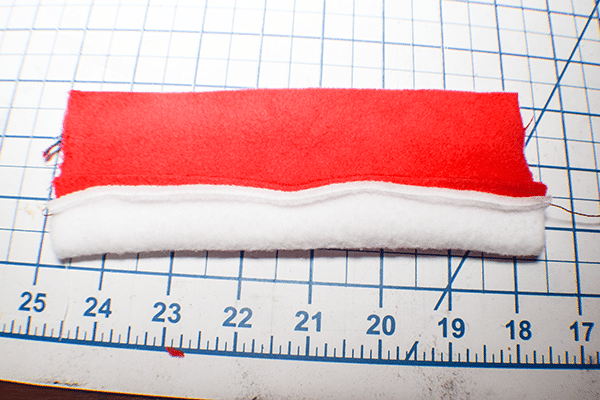
Step 3: Add the White Fleece Piece
Place the white piece onto the red piece right sides together matching the top and side raw edges. Stitch along the long raw edge using a 1/4″ seam allowance.
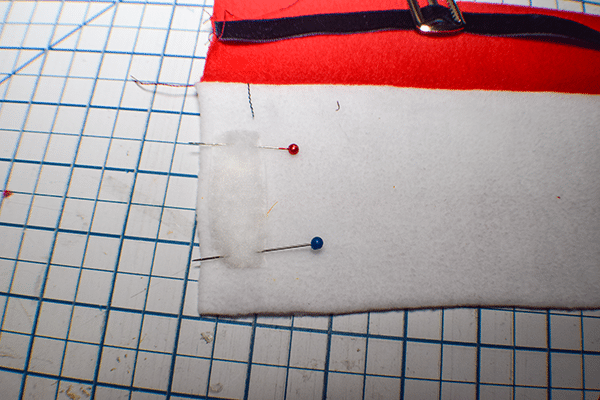
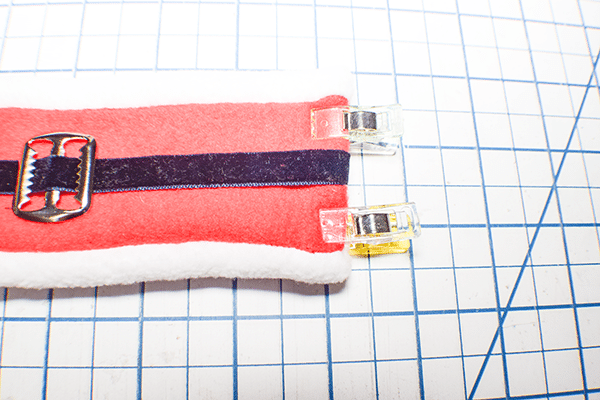
Step 4: Stitch the Velcro
Place one half of the Velcro piece on the right side of the white short end 1/4″ from the edge and stitch.
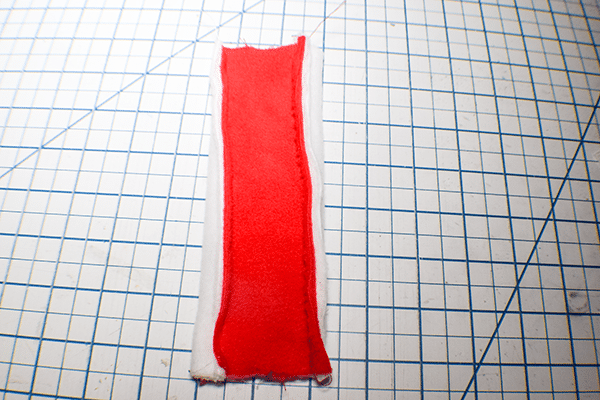
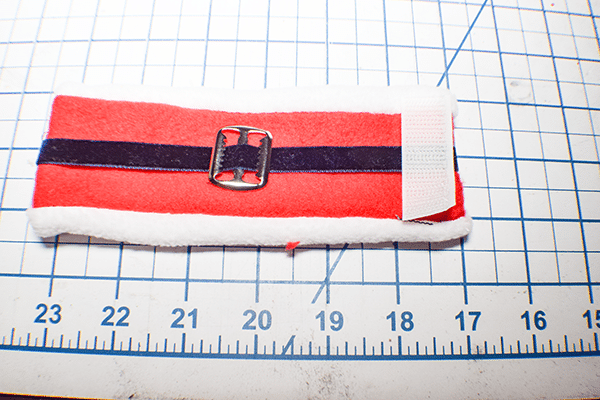
Step 5: Stitch the Long Edge
Fold the long raw edges right sides together. Stitch using a 1/4″ seam allowance. Adjust the red fleece so that it is in the center of the white fleece. Stitch along the short end with the Velcro using a 1/4″ seam allowance. Turn right sides out.
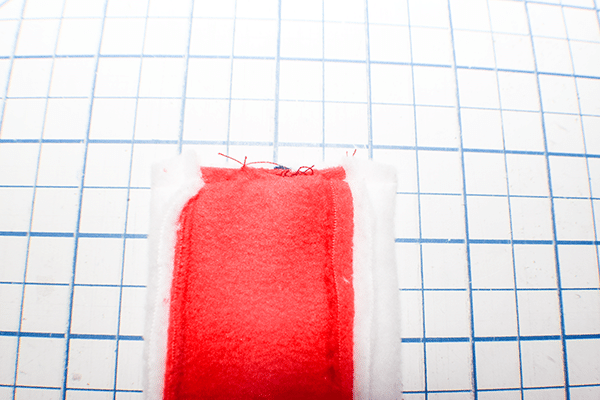
Step 6: Finish the Other Short End
Turn under the raw edges by 1/4″ and pin. Hand stitch the short end using ladder stitch.
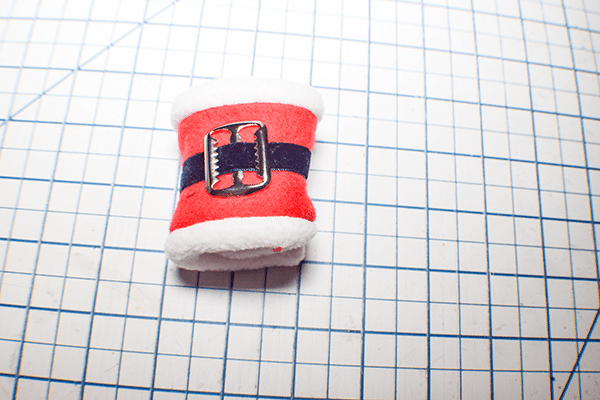
Step 7: Add the Remaining Velcro
Stitch the other half of the Velcro to the right side of the opposite short end of the first piece of Velcro. Add your napkins and secure. How fun is this. Make as many as you need. They come together in no time.
I hope you enjoyed this simple napkin holder project. If you would like more sewing and crafting projects subscribe to our newsletter and receive access to our free printables library.
If you would like video tutorials of some of Sew Very Crafty's most popular posts subscribe to our free YouTube channel here.