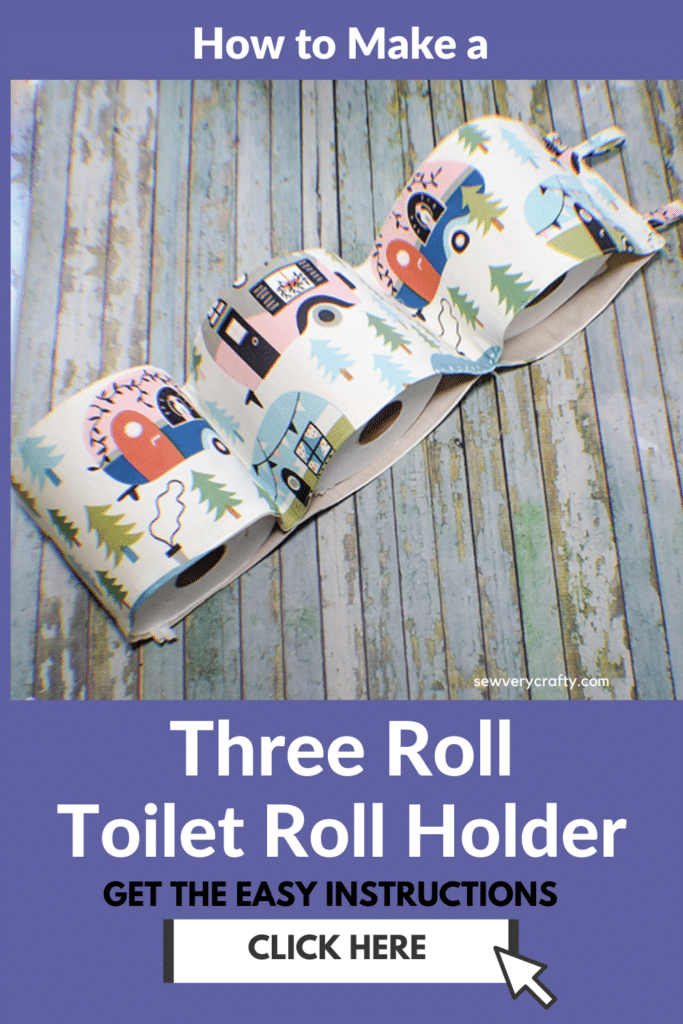
I was asked by a viewer of my Youtube channel to create this project so I put together a tutorial for you on how to make a three roll toilet roll holder. This is a pretty simple project to make. I modified my two roll toilet roll holder to accommodate three. This project is a little different but similar so if you have created that project you should have no problem with this one.
I used home decorator weight fabric to avoid using interfacing for this project. If you want to use quilting cotton I would recommend adding some interfacing to the project. I purchased my fabrics at Joanne's online and picked up in store but you could head to Amazon Fabrics or
What you will Need: How to Make a Three Roll Toilet Roll Holder
- Sewing Machine
- 1/2 yd outer home decorator weight fabric
- 1/2 yd Lining fabric
- Standard sewing supplies
Step 1: Cut Your fabrics
Cut an outer and lining piece of fabric that measures 6″ x 36″ and one that measures 6″ x 21″. Then, cut two outer pieces of fabric that measure 2″ x 7″ for the hangers.
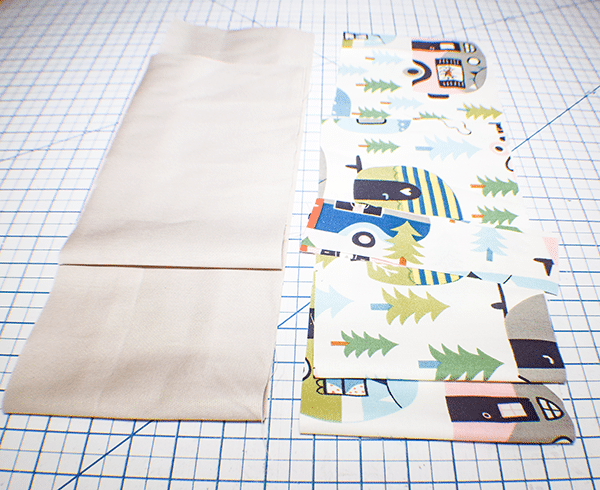
Step 2: Stitch the Outer Pieces and Lining Pieces
Place the two outer pieces right sides together and stitch them together using a 1/2″ seam allowance on the short end. Do this for the two lining pieces. This creates two long pieces of fabric.
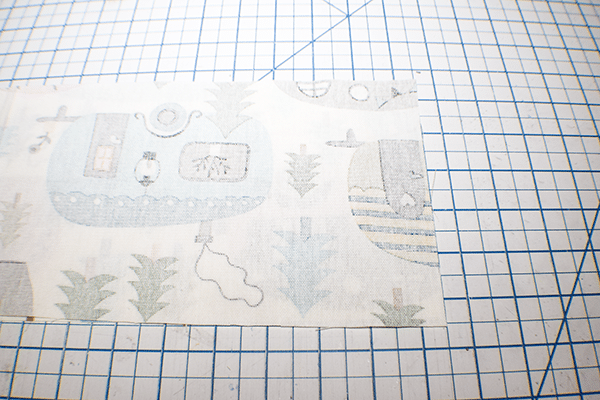
Step 3: Stitch the Outer Fabric to the Lining Fabric
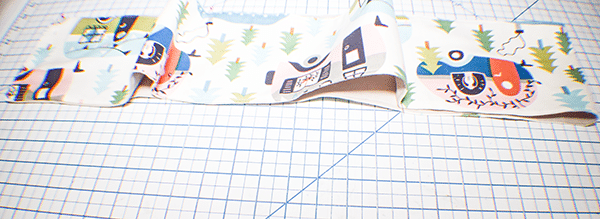
Place the outer fabric and the lining fabric right sides together and stitch all the way around using a 1/4″ seam allowance leaving an opening for turning. Clip the corners and turn right sides out. Press. Topstitch all the way around enclosing the opening as you go.
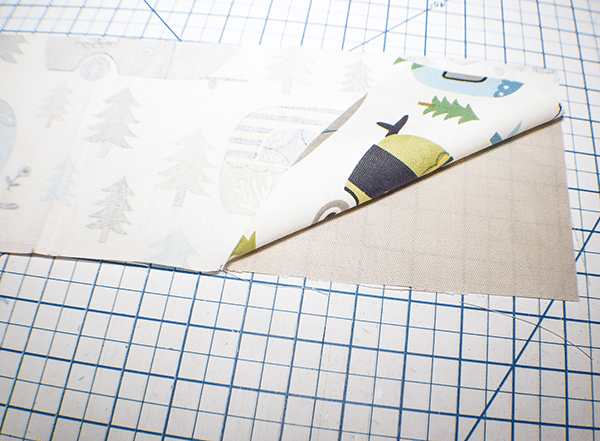
Step 4: Stitch the Dividers
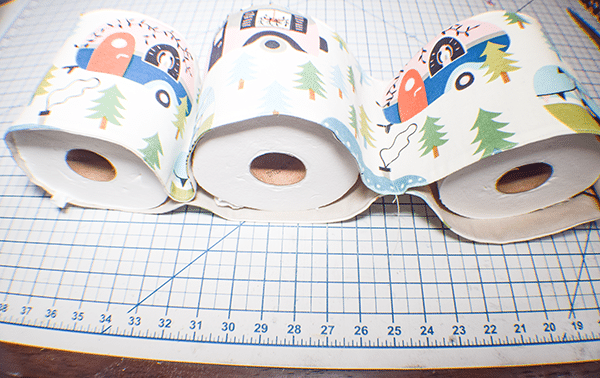
Fold he piece in half. Starting at the top, pin the top pieces together matching the ends and measure down 8″ from the bottom of the piece and 11″ from the top of the piece and pin to create the loop the toilet roll will fit in. Measure down another 8″ from the bottom and 11″ on the top and pin again. Stitch across the lines you have created except for the top.
Step 5: Create the Hangers
To create the hangers fold the raw edges to the centers lengthwise and press. Fold in half and press again. Topstitch along both sides. You should have two hangers.
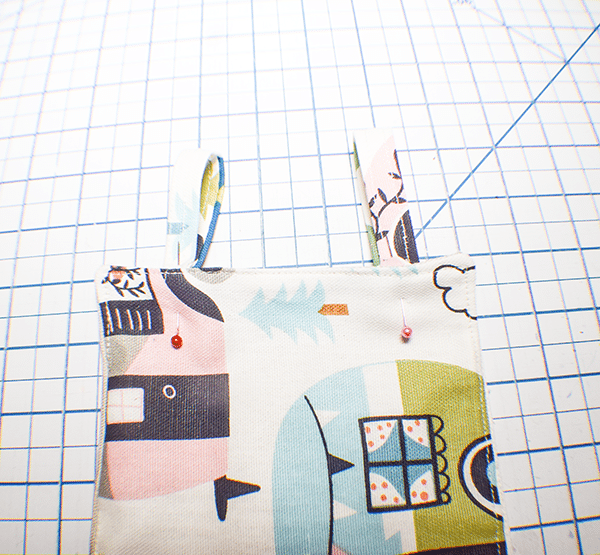
Step 6: Add the Hangers
Place the hangers between the top halves of the toilet roll holder 1″ from each edge and pin. Stitch the hangers to the holder through all layers back stitching to hold them secure.
I hope you enjoyed this toilet roll holder project. If you would like more sewing and crafting projects subscribe to our newsletter and receive access to our free printables library.
If you would like video tutorials of some of Sew Very Crafty's most popular posts subscribe to our free YouTube Channel here.