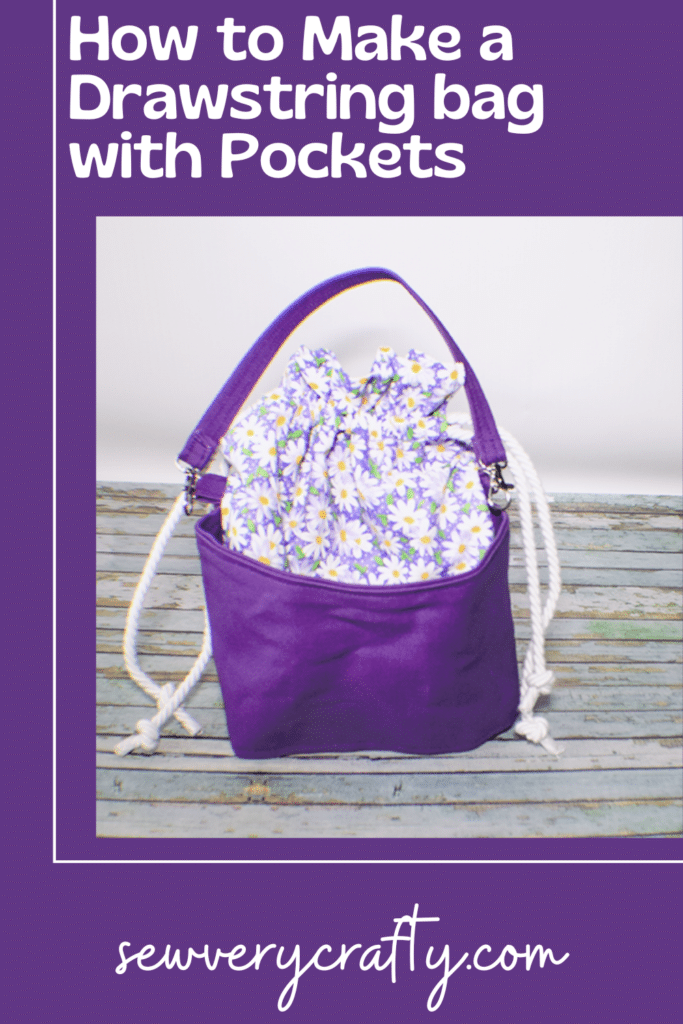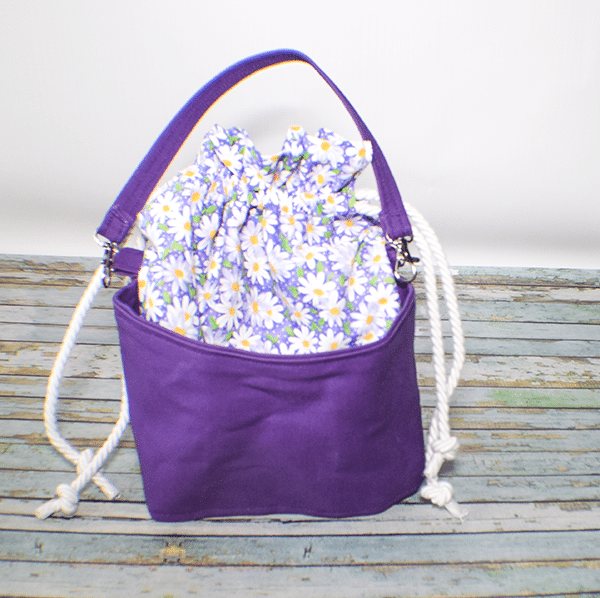
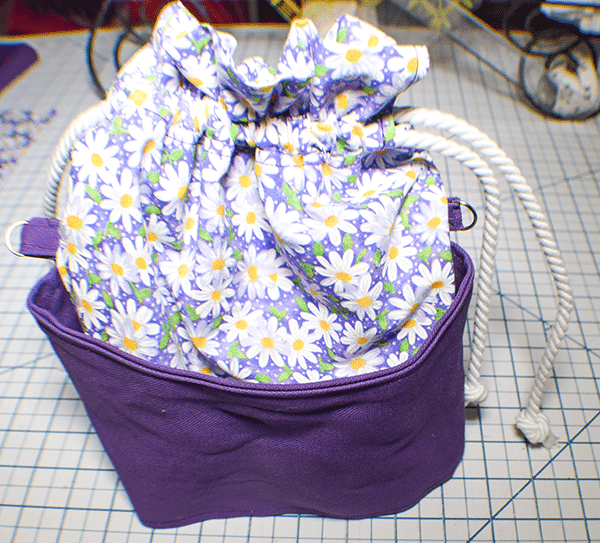
Handbags, as you all know, are my favorite thing to sew. This one is no different. This is a simple drawstring bag with pockets that any beginner sewist can make in no time. I must admit that it is a fun little bag to make. It really didn't take long at all and I just love how it turned out. I know you will too so let's get started. If you would like more handbag making projects check out my handbag page here.
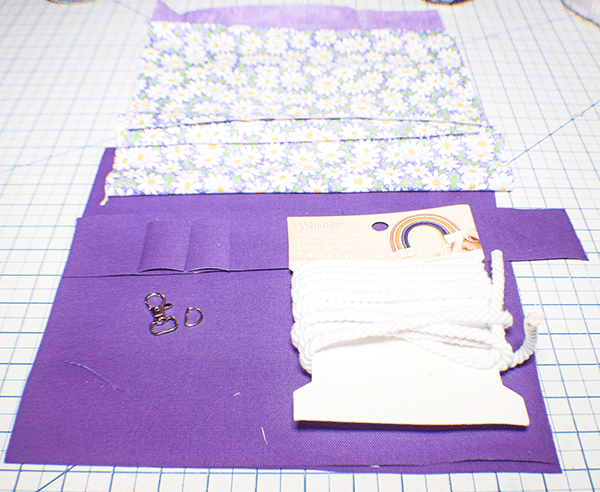
I used a combination of canvas and quilting cotton for this project. I purchased both at JOANN Fabric & Craft Stores![]() online and picked up in store. But you could head to your local fabric store or to Amazon Fabrics or
online and picked up in store. But you could head to your local fabric store or to Amazon Fabrics or
What you will Need: How to Make a Drawstring Bag with Pockets
- 1/2 yd main outer cotton and lining cotton fabric
- 1/4 yd cotton canvas for outer pockets and handle
- 1/2″ D ring x 2
- 1/2″ swivel clip. x 2
- 60″ of 1/4″ cotton rope
- Sewing Machine
- Standard Sewing Supplies
Step 1: Cut out your Fabrics
- Main outer Cotton Fabric – 1 piece that measures 22 1/2″ x 11 3/4″, 2 pieces that measure 11″ x 5 1/2″
- Lining Fabric – 1 piece that measures 22 1/2″ x 11 3/4″
- Cotton Canvas – 2 pieces that measure 11 3/4″ x 11 3/4″, 1 piece that measures 13 3/4″ x 2 3/8″, 2 Tab pieces that measure 1 1/4″ x 2″
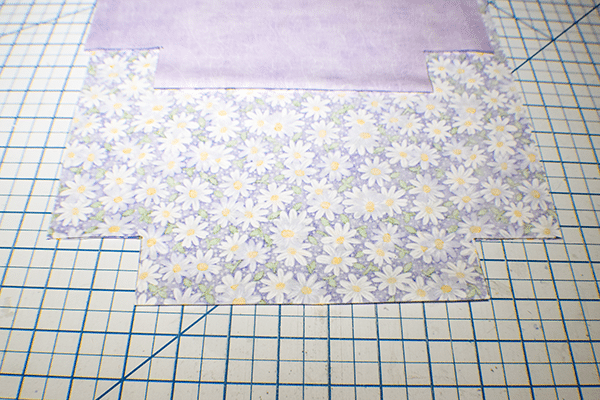
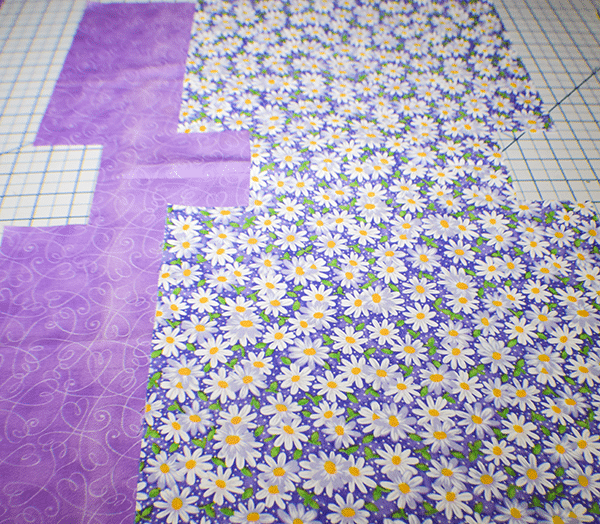
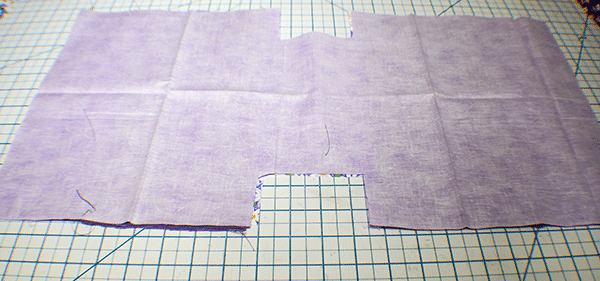
Step 2: Cut The Main and Lining Fabrics
Fold the main outer and lining pieces in half widthwise right sides together. Cut out a rectangle from the folded bottoms on each corner that measures 2 1/8″ W x 1 3/4″ H.
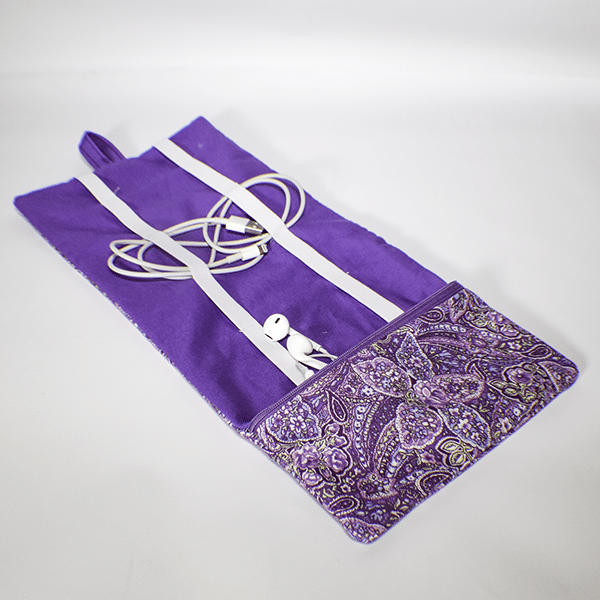
Step 3: Create the Pockets
Fold the two canvas pocket pieces in half right sides together. Stitch along the top raw edges using a 3/8″ seam allowance. Turn right sides out and press. Topstitch along the seam.
Step 4: Add the Pockets
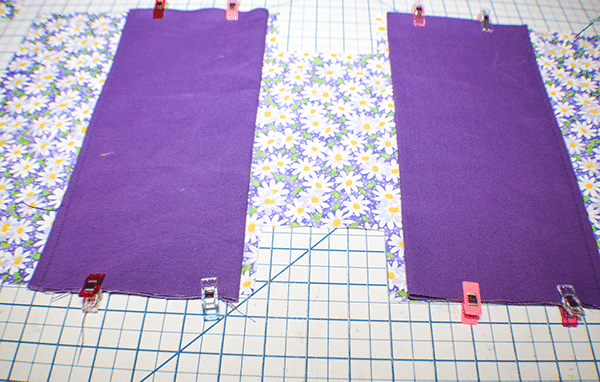
Place the pockets on the outer fabric piece 3/8″ up from the opening you cut in the fabric with the seam facing toward the top. Do this for both sides of the opening. Stitch around the sides and bottom to secure.
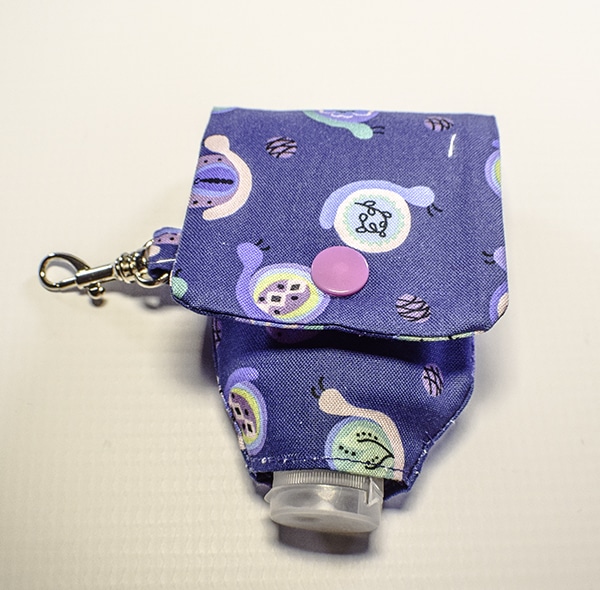
Step 5: Create the Tabs
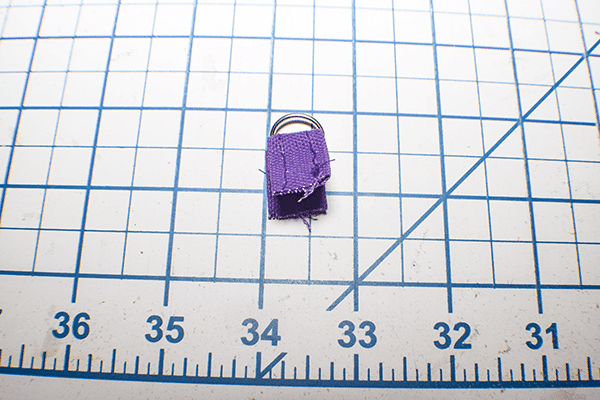
Fold the long raw edges of the tabs to the center and press. Stitch on both sides. Add the D-Rings to the Tabs and clip.
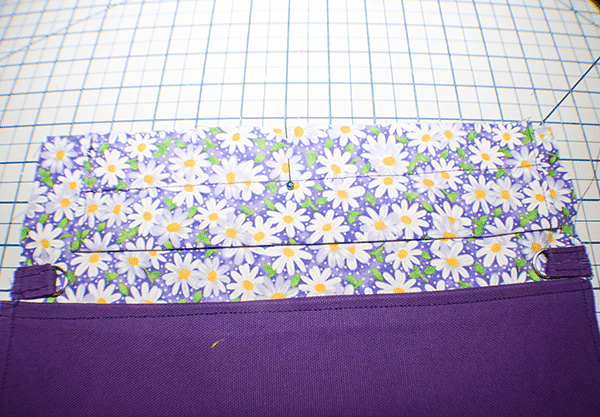
Step 6: Add the Tabs
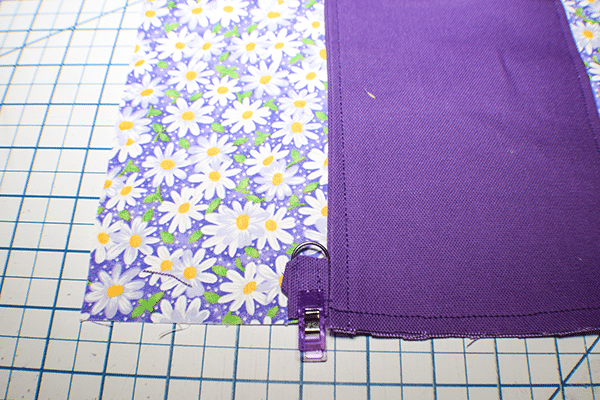
Place each tab one either side of one of the pocket pieces. Stitch the tabs to secure.
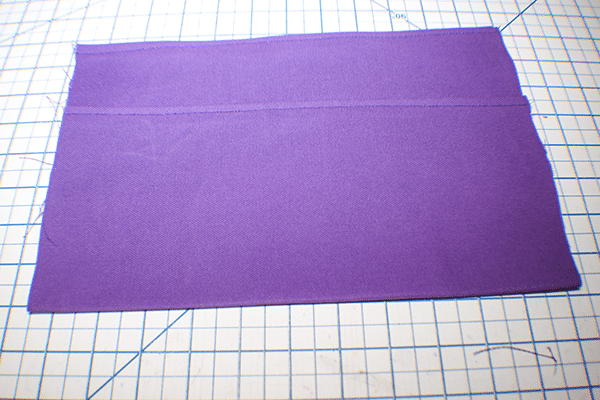
Step 7: Create the Top Bag/Casing
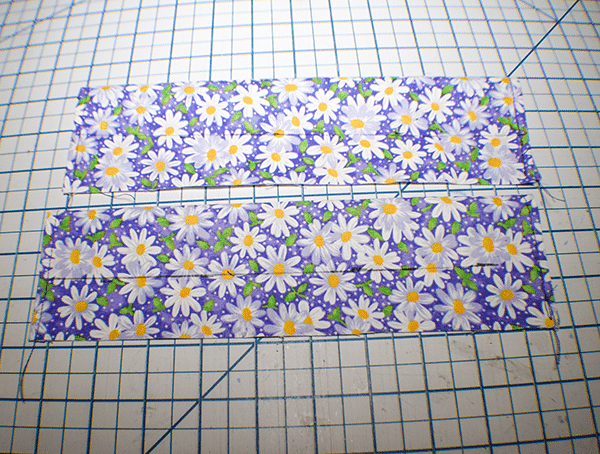
Take the two remaining main outer pieces and fold the short ends in by about 1/2″. Stitch the folds down. Fold the two pieces in half lengthwise wrong sides together and press. Measure down 1 1/2″ from the fold and draw a line with an erasable pen. Stitch along the line.

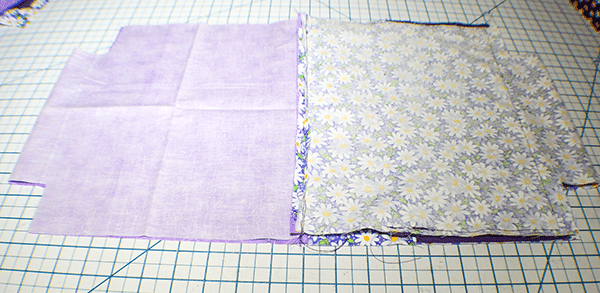
Step 8: Add the Top Bag/Casing
Place the top bag casing pieces on either end of the main cotton bag matching the raw edges so that it is centered. Stitch using a 3/8″ seam allowance.
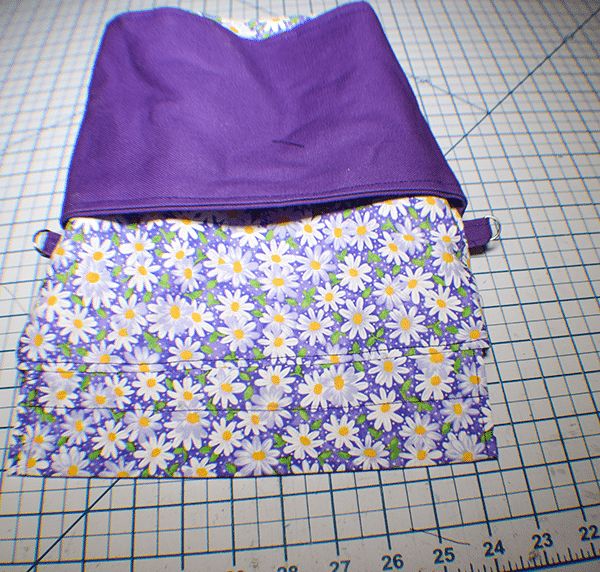
Step 9: Add the Lining
Place the lining right sides together with the main bag. Stitch along both ends using a 3/8″ seam allowance. Open the bag so that the lining sides are together and the outer bag sides are together. Make sure the seams and corners are aligned. Stitch along both sides but leave an opening in one side for turning.
Step 10: Box the Corners
Box all four of the corners by pinching the sides to the bottoms closing the hole you created in the corners. This will create a line closing the hole. Stitch along the line using a 3/8″ seam allowance. Turn right sides out and stitch the opening you left in the lining closed using ladder stitch or your machine. Push the lining into the bag. Stitch around the top f the lining to secure.

Step 11: Add the Rope
Cut the rope in half. Using a large paperclip or bodkin feed the rope through the smaller of the two casings all the way around the bag. Begin on the other side and feed the other piece through the opposite direction. Knot the ends.
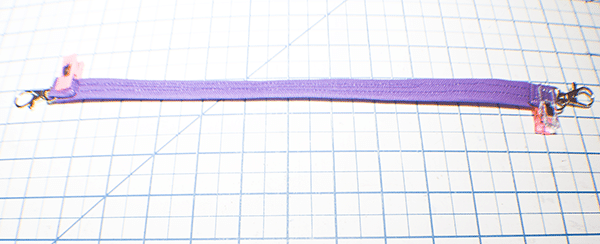
Step 12: Create the Handle
Fold the long raw edges to the center and clip or pin the short ends. Stitch along the short ends using a 1/4″ seam allowance. Turn the handle piece right sides out. Fold the remaining long raw edges to the center and press. Fold in half to enclose the raw edges. Stitch all the way around. Add the Swivel clips to each end of the handle and stitch. Clip the handle to the bag and you have finished your drawstring bag with pockets.

I hope you enjoyed this simple bag project. If you would like more sewing and crafting projects subscribe to our newsletter and receive your free eBook of 15 handbag patterns and tutorials taken fro the blog.
If you would like video tutorials of some of Sew Very crafty's most popular posts subscribe to our free YouTube channel here.