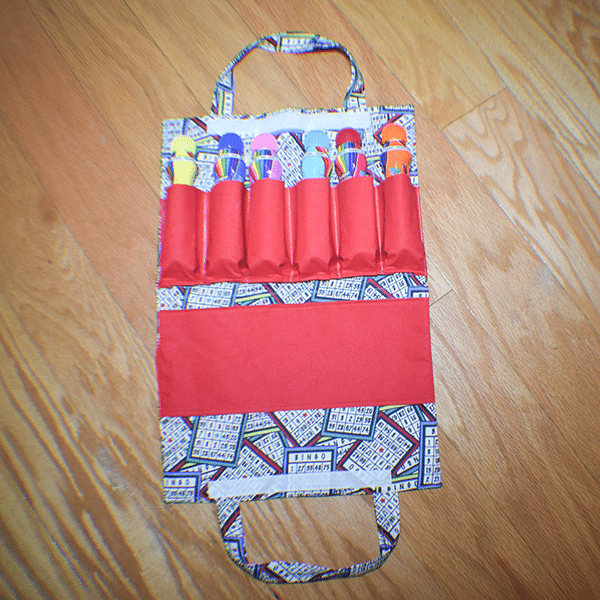
I created a bingo bag a while back that was very popular but a viewer of my YouTube channel wanted me to make a simpler one. With that in mind I created this tutorial on how to sew a bingo carrying caddy. This is truly for the beginner. This bingo caddy carries six bingo daubers for your bingo playing pleasure.
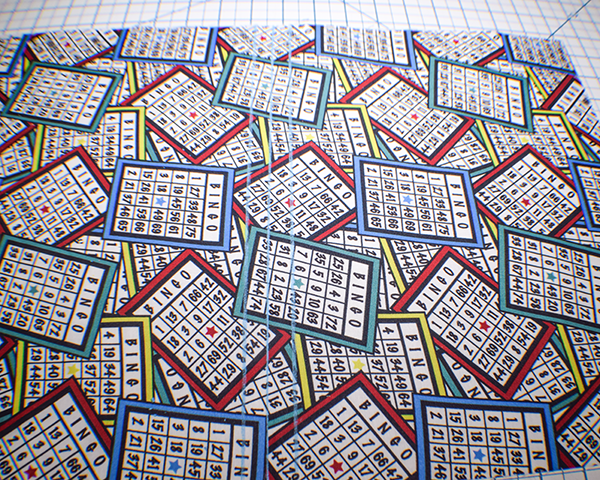
I used basic bingo themed cotton for this project with some Pellon 808 interfacing for structure. The bingo fabric was purchased on Amazon Fabrics The other fabric and interfacing was purchased at JOANN Fabric & Craft Stores![]() but you could head to
but you could head to
If you would like a video tutorial of this project head over to YouTube and check out my video. While you are there subscribe to my free YouTube channel.

What you will Need: How to Sew a Bingo Carrying Caddy
- 1 yd main fabric
- 1/2 yd accent fabric
- 1 yd Pellon 808 interfacing
- 8″ of 1″ Velcro
- Sewing Machine
- Iron
- Standard sewing supplies
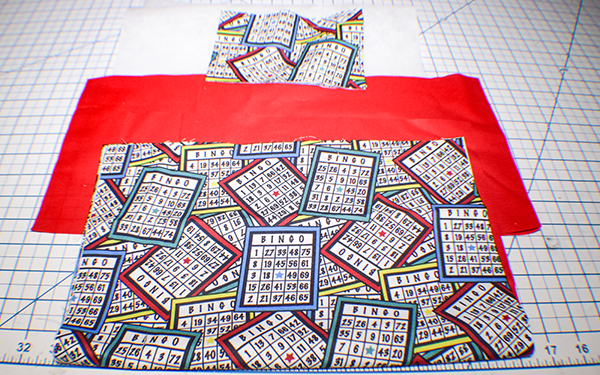
Step 1: Cut your Fabrics
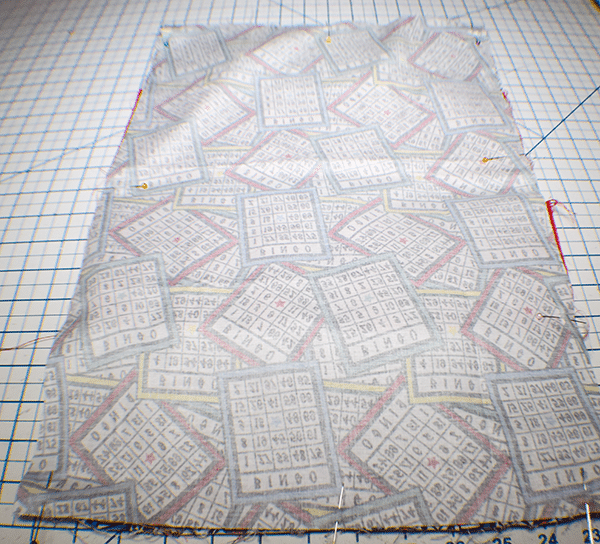
Outer fabric cut two pieces that measure 13″ w x 19″ h and two pieces that measure 4″ w x 13″ h.
Accent fabric cut one piece that measures 13″ w x 10″ h, one that measures 25″ w x 10″ h.
Interfacing: Cut one piece that measures 13″ x 19″, one that measures 25″ x 5″ and one that measures 5″ x 13″.
Step 2: Fuse the Interfacing
Fuse the large piece of interfacing to the wrong side of one of the large outer pieces using a hot iron and following the manufacturer's instructions. Fuse the 4″ pieces to half of the 8″ high pieces.
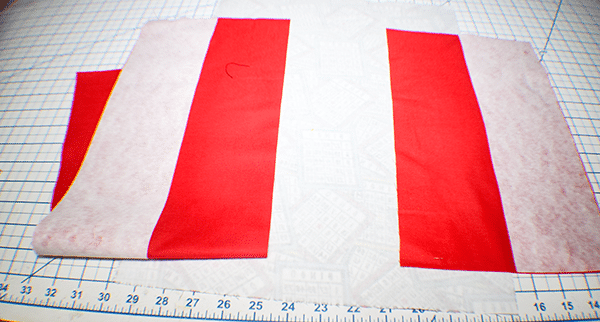
Step 3: Mark the Outer Piece
Draw a line through the widthwise center of the outer piece with the interfacing. Then, draw lines on either side that are 1/2 away. These are where the pockets will be. Pick one of the 1/2 lines and start 1/2″ from the short raw edge and draw a line. Then draw lines every 2″ until you reach the other side where there should be a 1/2″ line for the seam allowance.

Step 4: Create the Dauber Pocket
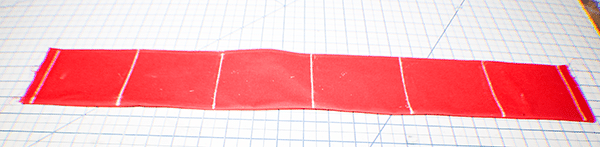
Take the 25″ x 8″ piece and fold it in half lengthwise right sides together. Stitch the long raw edge using a 1/4″ seam allowance. Turn right sides out and press. Topstitch along the folded edge.
Step 5: Mark the Dauber Pocket
Mark a line 1/2″ from the short raw raw edge then every 4″ until you are 1/2″ from the end.
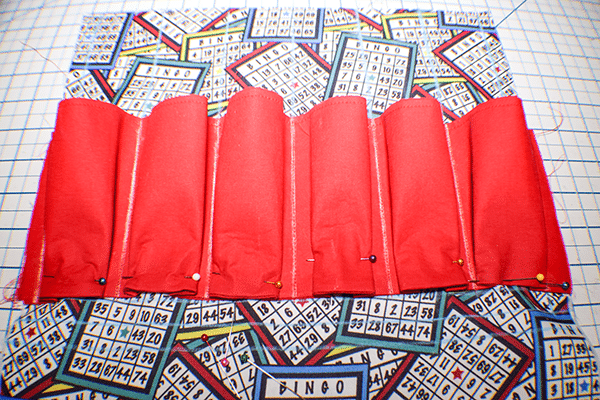
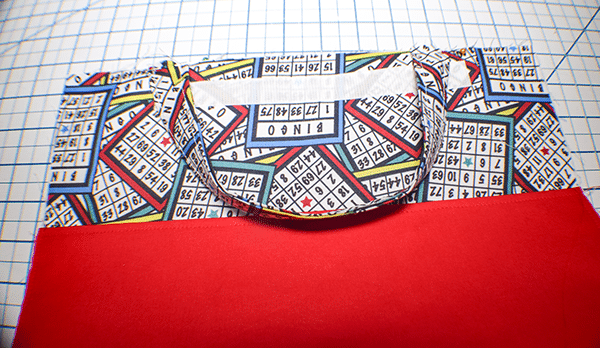
Step 6: Add the Dauber Pocket
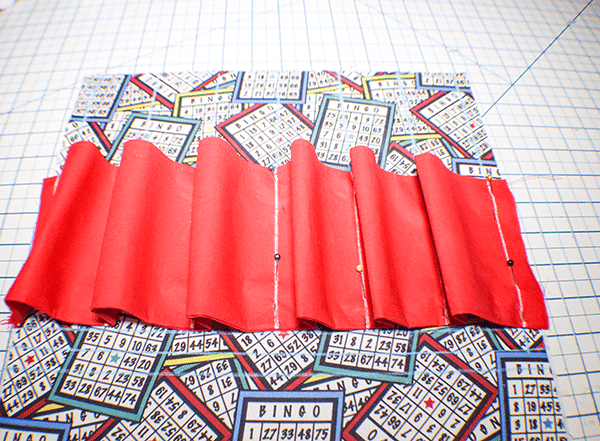
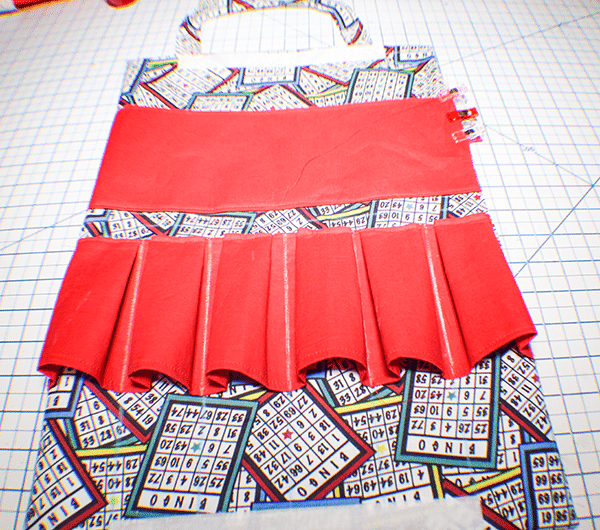
Pin the short raw edges to the raw edges of the outer piece 1/2″ up from the widthwise center. Match the lines on the accent fabric with the lines on the outer fabric and pin. Stitch along the 1/2″ lines and those lines. Evenly pleat the six pleats by pressing the excess fabric in the center off each line you just stitched and pin along the bottom. Stitch all along the bottom to secure the pleats.
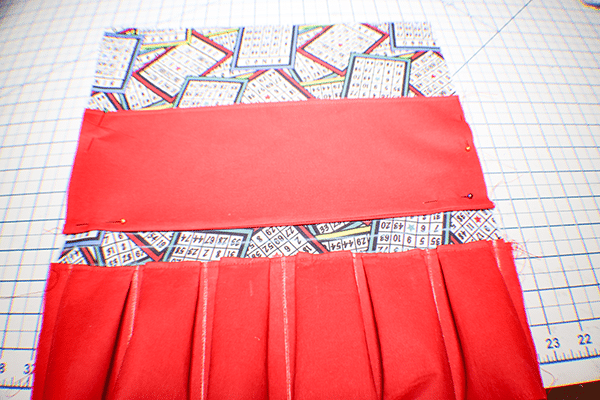
Step 7: Create the Slip Pocket
Take the 13″ x 8″ accent piece and fold it in half right sides together. Stitch along the long raw edge using a 1/4″ seam allowance. Turn right sides out, press and topstitch along the folded edge. Place the newly created pocket 1/2″ from the widthwise center with the topstitched edge facing toward the other end. Stitch along the sides and bottom to secure.
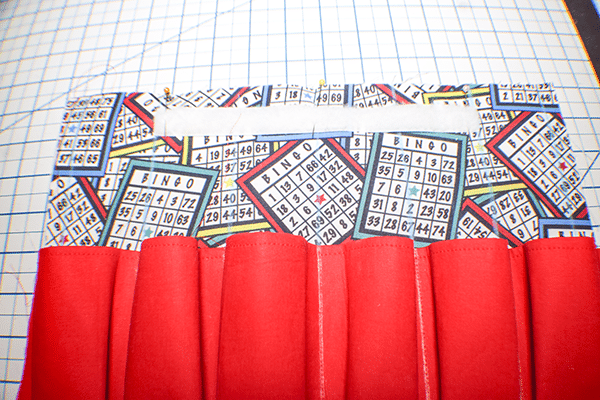
Step 8: Add the Velcro to the Bingo Caddy
Stitch half of the Velcro 3/4″ down from each end of the outer piece with the pockets.
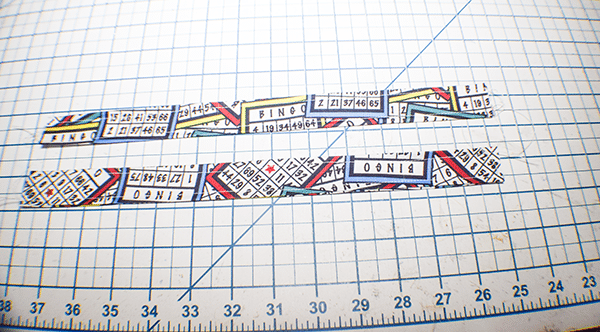
Step 9: Create the Handles
Take the two handle pieces and fold the long raw edges into the center and press. Fold in half to enclose the raw edges. Press again. Topstitch along all long edges.
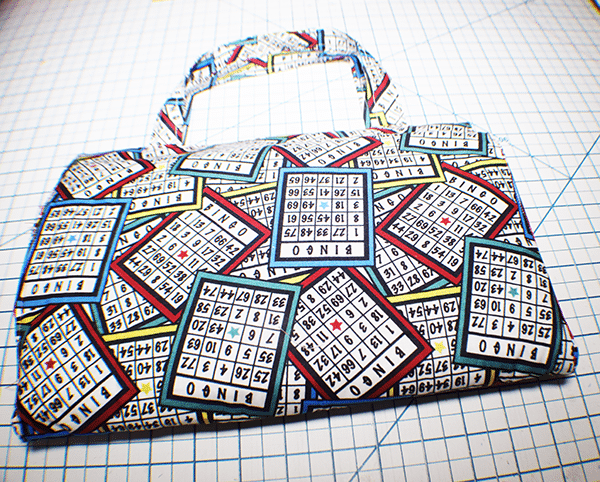
Step 10: Add the Handles to the Bingo Caddy
Place the handles right sides together with the pocket piece on each end 3″ from each side matching the raw edges. Stitch in place.
Step 11: Add the Outer Piece
Place the outer piece with the interfacing right sides together with the pocket piece. Stitch all the way around using a 3/8″ seam allowance but leaving an opening in the slip pocket side for turning.
Step 12: Turn Right Sides Out
Turn the bingo caddy right sides out through the opening you left. Press. Topstitch all the way around the caddy closing the opening as you go. Stitch a line down the widthwise center. Add the daubers and you are ready to go.

I hope you enjoyed this Bingo Caddy project. If you would like more sewing and crafting projects subscribe to our newsletter and receive your free eBook of 15 handbag patterns and tutorials ten from the blog.
If you would like video tutorials of some of Sew Very Crafty's most popular posts subscribe to our YouTube channel here.