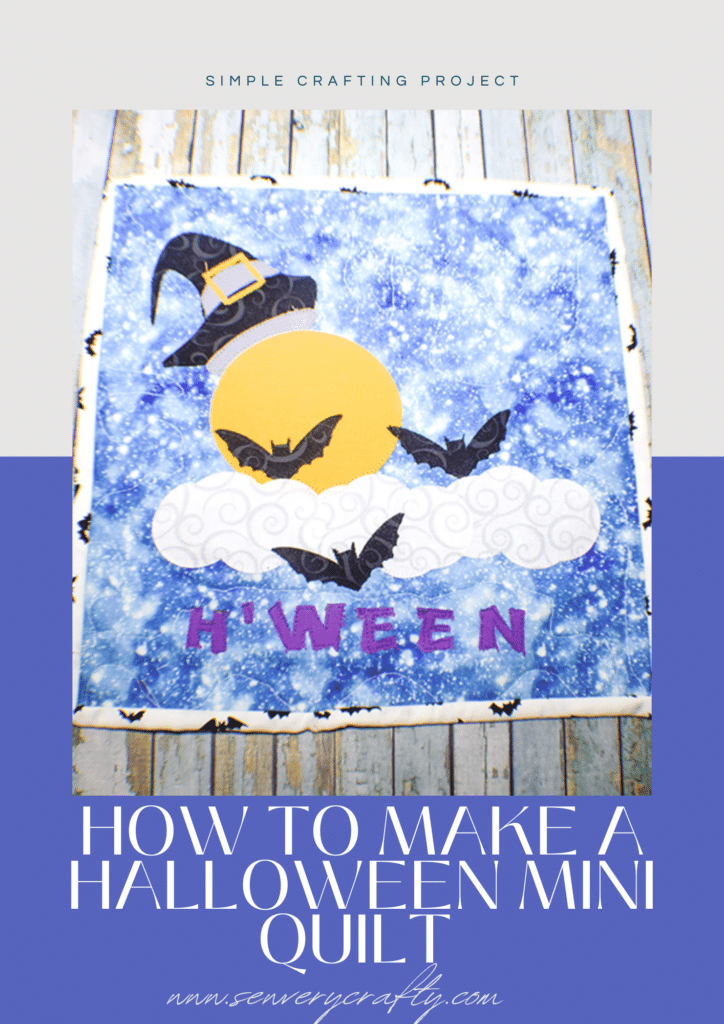
Yes it is that time of year. Time to get started on Halloween projects. I decided to create this simple appliqué Halloween Mini quilt this year. I created two ways to make it. You can cut the pieces by hand or using your Cricut cutting machine. I used my Cricut cutting machine for this tutorial. The pattern attached to this tutorial comes with a free SVG and a PDF for hand cutting depending on your method of creating the pieces. If you would like more Cricut Crafting projects head over to my other website Paper Daisy for more. If you would like more quilting projects head over to my quilting page for more ideas.
I used several different cotton fabrics that I actually purchased from Etsy and from JOANN Fabric & Craft Stores![]() . I came across the bat fabric from Riley Blake Designs on Etsy. In addition, I also used Hocus Pocus from Northcutt Fabrics on Etsy for the front background. the rest of the fabrics for the appliqué came from JOANN Fabric & Craft Stores
. I came across the bat fabric from Riley Blake Designs on Etsy. In addition, I also used Hocus Pocus from Northcutt Fabrics on Etsy for the front background. the rest of the fabrics for the appliqué came from JOANN Fabric & Craft Stores![]() . Of course you could head to Amazon Fabrics or
. Of course you could head to Amazon Fabrics or
What you will Need: How to Make an Appliqué Halloween Mini Quilt
- Pattern you can get by clicking on this link
- 1/2 yd background fabric and backing fabric
- 1/2 yd quilt batting
- Scraps of gold, black and gray fabrics for applique
- 1/2 yd Heat N Bond or Wonder Under
- Cricut Maker or Cricut Maker 3 (optional)
- Rotary Blade
- Iron
- Sewing machine
- Standard Sewing Supplies
Step 1: Download the SVG
Download the SVG by clicking on the link and unzipping the file. You will see several types of files. If you are using your Cricut like I am download the SVG otherwise print out the PDF.
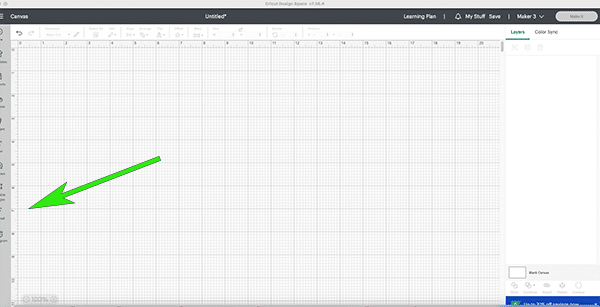
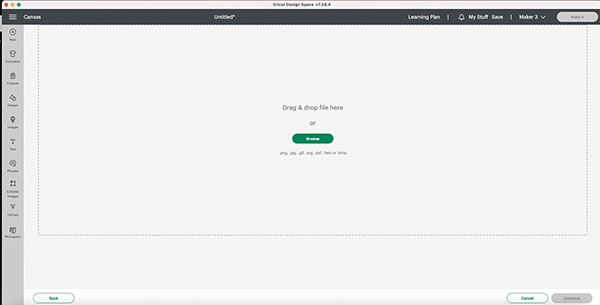
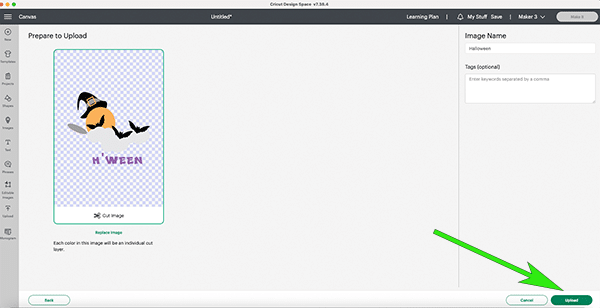
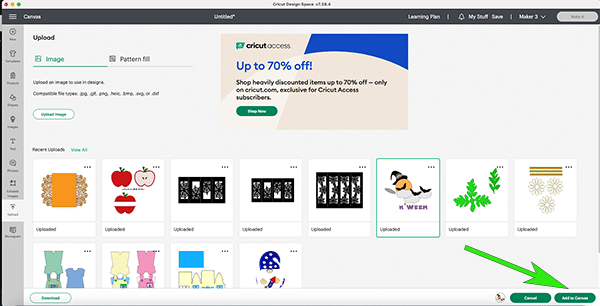
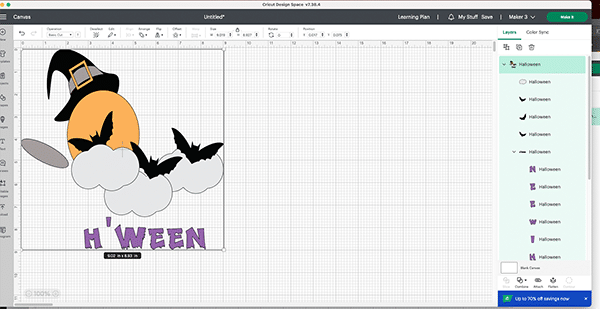
Step 2: Upload the SVG
Upload the SVG to Design Space using the upload button on the left side menu bar and following the prompts. You can skip this step if you are doing standard appliqué. Once you upload the SVG the pieces may not end up exactly where they should be but that is alright they will still cut out properly.
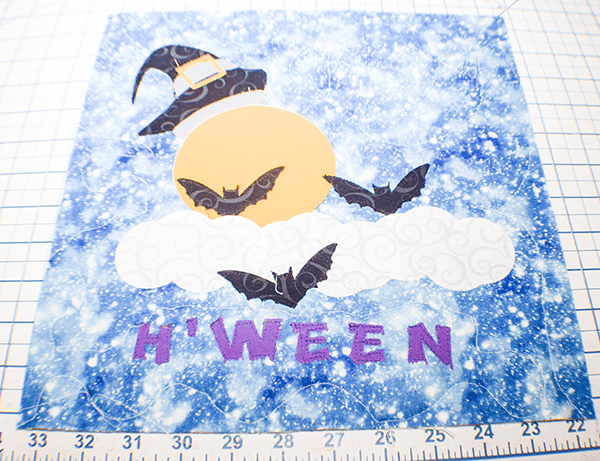
Step 3: Resize the SVG if Necessary
I made a 12″ x 12″ mini quilt for this project so I enlarged the SVG to be 9″ x 9″. You can do this in Design Space. If you are using the PDF you may want to enlarge the pieces as they were created for an 8″ x 8″ shadow box. You can do this on your printer.
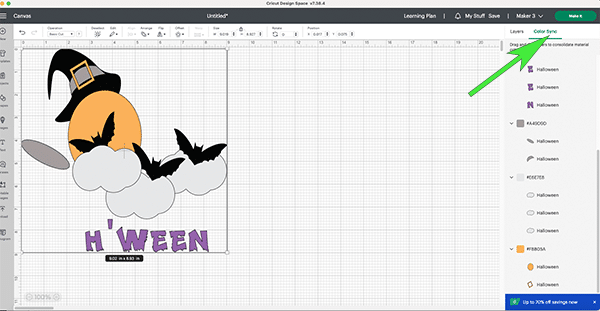
Step 4: Color Sync the Pieces
Go to the Color Sync Menu on the right side of the layers panel. You will notice that the buckle is a slightly different color than the moon. That is fine if you want to keep it that way but if you want to make it the same drag and drop the buckle to underneath the moon or vise versa. You will also notice that the blacks are slightly different. Put all of the black pieces together dragging and dropping them under the same color. The purpose of this is to keep the look cohesive and to use less fabric.
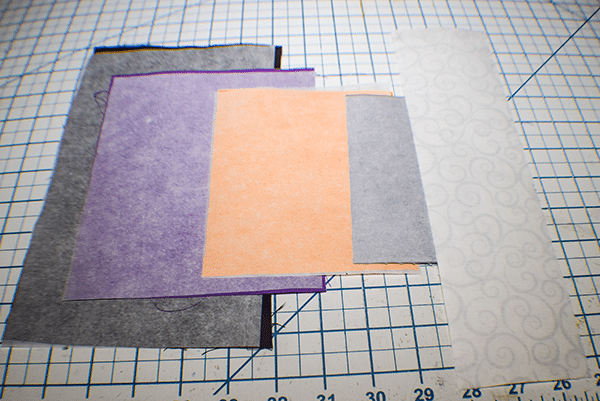
Step 5: Prepare the Fabric
You will want to cut out small pieces of fabric that are just large enough to cut out your appliqué pieces. Fuse the Heat N Bond to the wrong side of the fabric pieces with the paper facing out. Do this to all of the colors of fabric for the appliqué pieces only not the backing or background fabric.
Step 6: Make It
Click Make it in the top right corner of design Space. Choose on Mat. Then browse through the materials and choose cotton fabric. Continue following the prompts. Do not mirror this project. Only reverse this project if you are doing this by hand and are using traditional appliqué.
Step 7: Prepare the Mat
Remove the paper from the appliqué pieces and place the first color on the pink mat with the glue side down in the top left corner of the mat.
Step 8: Cut the Pieces
Design Space will instruct you to insert the rotary cutting blade. Once you have inserted the blade insert the mat using the feed button. Then press go. Remove the appliqué pieces from the mat making sure not to remove the glue backing. Repeat until all of the colors are cut out.
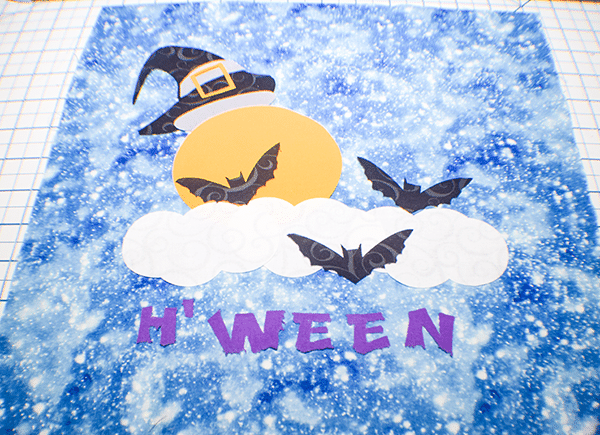
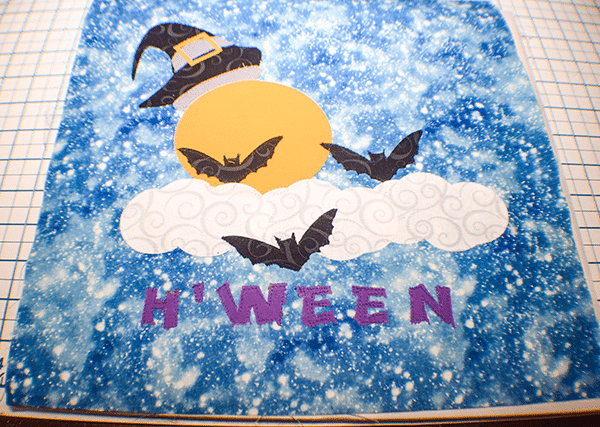
Step 9: Appliqué the Pieces to the Background Fabric
Cut out a 13″ x 13″ square of background fabric. Find the center. Place the appliqué pieces so that they are centered own the background piece. Fuse them to the background piece using a hot iron. Stitch around each appliqué piece using matching thread or a monofilament thread to secure the pieces. Use a straight or very small zig zag stitch for this process.
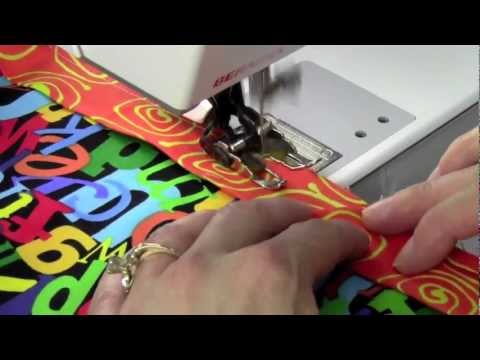
Step 10: Quilt the Halloween Mini Quilt
Cut a 13″ x 13″ piece of backing fabric and place it right sides down on your work surface. Place a 13″ x 13″ piece of quilt batting on top then place the appliquéd piece wrong sides down on top of the quit batting. You can secure them using quilting spray or pins. Quilt around the appliqué any way you like. I used a meandering stitch using Dabline quilting rulers.
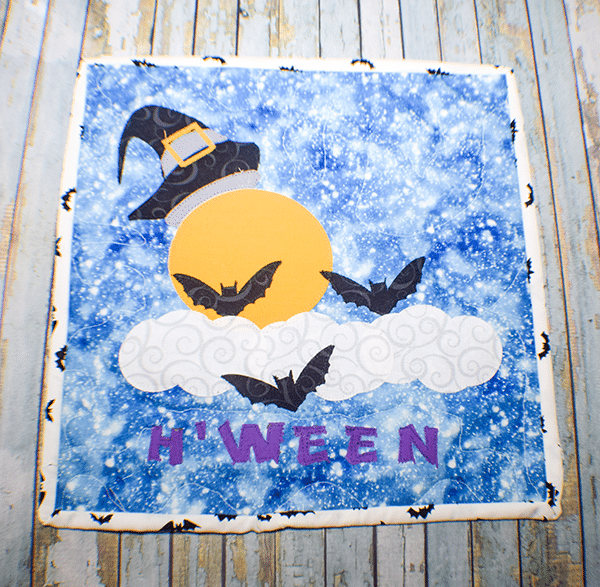
Step 11: Bind the Halloween Quilt
Trim the Quilt to 12″ x 12″. Bind the Halloween quilt in the usual way. If you have never bound a quilt follow this tutorial and it will come out perfect every time. Once the quilt is bound you have finished the appliqué Halloween mini quilt.

I hope you enjoyed this simple Cricut Halloween Quilt project. If you would like more sewing and crafting projects subscribe to our newsletter and receive access to our free Printables Library
If you would like video tutorials of some of sew Very Crafty's most popular posts subscribe to our free youTube channel here.