I came across this DIY jewelry box on Sewing Times on YouTube and wanted to share it with you. This DIY jewelry box is a dun and functional sewing project for the intermediate sewist. There are quite a few steps to this project so don't get frustrated. You will also use a number of different sewing skills to complete this project but the end result is worth all of the effort. If you would like other jewelry storage ideas check out this one.
I used cotton canvas for the exterior of my box and quilting cotton for the lining. I purchased both of these fabrics from Joann's online and picked them up in store. It is so convenient. You could head to your local fabric store or Amazon Fabrics or onlinefabricstore.net to get exactly what you need for your jewelry box.
This post contains affiliate links that if you click on them and make a purchase I may receive a small commission at no extra cost to you. As an Amazon Associate I earn rom qualifying purchases.
What you will Need: How to Sew a DIY Jewelry Box
- 1/2 yd outer fabric
- 1/2 yd lining fabric
- 1/4 yd fusible fleece
- 14 5/8″ continuous zipper
- 40″ Cotton Cording
- 3 Kam snaps
- 9 7/8″ of 1/4″ elastic
- 20″ of 1 12″ bias binding
- Sewing Machine
- Standard sewing supplies
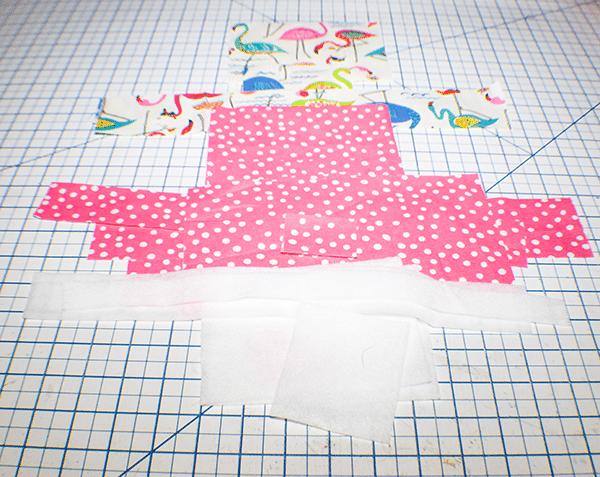
Step 1: Cut your Fabrics
Outer Fabric:
- 1 piece — 6 1/4″ x 4 3/4″
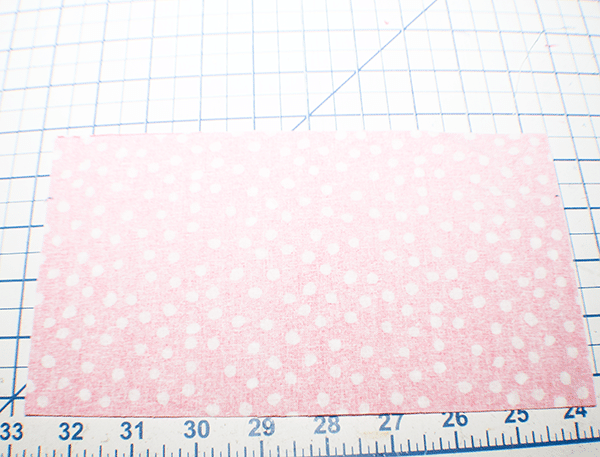
- 1 piece — 4″ x 3 5/8″, 14 5/8″ x 1 5/8″, 14 5/8″ x 2 3/8″
Lining Fabric
- 2 pieces — 6 1/4″ x 4 3/4″
- 1 piece — 6 1/4″ x 2″, 6 1/4″ x 3 5/8″
- 1 piece — 4″ x 3 5/8″, 14 5/8″ x 1 5/8″, 14 5/8″ x 2 3/8″, 9 7/8″ x 4″
- 2 pieces — 9 1/4″ x 5″
- 6 pieces — 1 3/8″ x 2″
Fusible Fleece
- 2 pieces — 5 3/8″ x 4″
- 1 piece — 3 1/4″ x 2 3/4″, 13 3/4″ x 3/4″, 13 3/4″ x 1 5/8″
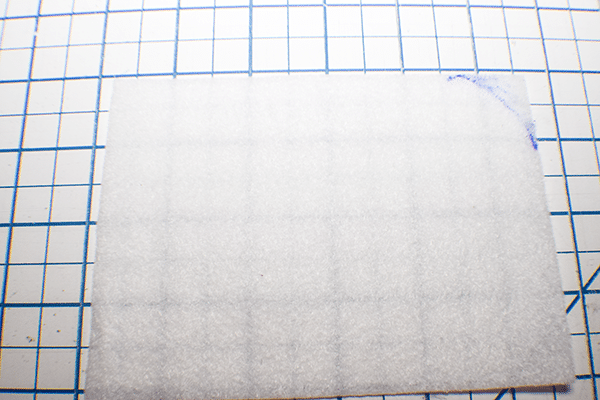
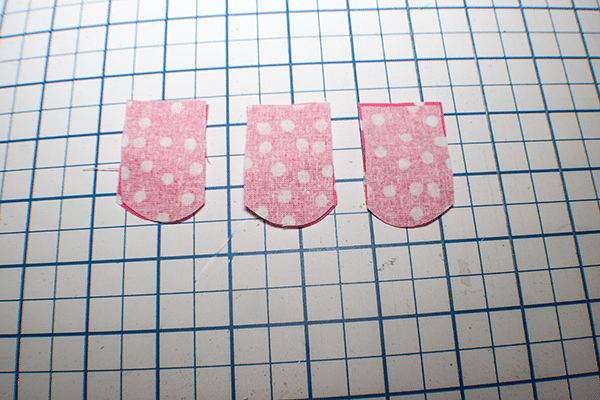
Step 2: Round the Corners
Take a 5 3/8″ x 4″ piece of fleece and round all four corners. Do this by measuring down one side 1″ and the adjacent side 1″ and make a mark. Join the marks so that they measure 1 5/8″. Cut the corner and match all four corners. Repeat for the second piece.
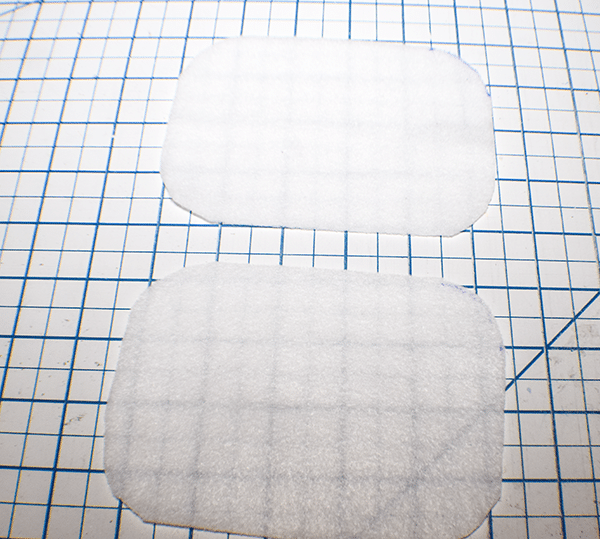
Step 3: Fuse the Fleece
Fuse all the fleece pieces to their corresponding outer pieces so that they are centered. Follow the manufacturer's instructions for the brand that you are using.
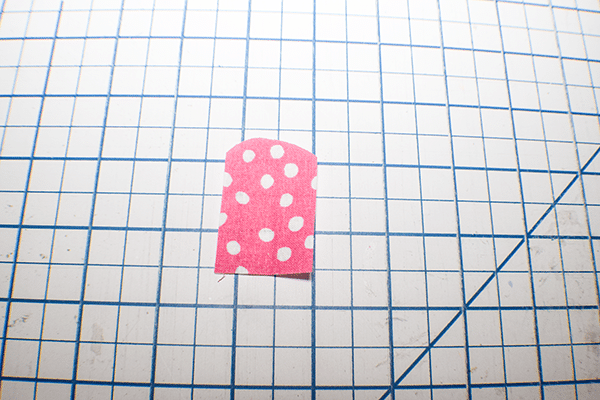
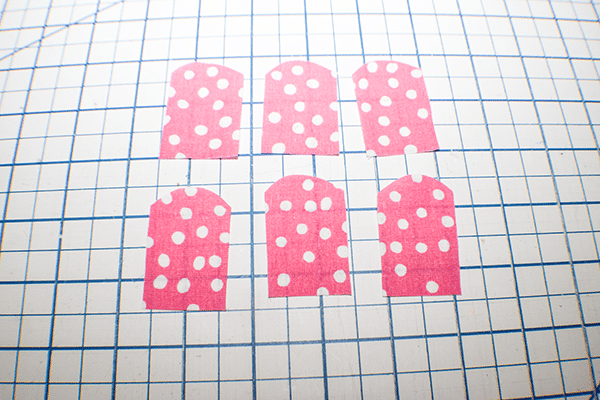
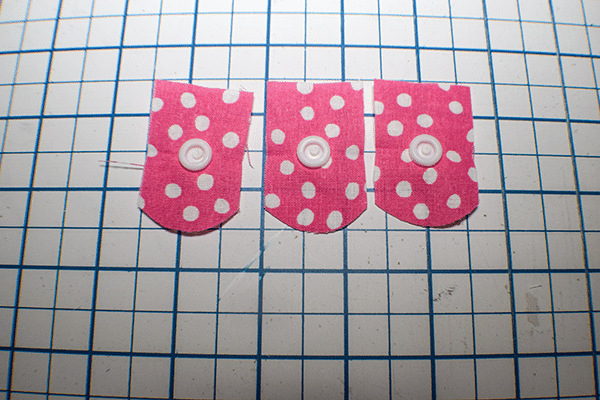
Step 4: Create the Top Tabs
Take the six 1 3/8″ x 2″ pieces. Fold one of them in half lengthwise and round the corners of one end so you create a tongue like tab. Use this as a pattern for the remaining five pieces and round those top corners as well.
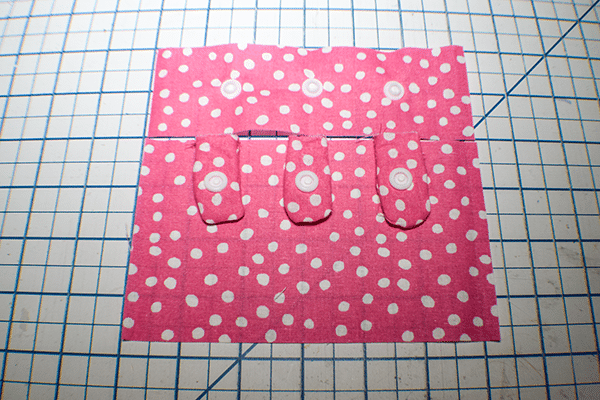
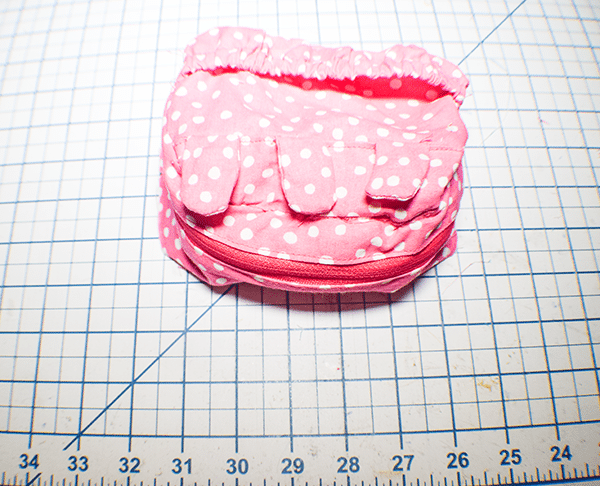
Step 5: Add the Kam Snaps
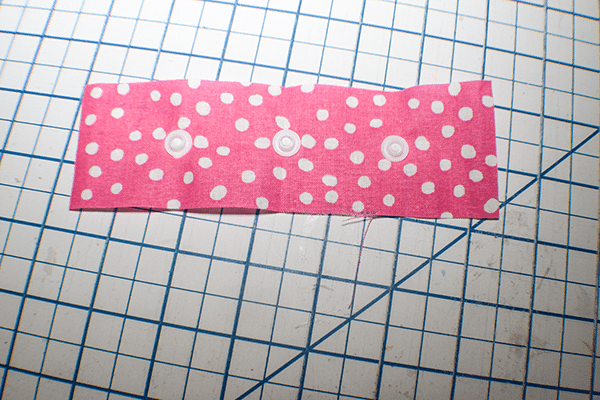
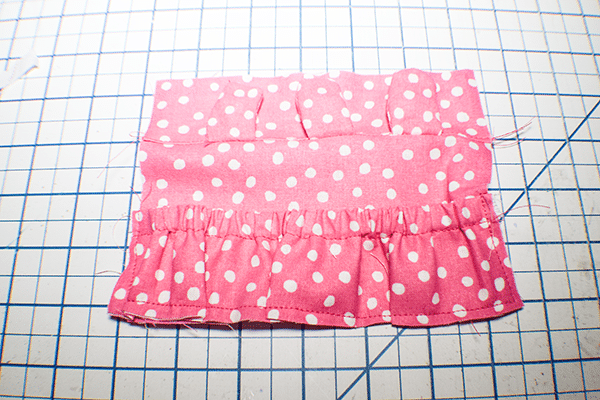
Find the center of three of the tab pieces and place one half of the Kam Snap on each piece. Place the other tab pieces right sides together with the snap pieces and stitch together using a 1/4″ seam allowance leaving the bottom open. Turn right sides out. This is a fidgety process. Take the 6 1/4″ x 2″ lining piece and find the center. Make a mark. Measure 1 5/8″ on each side of that mark and make another mark. Place the other half of the Kam snap on those marks. Next, take the 6 1/4″ x 3 5/8″ piece and place the finished tabs right sides up so that they are in line with the 6 1/4″ x 2″ snap piece. Stitch the tabs to the lining piece using a 1/8″ seam allowance to secure.
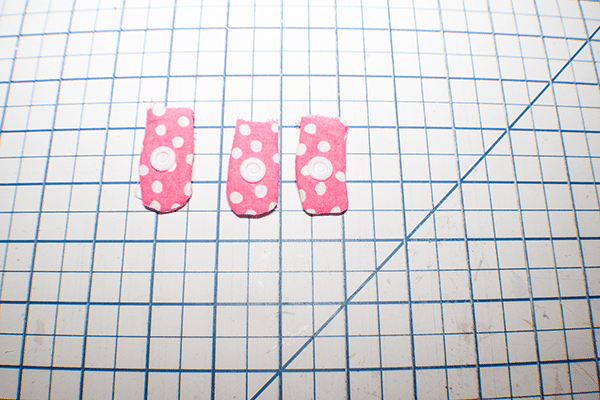
Take the 6 1/4″ x 2″ snap piece and place it right sides together with the tab pieces and stitch along the top using a 3/8′ seam allowance. Open the piece and topstitch along the seam.
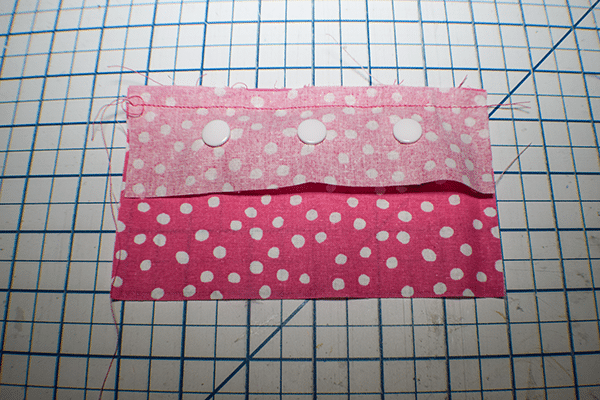
Step 6: Add the Elastic
Take the 9 7/8″ x 4″ piece and fold it in half lengthwise. Topstitch along the fold using a 3/8″ seam allowance. Insert the elastic using a safety pin.
Step 7: Add the Elastic Piece to the Snap Piece
Snap the tabs into place. Place the elastic piece onto the bottom of the Snap piece. Stitch along the bottom and sides. Snip off the excess elastic.
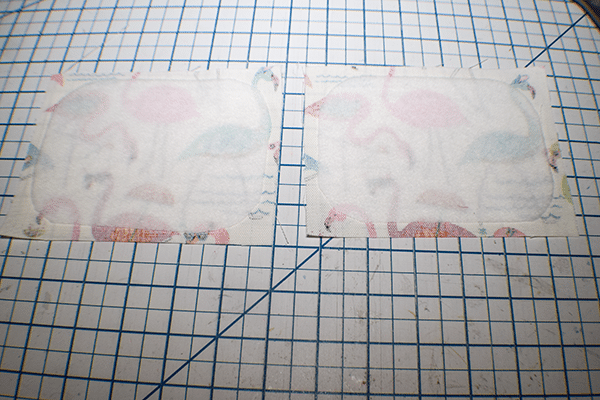
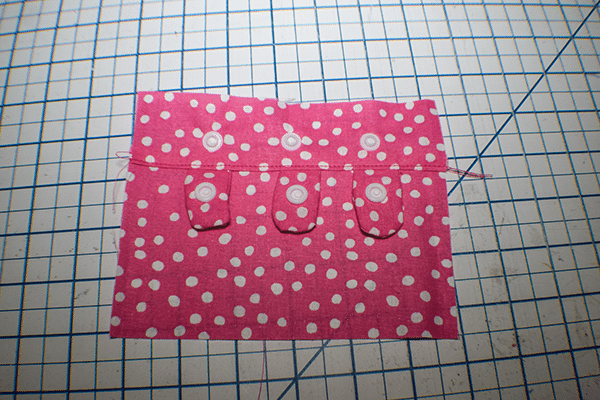
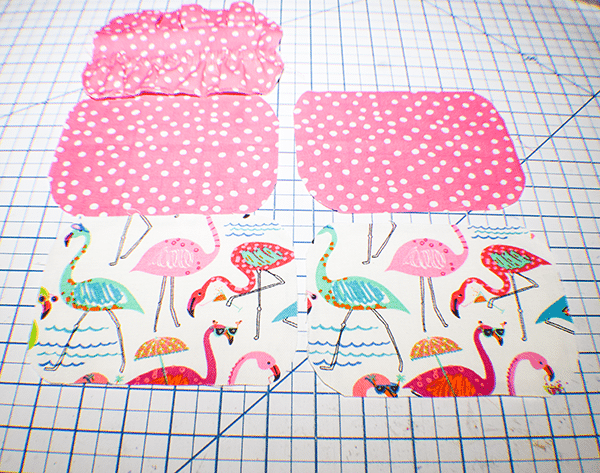
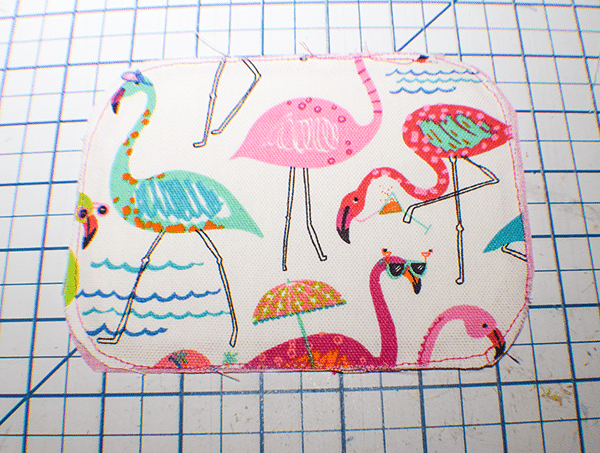
Step 8: Create the Top and Bottom
Take the outer pieces that measure 6 1/4″ x 4 3/4″ and round the corners in alignment with the fleece so that there is a 3/8″ seam allowance. Use the outer pieces as a pattern to cut the corresponding lining piece and snap piece to round those corners. Stitch around the corners of the snap and elastic piece to secure the elastic piece corners.
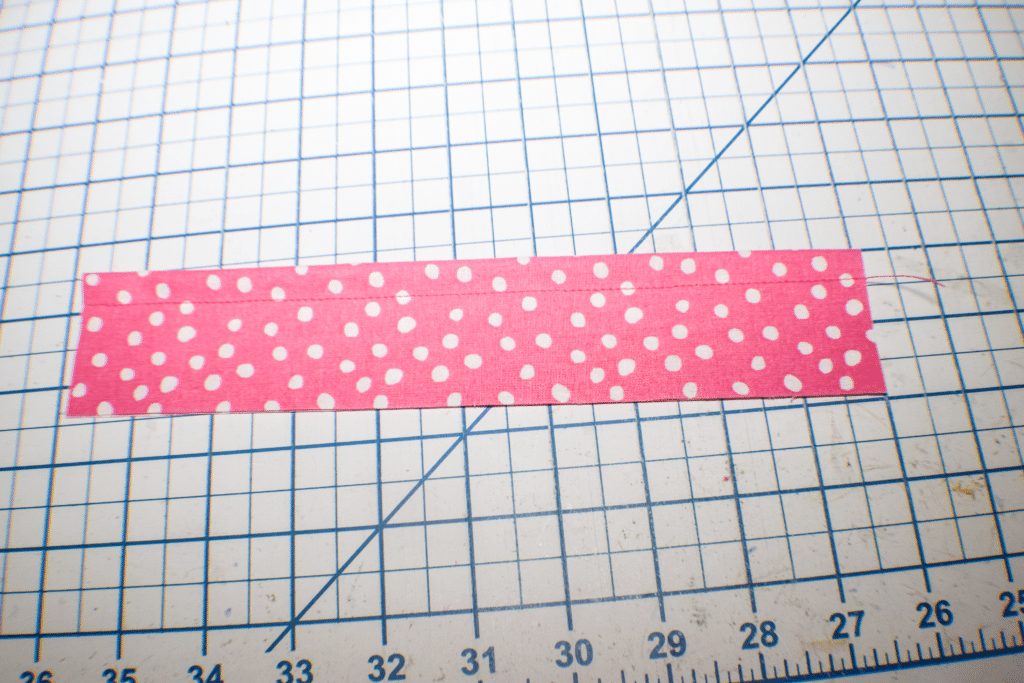
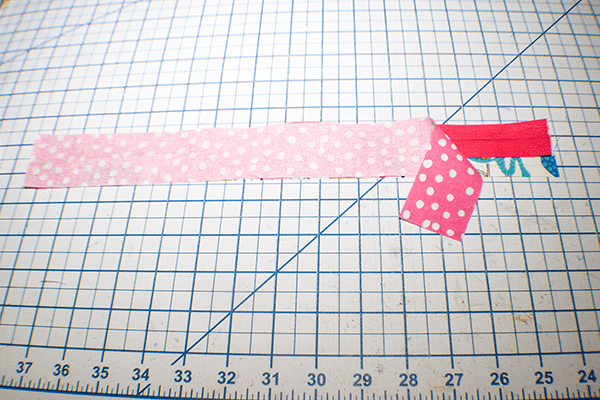
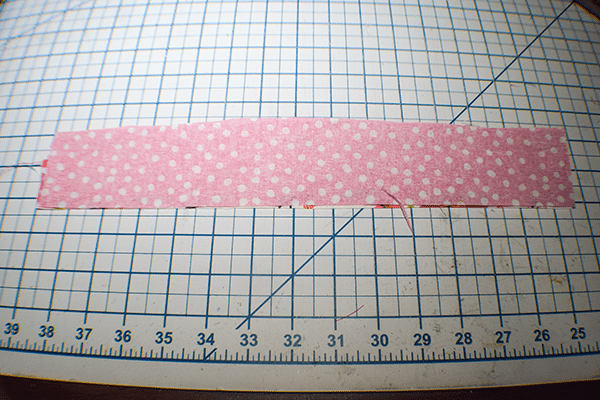
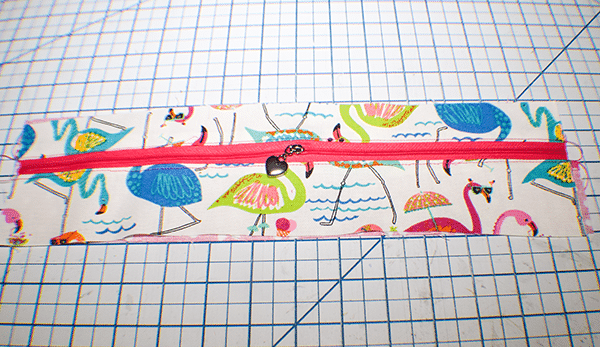
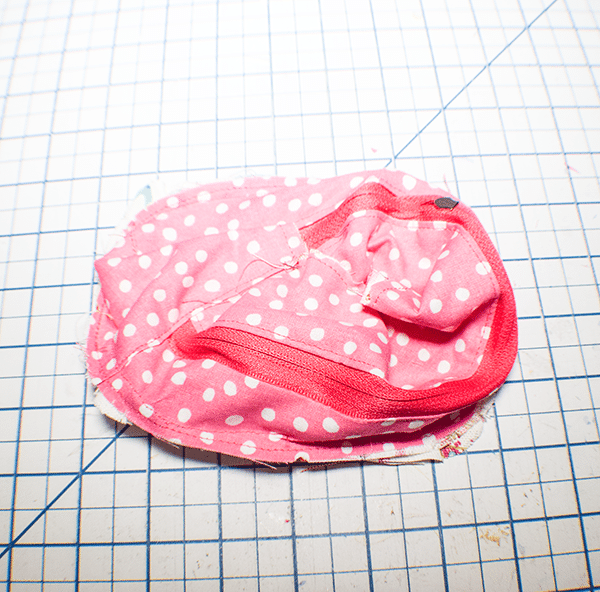
Step 9: Add the Zipper
Lay the 14 5/8″ x 1 5/8″ outer piece right sides up on your work station. Place the zipper right sides down on the outer piece. Then, place the corresponding lining piece right sides down on the zipper. Stitch the pieces together using a zipper foot. Lay the 14 5/8″ x 2 3/8″ outer piece right sides up on your work station. Place the other side of the zipper right sides down on the outer piece and the lining right sides down on the zipper. Stitch. Turn right sides out and press. Topstitch along both sides of the zipper.
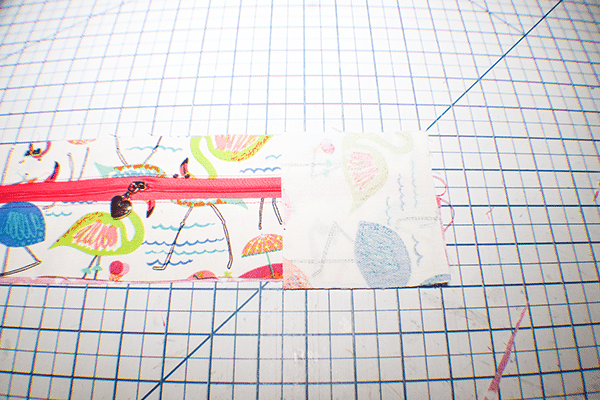
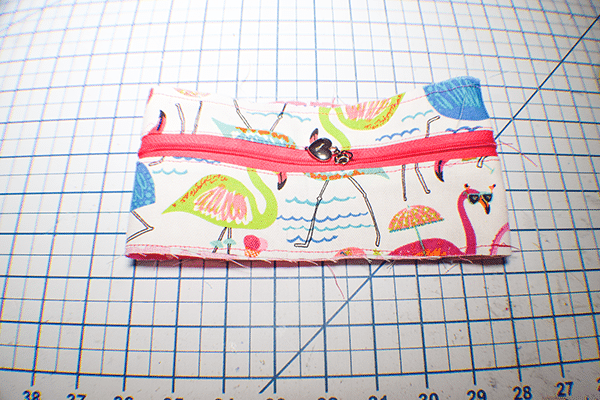
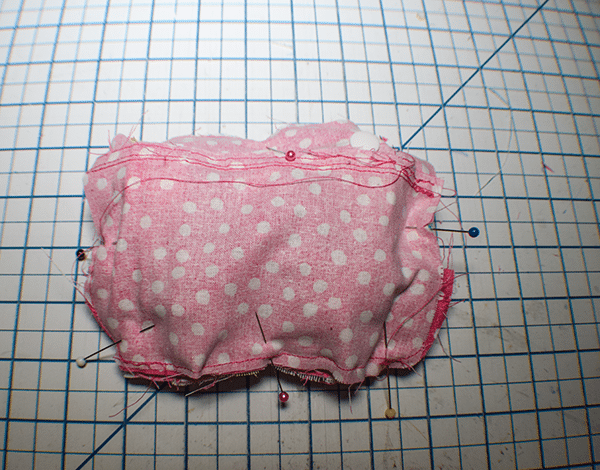
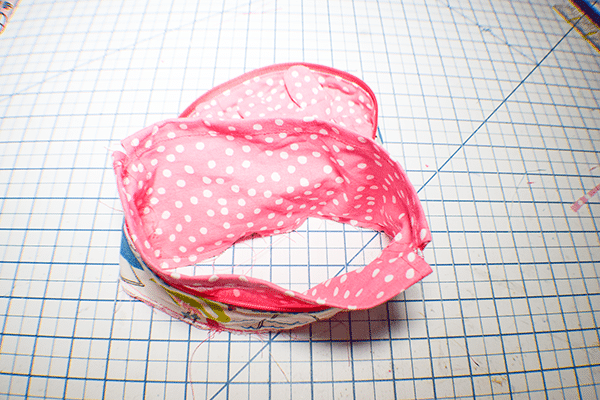
Step 8: Add the Back Hinge
Take the 4″ x 3 5/8″ outer piece right sides together with the zipper piece then lay the corresponding lining piece right sides together with the outer piece underneath the zipper. Stitch all layers together using a 3/8″ seam allowance. Fold over the Zipper piece so that the outer pieces are right sides together. Stitch using a 3/8″ seam allowance. Fold under the lining piece 3/8″ and fold it so that it meets the lining side of the zipper sides. Stitch across all layers. Once you have created the entire circle Turn right sides out and stitch along the top and bottom edges using a 1/4″ seam allowance.
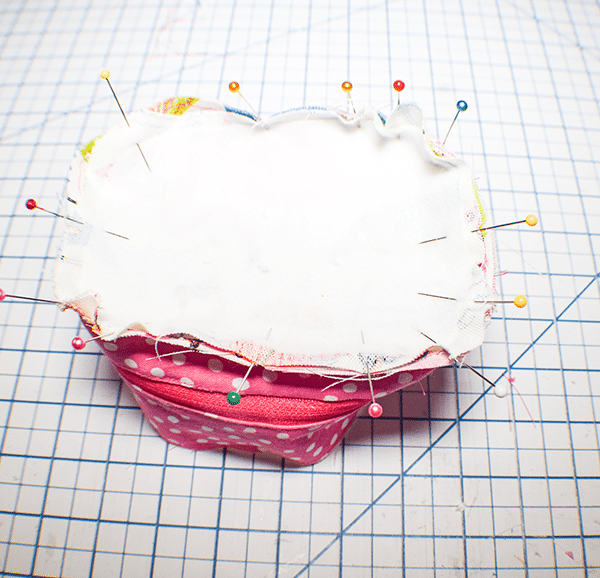
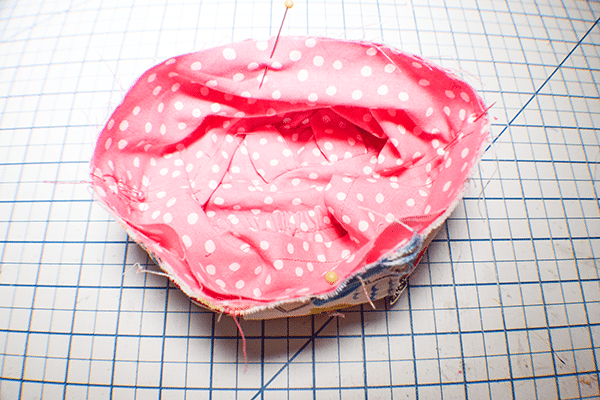
Step 9: Add the Top
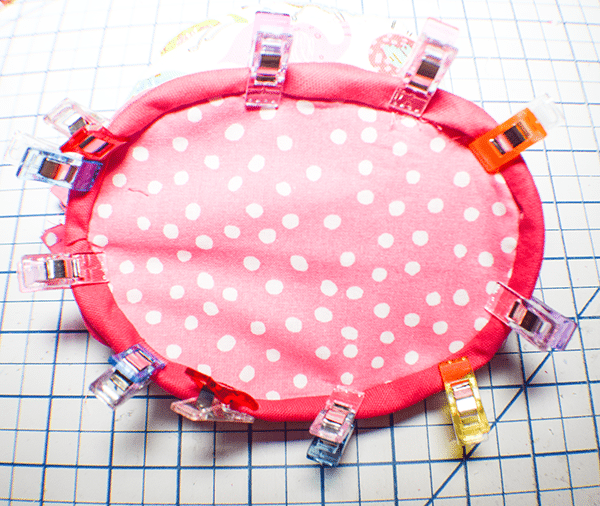
Take the top, bottom and zipper pieces. Fold them in half and mark the centers. Match the centers and mark the new centers. Turn the zipper piece lining sides out. Place the top right sides together with the zipper piece. Snip the corners for a better fit. Pin. Stitch all the way around using a 3/8″ seam allowance.
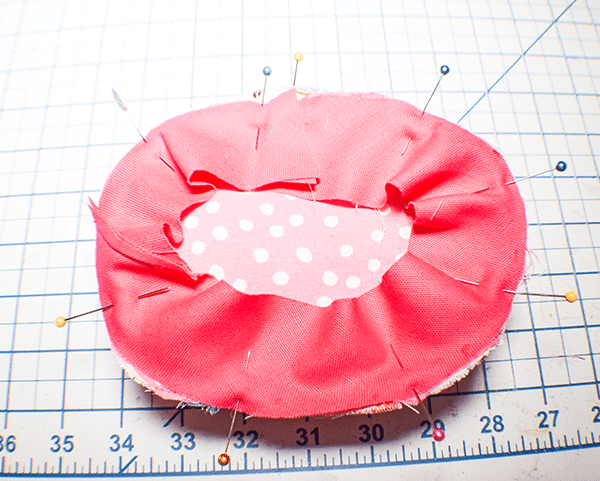
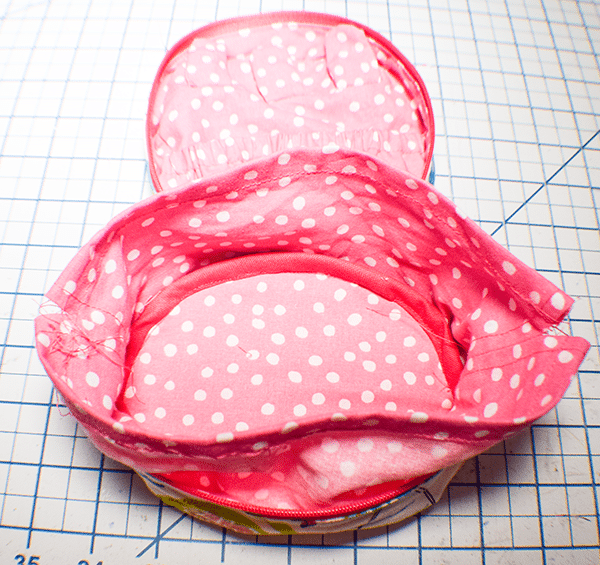
Step 10: Add the Snap Piece
Place the lining in the center and pin. Place the Snap and elastic piece right sides down on top of the entire piece so that the snap side is opposite the back hinge. Stitch all the way around the piece leaving an opening for turning on the snap side. Turn right sides out. Stitch the opening closed using ladder stitch.
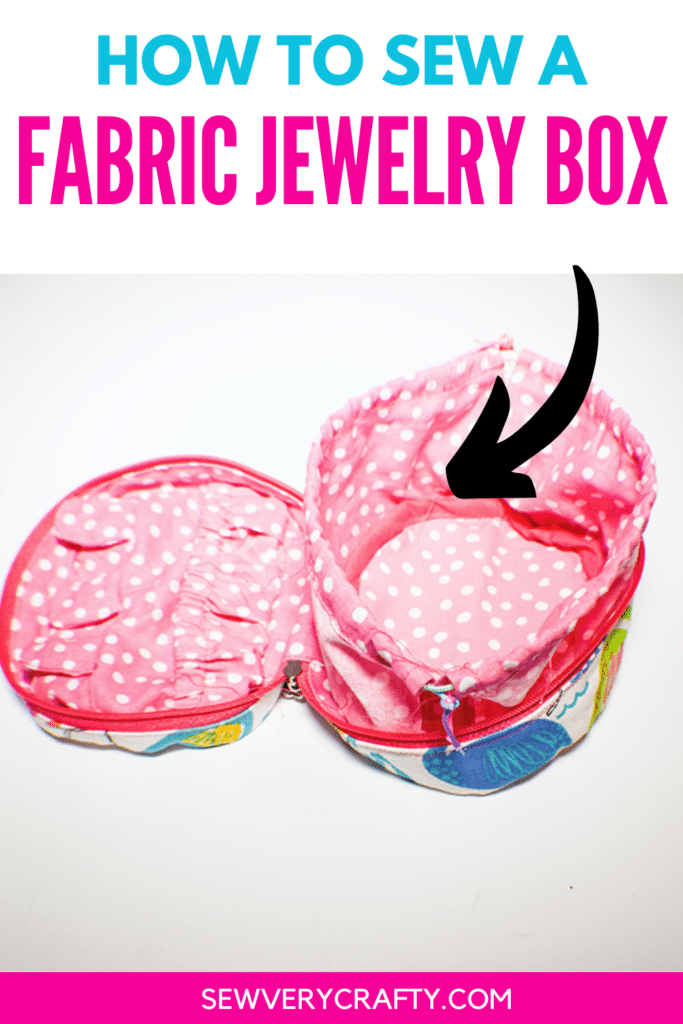
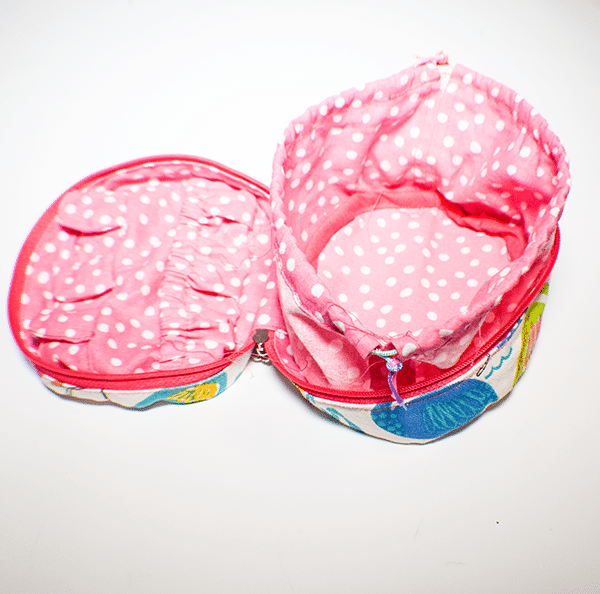
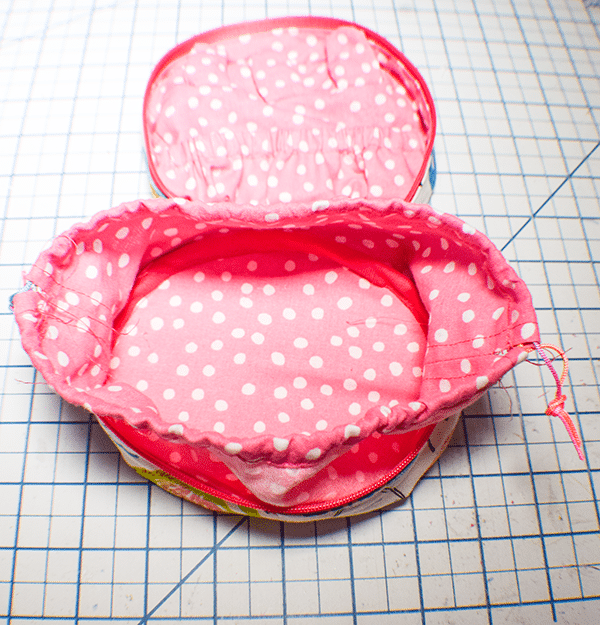
Step 11: Create the Interior Pouch
Take the 9 1/4″ x 5″ lining pieces and place them right sides together. Measure down 1 1/4″ on each side and make a mark. Stitch from the mark on each side to the bottom using a 3/8″ seam allowance. Stitch the seams to keep them open. Double fold over the tops. Stitch along the edge all the way around to create the casing.
Step 12: Add the Interior Pouch
Fold the pouch in half and mark to find the centers as previously done. Place the pouch so the the right sides are facing the lining matching the centers. Stitch all the way around using a 1/4″ seam allowance. NOTE: I placed mine in backward so don't follow the pictures here.
Step 13: Add the Bottom
Stitch the outer bottom and lining bottom wrong sides together using a 1/4″ seam allowance. Turn the piece wrong sides out. Place the bottom right sides together with the sides matching the centers and stitch using a 14″ seam allowance.

Step 14: Add the Bias Binding
Fold under the end and pin the binding to the side of the piece all the way around. Cut off any excess. Stitch the binding to the piece using a 3/8″ seam allowance. Double fold over the binding to enclose the raw edges. Stitch all the way around.
Step 15: Add the Cording
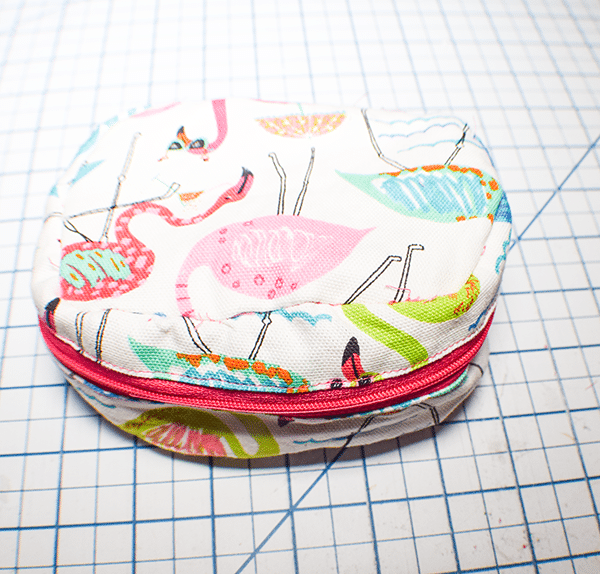
Cut the cording in half. Insert the cording through the casing in the pouch all the way around using a doll's needle. insert one piece through one side then the other on the other side. Knot the ends. You have now finished your DIY Jewelry Box.
I hope you enjoyed this Jewelry Box Project. if you would like more sewing and crafting projects subscribe to our newsletter and receive access to our free printables library.
if you would like video tutorials of some of Sew Very Crafty's most popular posts subscribe to our YouTube channel here.