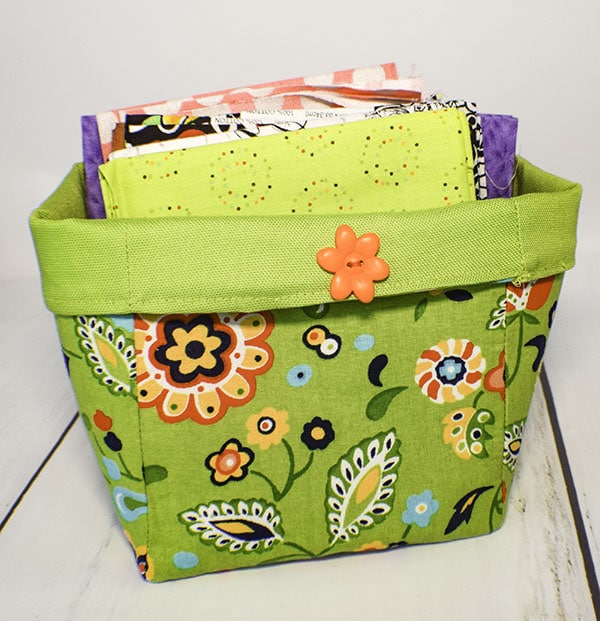
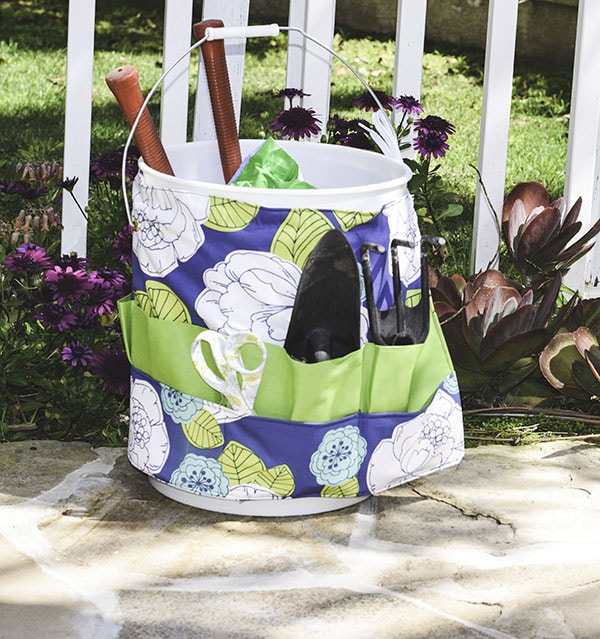
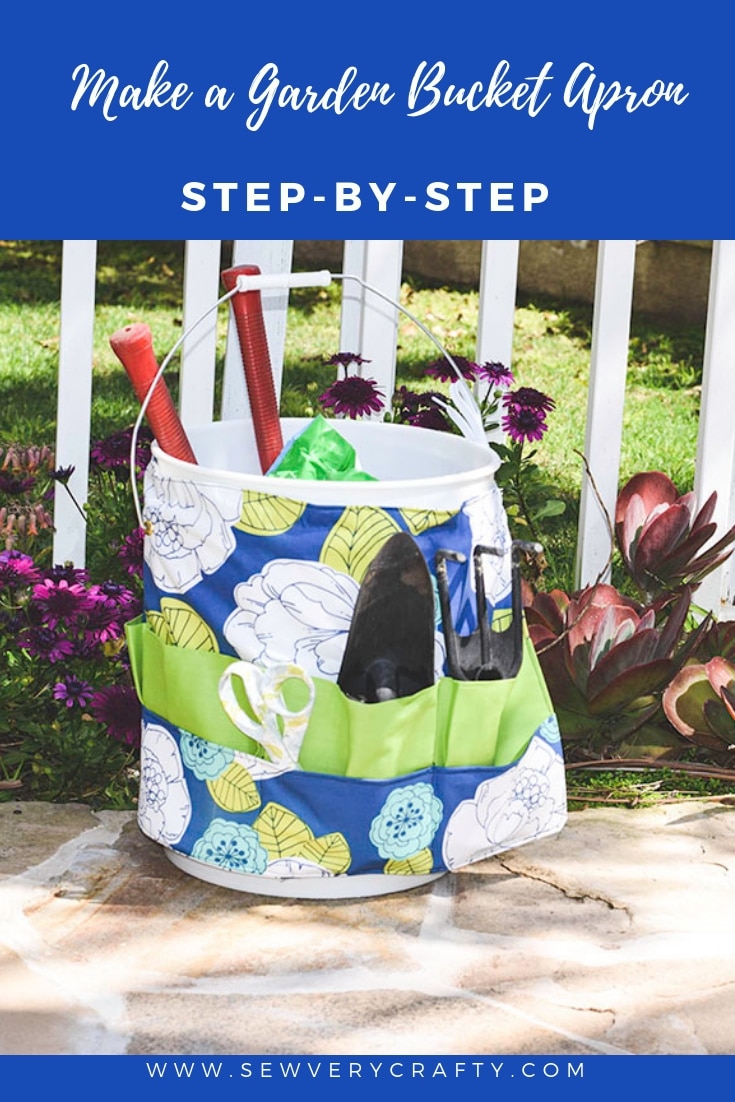
How to Make a Gardening Bucket Apron

It is gardening season around our house and I really needed a better place to put my gardening tools and potting soil. Of course the old 5 gallon bucket is the perfect vehicle to use but it is not enough. I decided to make an apron for my bucket that will provide space for all my tools and my soil. My bucket has a lid. I wanted to make sure that the lid still fit on the bucket when I was finished. The pattern I created for this project allows for this. It can also be removed from the bucket and worn. It is a great multi purpose apron.
For this gardening bucket apron I chose some home decorator fabric and canvas that I had on hand. This would be a perfect pattern for oil cloth or other outdoor fabric. I just happened to have this fabric in my stash. This project is one to the few that I didn't use remnants for given the amount of fabric needed. You can find a wide range of Fabrics for this project at Hobby Lobby and Fabric.com. I definitely recommend heavier fabrics like canvas and Home decorator weight fabrics for this project. This post contains affiliate links that if you click on them and make a purchase I may receive a small commission at no extra cost to you.
What you will Need:
- 1 1/2 yds of main fabric
- 1 1/2 yds of coordinating fabric
- Optional 1 1/2 yds of a third fabric – I just used more of my main fabric
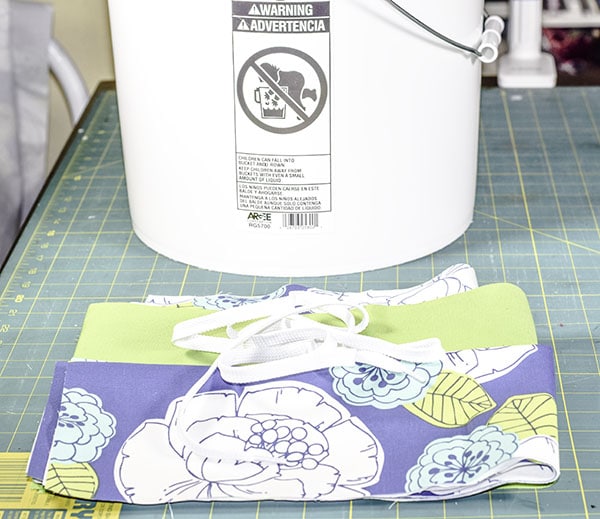
- 63″ shoelace
- 1 grommet or eyelet
Step 1: How to Make a Gardening Bucket Apron
Cut your fabrics as follows:
- 14″ x 37″ main fabric x 2
- 7 1/2″ x 46″ coordinating fabric keeping the fold in place lengthwise
- 4 1/2″ x 46″ third fabric or main fabric keeping the fold in place lengthwise
Step 2: How to Make a Gardening Bucket Apron
Pleat your coordinating fabric. Your coordinating fabric will be two layers with the fold in the center. The fold will be the top of the pockets of your bucket apron. Having this in mind, measure 6″ from the end and place a mark using a Frixion heat erasable pen. Place another mark 3/4″ to the right of the mark and another 3/4″ to the right of the previous mark.
Step 3: How to Make a Gardening Bucket Apron
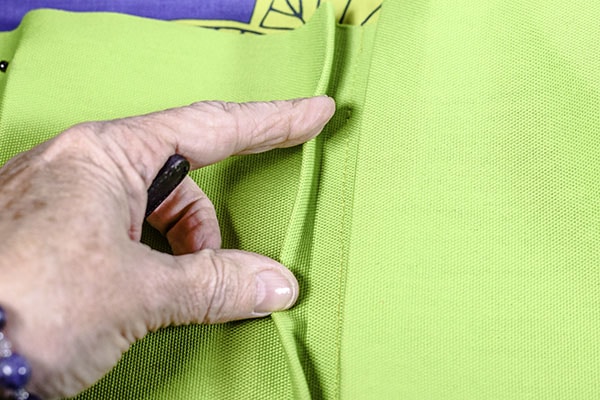
Using the center of the three lines as your guide fold the first mark so that it is even with the center mark and fold the third mark so it is also even with the center mark. This creates a pleat. Pin both sides of the pleat. This is important. Continue making pleats so that they are 6″ apart. You may have some extra fabric left at the end of your pleating but you can just cut that off.
Step 4: How to Make a Gardening Bucket Apron
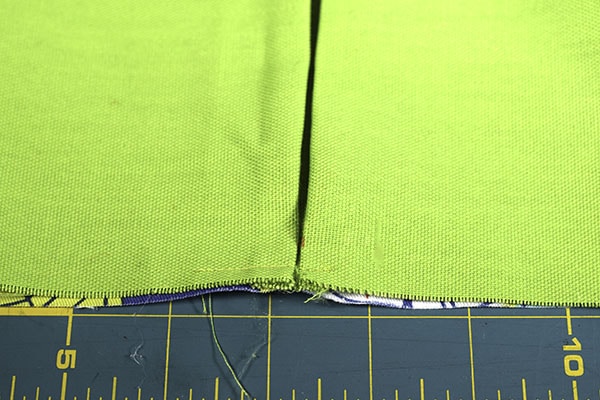
Attach the coordinating pleats to the main fabric piece so the wrong side of the pleats are face down on the right side of the main fabric. Sew a line of stitching from the fold to the bottom through the center line. This will create the dividers for the pockets. Make sure not to sew the folded pleats.
Step 5: How to Make a Gardening Bucket Apron
Sew a line 1/4″ from the bottom through each of the pleats to hold them in place.
Step 6: How to Make a Gardening Bucket Apron
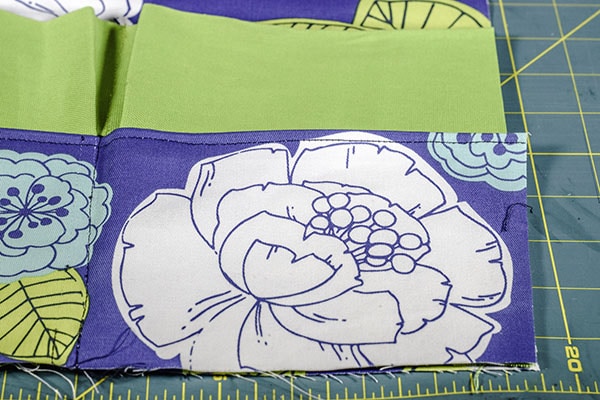
Place the third piece of fabric on top of the pleated pockets so that the raw edges are aligned. Sew lines over your previous center lines to create flat pockets. You should now have a main piece with pleated pockets and flat pockets sewn together.
Step 7: How to Make a Gardening Bucket Apron
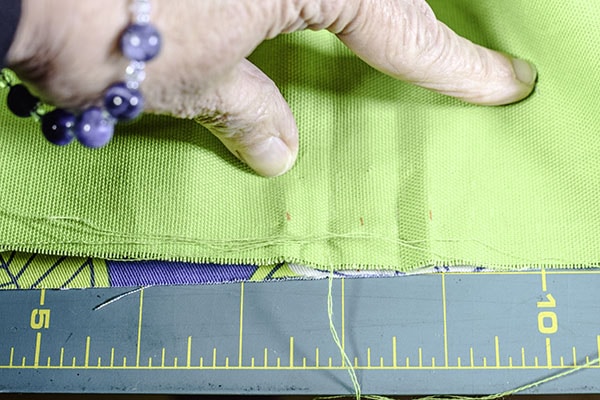
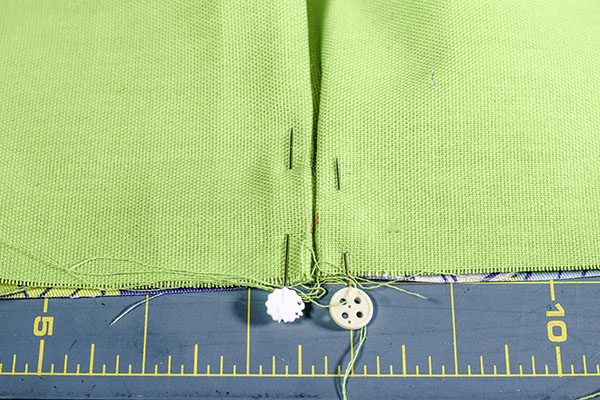
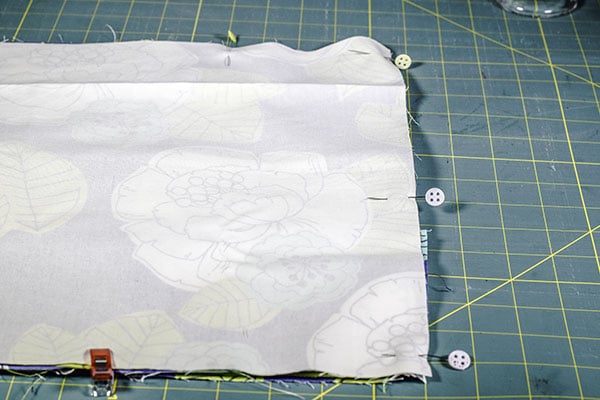
Place the second outer piece right sides together with the pocket piece. Starting at the top 2/3 from the left edge begin sewing using a 1/2″ seam allowance. Stitch until you reach the side and stop. Measure down 3/4″ from this seam line and begin sewing down the side, along the bottom and up the other side. Stop sewing 1 1/4″ from the top. Sew along the top so that you have completed the first 1/3. There will be an opening at the top for turning and two 3/4″ openings at the side seams. Clip the corners making sure that you do not clip through the stitching. Turn the piece right sides out through the opening. Push out the corners and press.
Step 8: How to Make a Gardening Bucket Apron
Top stitch around the entire apron except for the openings in the side seams using a 1/8″ seam allowance. This will give the apron a finished look and close up the opening in the top.
Step 9: How to Make a Gardening Bucket Apron
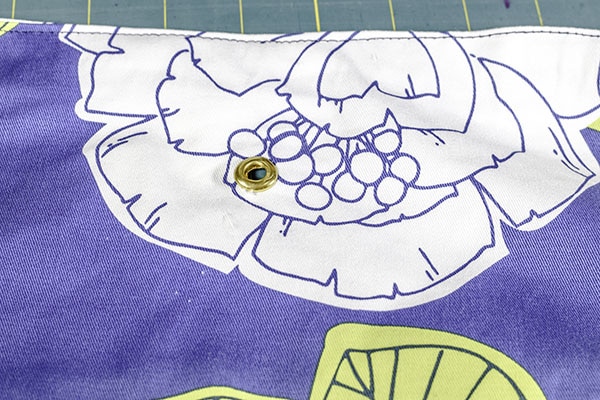
Remove one side of the handle from the bucket. Place the apron around the bucket to determine where the hole for the handle will go. Mark the place for the hole and add the grommet or eyelet following the manufacturers instructions. If you are unfamiliar with how to install grommets or eyelets check out this video.

Step 10: How to Make a Gardening Bucket Apron
Sew a seam just under the 3/4″ openings that you left in the side seams across the top of the apron. This will create the channel for the shoelace to go through. Thread the shoe lace through the channel. You will use the shoe lace to tie the apron to the bucket or around your waist.
Step 10: How to Make a Gardening Bucket Apron
Tie the apron around your bucket and fill it full of your gardening tools and you have finished your gardening bucket apron.
I hope you enjoyed this project. If you did and would like more sewing and crafting projects sign up for our newsletter and receive access to our free members only printables library.