
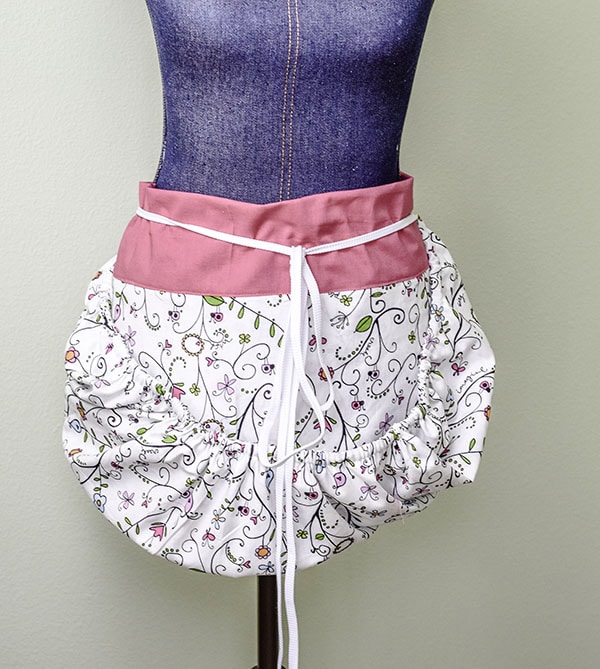
How to Make a Simple Harvest Apron
Summer is not that far away so it is time to gear up and what better way than to plant flowers and vegetables? There will come a time when you will have to harvest what you have grown so there is no reason not to take a little bit if time to learn how to make a simple harvest Apron. This charming harvest apron is simple to make and can be made to any size you like. It is also perfect for harvesting what you have grown in your garden. Only basic sewing skills are needed for this project so definitely give this a try.
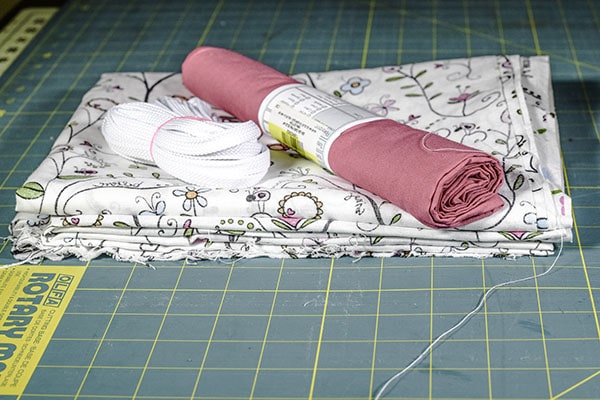
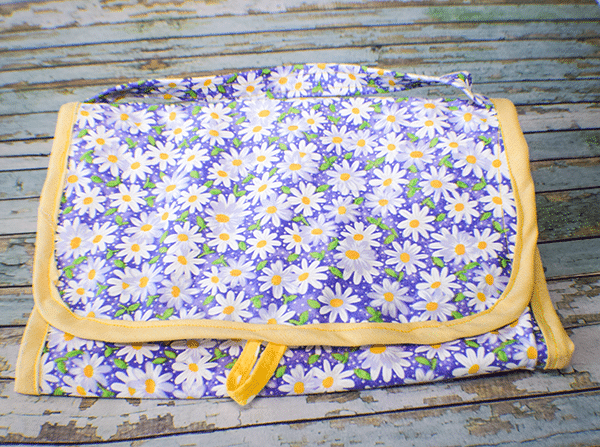
I chose a garden themed cotton fabric for my double-sided harvest apron. Though white may not have been the best choice it is what I had on hand. I have had this fabric in my stash for ages and thought it would be cute for this project. I purchased this fabric at JOANN before they went out of business.![]() If you do not have enough fabric in your stash or if you don't have a stash head over to Amazon Fabrics, or Mood Fabrics to get exactly what you need. Basic quilting cotton is perfect for this project. It is durable and washable. This post contains affiliate links. If you click on them and make a purchase I may receive a small commission at no extra cost to you.
If you do not have enough fabric in your stash or if you don't have a stash head over to Amazon Fabrics, or Mood Fabrics to get exactly what you need. Basic quilting cotton is perfect for this project. It is durable and washable. This post contains affiliate links. If you click on them and make a purchase I may receive a small commission at no extra cost to you.
What you Will Need:
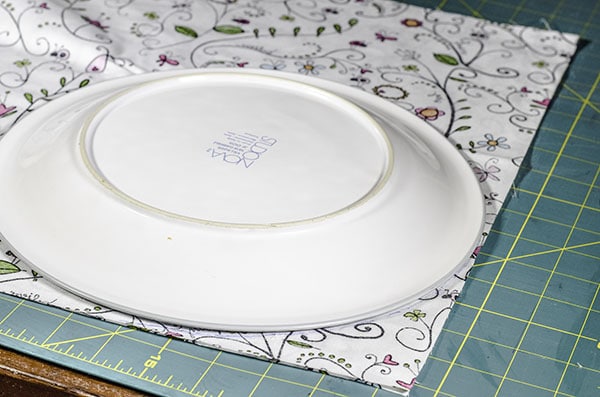
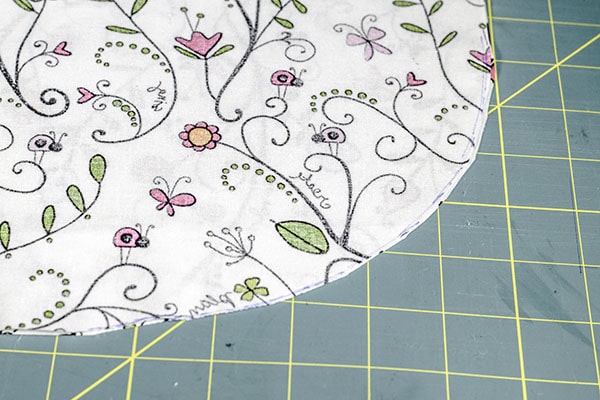
Step 1: Measure and Cut
Measure just above your hips all the way around and write down that measurement. I won't tell you what mine was, haha. Then measure the length that you would like your apron. I measured mine to just above the knee. Cut 2 rectangles of your main fabric to match these measurements. I found the best way is to refold the fabric width wise and cut your rectangles. Round the bottom corners. Cut a piece of accent fabric the same width as the apron and whatever length you like. I made mine 9″ wide because it will be folded in half in a later step.
Step 2: Stitch the Main Body Apron
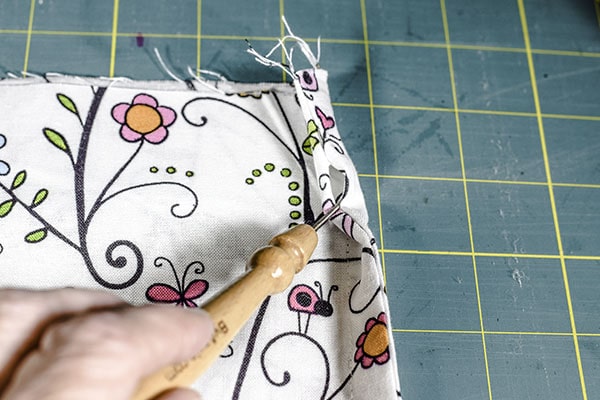
Stitch the two main body pieces right sides together around the bottom and sides using a 1/2″ seam allowance. Start at the top and stitch down 1″. Skip 3/4″ and begin sewing around the rest of the piece. Stop stitching 1 3/4″ from the end. Leave a 3/4″ opening and finish sewing the last 1″. Turn right sides out and press. Top stitch 1/2″ from the seam that you just sewed from the bottom of one opening to the bottom of the other. This will create a channel for your shoelaces. The laces will be used to gather the apron for harvesting.
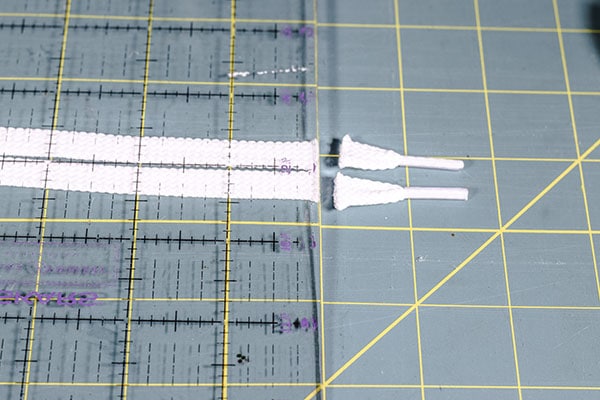
Step 3: Cut the Shoe Laces
Cut the tips off one end of each of the laces and sew the two laces together using a zig zag stitch and feed them through the channel you created.
Step 4: Hem the Short Ends of the Accent Piece
Fold the short ends of the accent piece wrong sides together about 1/4″ and again 1/4″ and stitch.
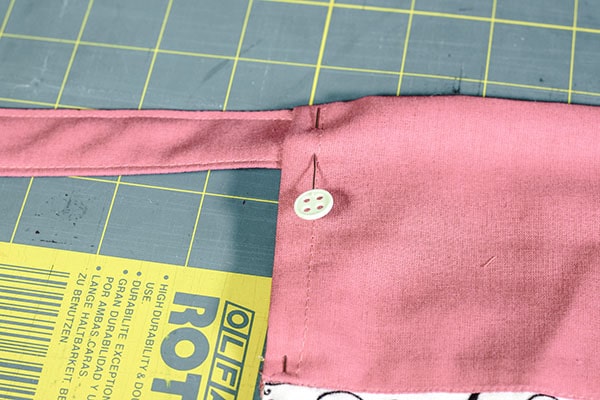
Step 5: Stitch the Accent Piece to the Body
With right sides together stitch a long raw edge of the accent piece to the main body piece through all layers. Fold the other raw edge under 1/2″ and press. Fold the accent piece in half so that the folded edge covers the seam you created when you sewed the accent piece to the main body but does not cover the opening for the laces. Slip stitch or machine stitch the folded accent piece to the right side of the body.
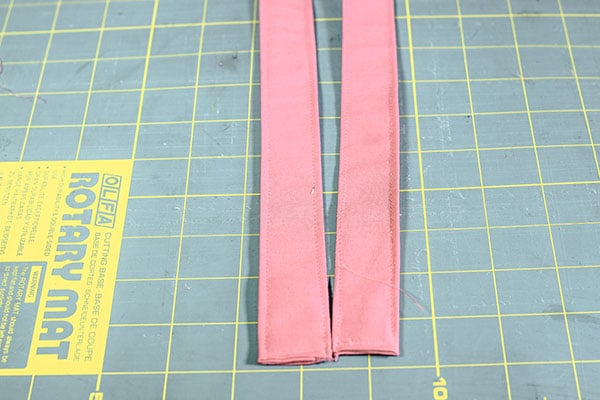
Step 6: Create the Ties
Create the apron ties. My apron ties are 1″ wide. To create them I cut two strips of accent fabric 1 1/2″ x 21″. You can make yours larger or smaller depending on your size. Sew each strip lengthwise and along one short side right sides together using a 1/4″ seam allowance. Turn the tube you have created right sides out and press. Pin the tie to the top of the waistband accent piece in between the two layers. Stitch along both sides following your previous stitching.
Step 7: Finish your Simple Harvest Apron
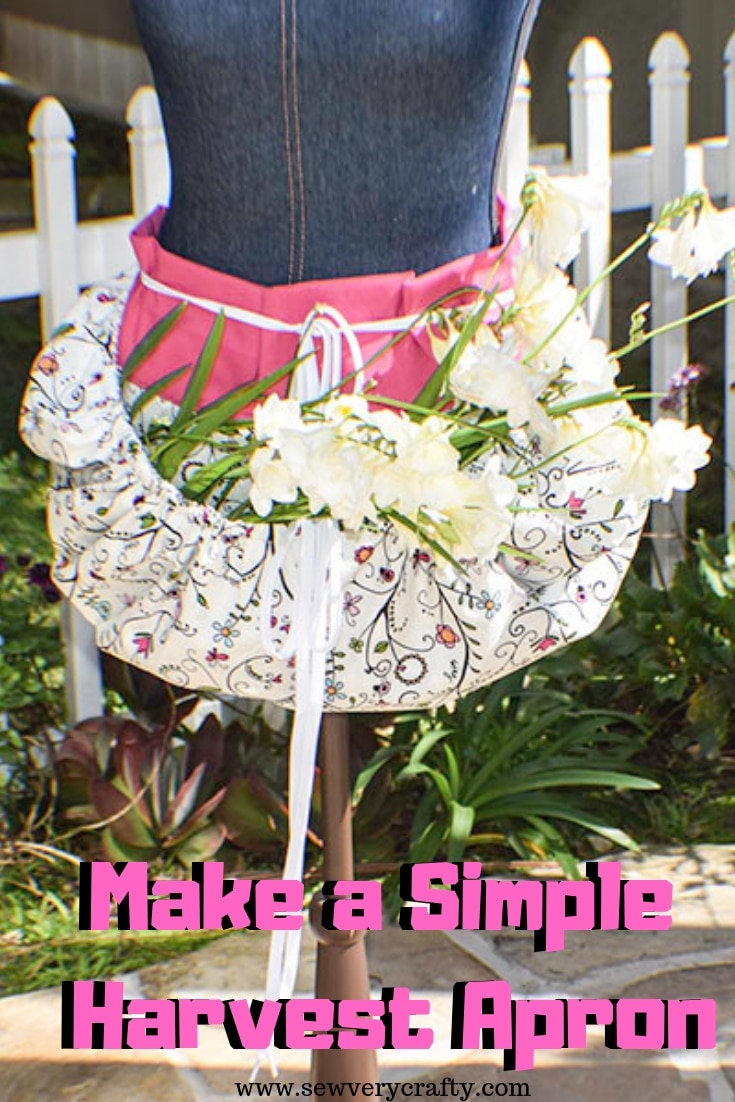
Tie your apron around your waist. Pull the shoelaces to gather the bottom of the apron and tie them in front of your waist. Gather your freshly grown flowers and produce.
I hope you enjoyed this project. If you would like more sewing and crafting projects sign up for our newsletter and receive access to our free printables library.
This pattern was modeled after one found on http://waters-edge.blogspot.com/2015/05/garden-harvesting-apron.html


I’m confused on step 2. And do I round one corner or both ends?
Thank you for asking. Round both bottom corners.
I’m very confused on where to stitch the accent piece.
Place the long sides of the accent piece and the main body piece right sides together and stitch through all of the layers. Then hem the remaining raw edges 1/2″. Fold the accent piece in half over the seam you just stitched and pin it to the main body apron above the space you left for the shoe laces. Slip stitch or machine stitch the folded the accent piece in place. I hope this helps.
That’s the exact instructions so no it doesn’t really help. I don’t know where the accent piece is being placed or what’s getting folded over what.
The main body piece is a long piece that has two sides. First fold in the short ends of the accent piece to hem them. The accent piece should now be the same length as the main body piece. Place it right sides together so that the main long raw edges and one accent piece raw edge are matching and stitch the pieces together. You should now have a long and wide piece of accent fabric attached to the main fabric. Fold under the long raw edge of the accent fabric by 1/2″. Then fold over the whole accent piece so it covers the raw edges of the seam you stitched when you joined the accent fabric with the main fabric. Stitch the accent fabric to the main fabric just before the holes you left for the shoe laces. I should have taken a picture of it. I hope this is clearer.