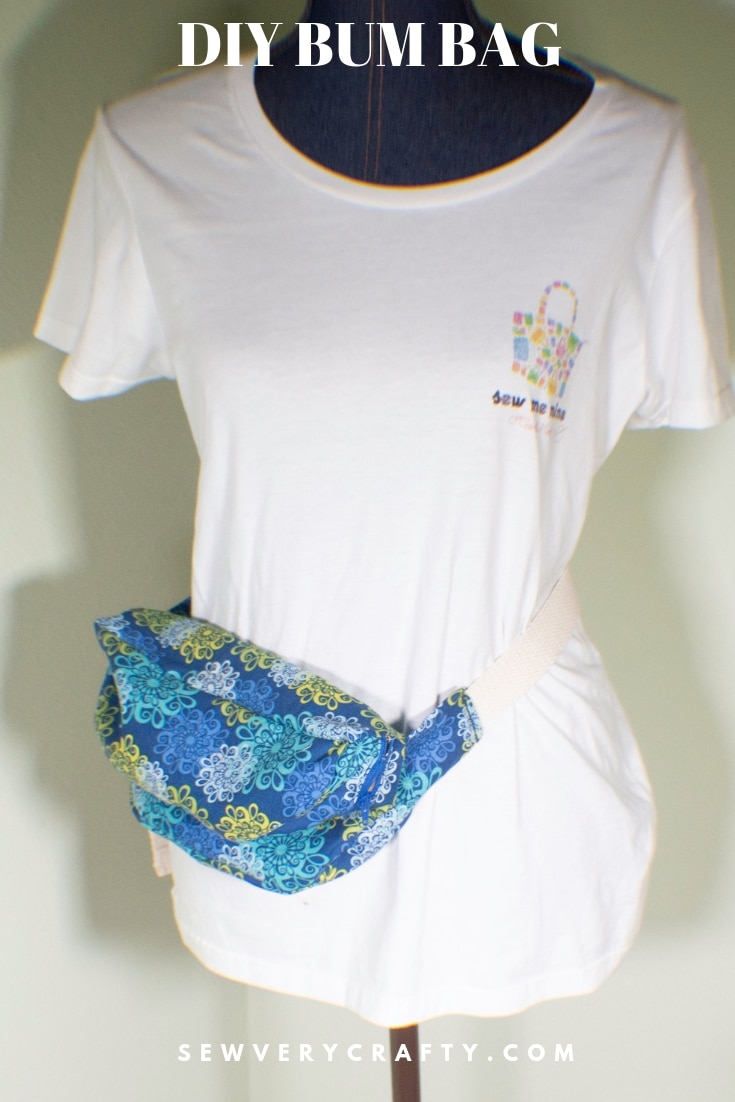
How to Make a DIY Fanny Pack or Bum Bag
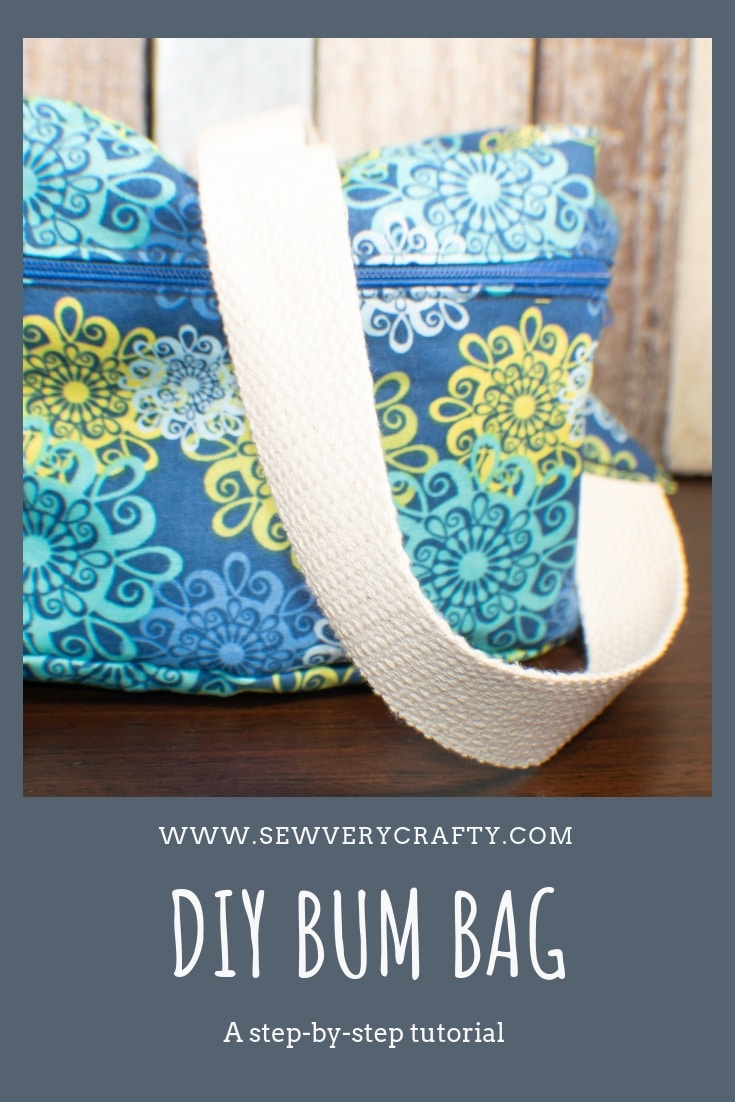
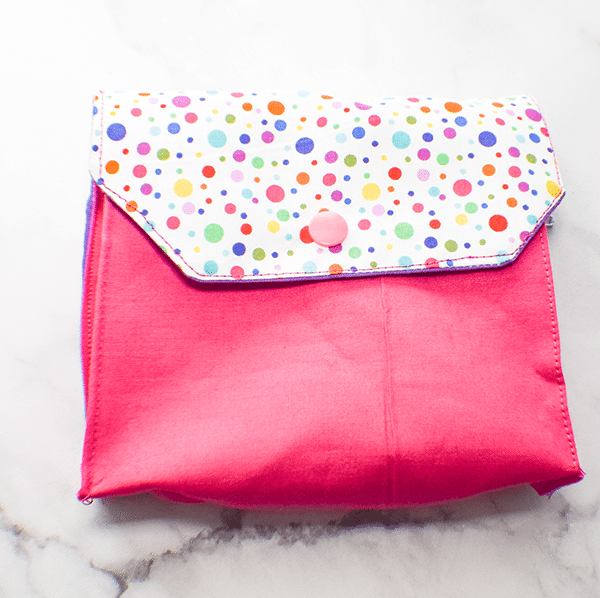
I did a DIY tutorial on how to make a bum bag in a previous post. I liked the pattern and the post but the bum bag/fanny pack was flat and could only fit maybe a phone, some identification and some money so I decided to create a fanny pack/bum bag that would provide space for much more. This pattern is a little more difficult to make and requires intermediate sewing skills if you include the lining but it is a more traditional style fanny pack. I was still able to use remnants for this project but it did require more fabric than the fat quarters needed for the previous pattern.
If you need fabric for this project I recommend either Hobby Lobby or Fabric.com to get exactly what you need. I also recommend that you use decorator weight fabric for this project unless you are going to line it. I decided to line my project. If you plan on lining your project it is more time consuming and requires some hand sewing to achieve the look that you want. This post contains affiliate links that if you click on them and make a purchase I may receive a small commission at no extra cost to you.
What you will Need:
- Pattern pieces
- 3/4 yd of exterior fabric
- 3/4 yd of interior fabric
- 16″ zipper
- 1 parachute clip
- 1″ webbing per your measurements
- Standard sewing supplies

Step 1: How to make a DIY Fanny Pack or Bum Bag
Cut out the following pieces:
- 14 1/8″ x 6 1/4″ piece of outer fabric and lining fabric for the front
- 10 1/4″ x 6 1/4″ piece of outer fabric and lining fabric for the back
- 2 top/bottom pieces of outer fabric and lining fabric
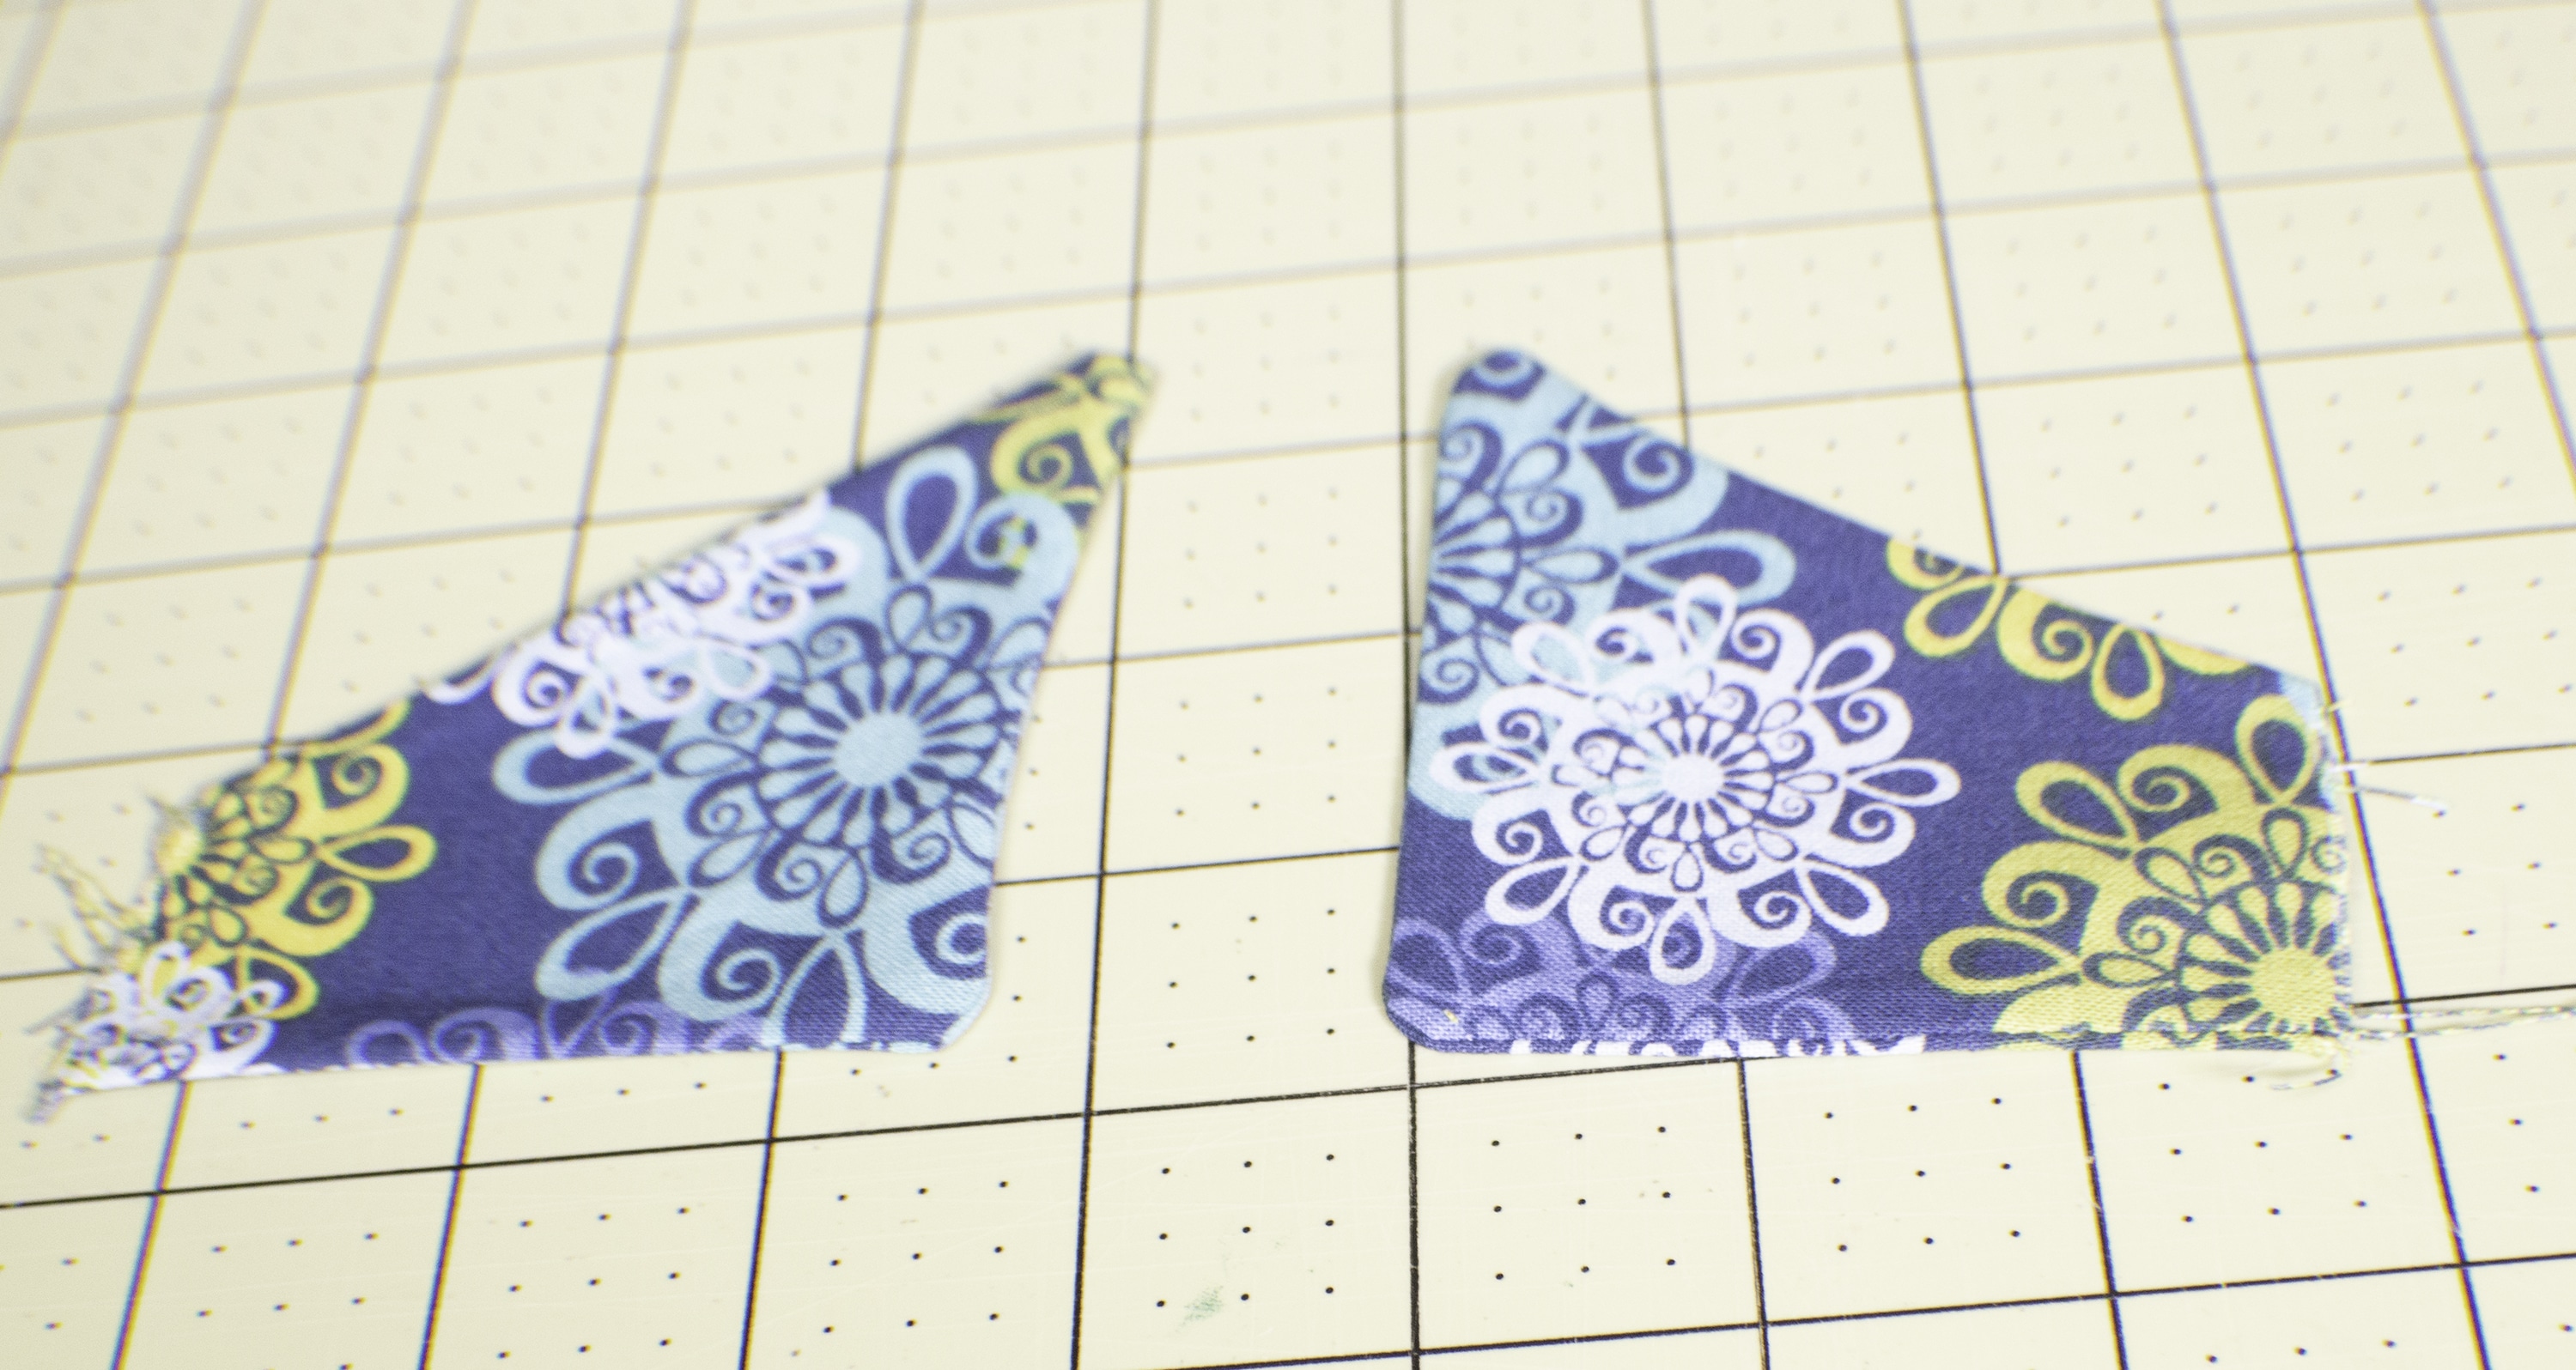
- 4 side pieces of outer fabric. Cut two from the pattern piece then turn the piece over and cut two more pieces.
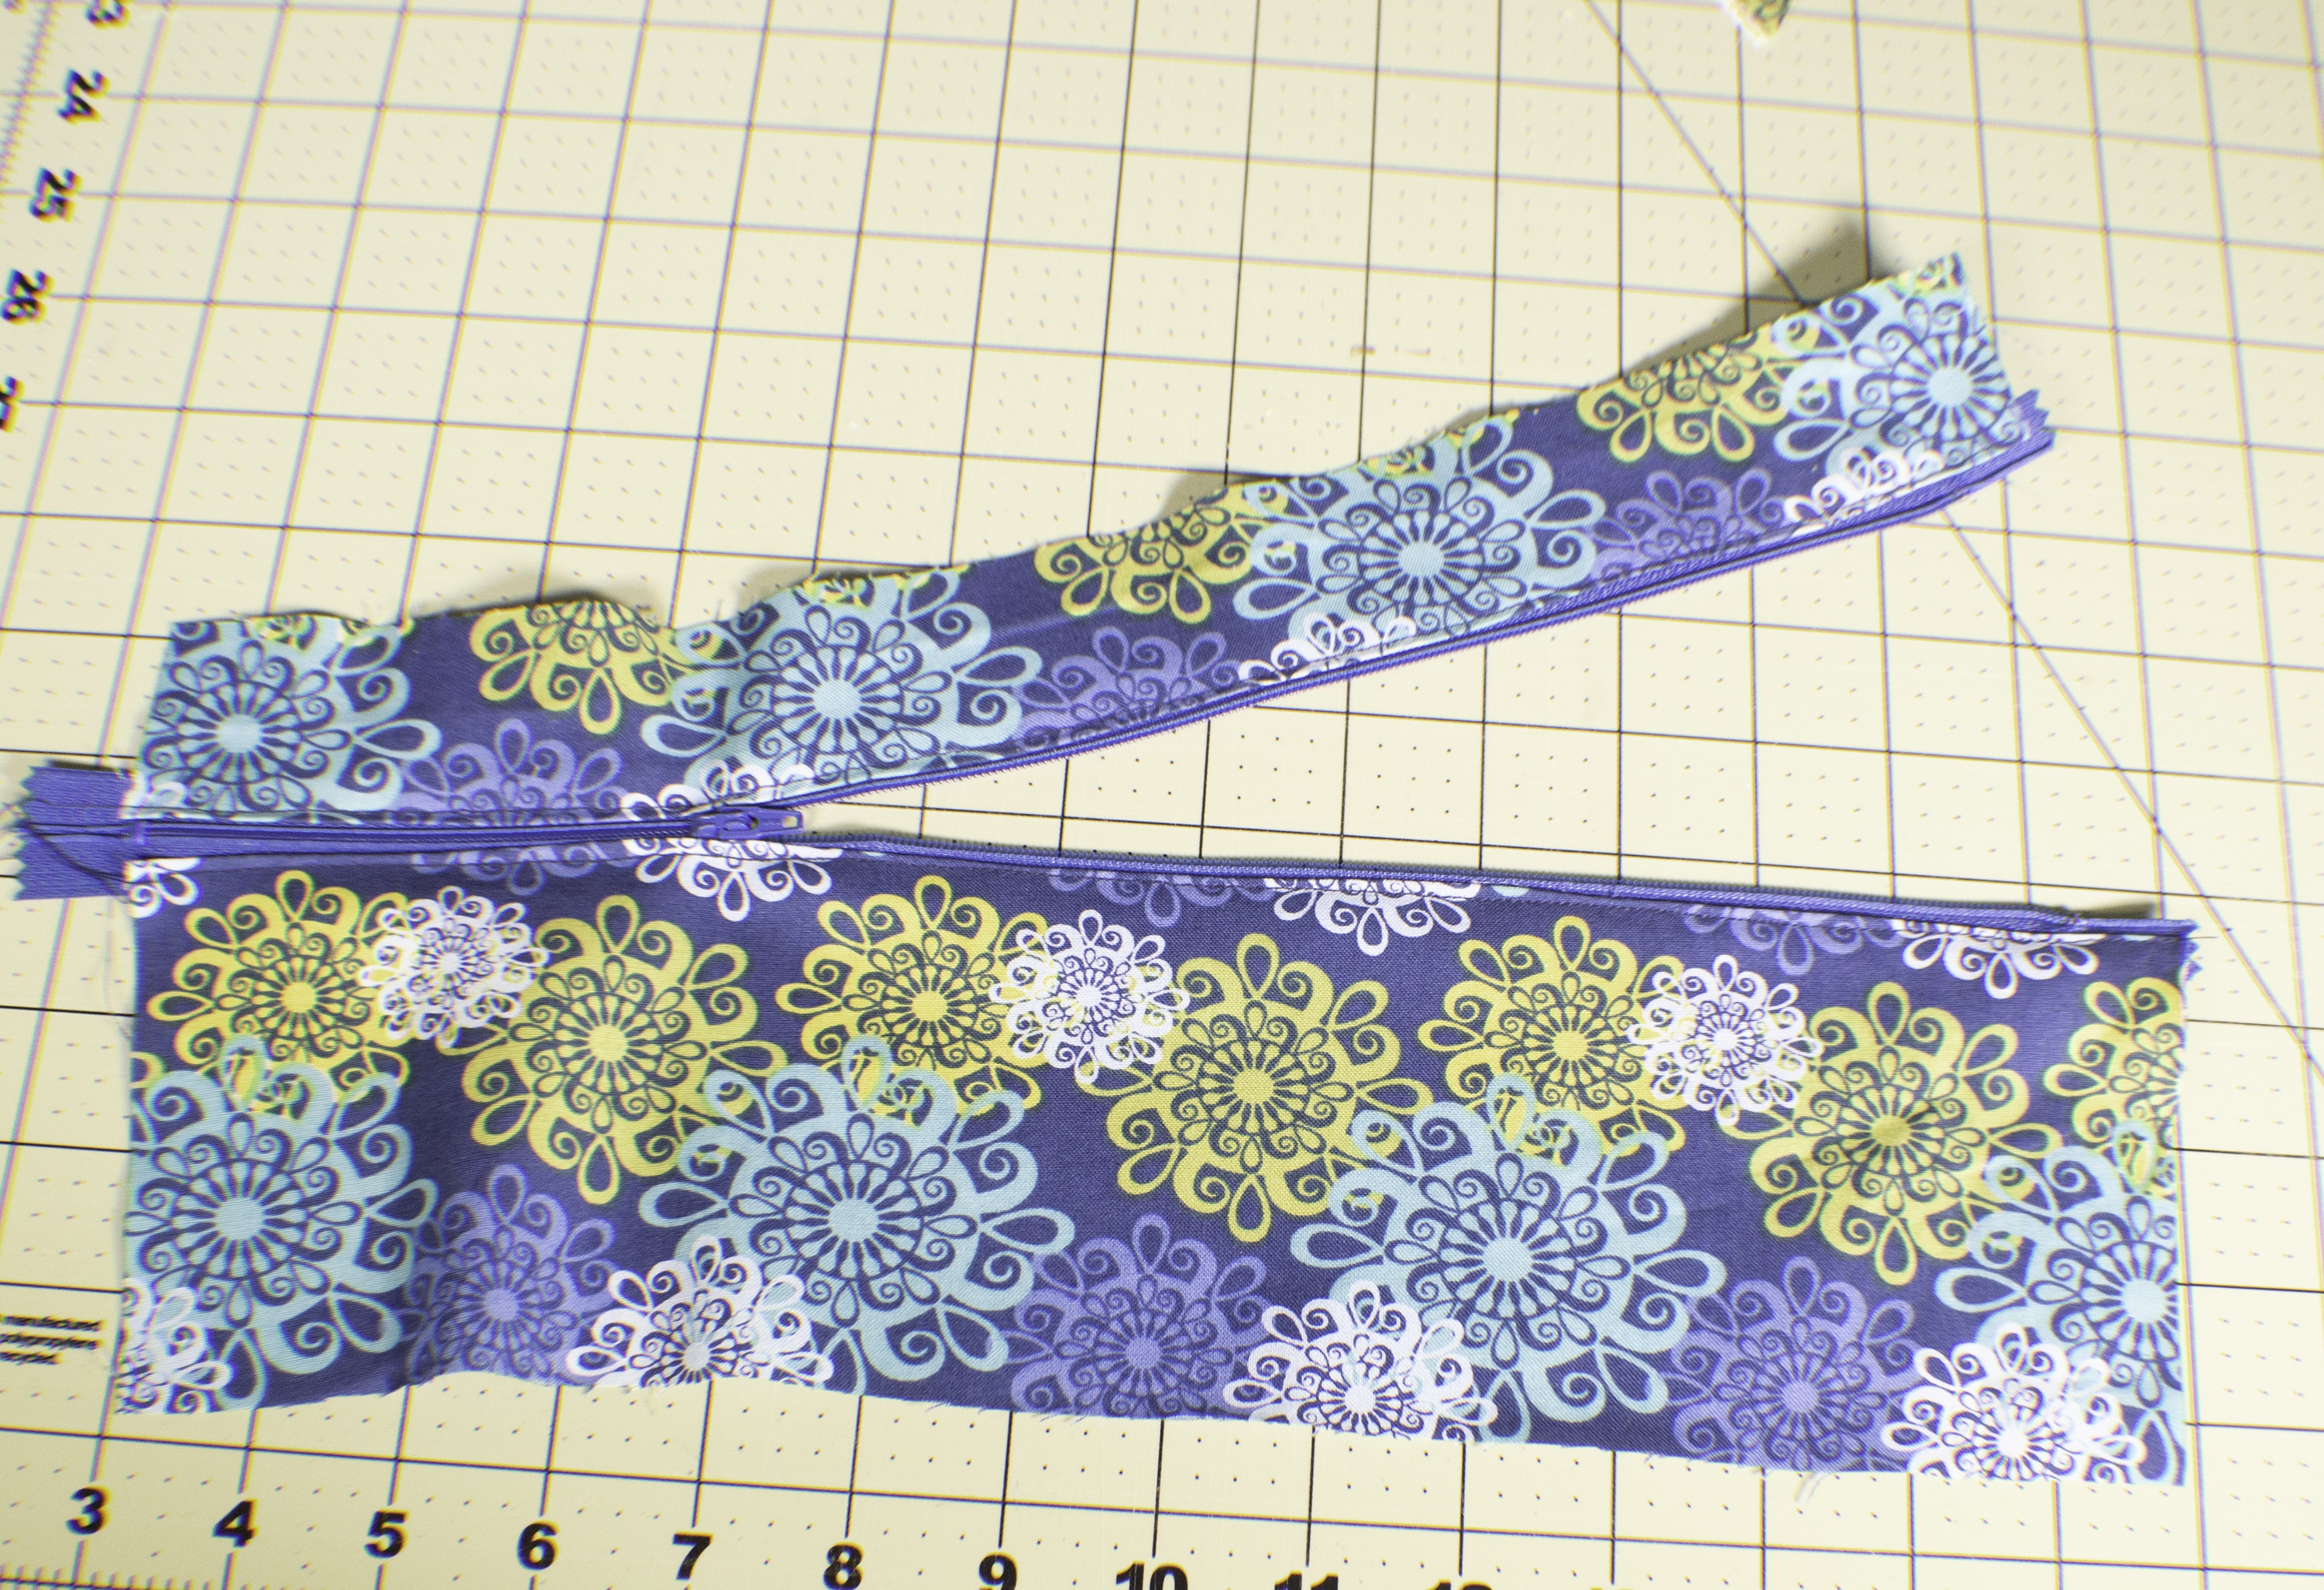
Step 2: How to make a DIY Fanny Pack or Bum Bag
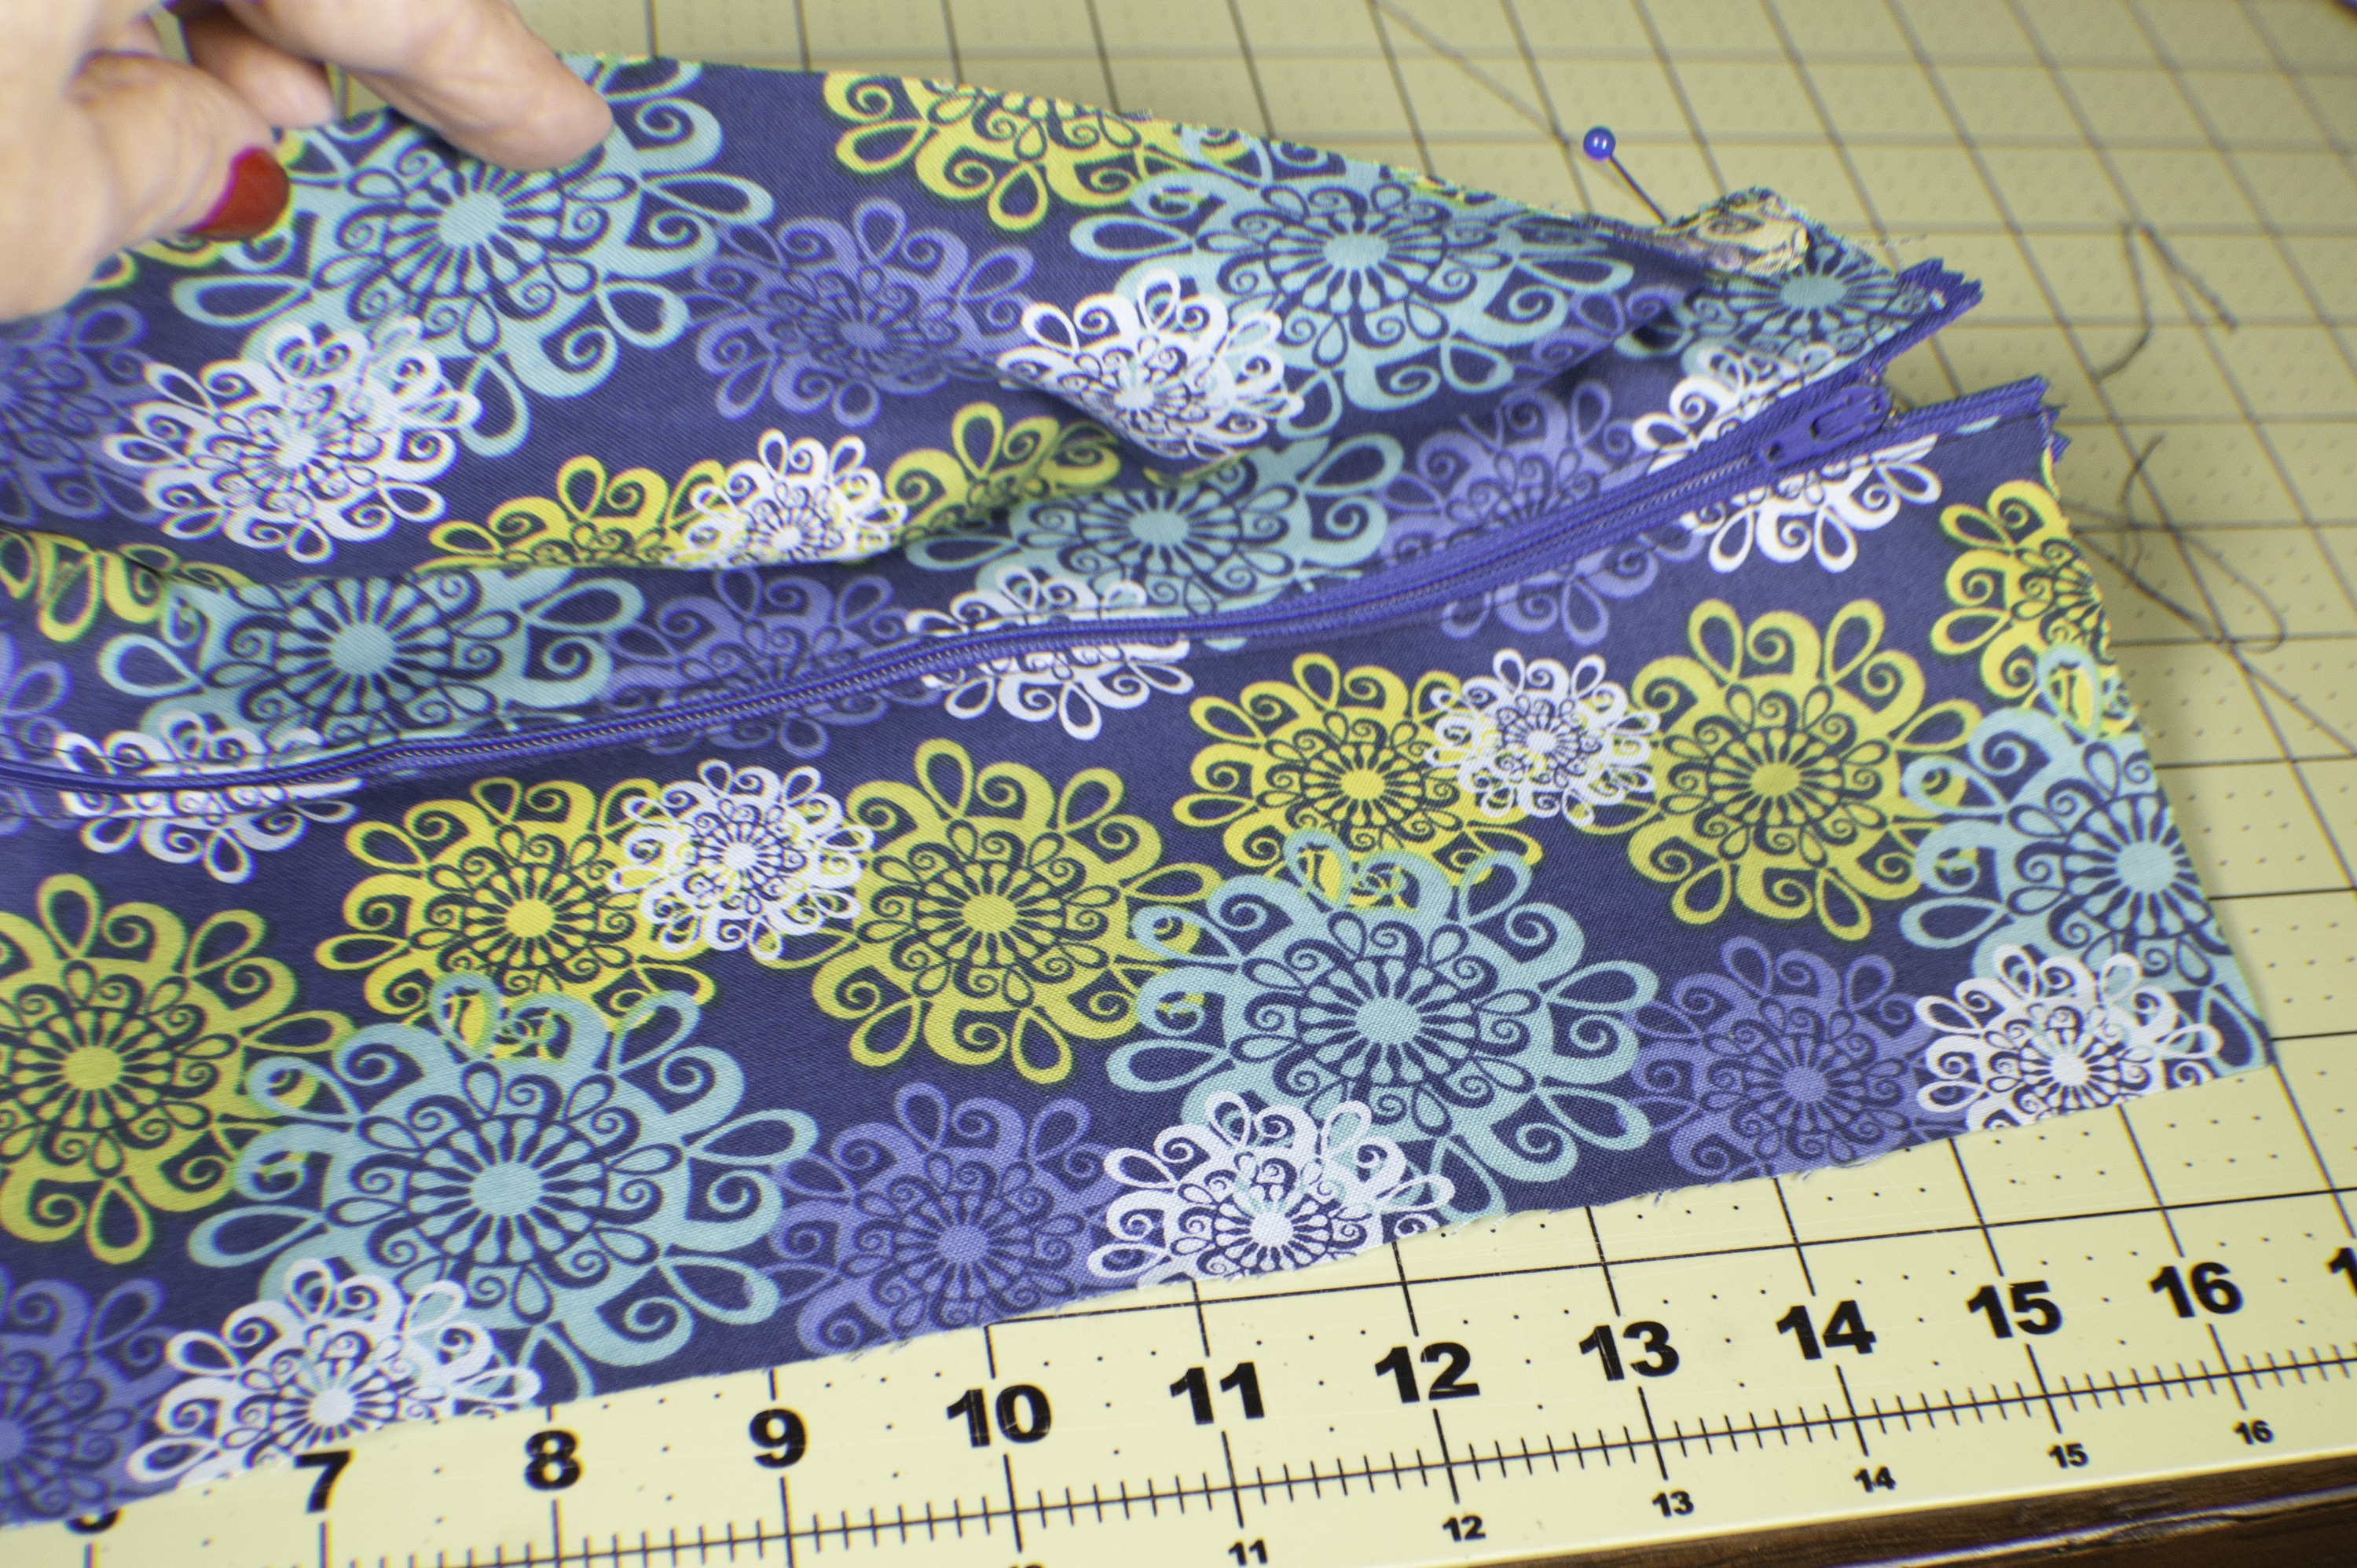
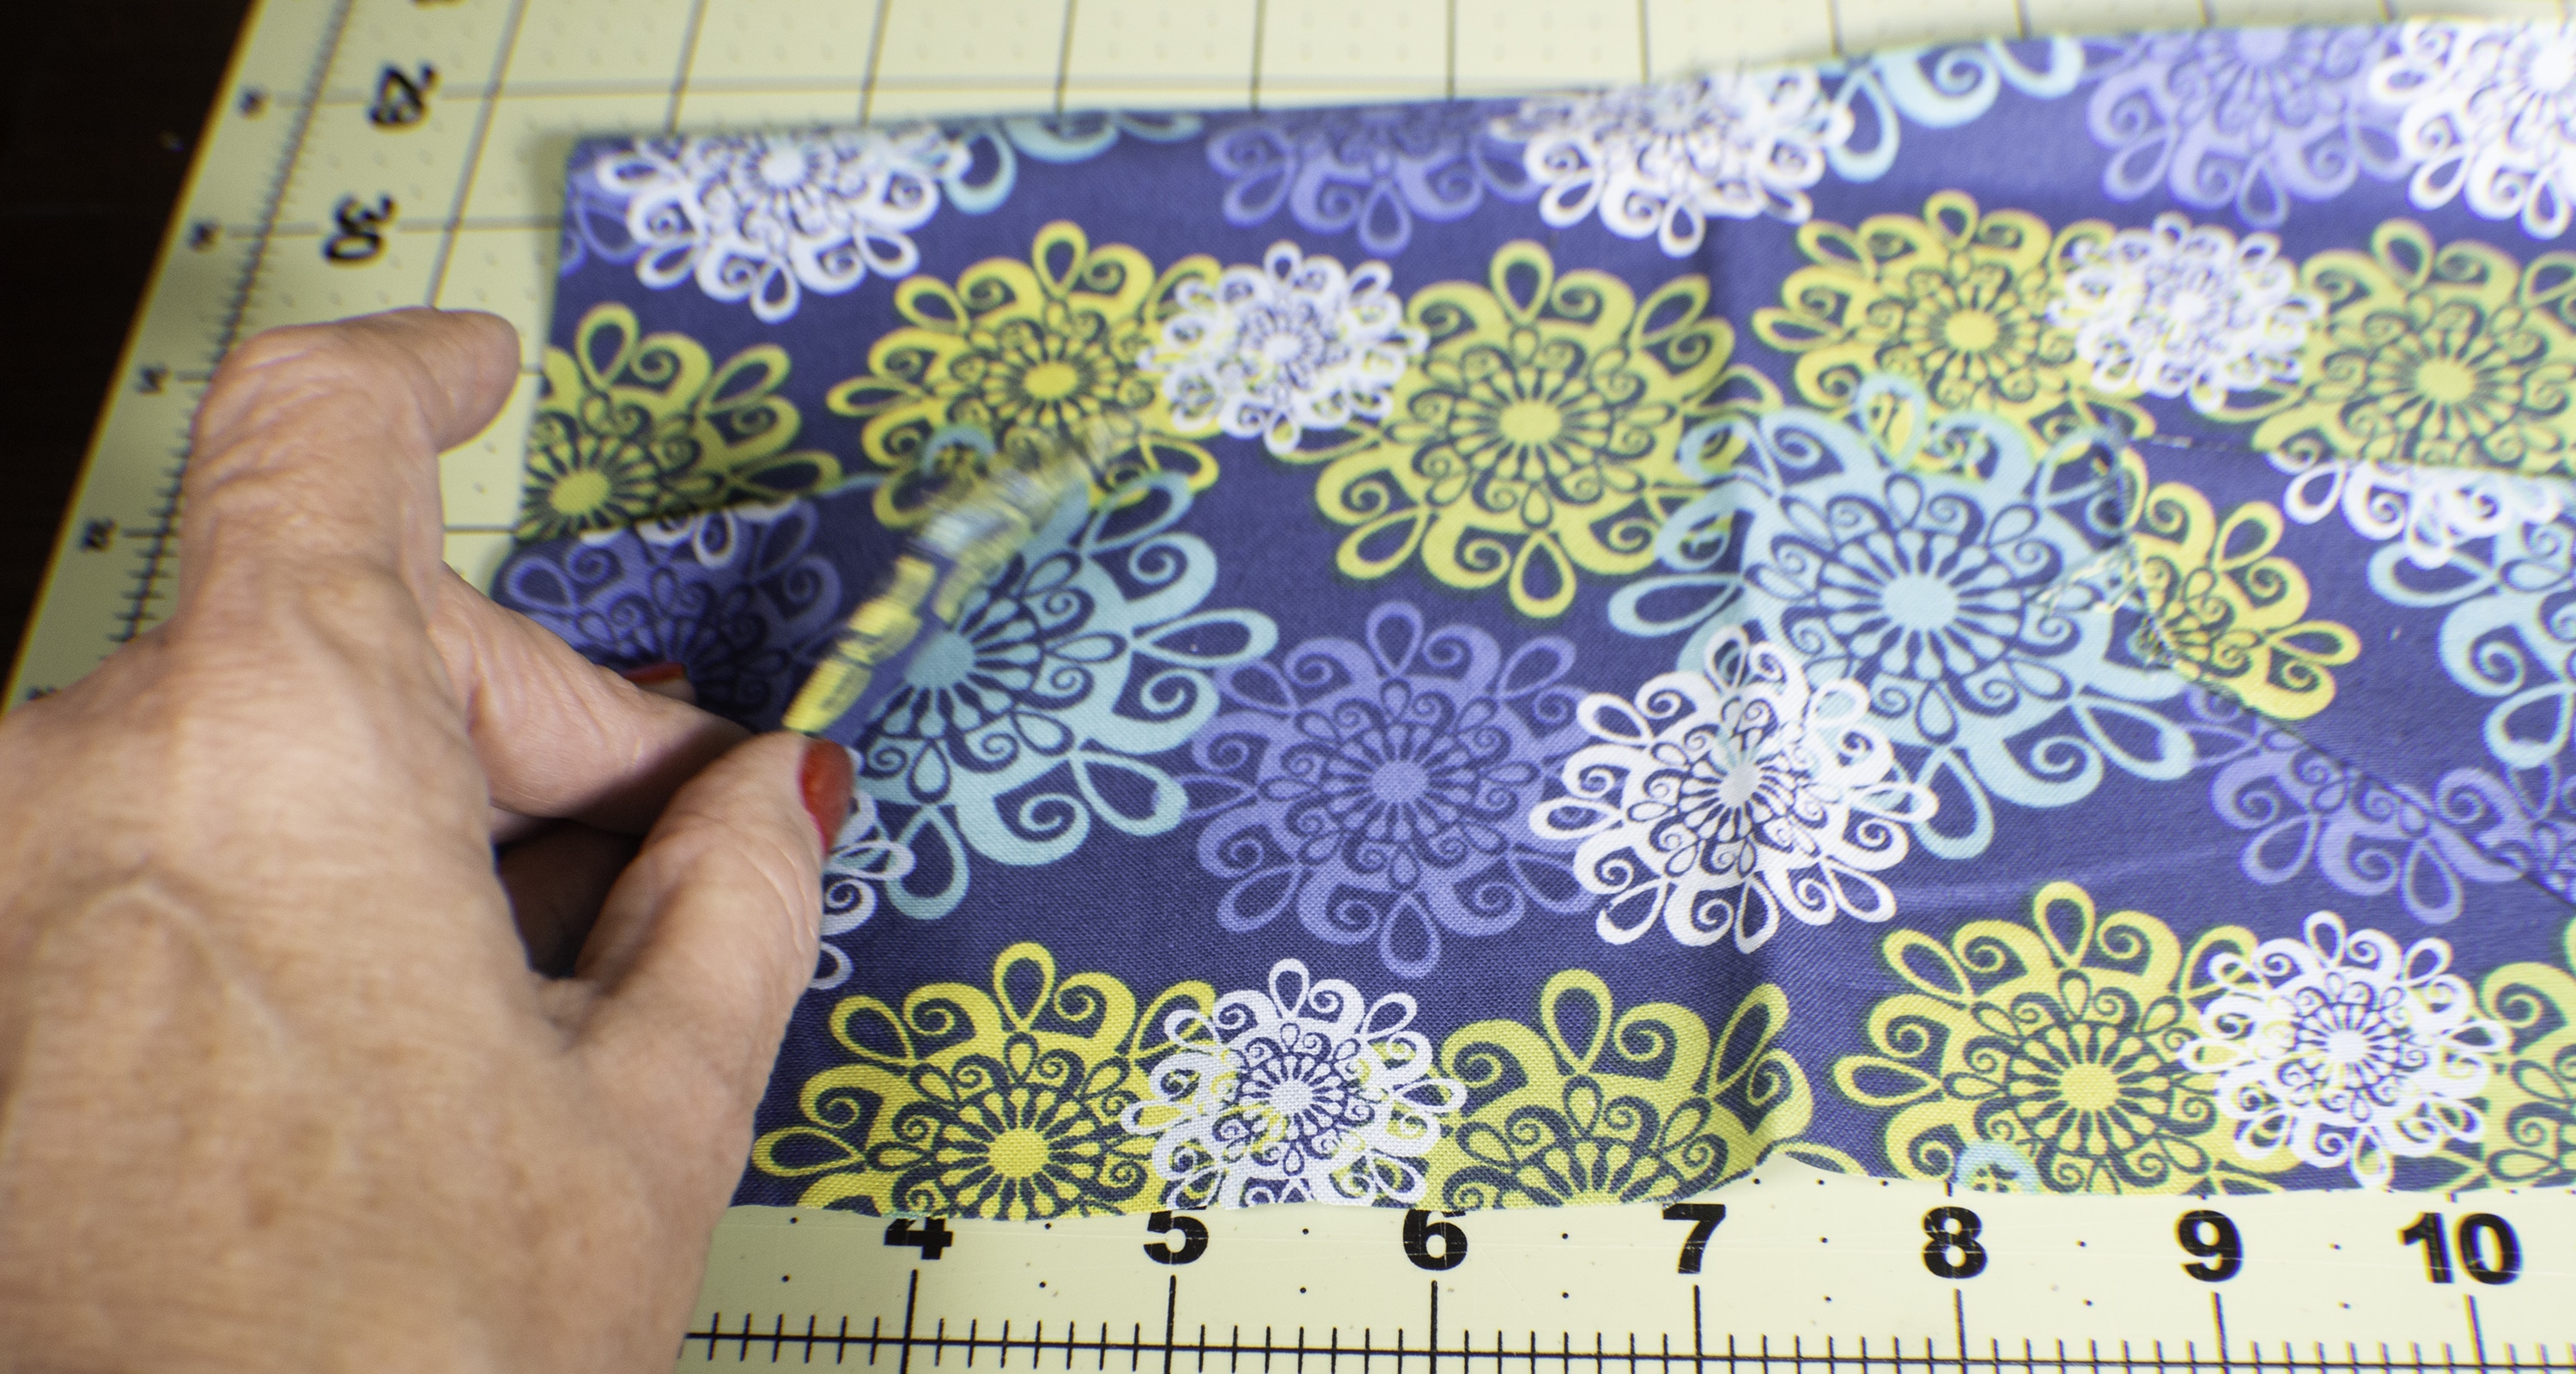
Take the 14 1/8″ x 6 1/4″ piece and measure down 2″ from the top and draw a line. Cut along that line. Your zipper will go between the two pieces. Fold the top long edge of the larger of the pieces and the bottom long edge of the smaller of the two pieces by 1/4″ and press. Line up the folded edges of the fabric pieces along the zipper teeth and pin. Sew along the folded edges so that the fabric is attached to the zipper.

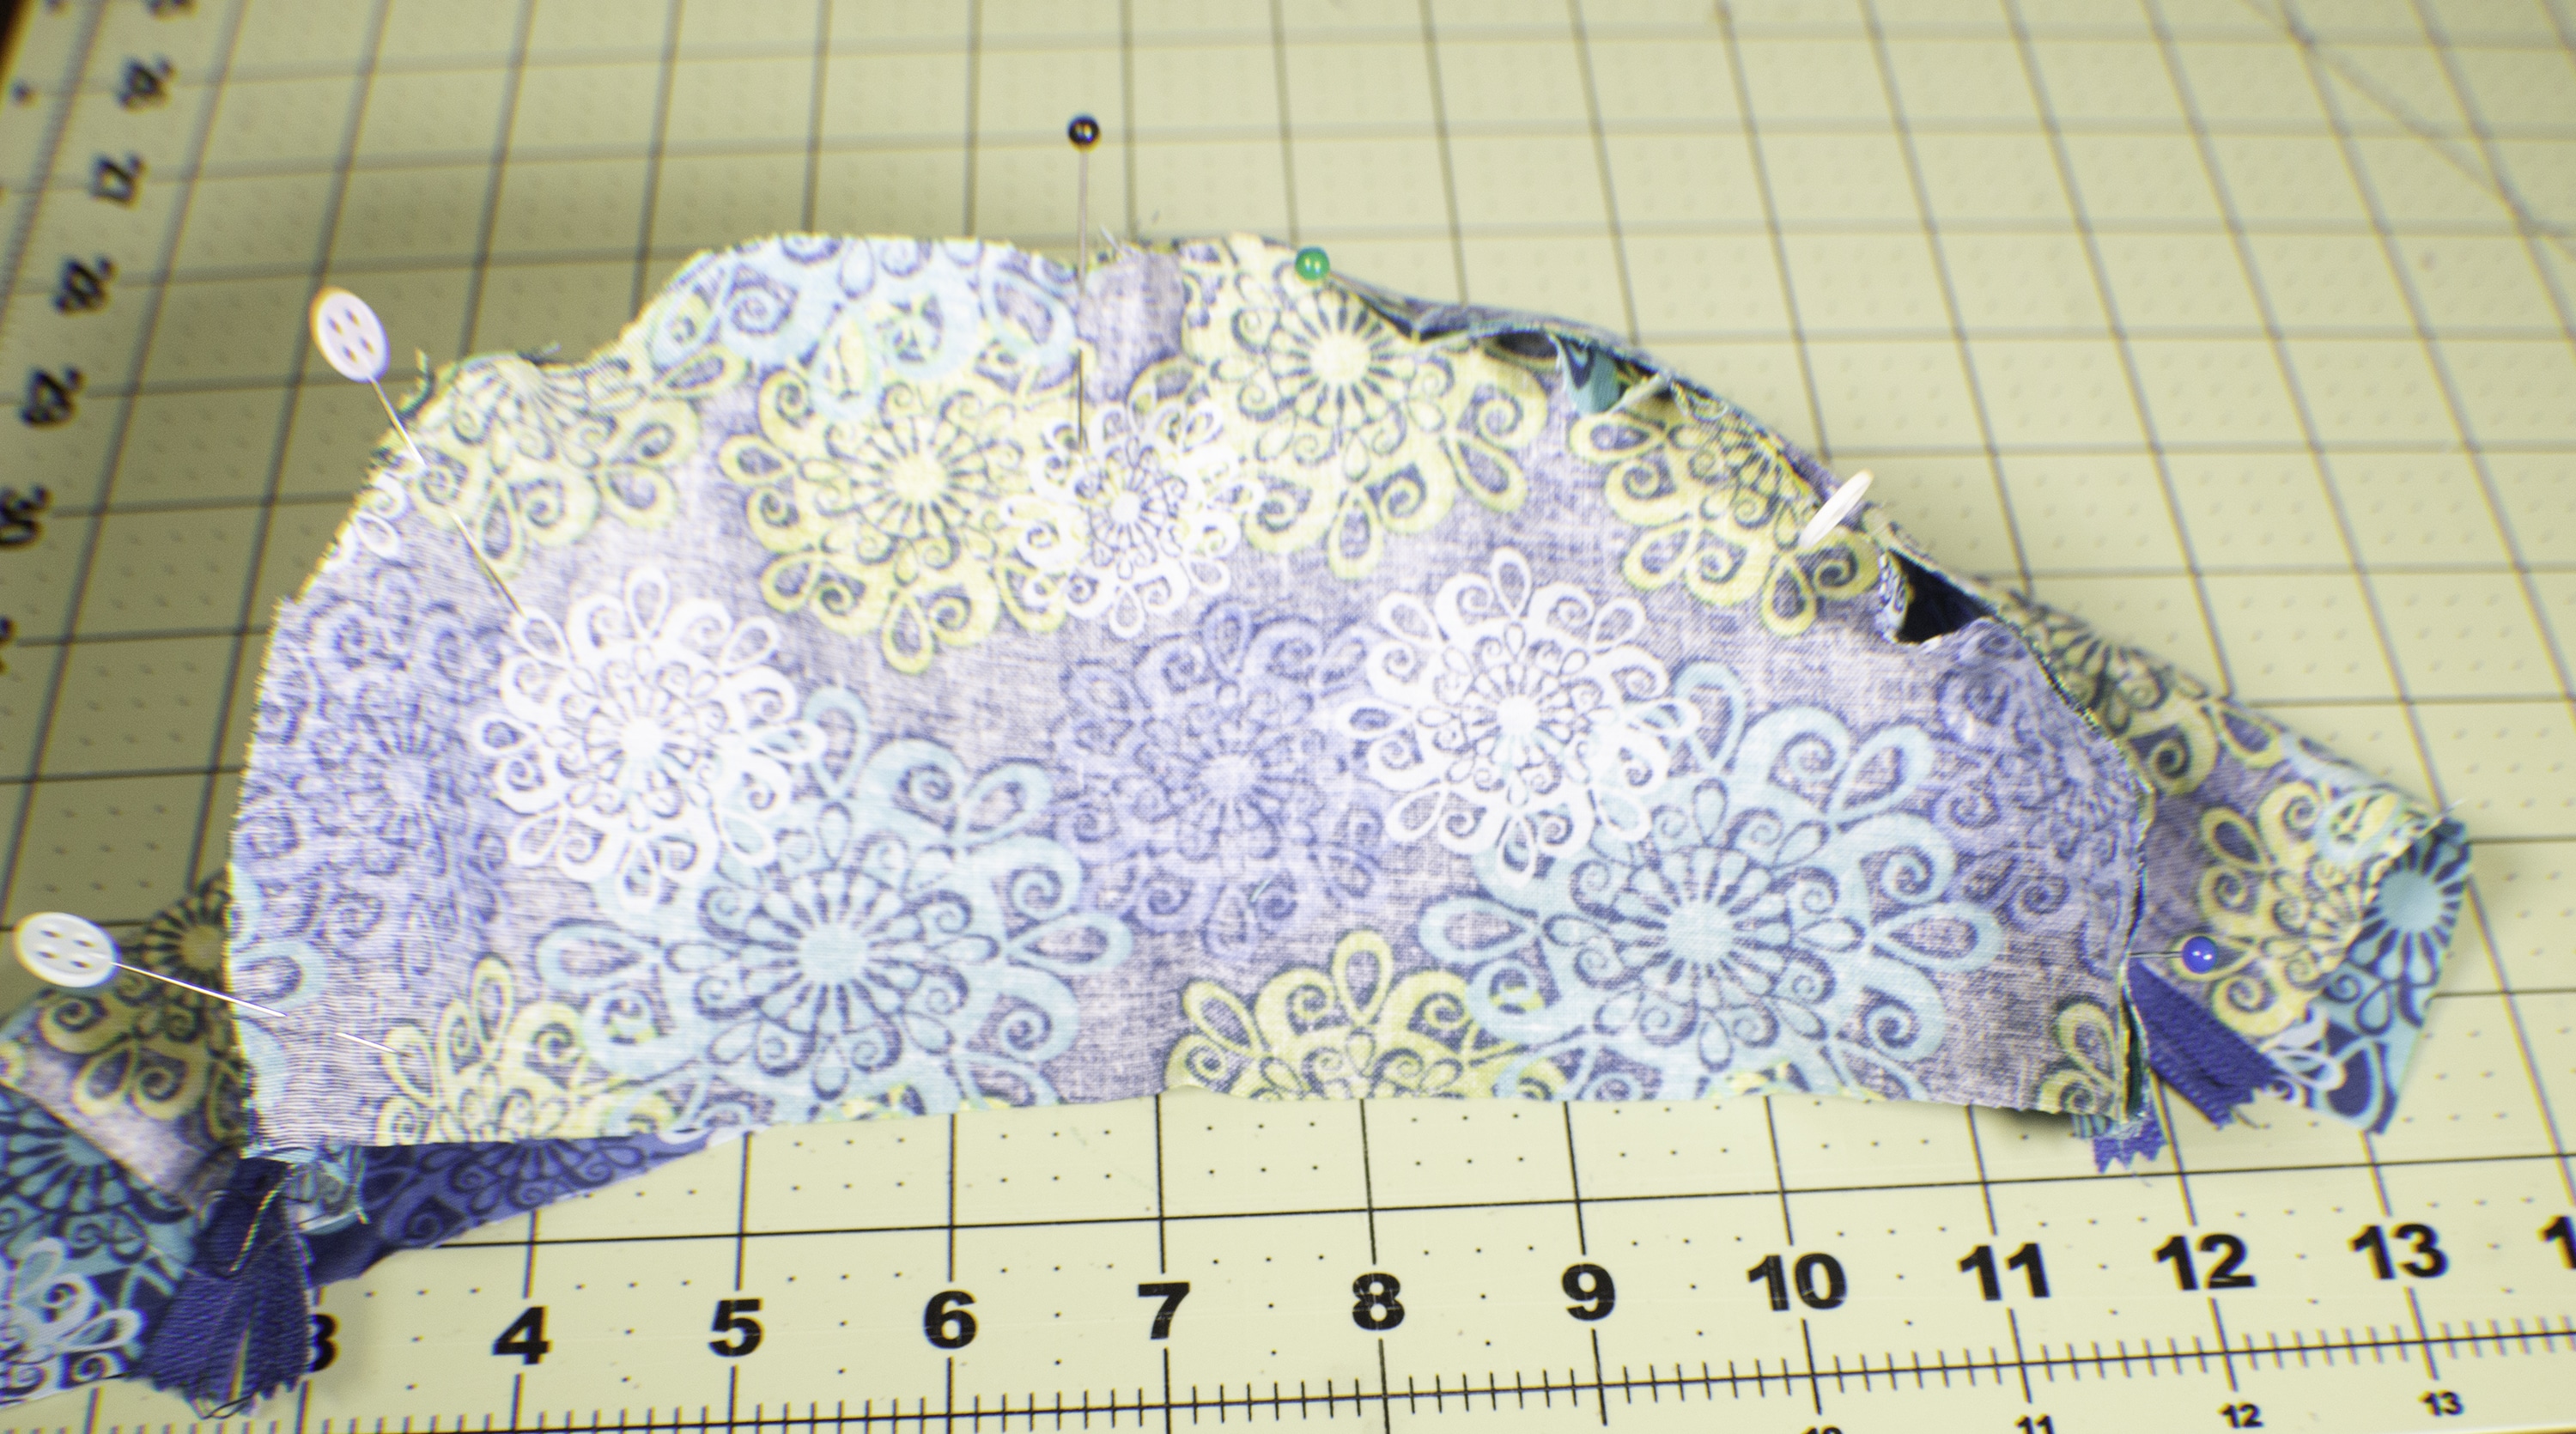
Step 3: How to make a DIY Fanny Pack or Bum Bag
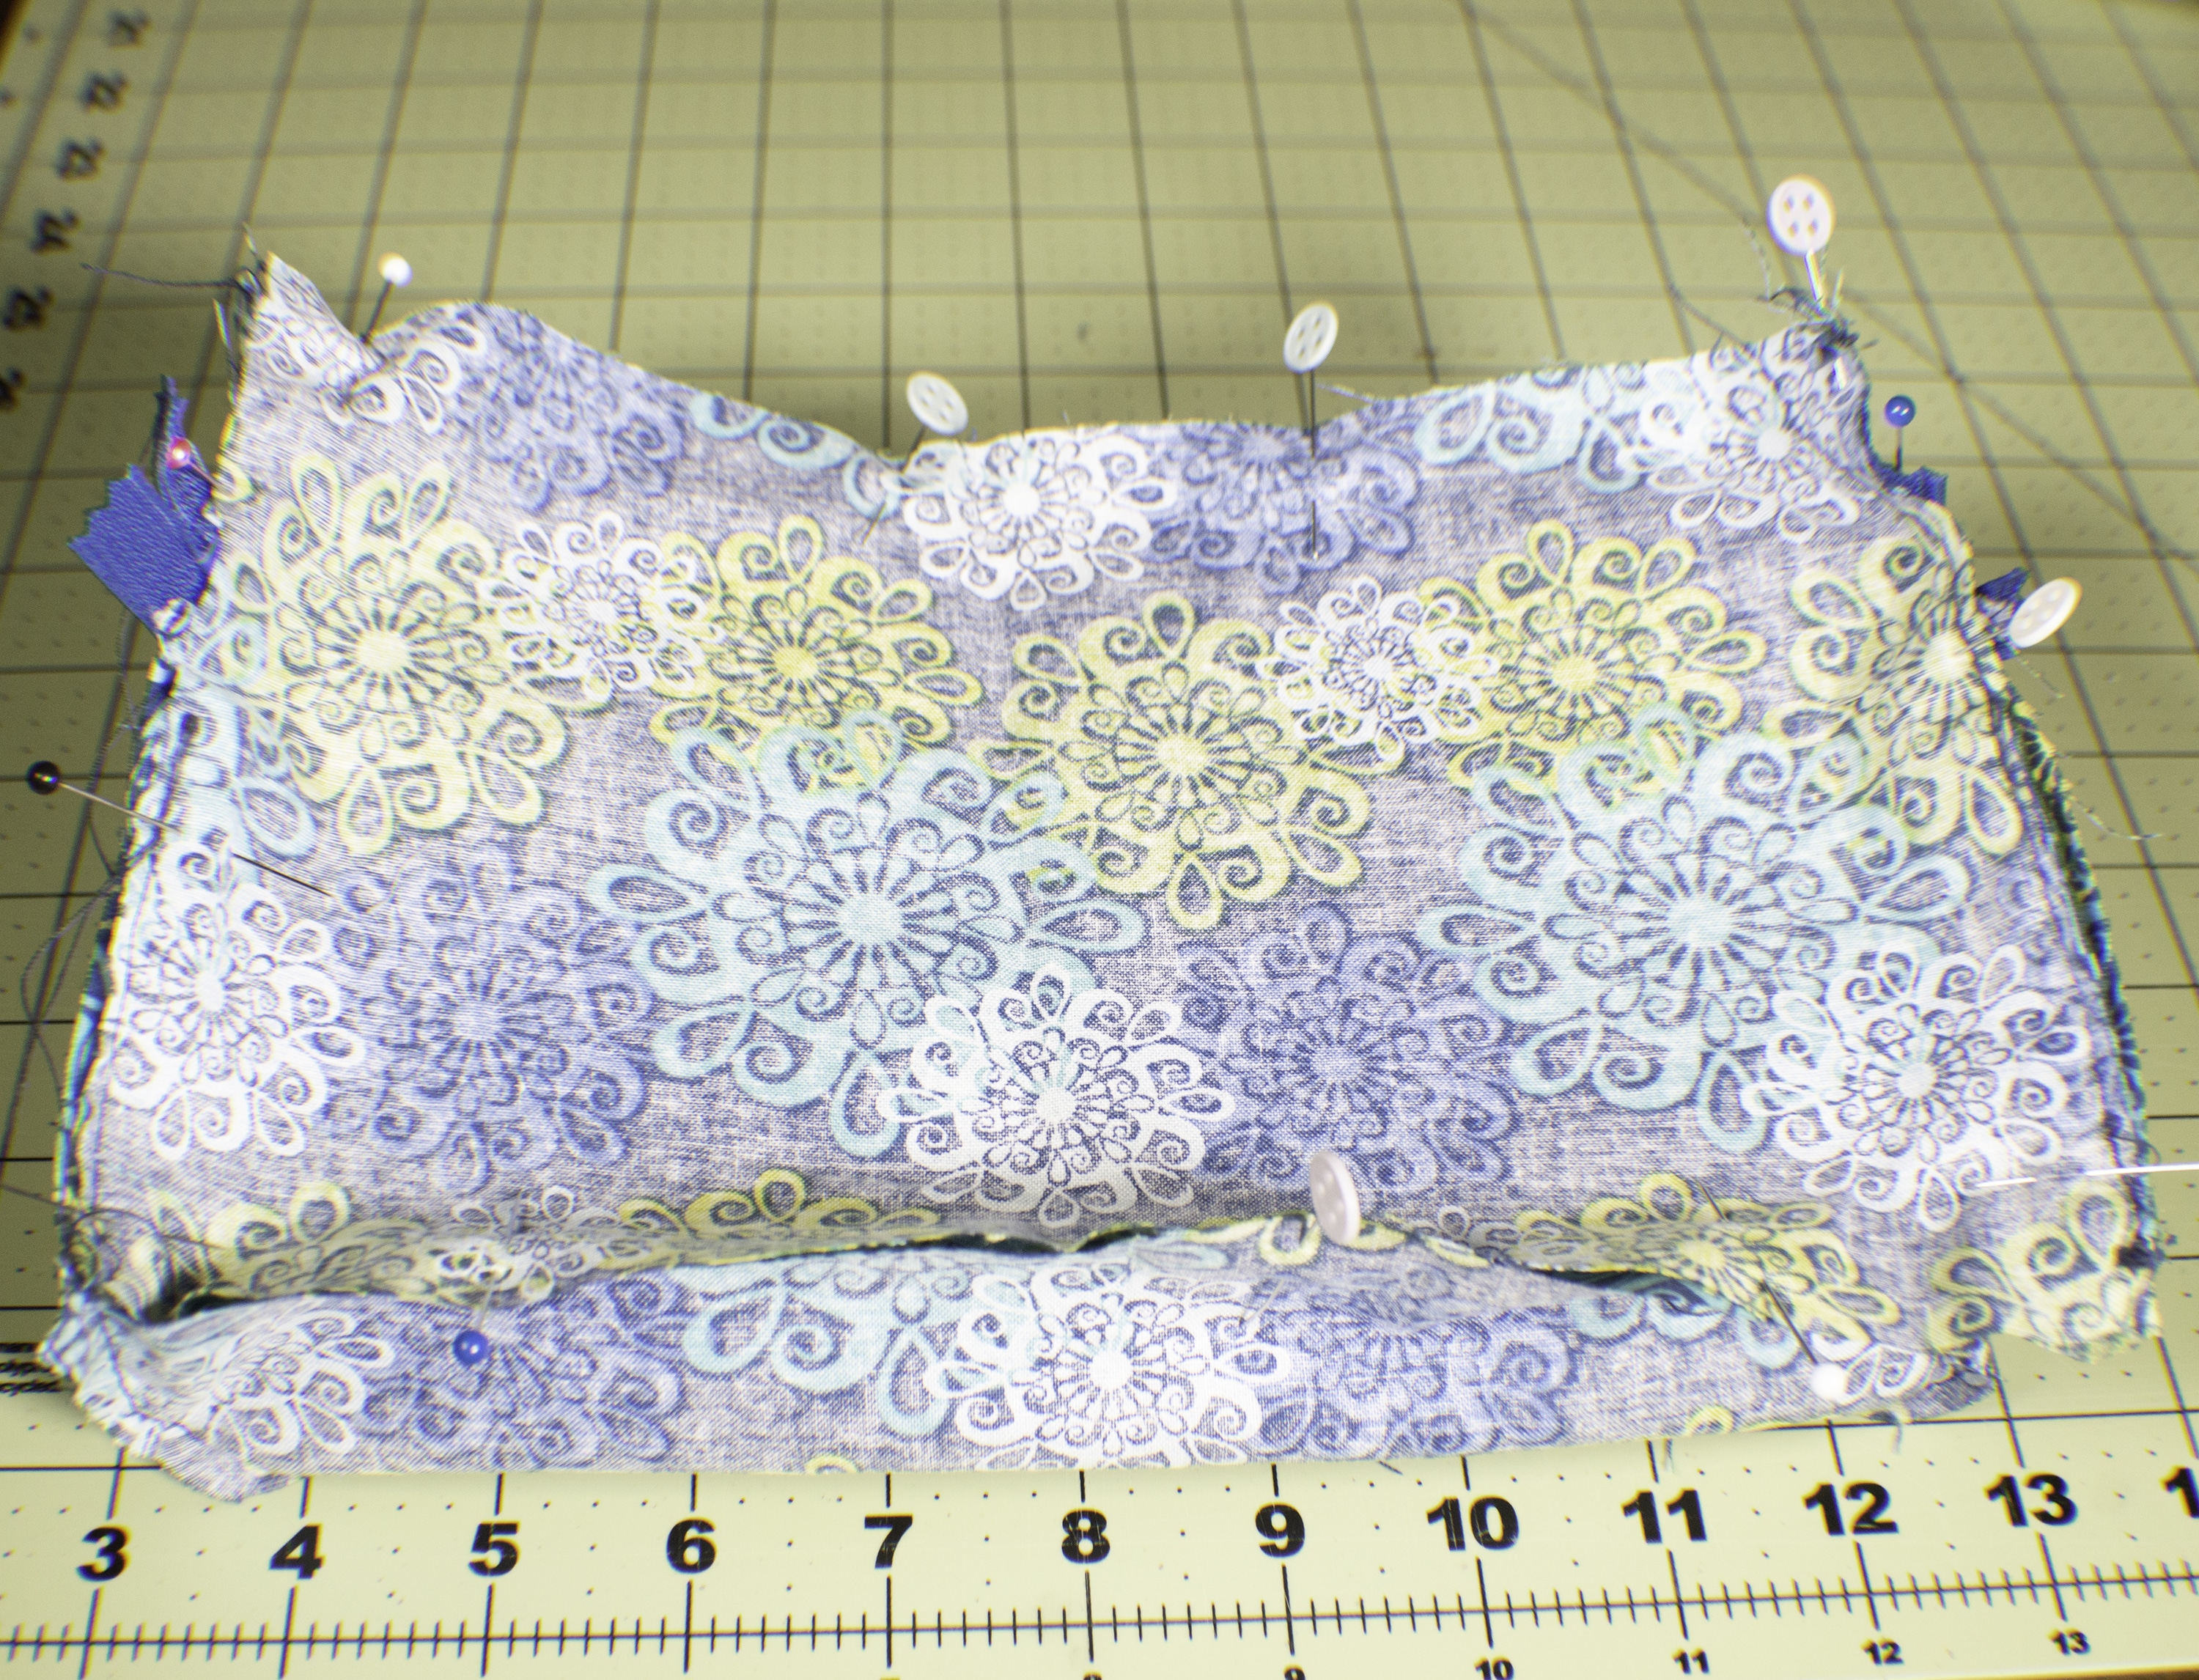
Using a 1/4″ seam allowance attach the top half circle to the zipper front right sides together making sure that it is centered and pin. Remember that you are pinning a rounded edge to a straight edge and it is easy to get it bunched up. I used several pins to ensure that this does not happen. In addition, start from the center then pin the sides before pinning the remainder. This will make sure that everything is even. Sew around the edge using a 1/4″ seam allowance. Repeat for the bottom. You will have completed the front, top and bottom of the outer bag.

Step 4: How to make a DIY Fanny Pack or Bum Bag
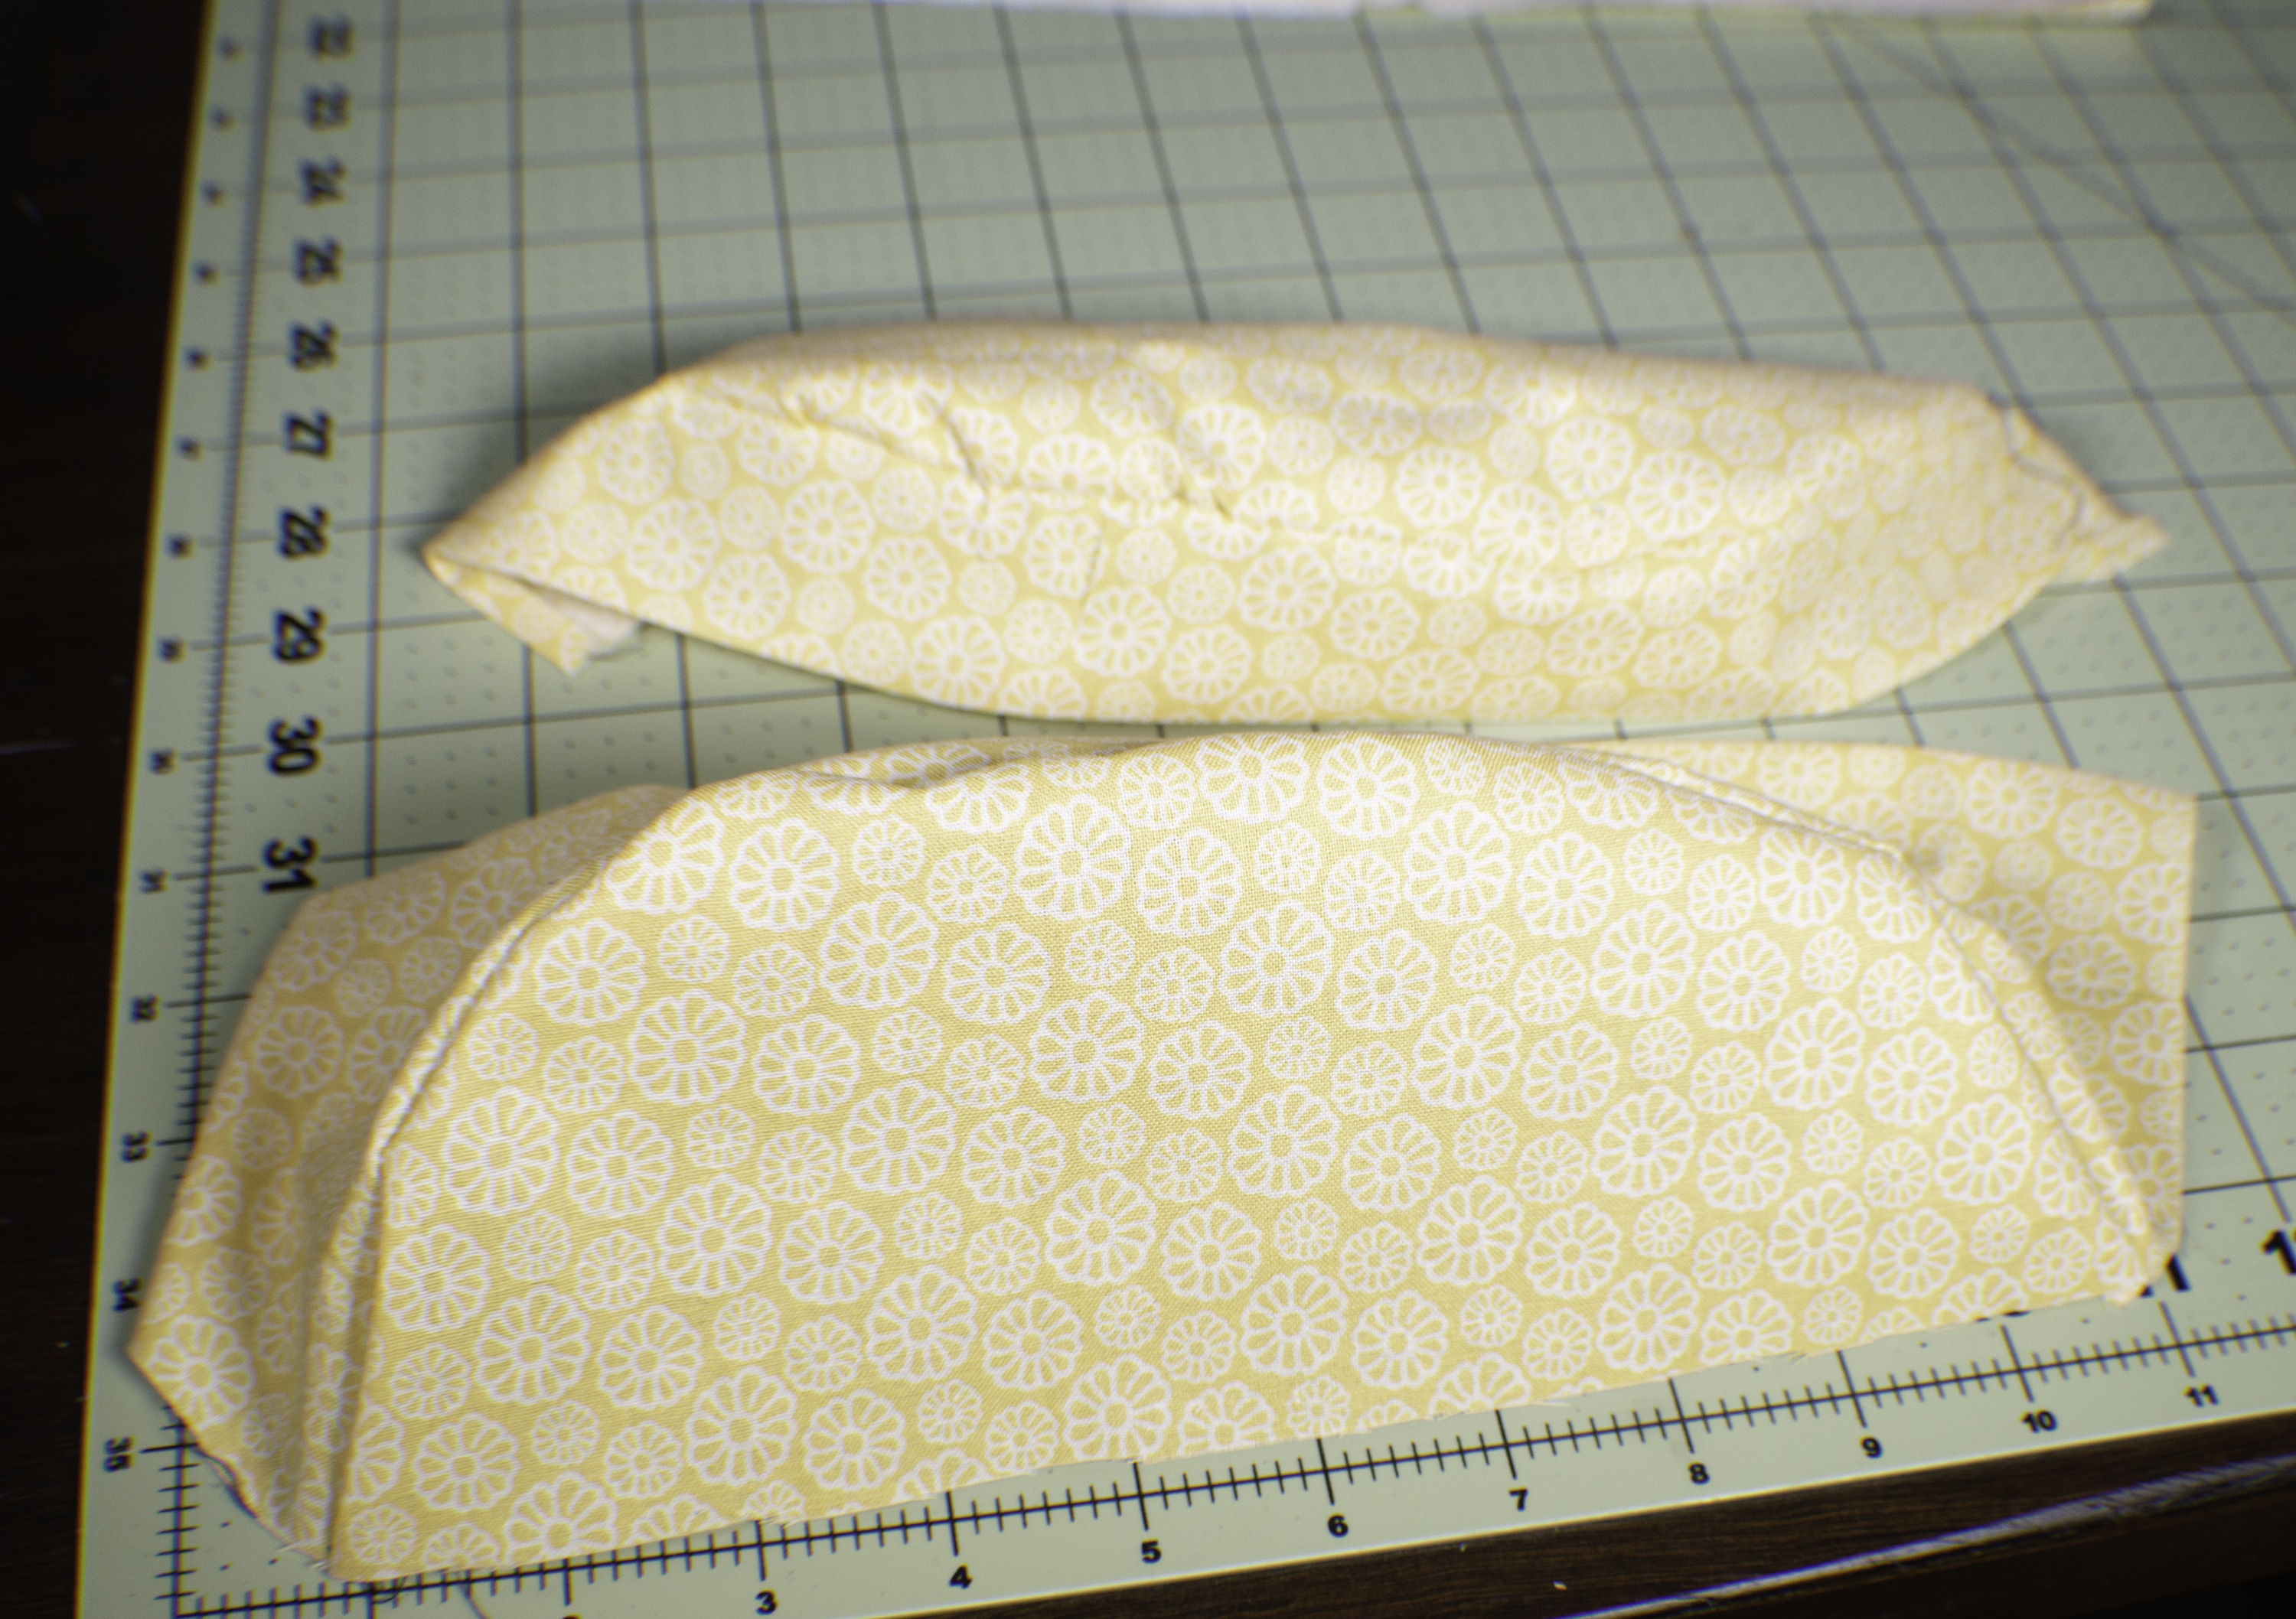
Sew the two side pieces. Place them right sides together and sew around the perimeter leaving the short side open. You should have two side pieces that have an opening where the webbing will fit. Turn them right side out.
Step 5: How to make a DIY Fanny Pack or Bum Bag
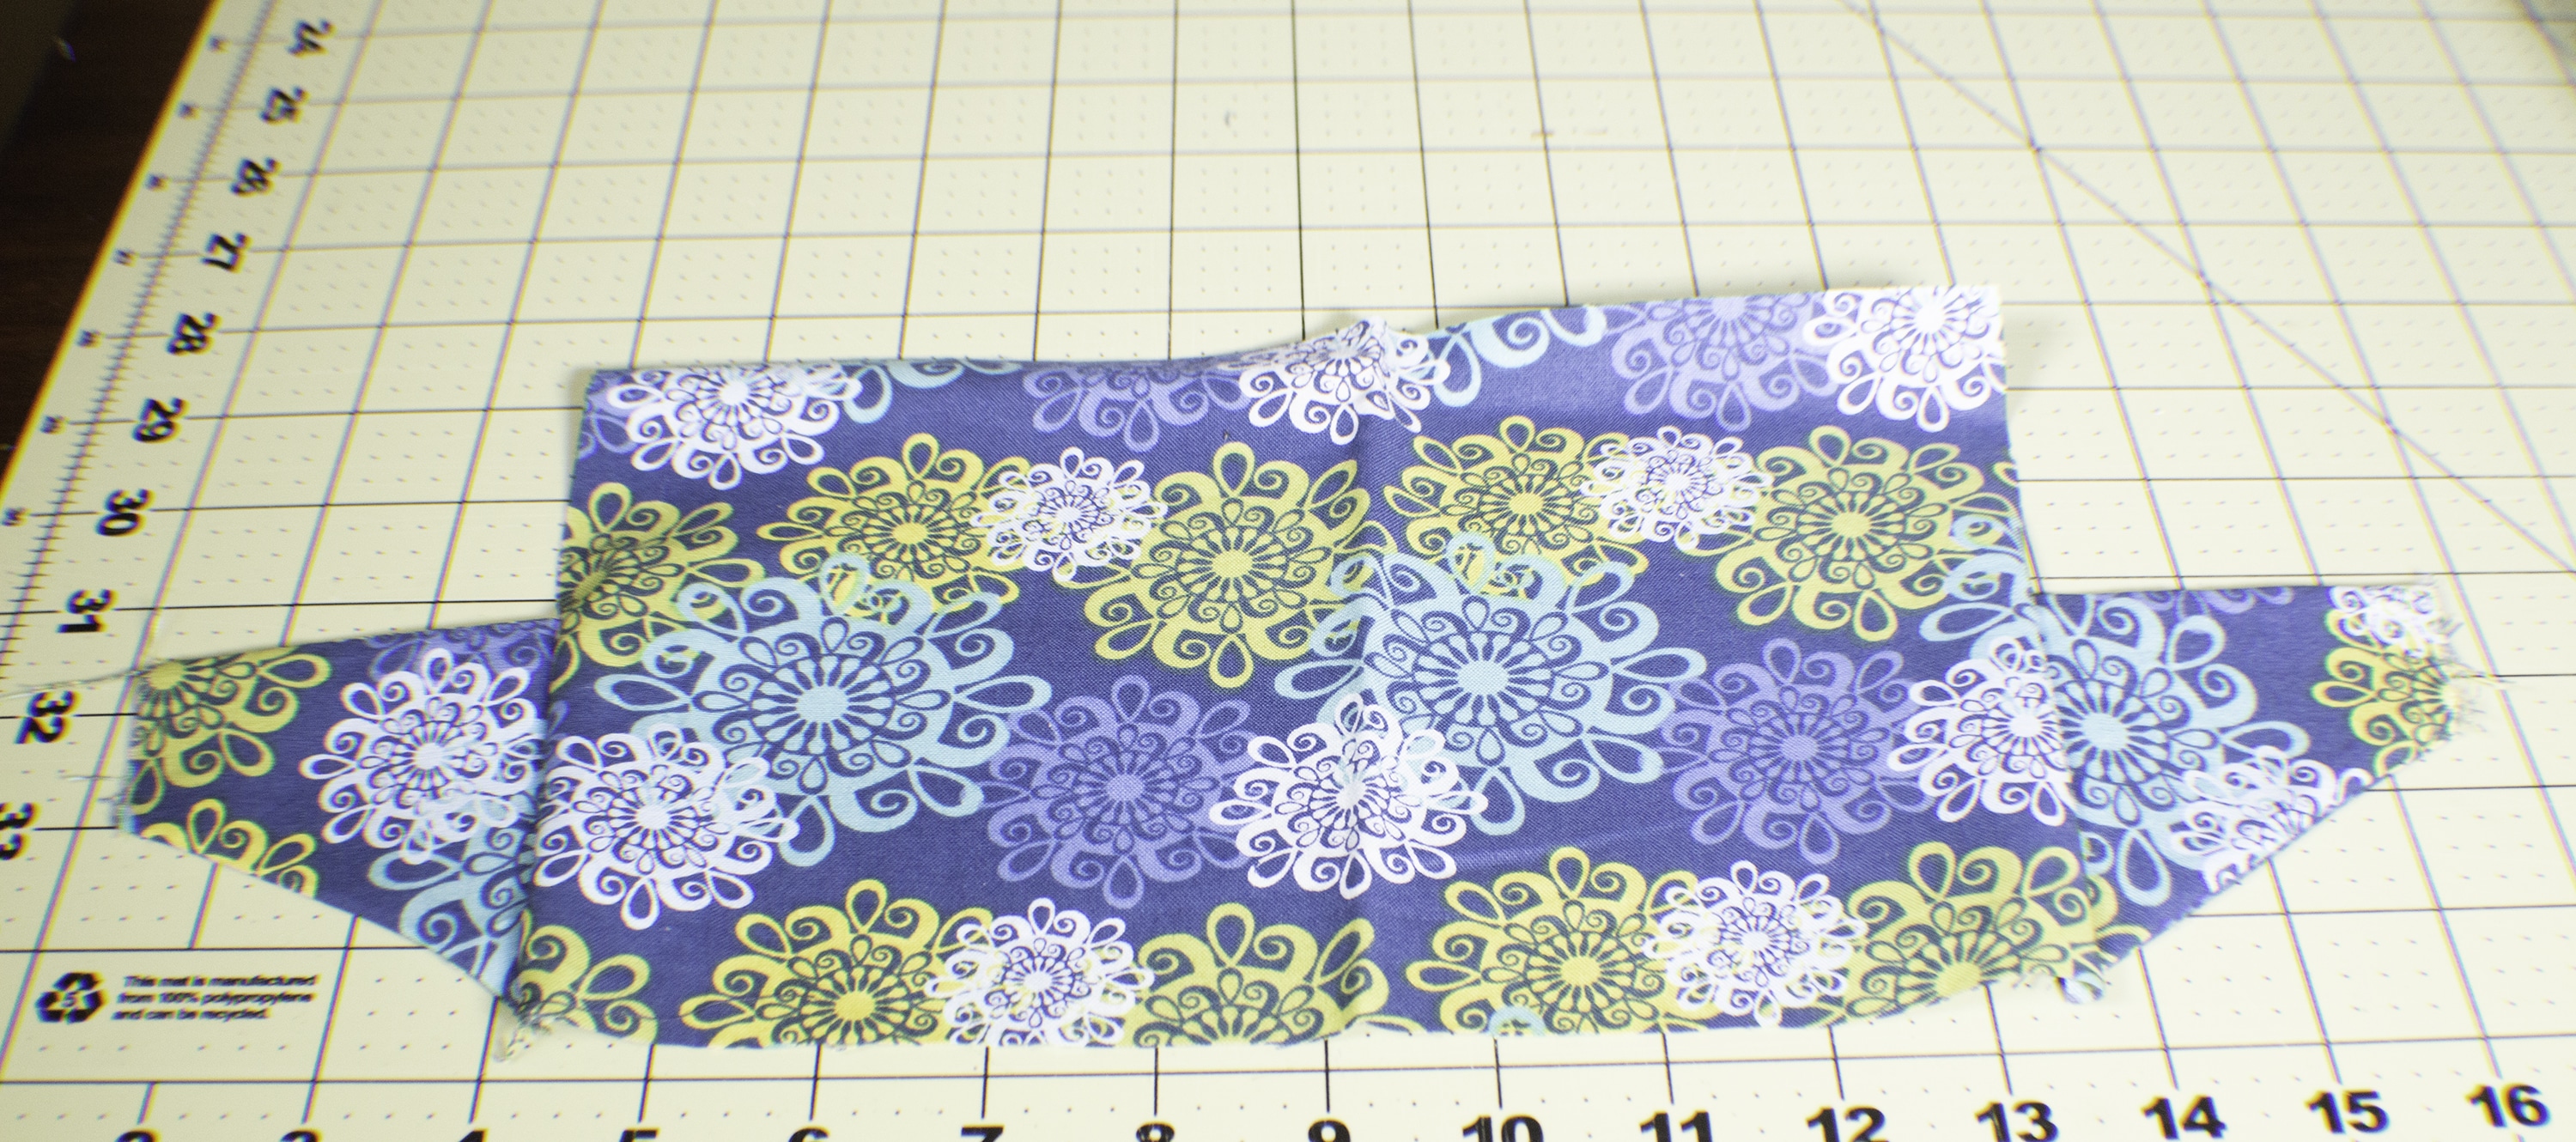
Place the side pieces right sides together onto the back piece and baste. The sides will be placed about 1/4″ from the bottom of the back piece with the long edge along the side of the back piece as shown.
Step 6: How to make a DIY Fanny Pack or Bum Bag
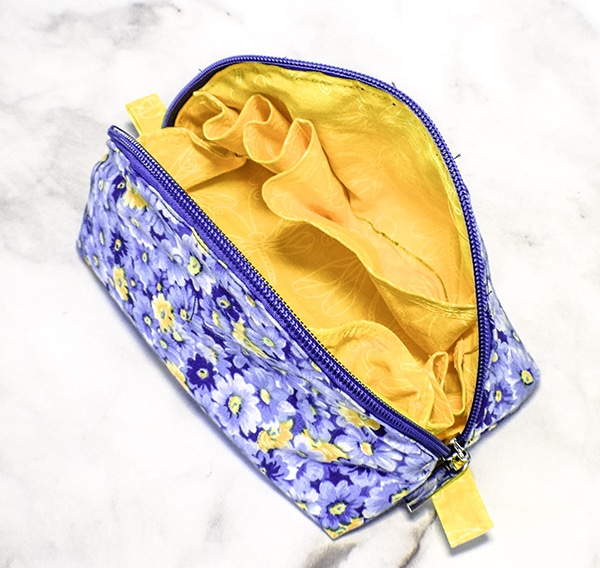
Sew the back to the top, bottom and front with right sides together. The pieces should meet up at the corners to make lining up the back with the top and bottom fairly easy. Make sure that the side pieces are tucked inside. Once you have sewn on the back you should be able to unzip the bag through the fabric without too much trouble. Turn the bag right side out through the zipper opening. At this point the bag portion is finished unless you want to create a lining. I find the bag to be a little rough with the unfinished seams so I decided to make a lining for it. It is really up to you whether you make the lining or not. If you don't want to make the lining jump to step 11 to finish off the bag.
Step 7: How to make a DIY Fanny Pack or Bum Bag
Create the lining in the same way that you created the bag except without the zipper. The best way to do this is to attach the bottom to the larger rectangle and the top to the narrower rectangle so that you have two separate pieces.
Step 8: How to make a DIY Fanny Pack or Bum Bag
Turn under the long edges by 1/4″ and press. You will be attaching these edges to the zipper by hand in a later step.
Step 9: How to make a DIY Fanny Pack or Bum Bag
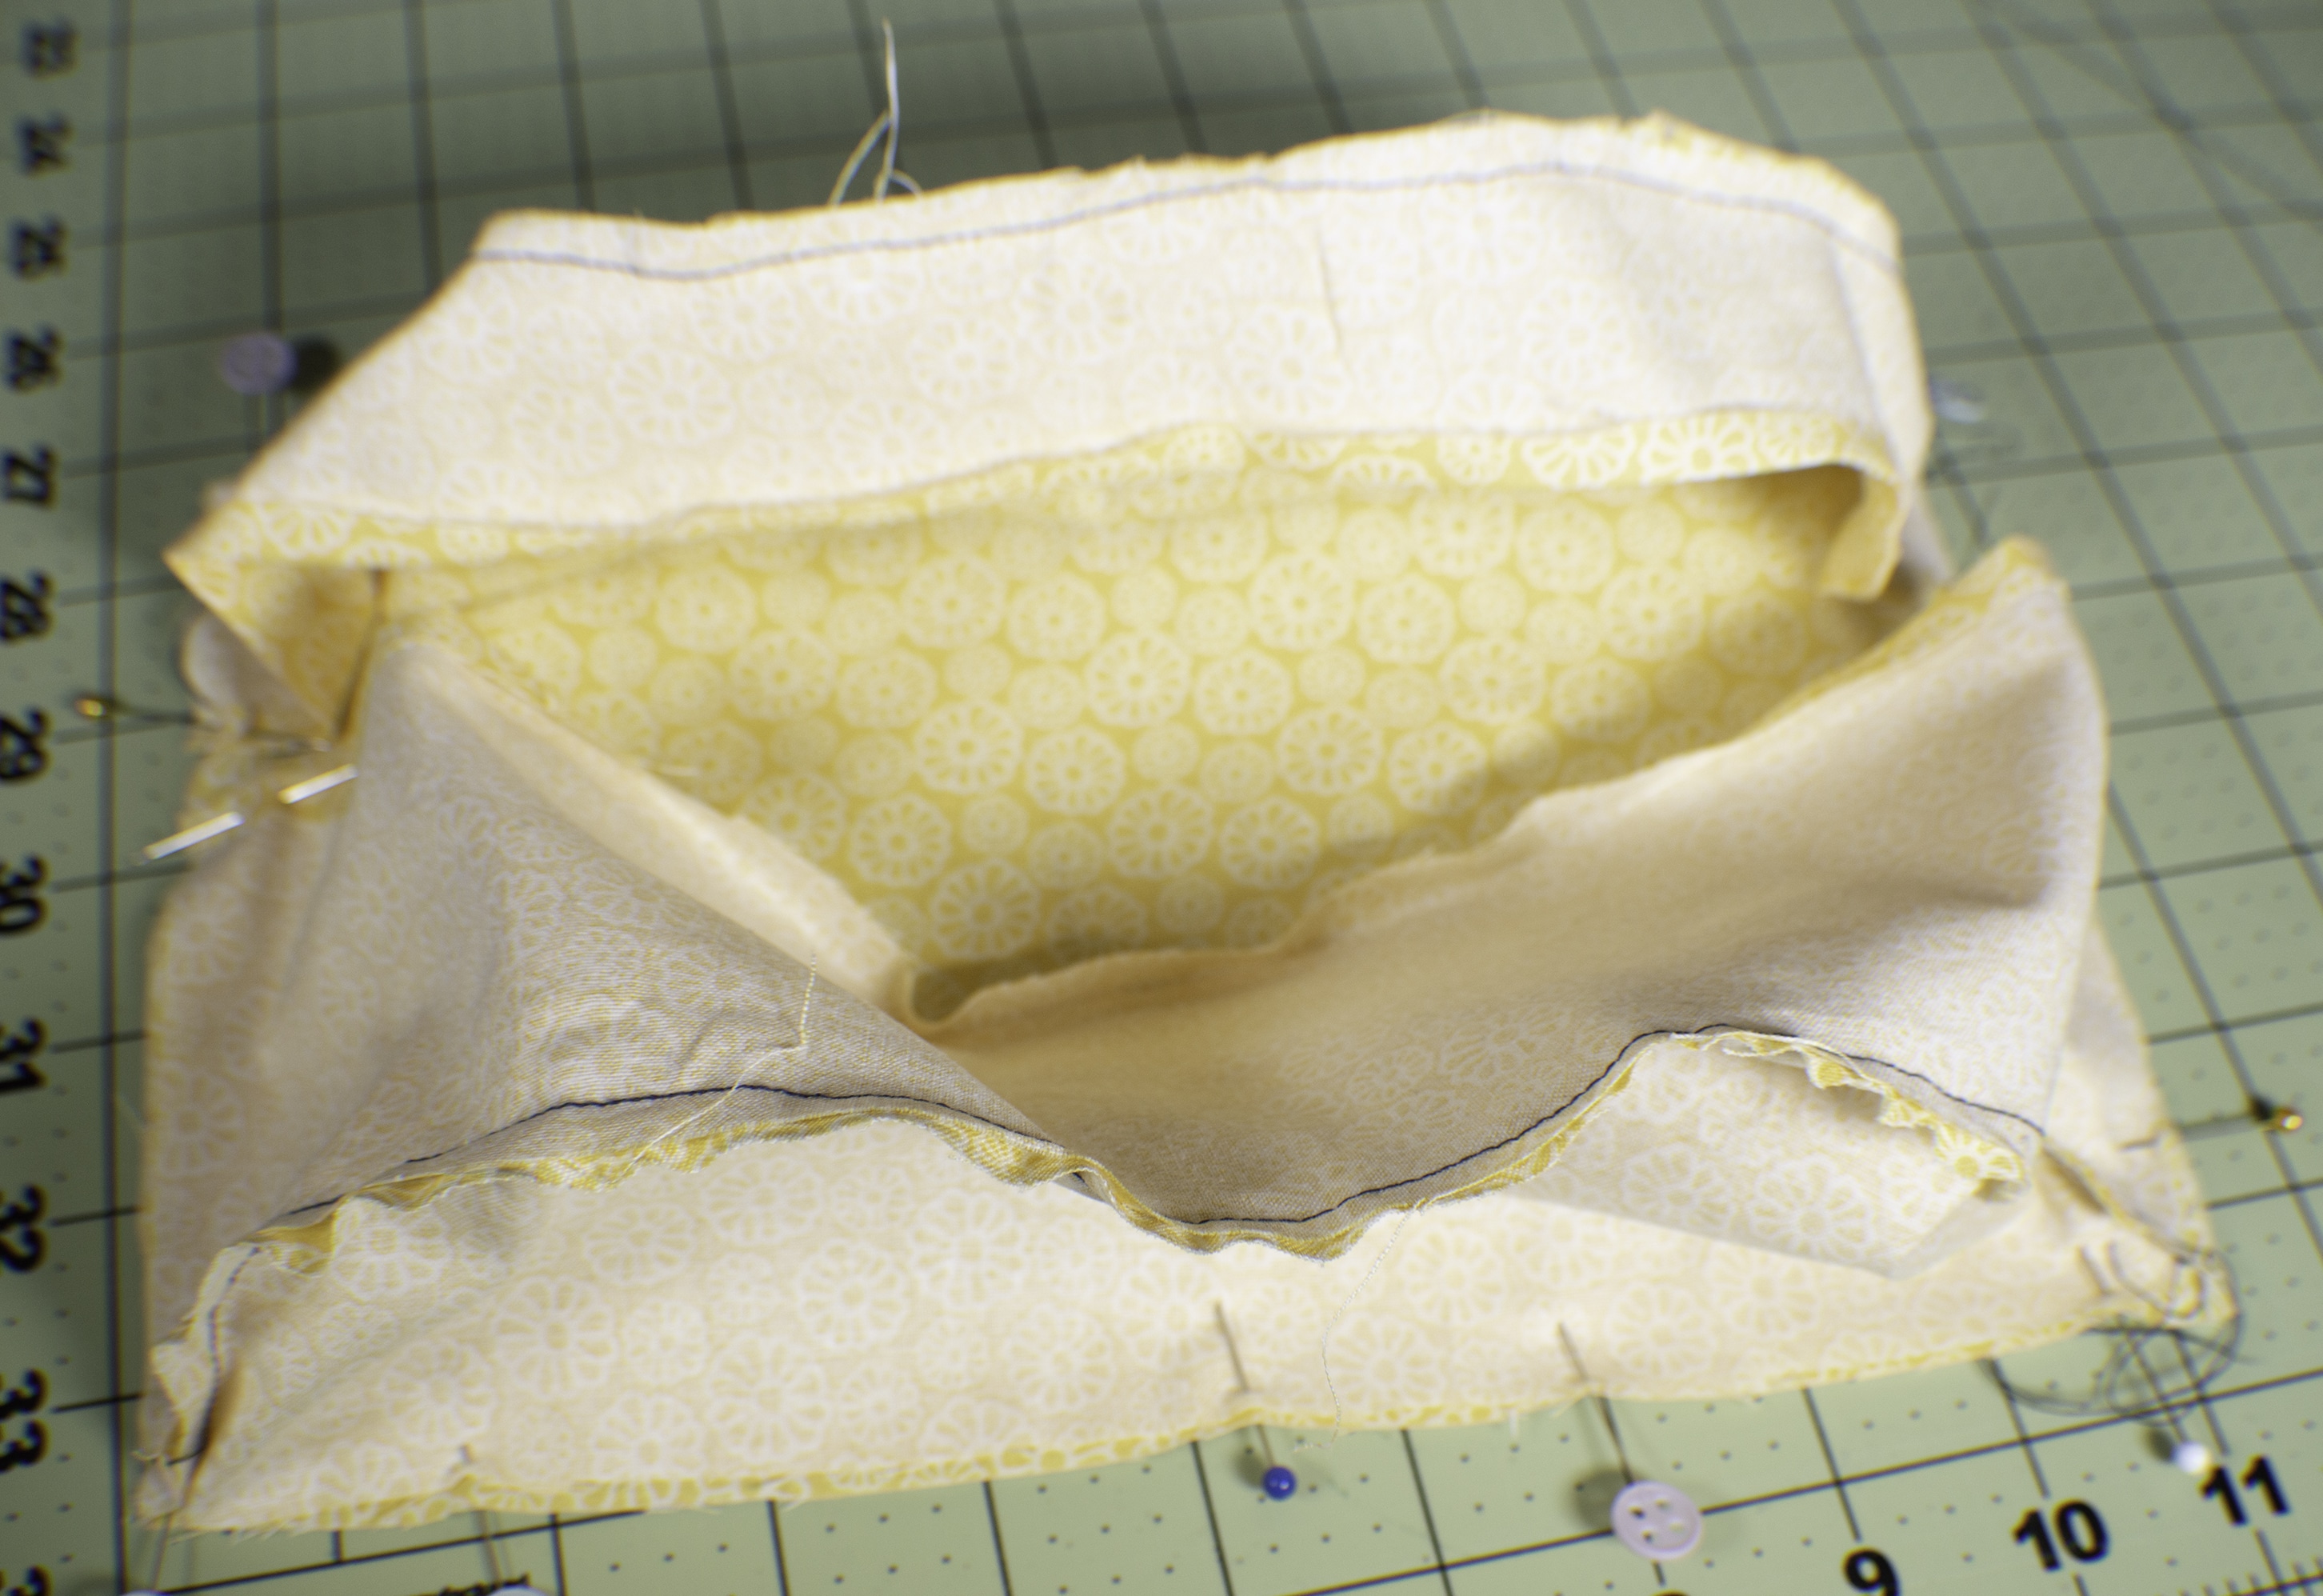
Attach the two pieces to the lining back. Note that there will be a gap between the two pieces where the zipper went in the main bag. This is expected. Again use a lot of pins here and measure to make sure your zipper opening is the same on both sides. The gap should be about 3/8″ wide. Sew the back to the two pieces. You have finished the lining.

Step 10: How to make a DIY Fanny Pack or Bum Bag
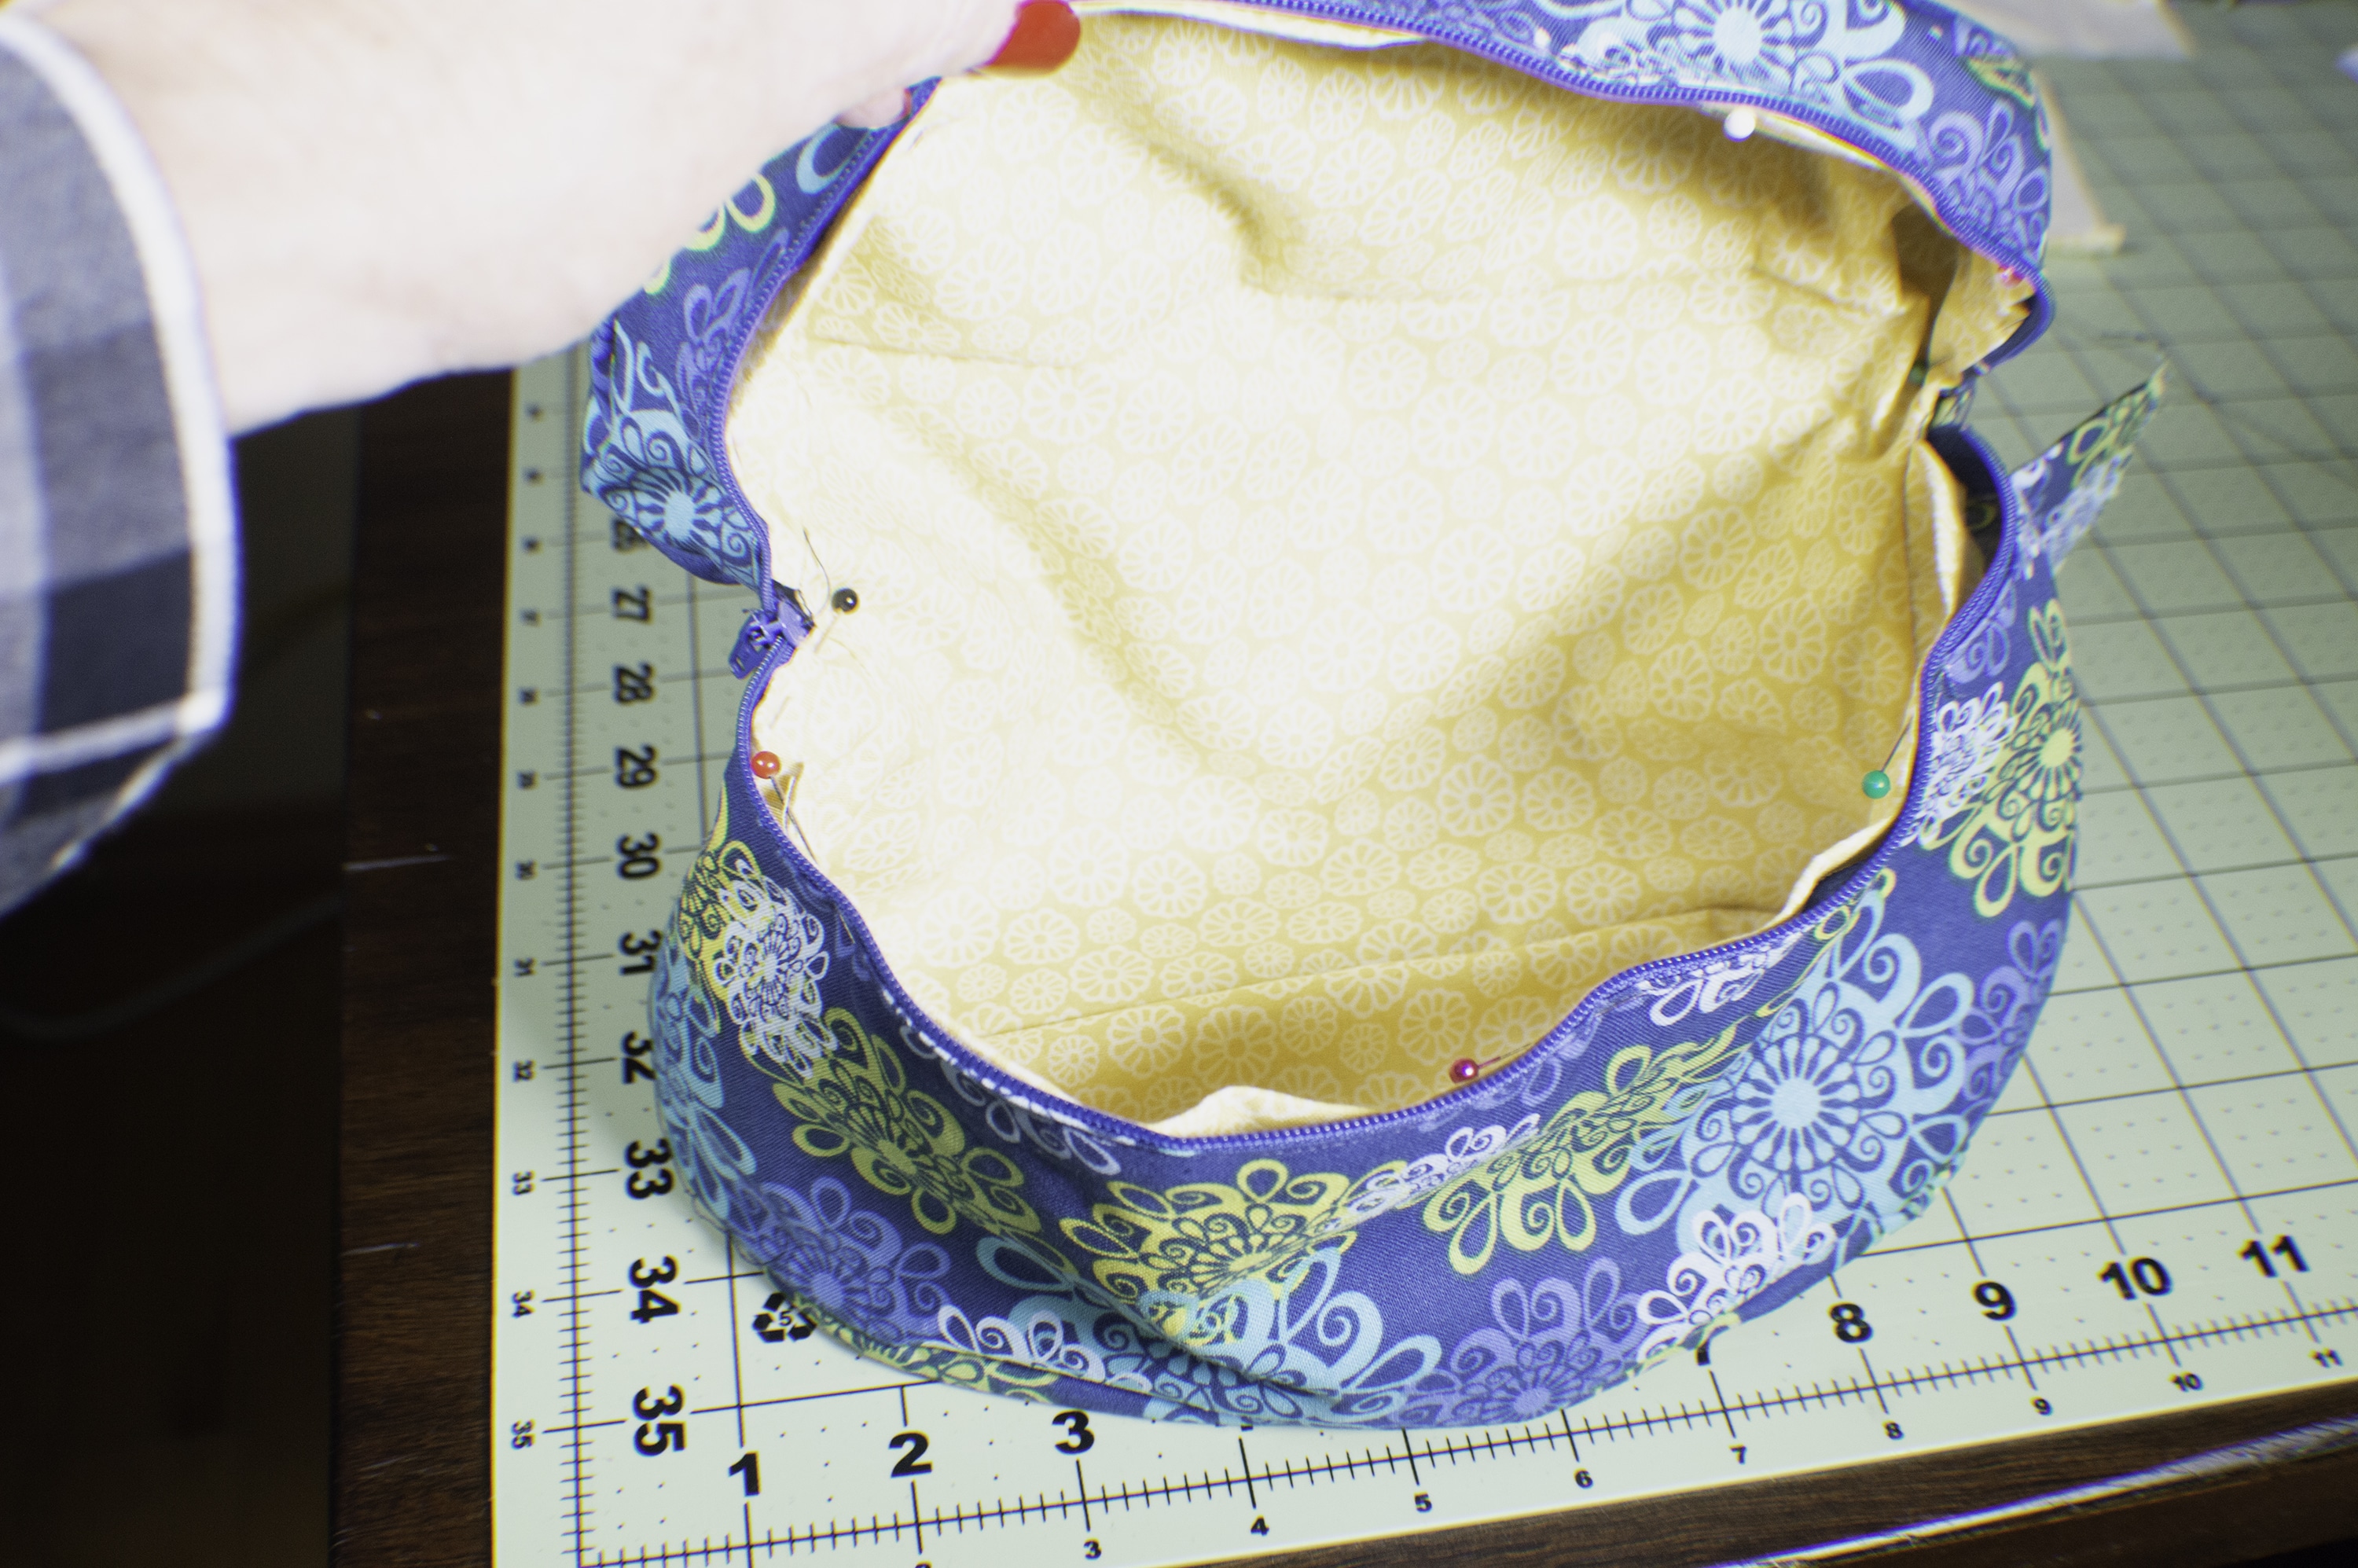
Place the lining into the bag so that it is wrong sides together. Line up the turned under edges along the zipper and pin. The lining should fit perfectly along the zipper and enclose all of the raw edges. Hand tack or slip stitch the lining to the zipper. I found that tacking the lining worked a bit better for me. You have now completed the lined bag.

Step 11: How to make a DIY Fanny Pack or Bum Bag
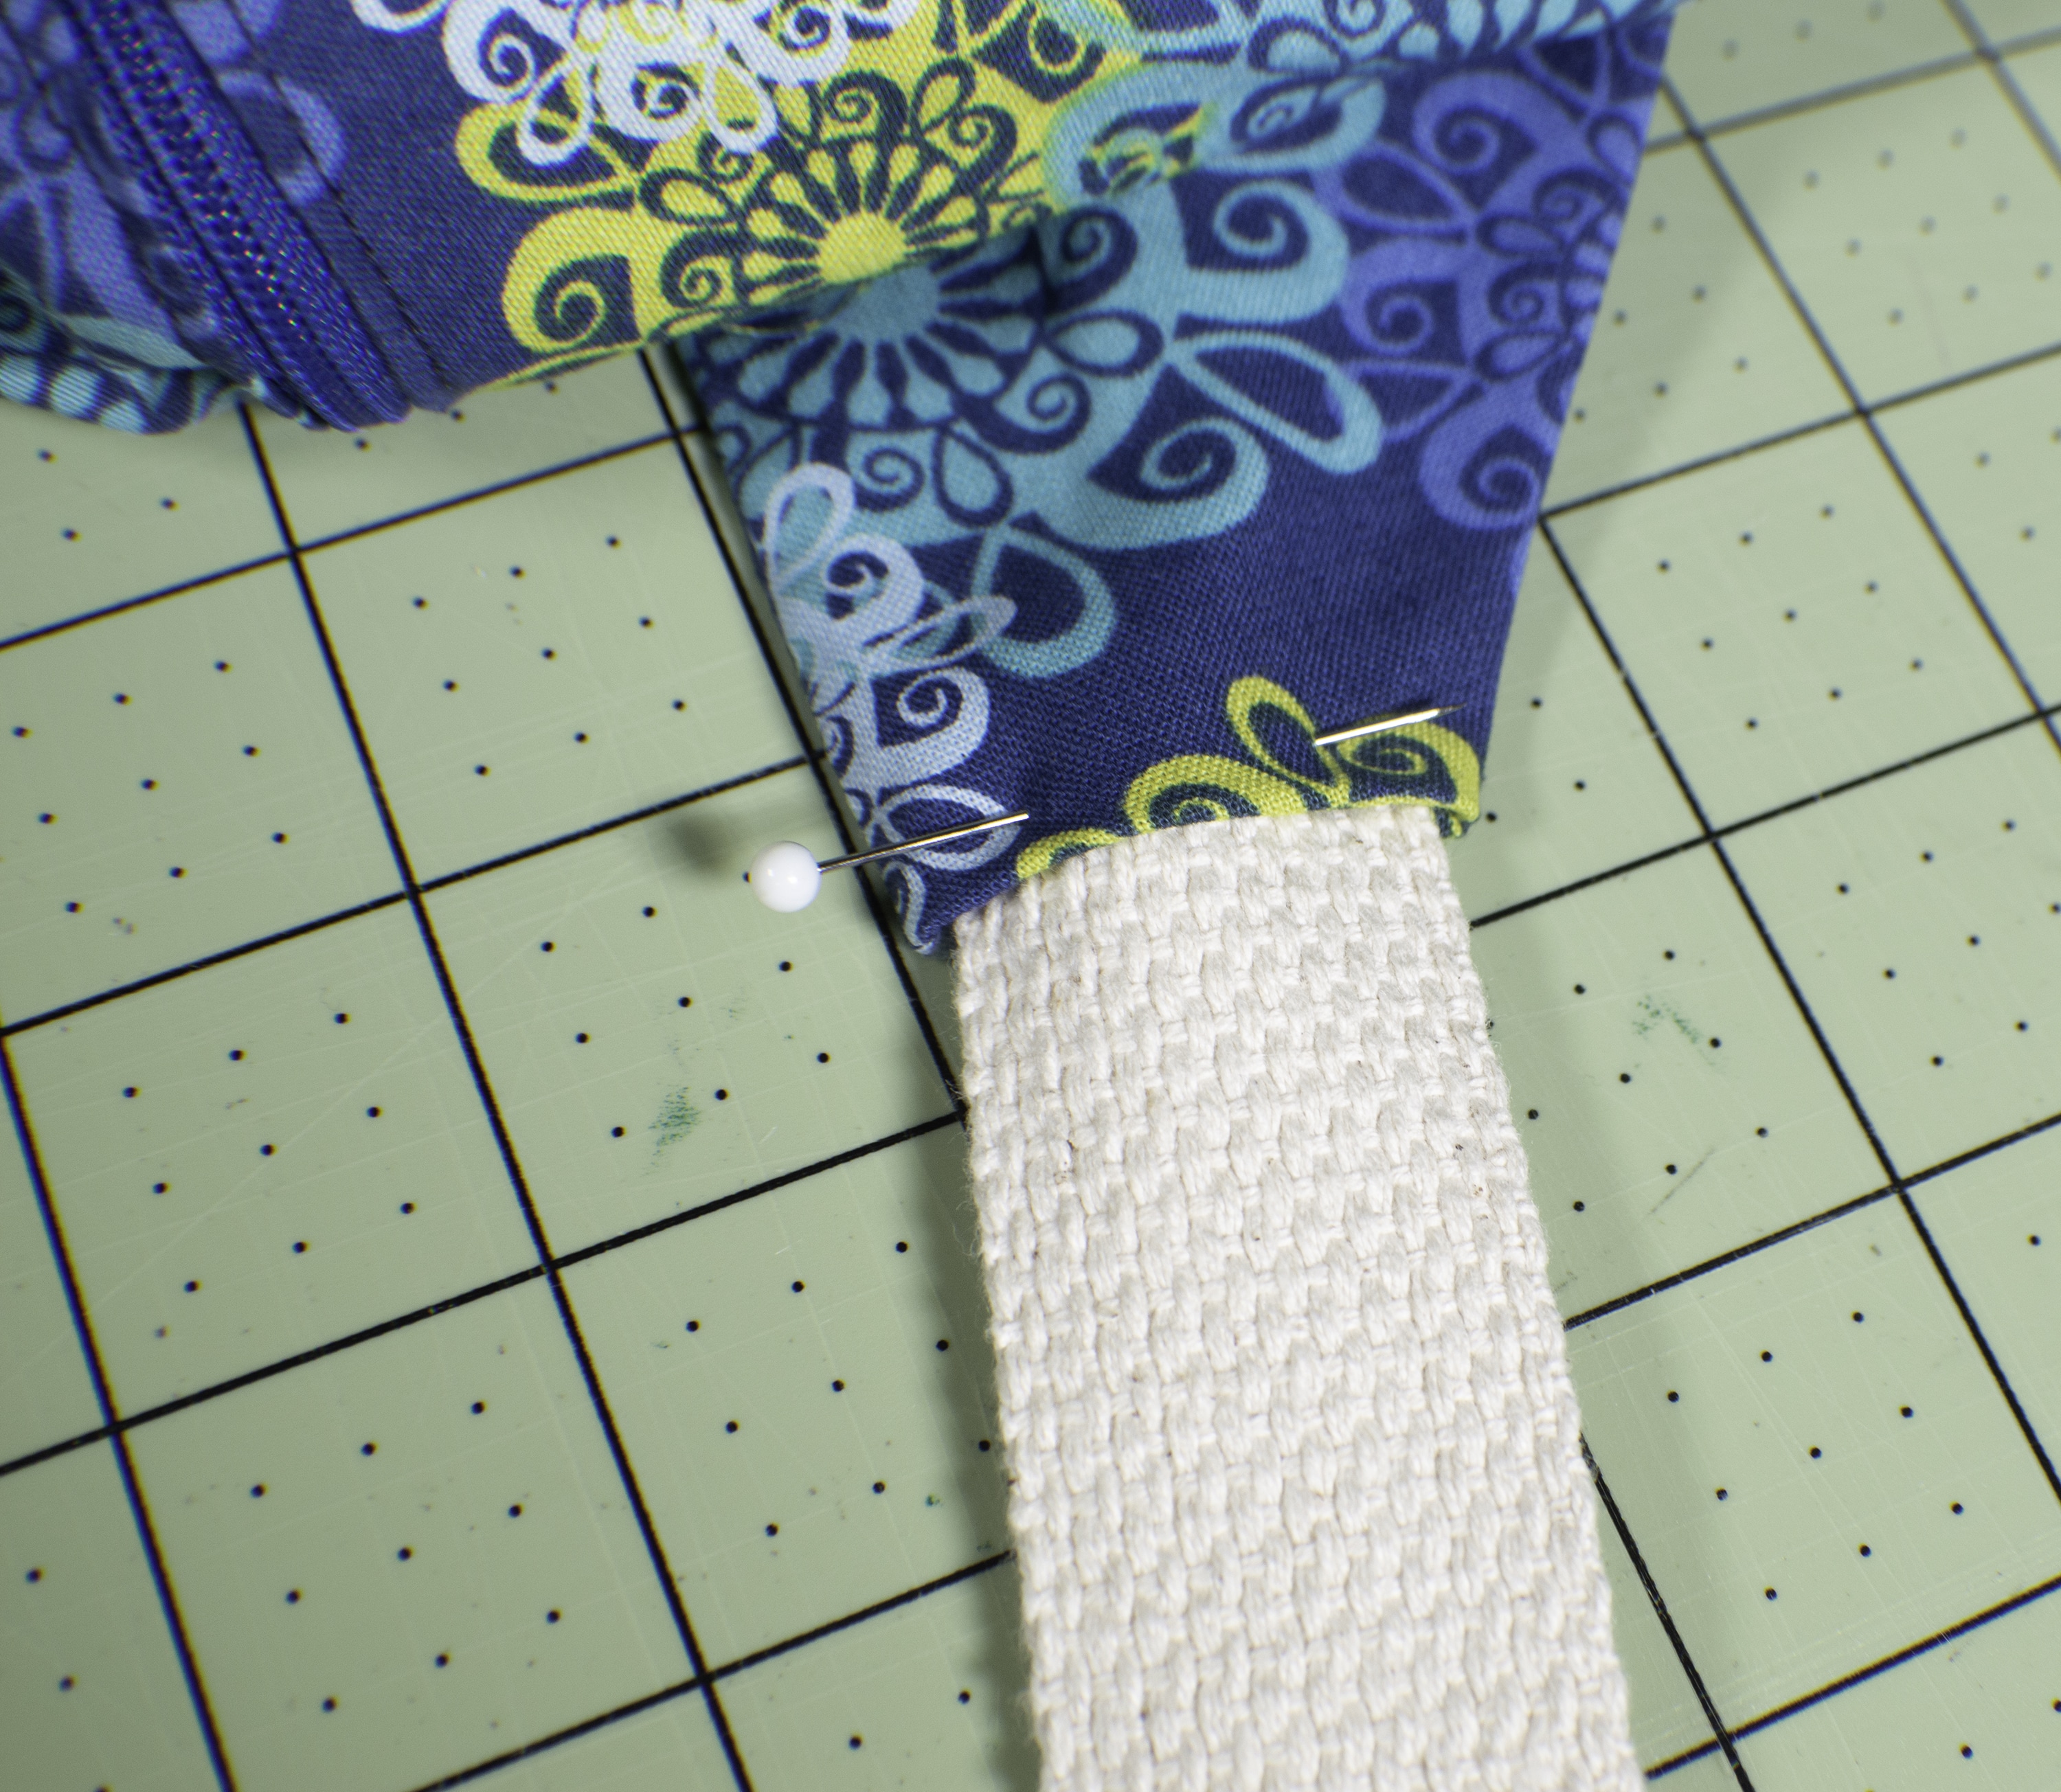
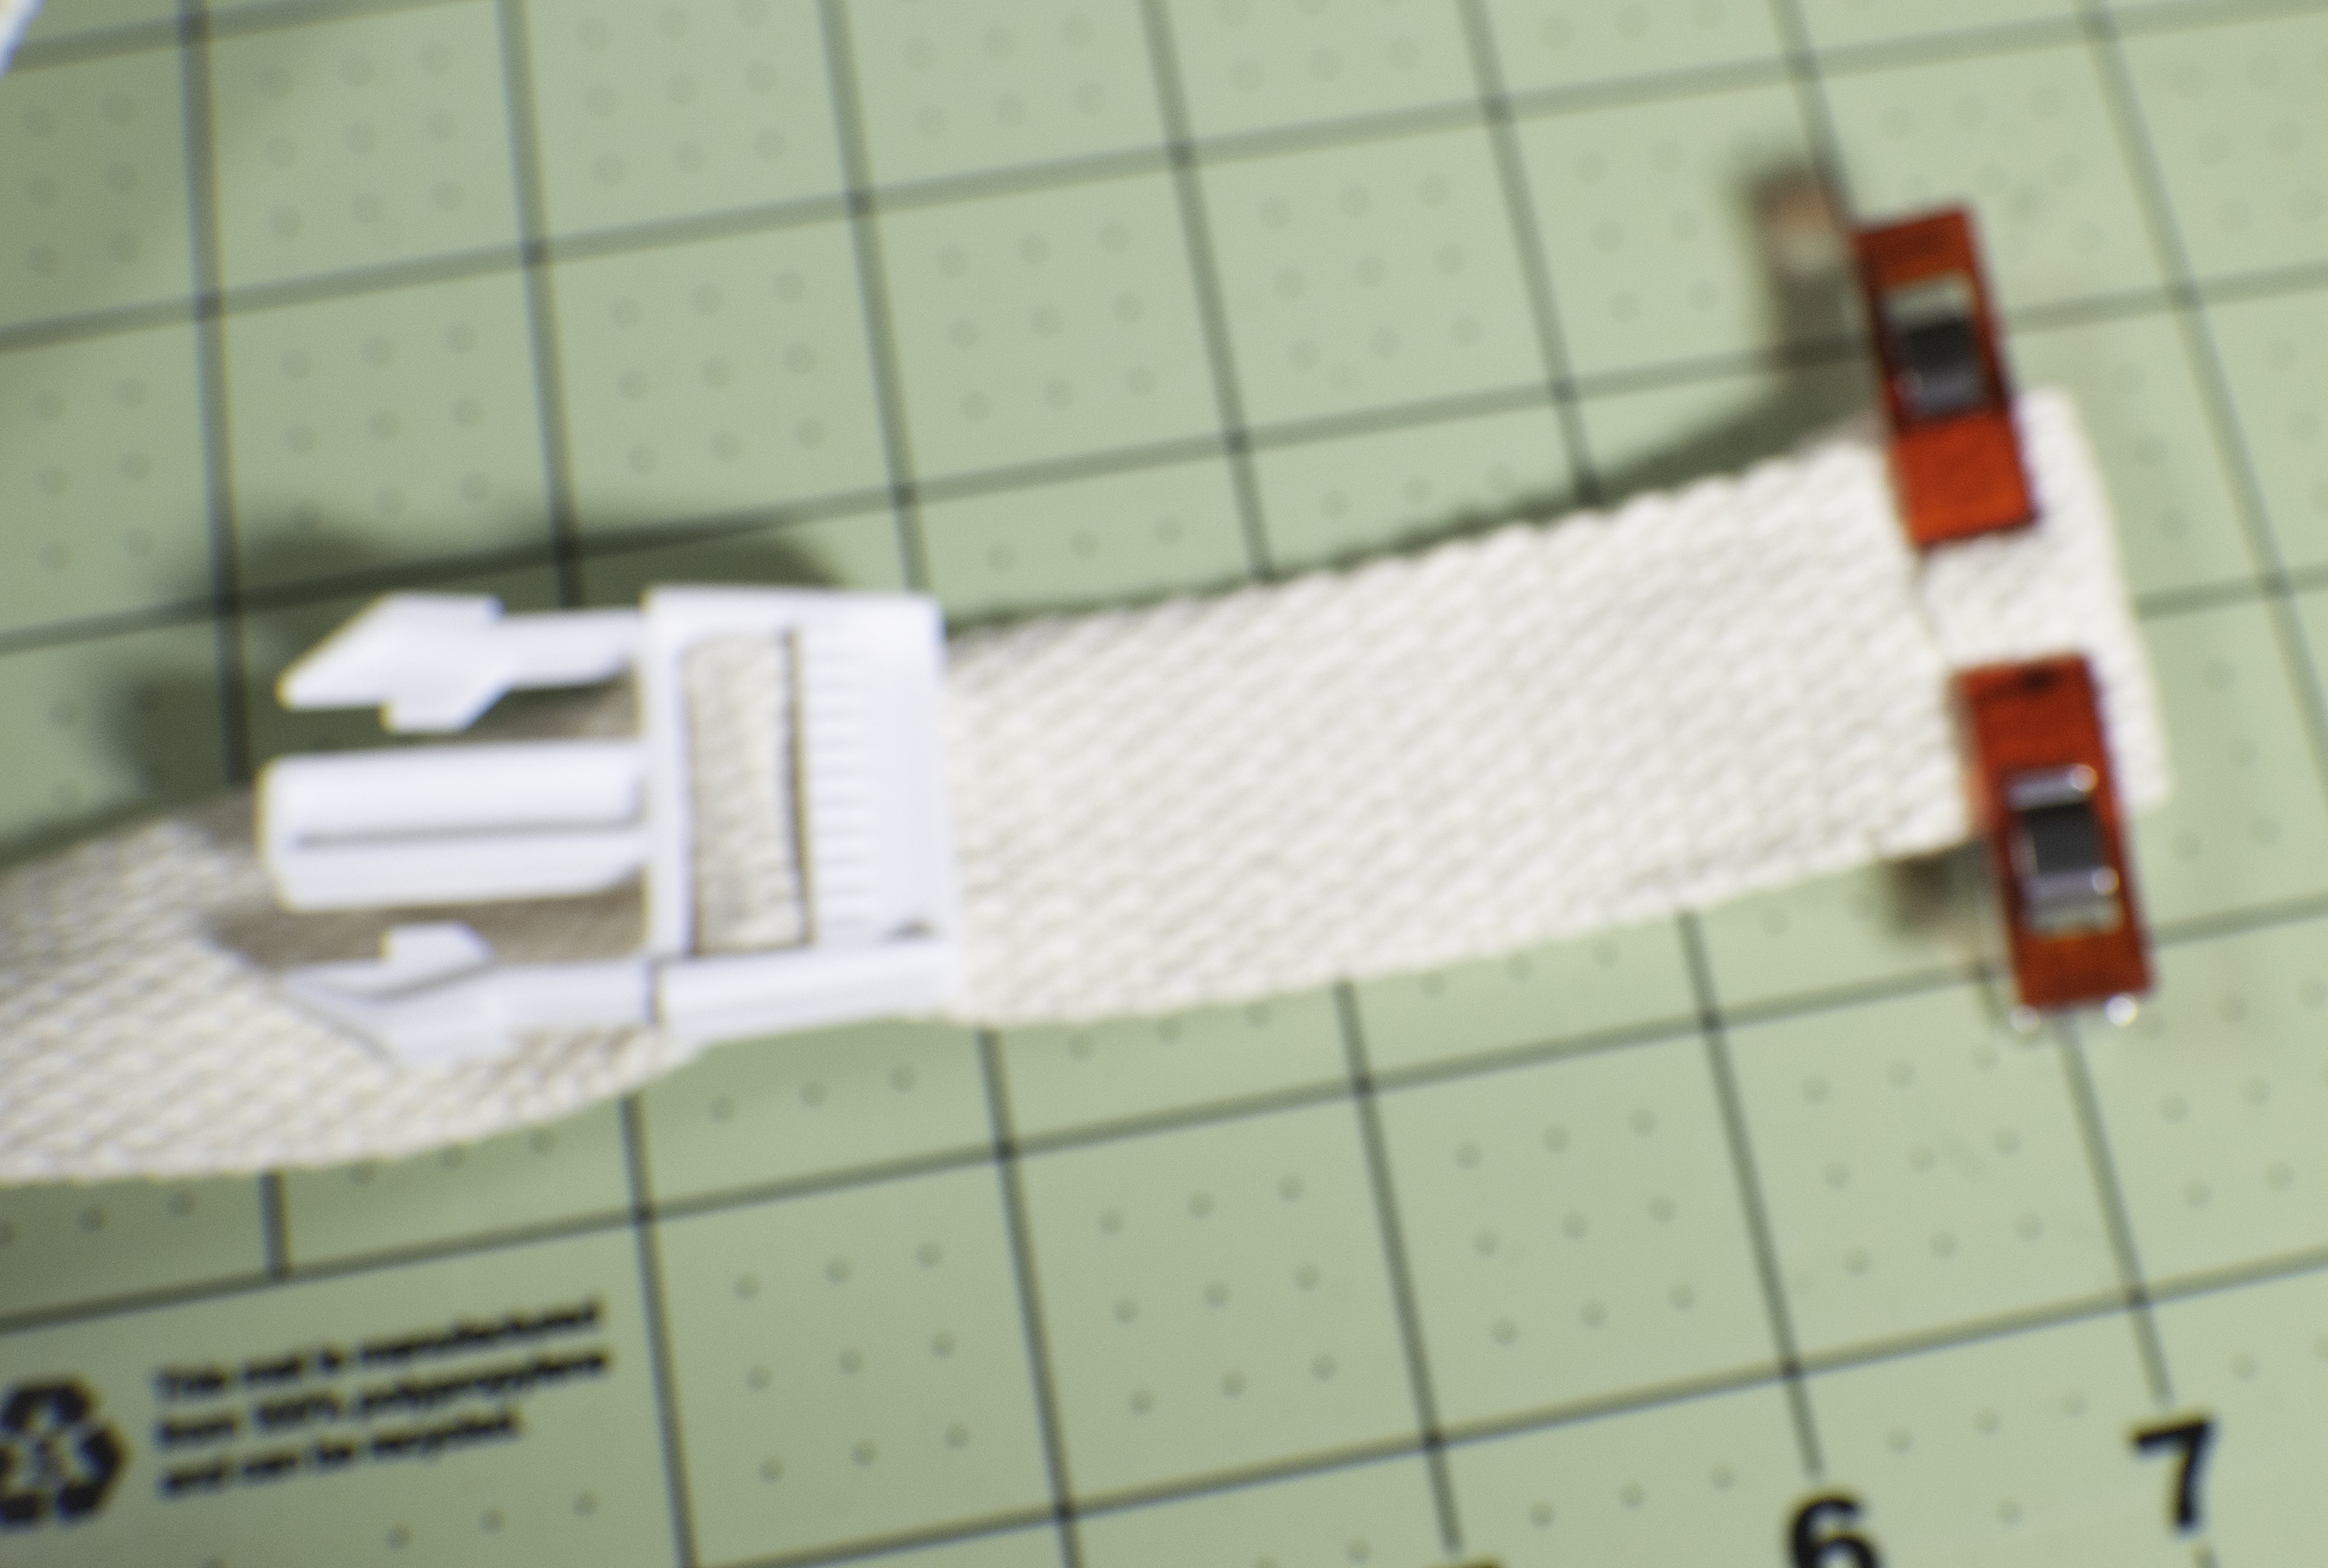
Now that the bag portion is finished it is time to complete the fanny pack/bum bag. Turn under the raw edges of the side pieces and insert the webbing to each side. Sew along the edge a few times to secure the webbing to the sides of the bag.
Step 12: How to make a DIY Fanny Pack or Bum Bag
Cut the webbing in half and add the parachute clip. The clip comes in two sections a male and female section. Insert one end of the webbing into the female side of the clip and fold under and sew the folded edge to the rest of the strapping. The male end has a ribbed center. Thread the webbing through the ribbed center and back down again. Fold the webbing under twice but instead of stitching it to the longer portion of the webbing just stitch the end. This allows the clip to be adjustable.

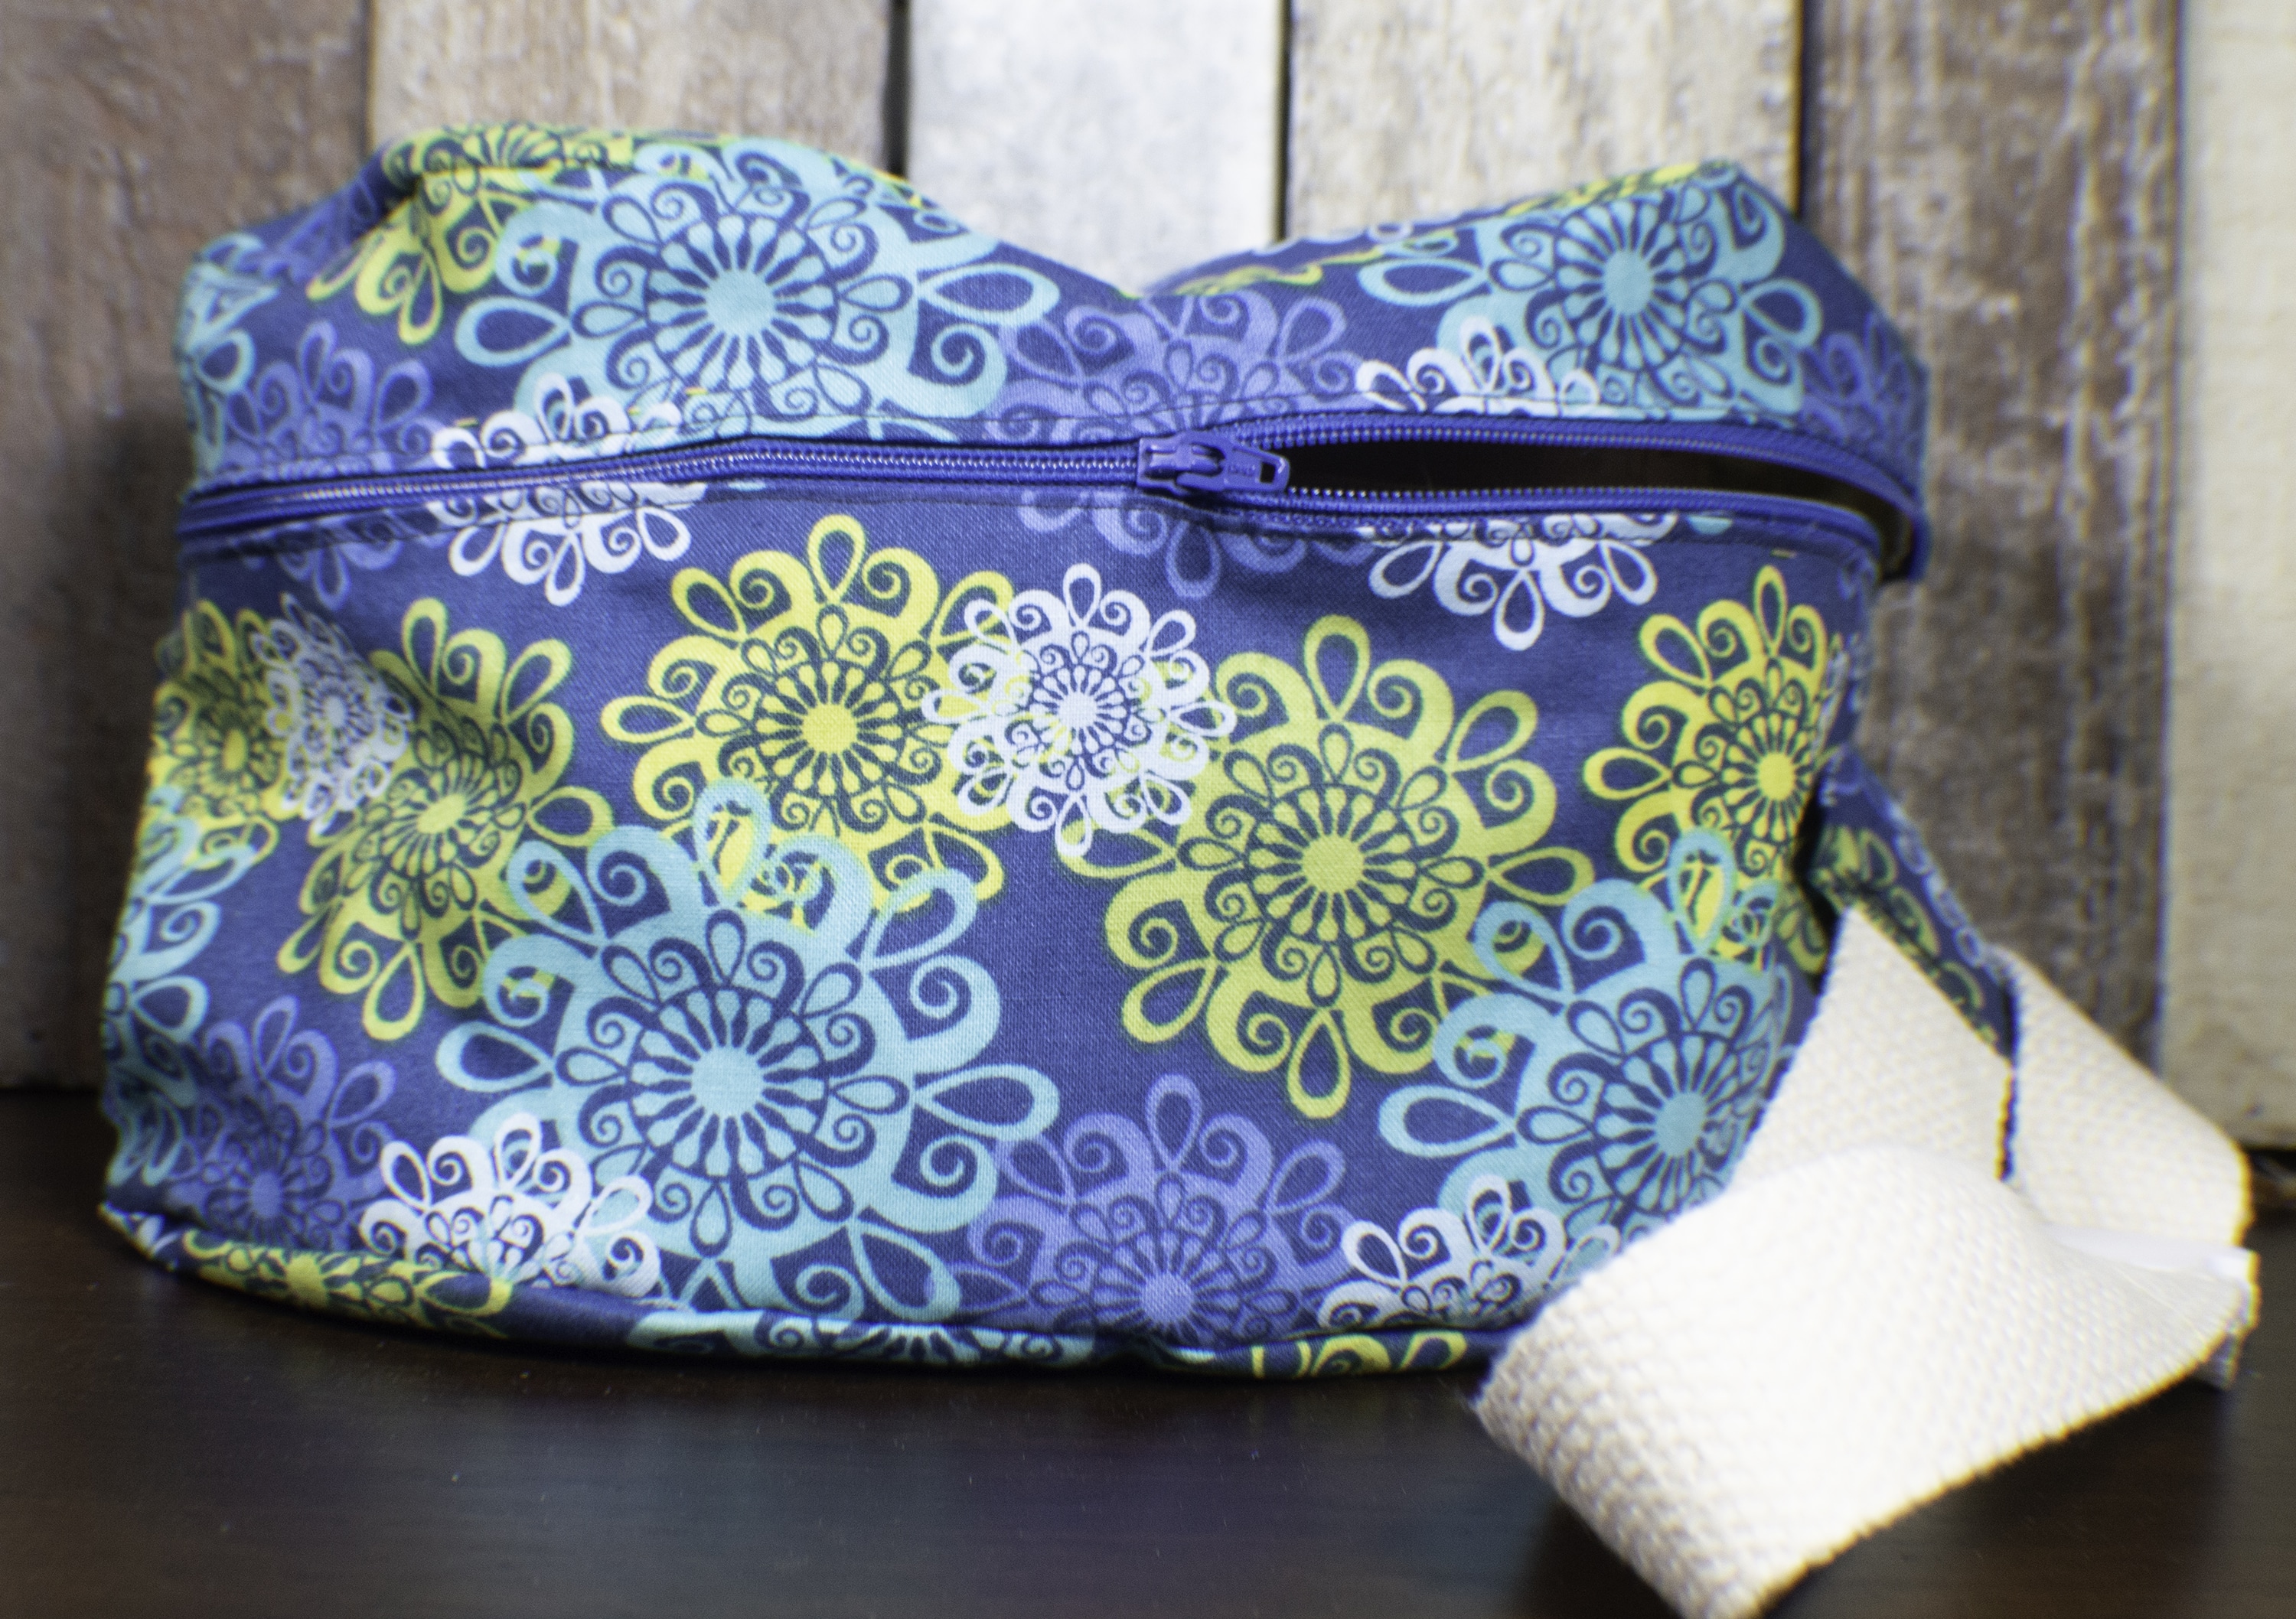
Step 13: How to make a DIY Fanny Pack or Bum Bag
You have now completed your DIY fanny pack/bum bag. This bag is large enough to fit a variety of items but if you would like a flat bum bag/fanny pack large enough for your phone and ID try out my original post with Pattern and tutorial.
I hope you enjoyed this simple tutorial. If you would like more sewing and crafting projects sign up for our newsletter and receive your free eBook of 15 handbag patterns and tutorials.