DIY Christmas Bow Door Hanging
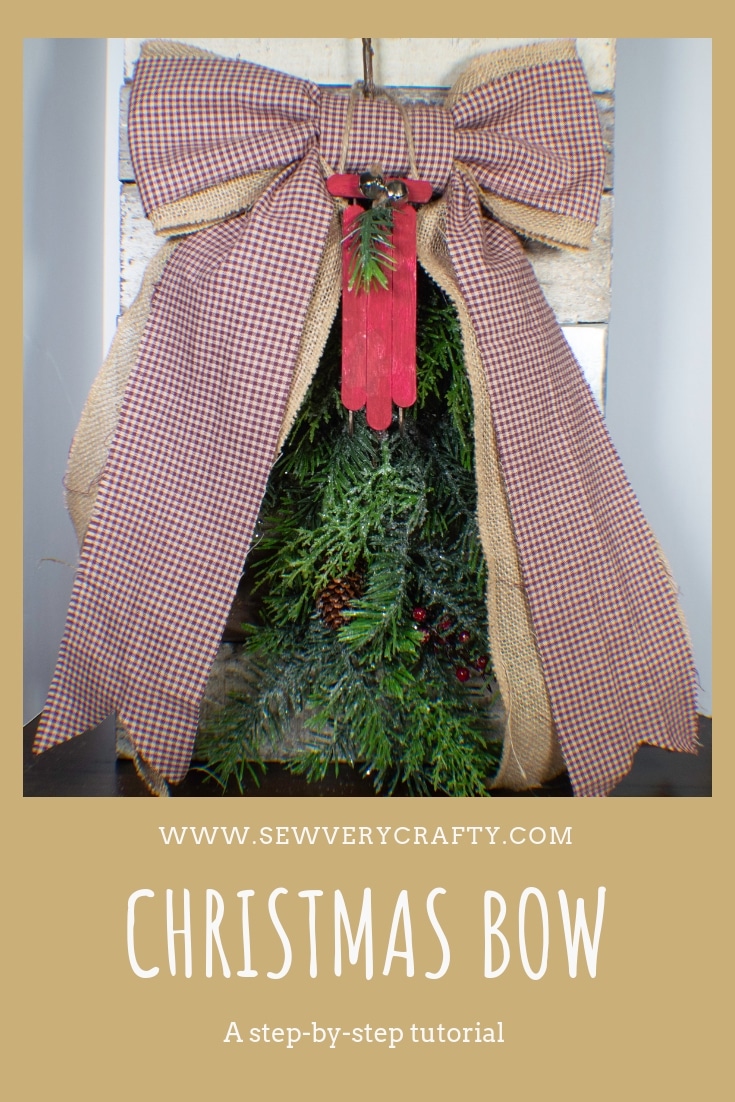
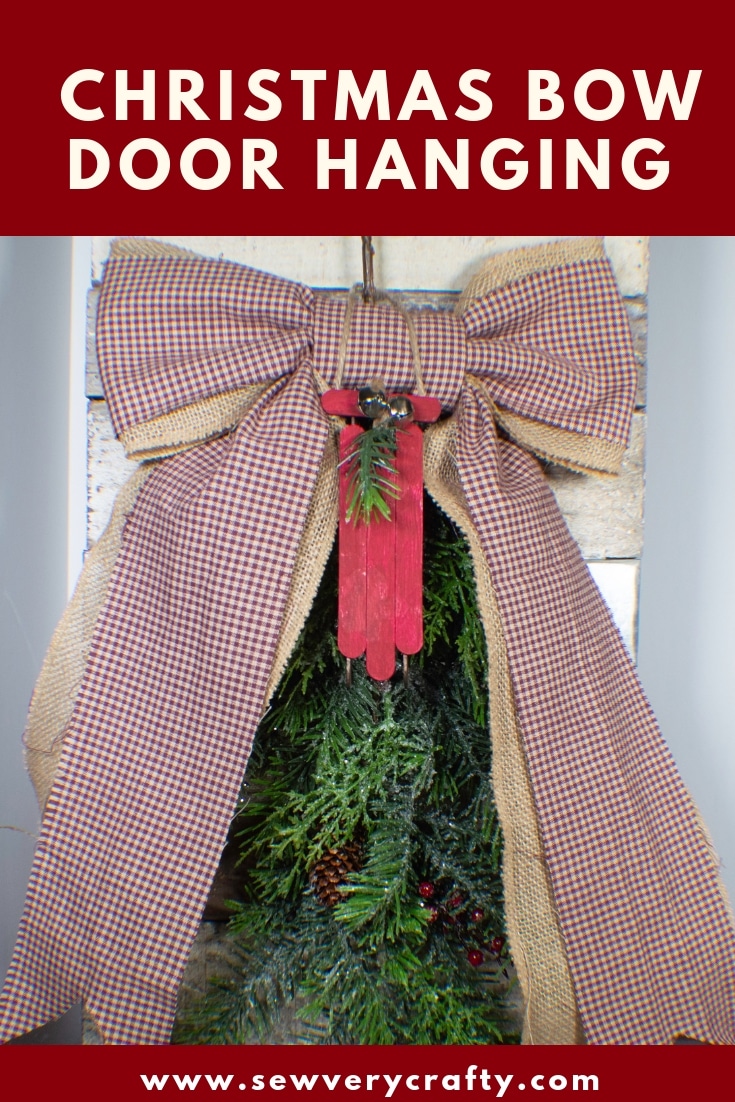
I had some red gingham fabric that I wanted to use so I thought I would make this terrific burlap and gingham DIY Christmas bow door hanging. This project took just minutes to make and I had everything I needed on hand. This is the perfect Christmas bow and is no sew. All you need are the fabrics and a stapler to create this bow. Put the bow together with a sprig of greenery and a Christmas ornament fir decoration and you have the perfect DIY Christmas bow door hanging.
I had everything I needed for this project on hand but if you need items to create your own Christmas bow door hanging I suggest you head over to Michael's and Fabric.com to get exactly what you need. You can get all of the craft supplies and the faux greenery if you can't get real at Michael's and the fabric can be purchased at Fabric.com. This post contains affiliate links that if you click on them and make a purchase I may receive a small commission at no extra cost to you.
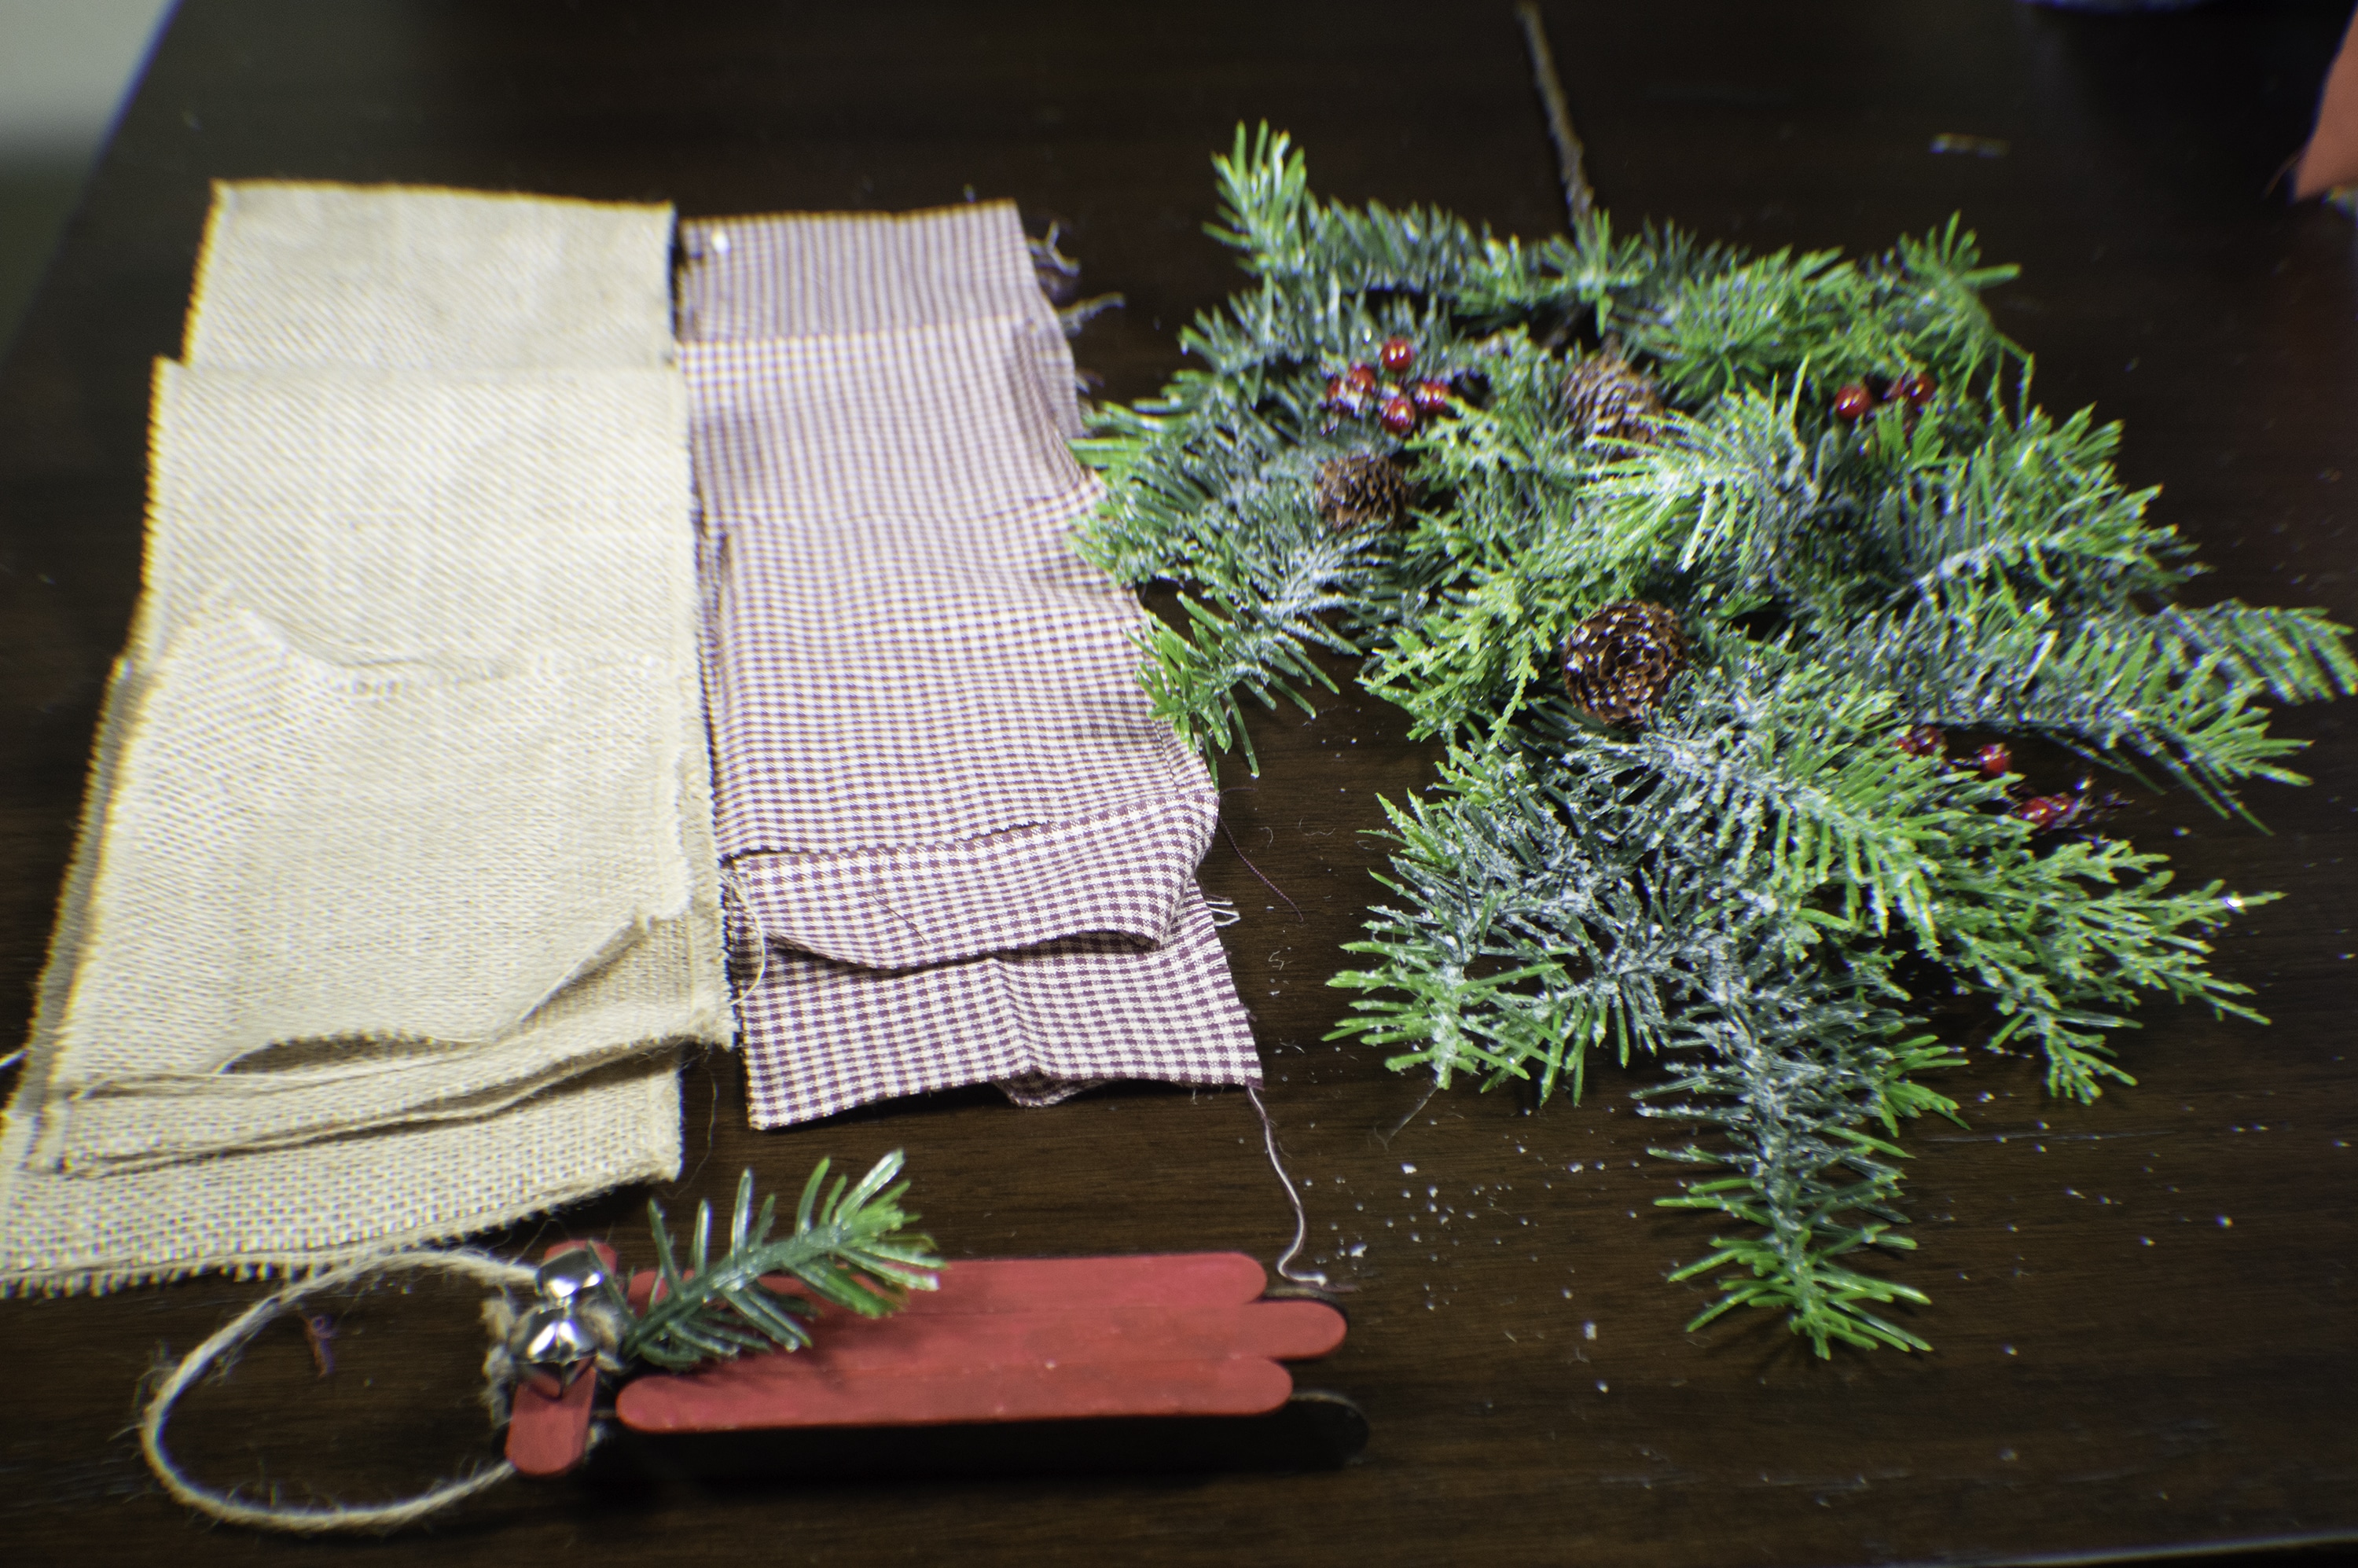
What you will Need:
- 2 yds of 5″ wide burlap ribbon
- 1/4 yd red gingham fabric
- 1 sprig of greenery real or faux
- Christmas Ornament
- Pipe cleaner or wire
Step 1: DIY Christmas Bow Door Hanging
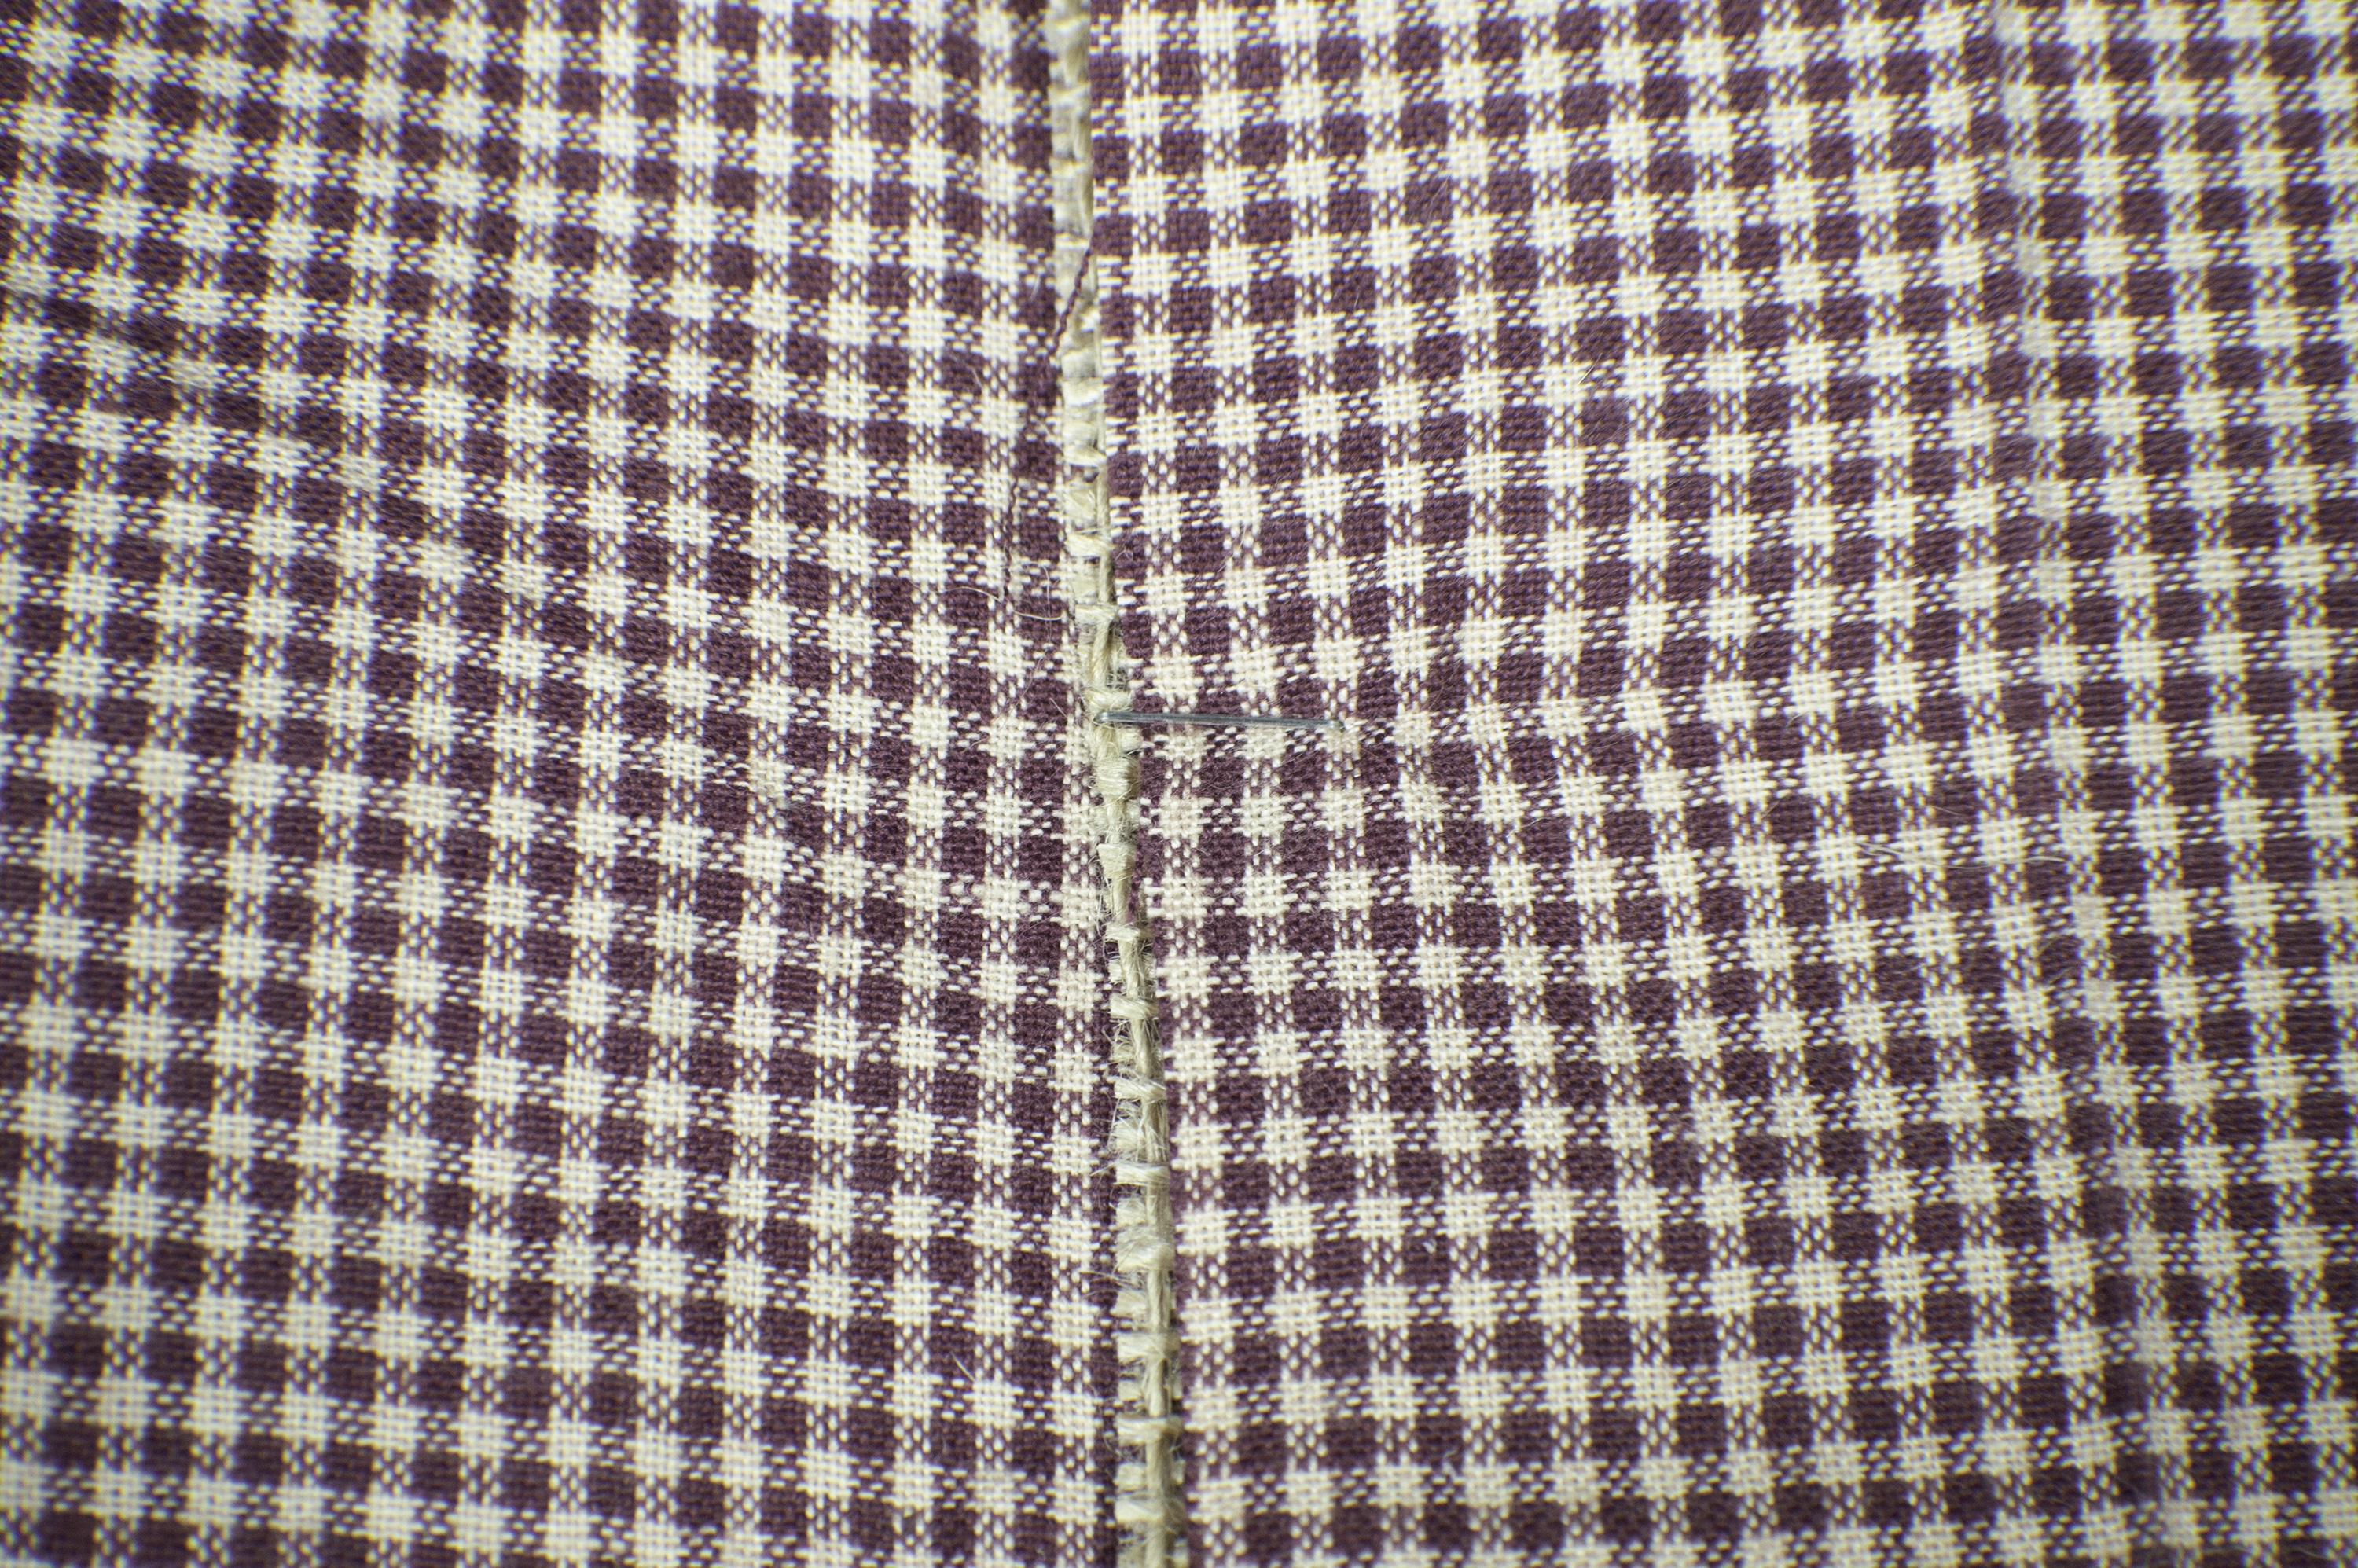
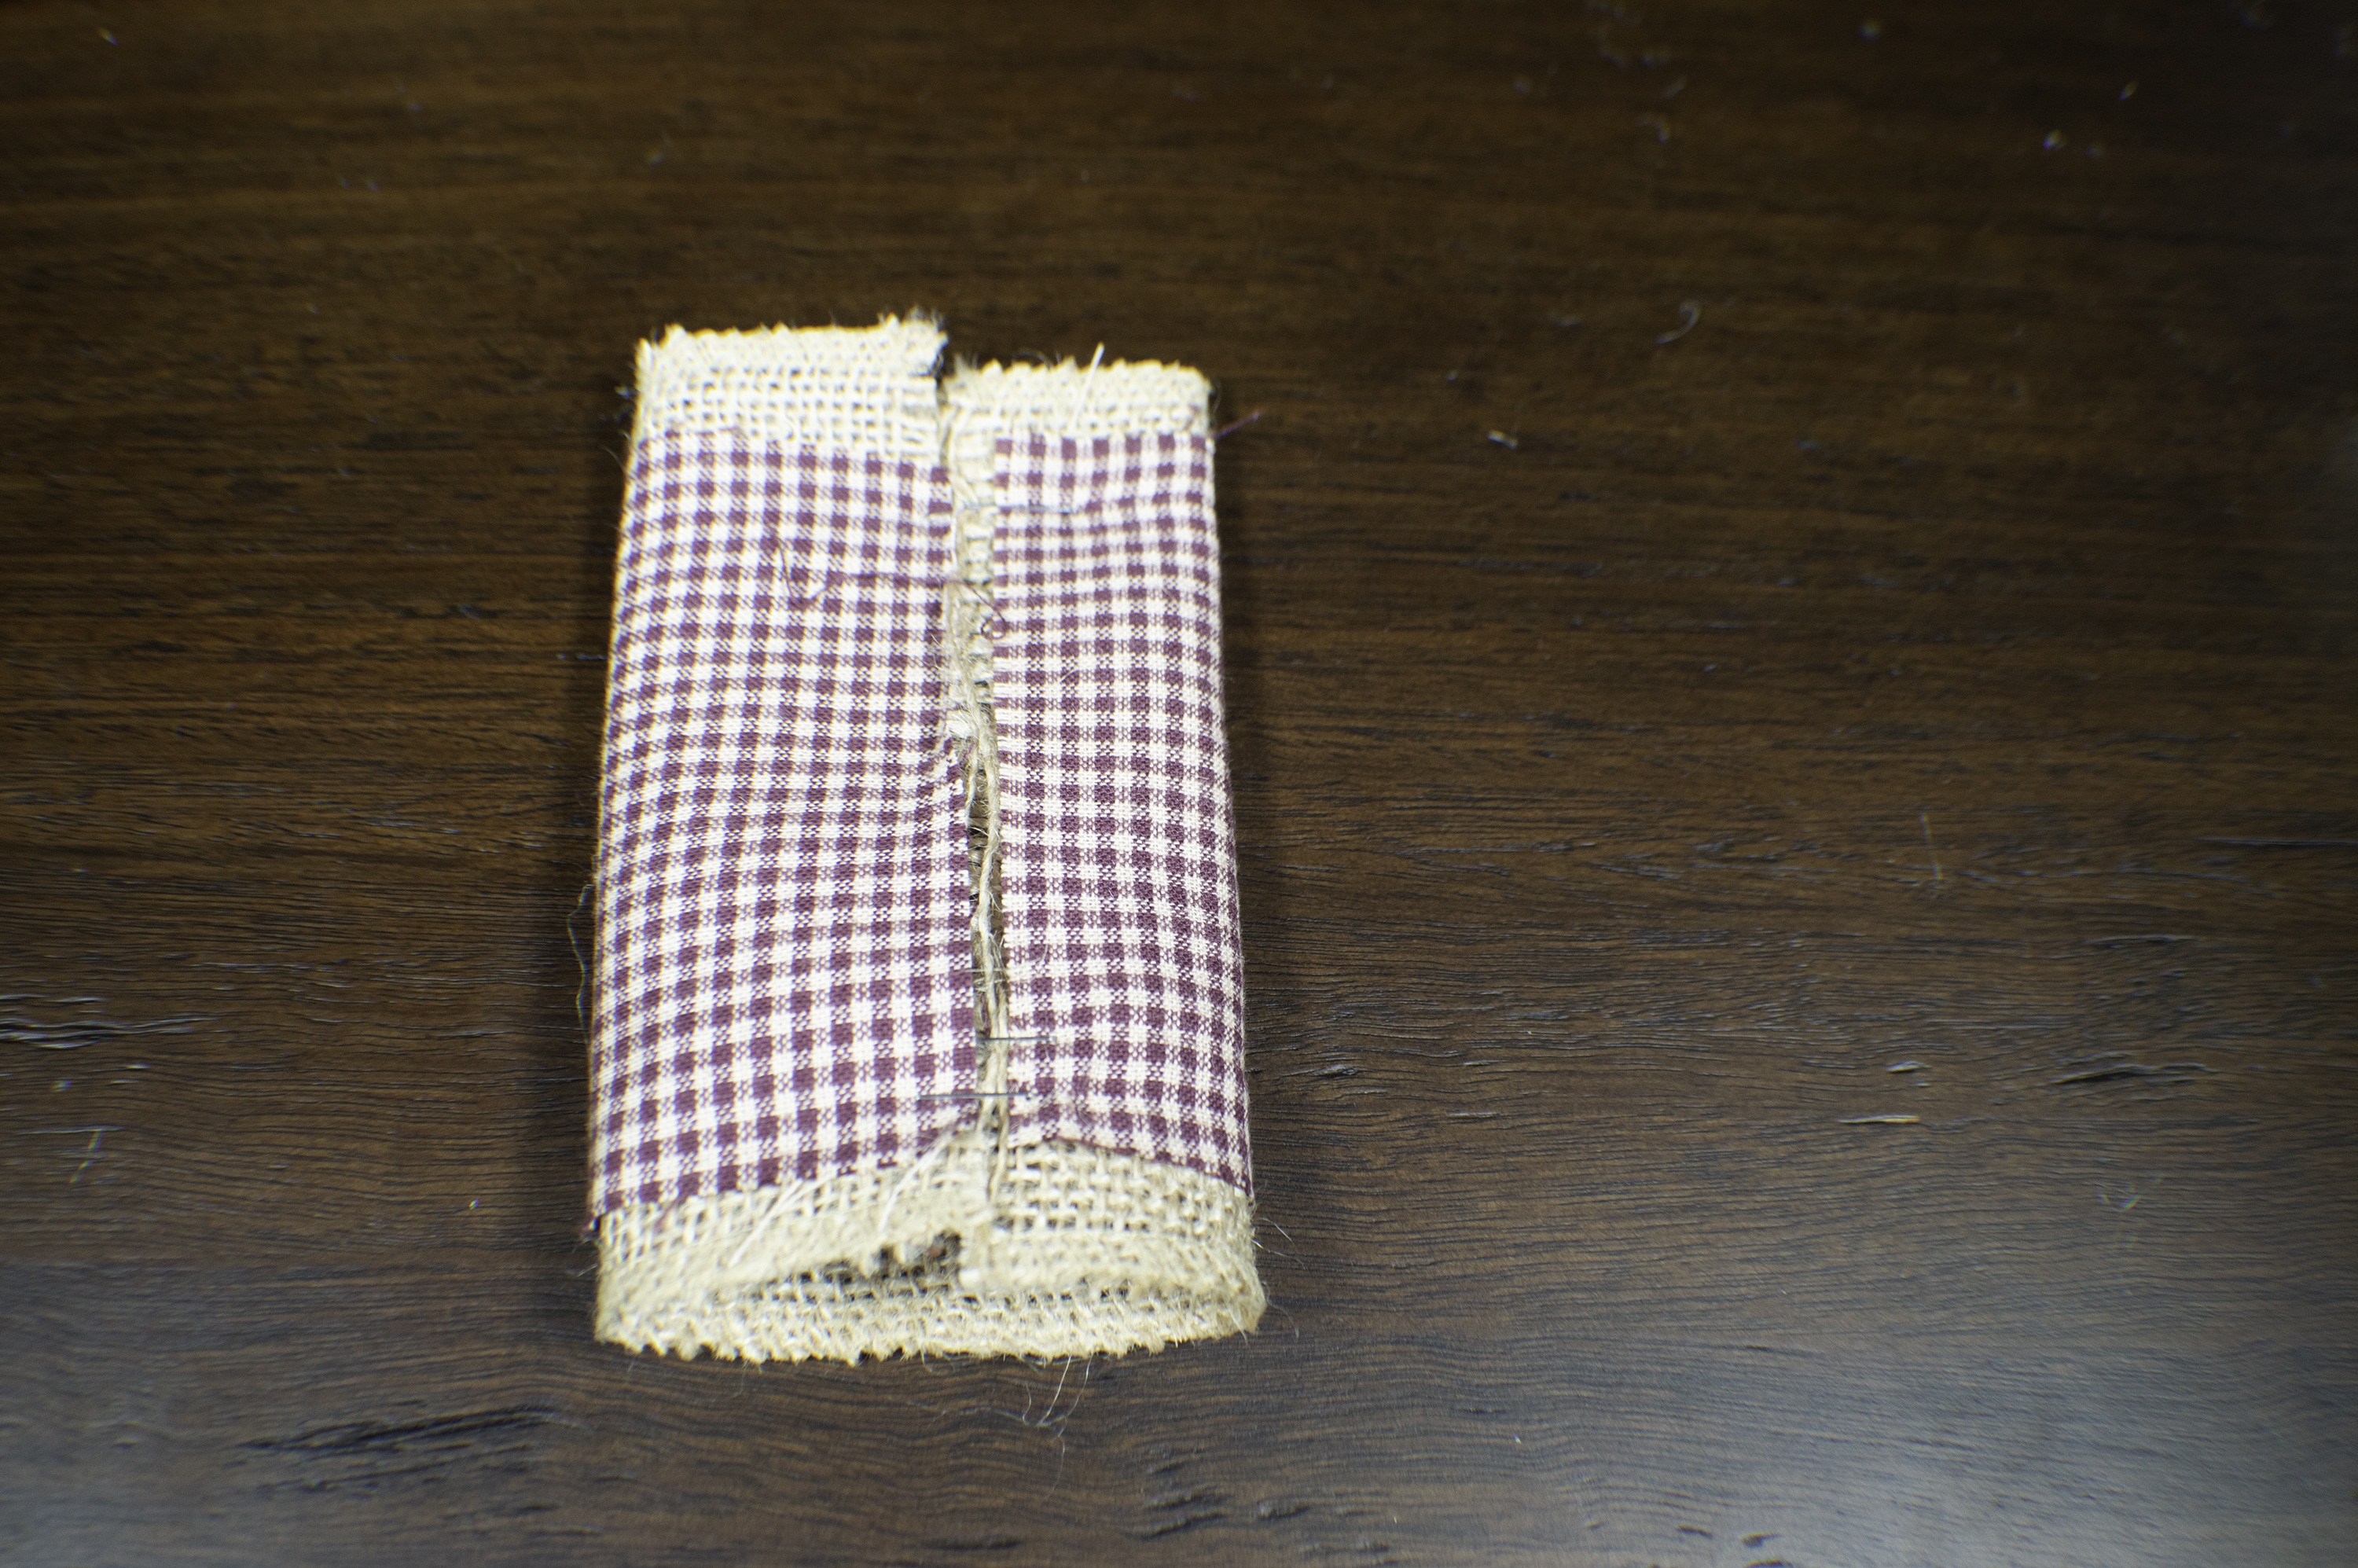
Cut three pieces of burlap ribbon: 36″, 24″, and 6″. Cut three 4″ wide strips of red gingham fabric the same lengths as the burlap ribbon.
Step 2: DIY Christmas Bow Door Hanging
Center the gingham strips on each of the burlap ribbon pieces.

Step 3: DIY Christmas Bow Door Hanging
Start with the 24″ piece. Fold the short ends toward the center of the piece so that it overlaps about an inch and staple.
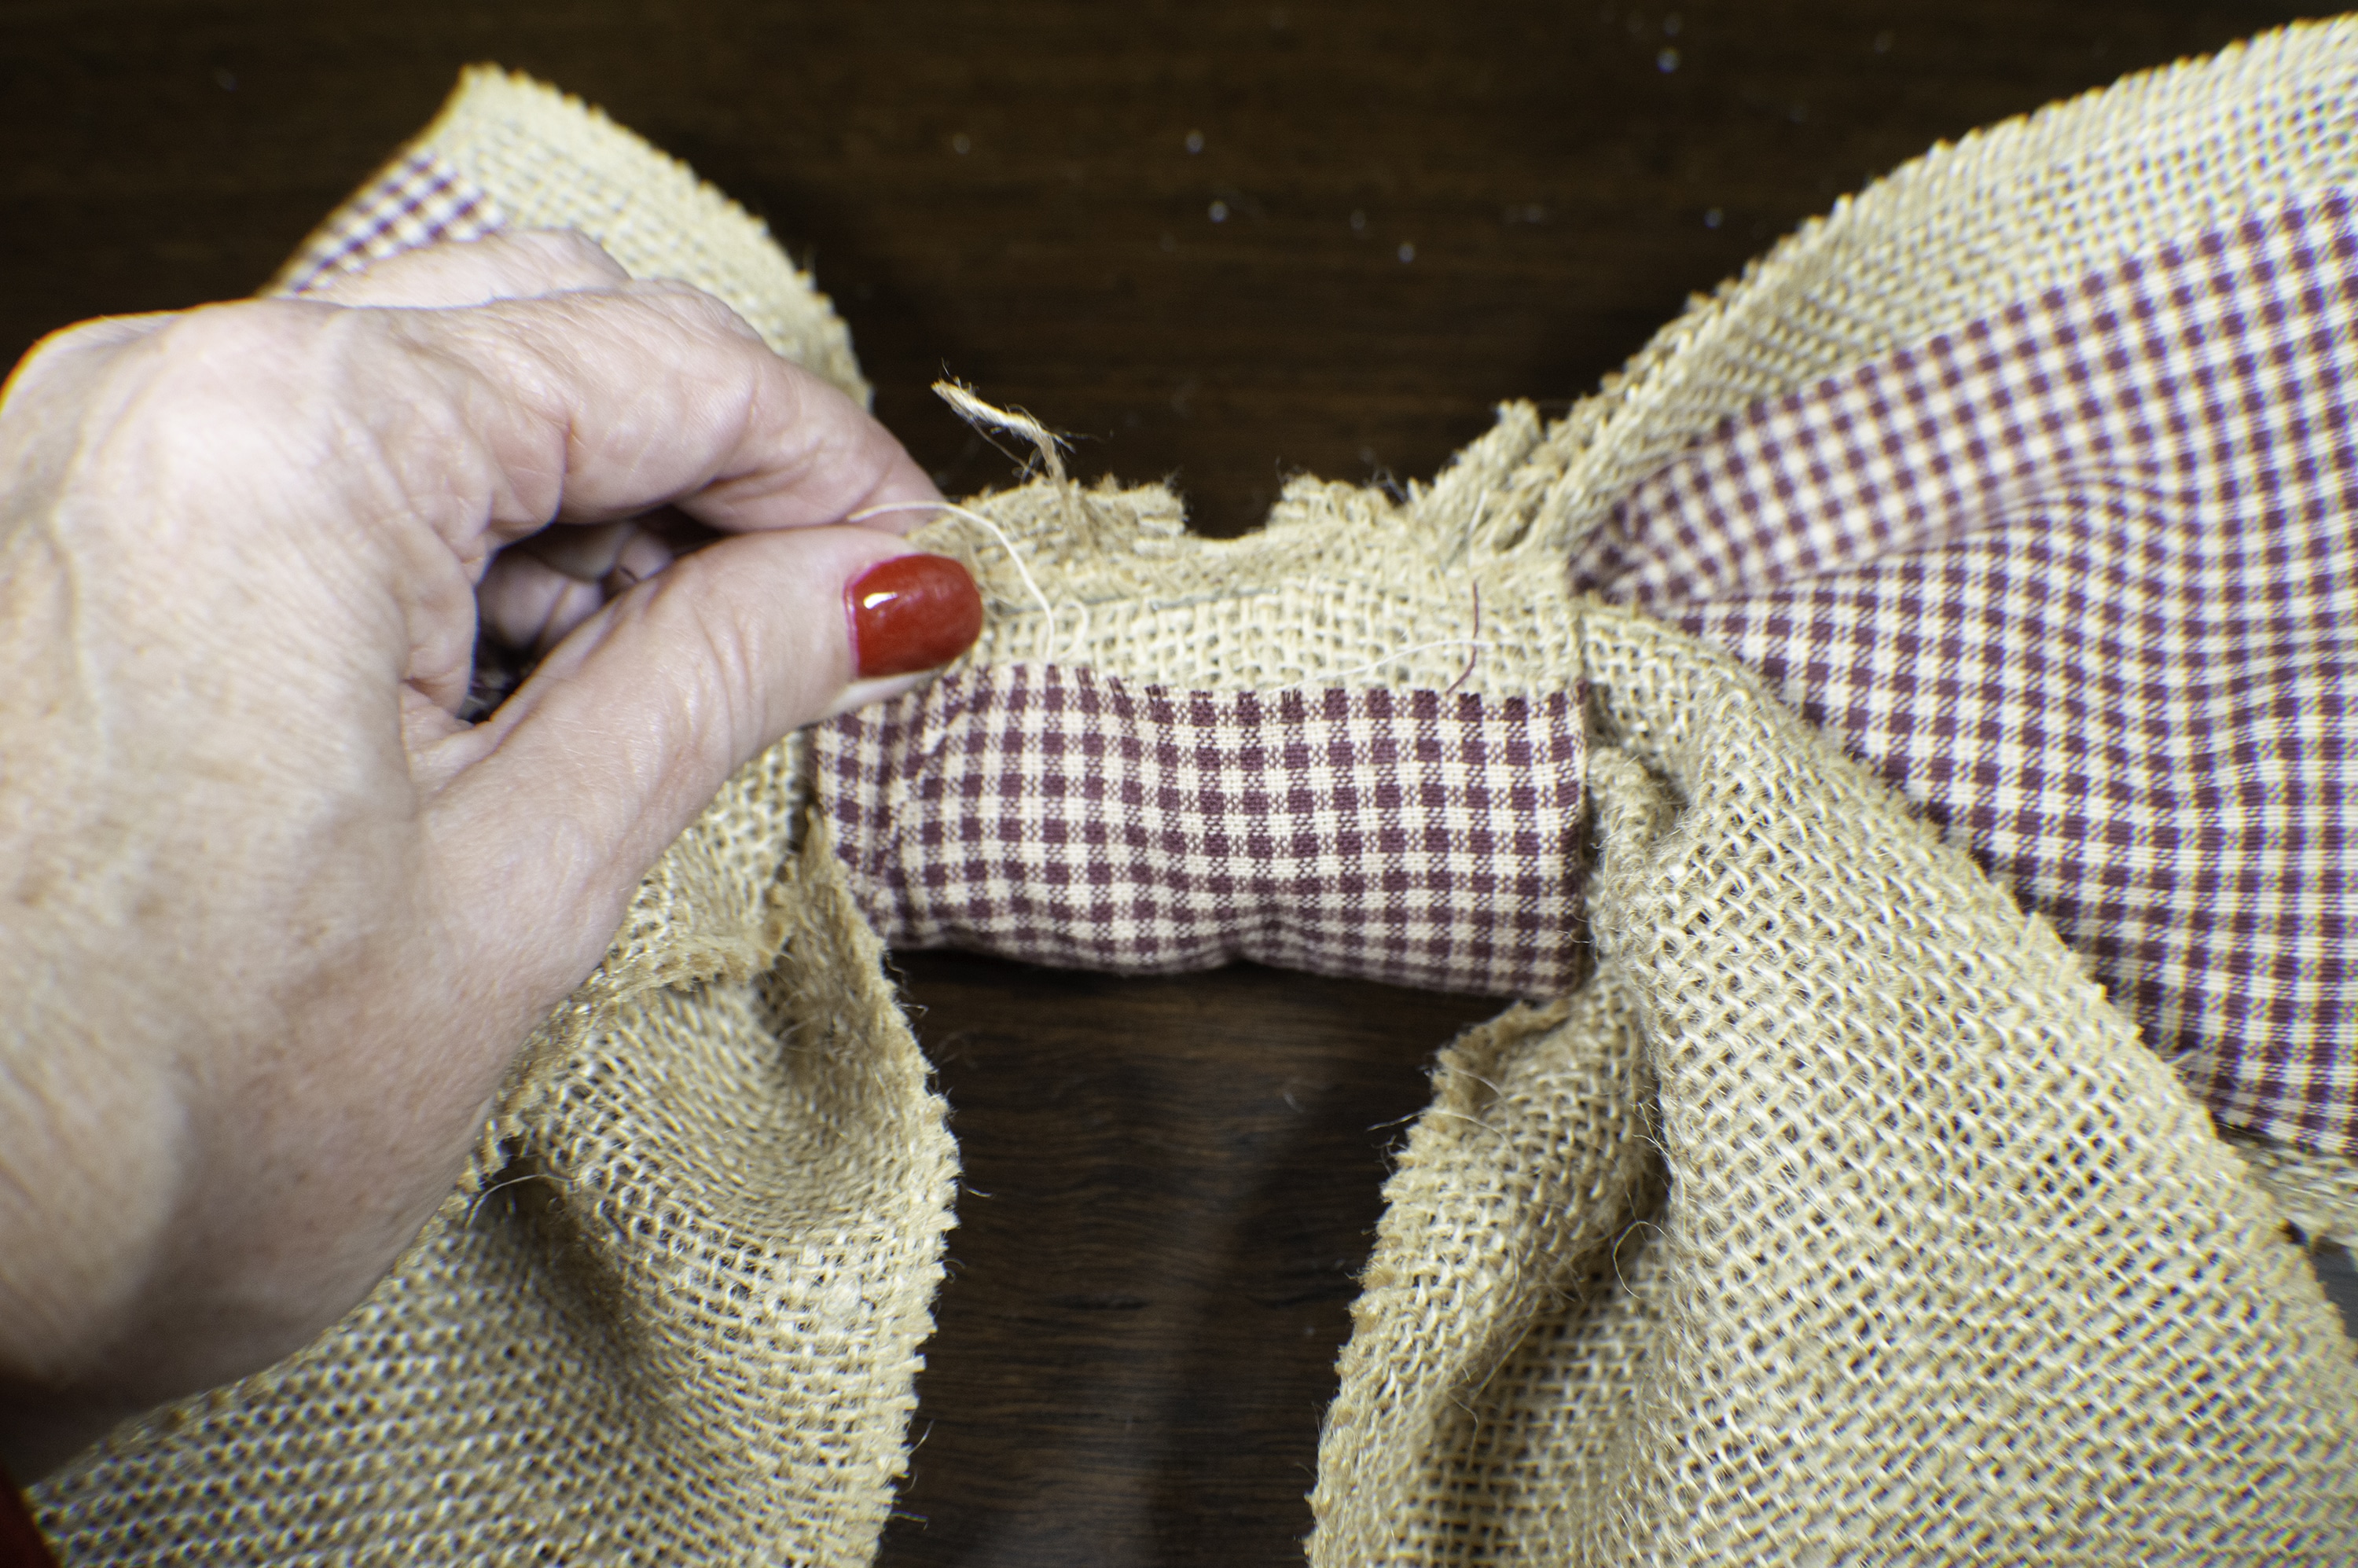
Step 4: DIY Christmas Bow Door Hanging
Fold the two edges if the 6″ piece toward the center and staple at the top and the bottom.
Step 5: DIY Christmas Bow Door Hanging
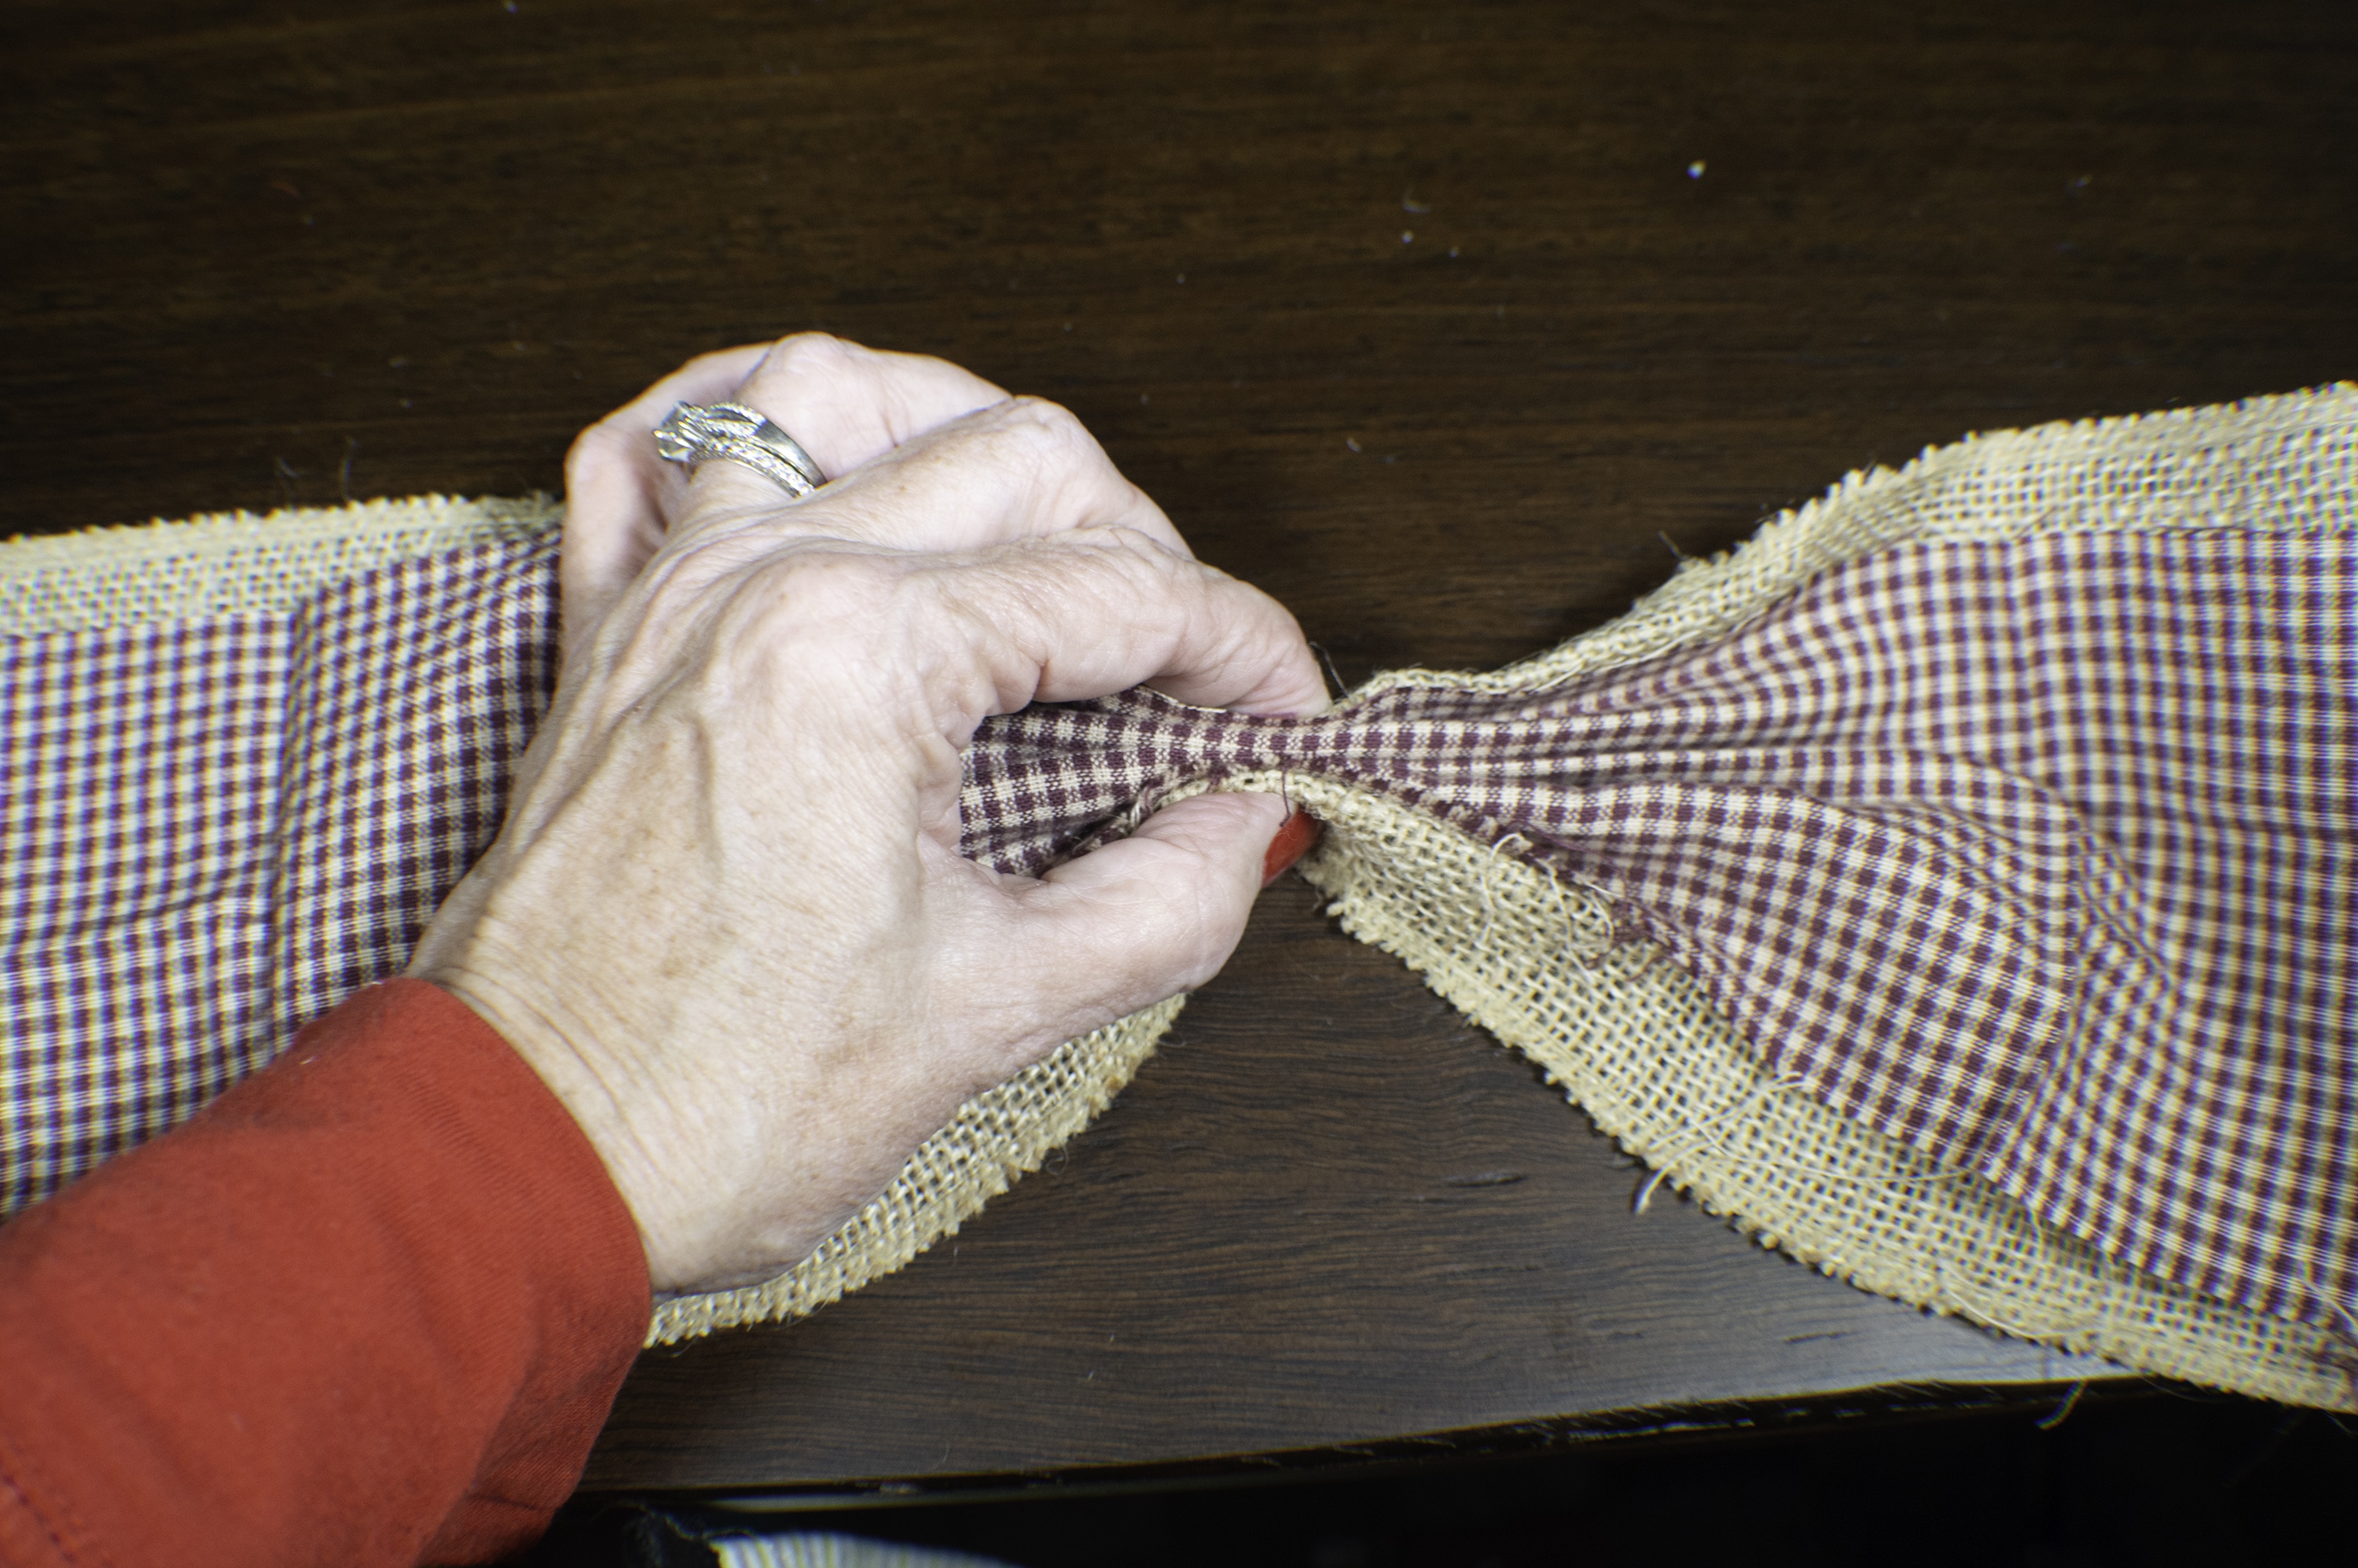
Take the 36″ piece and accordion fold it in the center and clip with a wonder clip or binder clip
Step 6: DIY Christmas Bow Door Hanging
Lay the 6″ piece on the table fold side up and lay the 24″ piece and the 36″ piece on top.
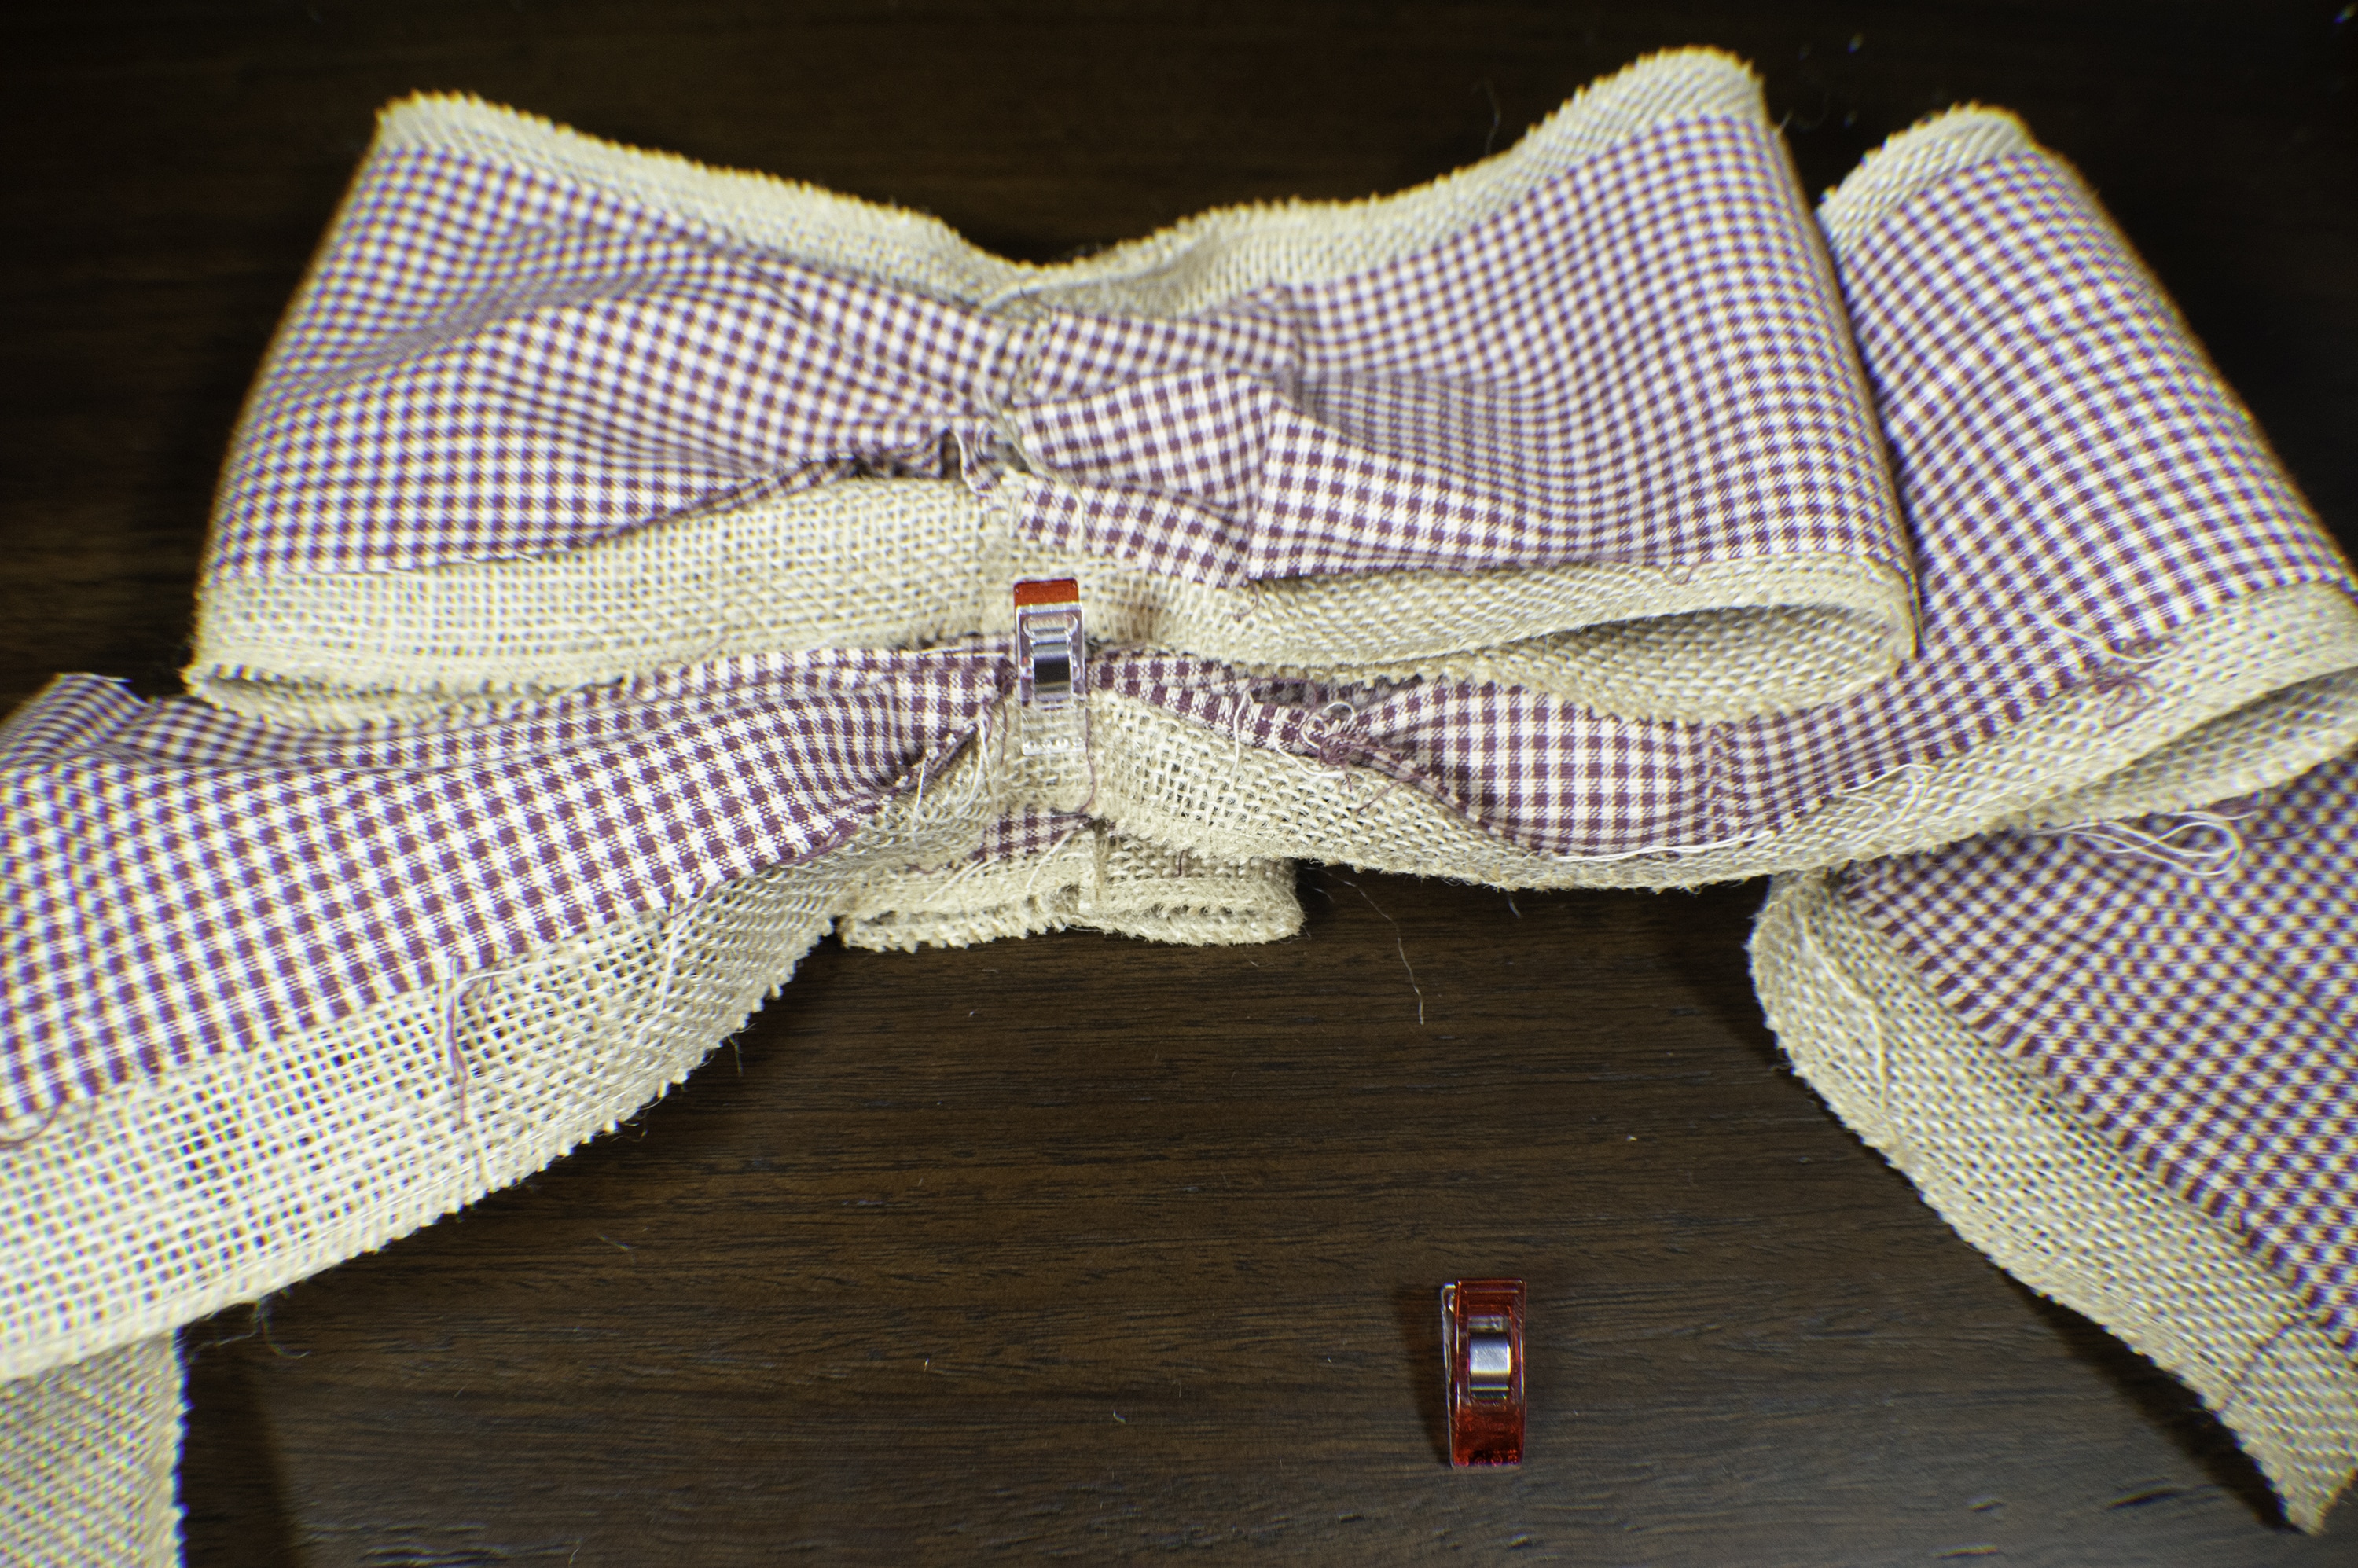
Step 7: DIY Christmas Bow Door Hanging
Pull the ends of the 6″ piece together so that they meet and the two longer pieces are bunched together. Staple the ends of the 6″ piece together. The bow has now been finished.
Step 8: DIY Christmas Bow Door Hanging
Use a piece of wire or a pipe cleaner and thread it through the back of the bow to attach it to the sprig of greenery.
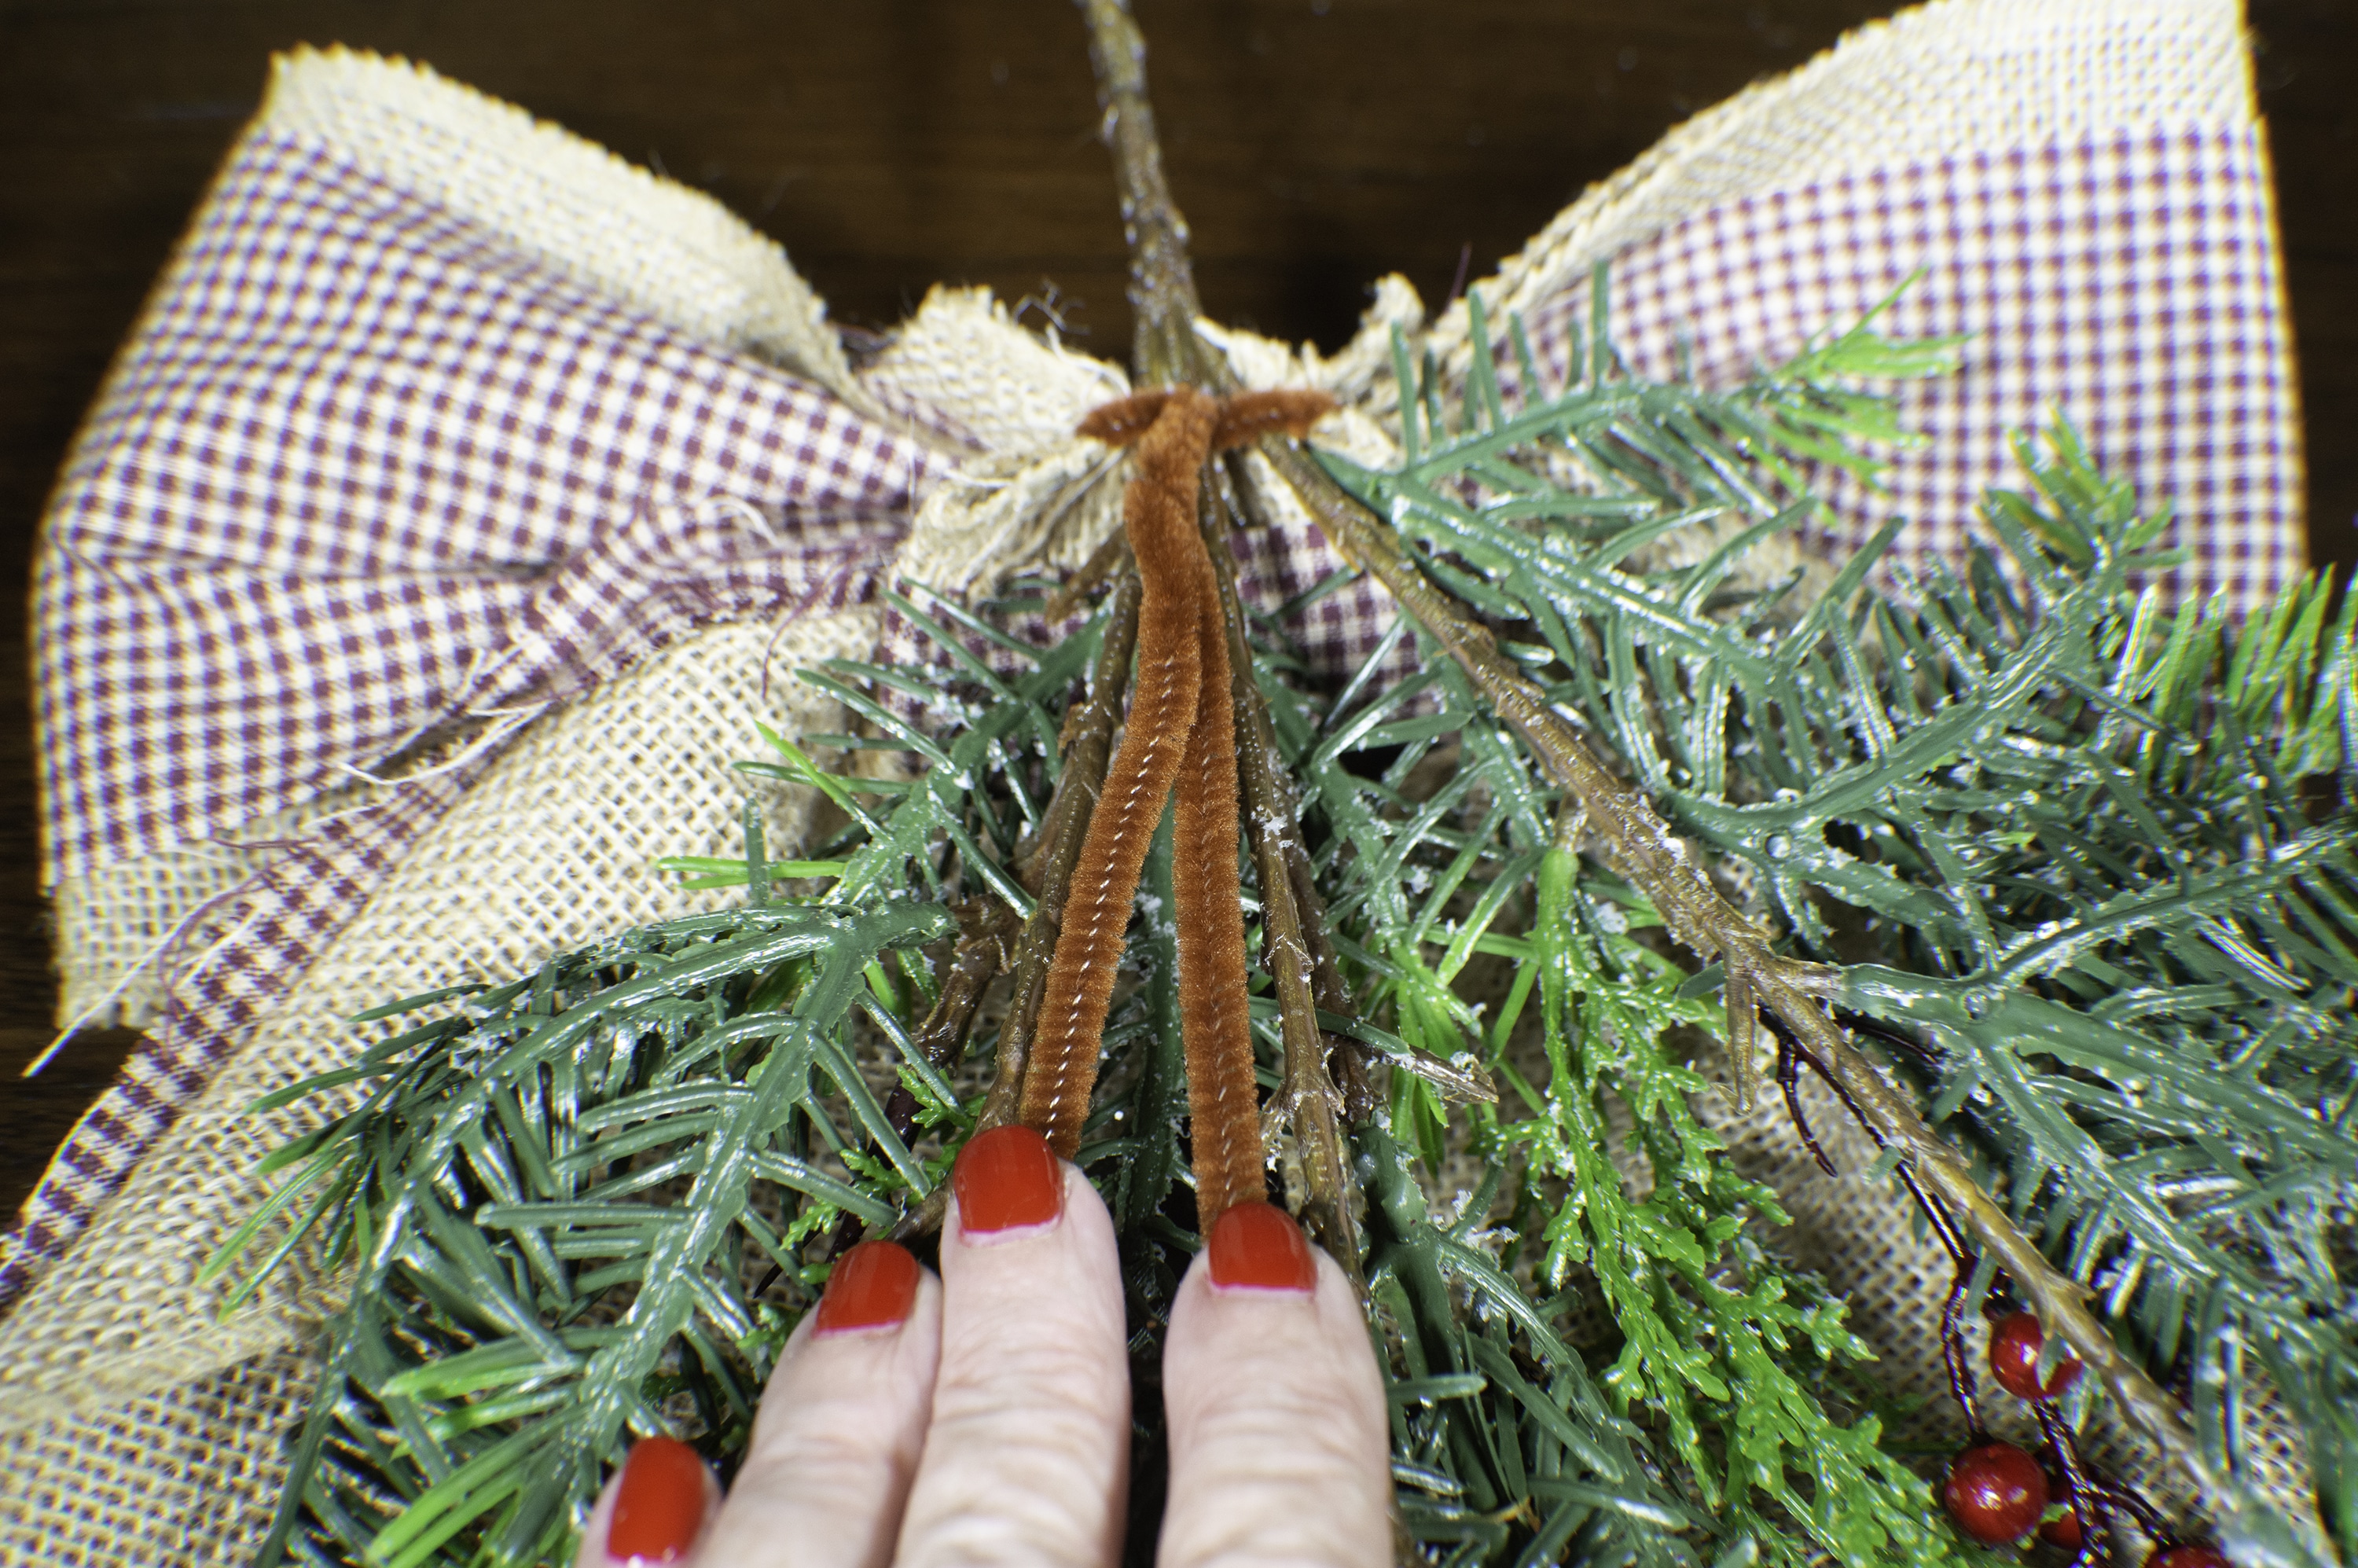
Step 9: DIY Christmas Bow Door Hanging
Drape a Christmas ornament over the sprig of greenery so that it lays on top of the bow. I used a popsicle stick sled ornament that seemed perfect for this project. You can find the step-by-step tutorial on how to make that ornament here. You have now completed your DIY Christmas bow door hanging.