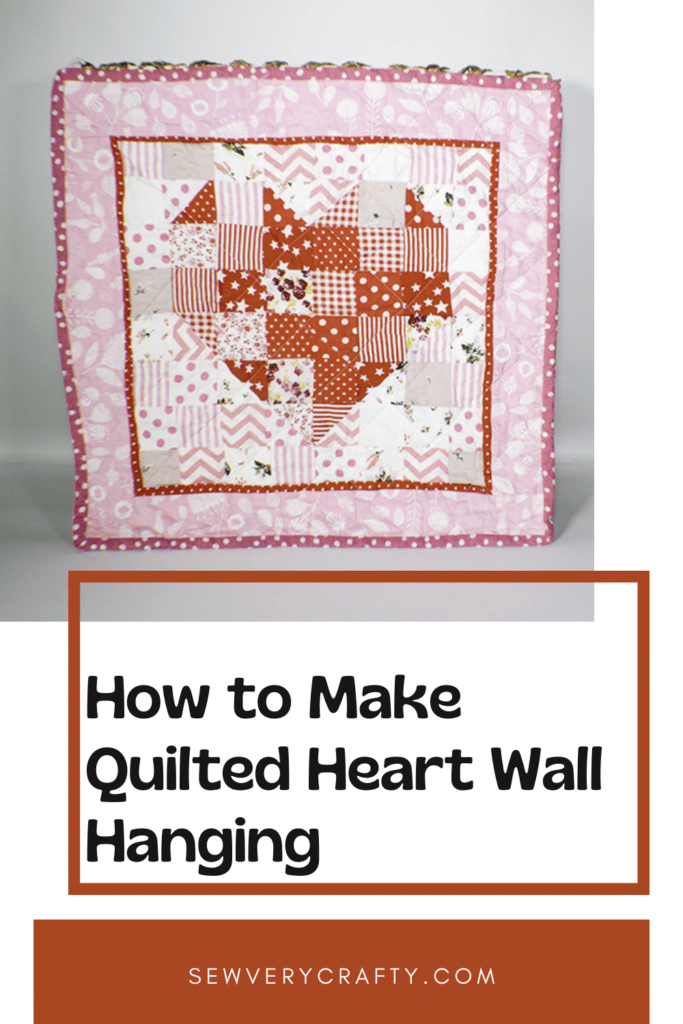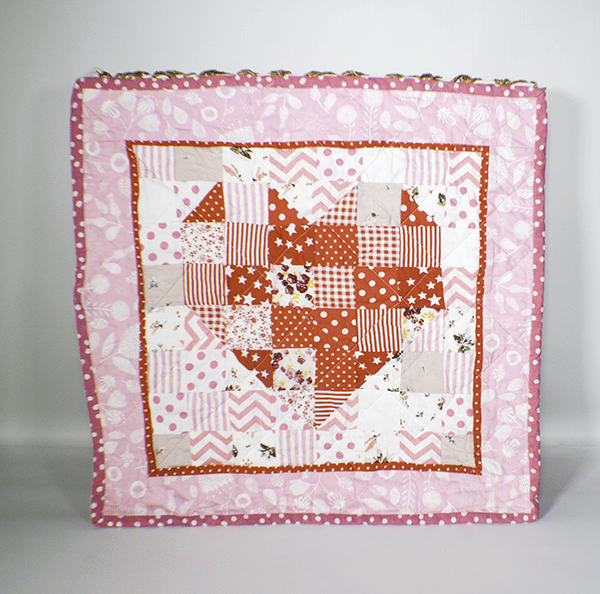
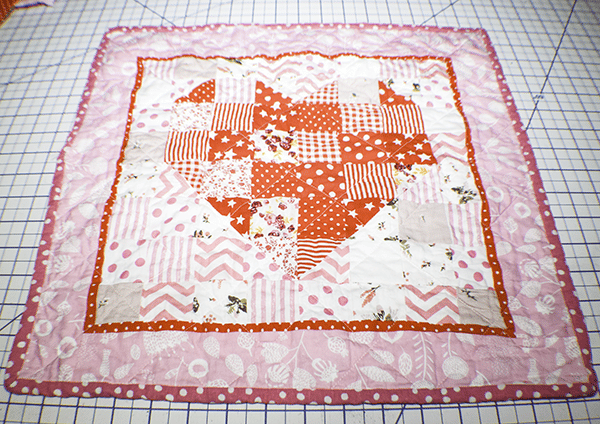
I have been looking for simple quilting projects to share with you as I learn the art of quilting. I came across this simple quilted heart wall hanging pattern at Jordan Fabrics and decided to share it with you. This is a simple piecing and quilting project for the beginner quilter like me. This is a cute wall hanging for that country cottage feeling in your home or in a child's room to show your love. If you would like more of my simple quilting projects head over to my quilting page here.
I would recommend you use scraps from your stash for this project or order up some fat quarters like I did. You could head to JOANN Fabric & Craft Stores![]() ,
,
What you will Need: How to Make a Quilted Heart Wall Hanging
- Pink & red scraps to cut 5@2 3/8” squares and 20@ 2” squares
- Light background scraps to cut 5 @ 2 3/8” squares and 34@ 2” squares
- Red Flange 2@1” Cut the width of fabric (WOF)
- Border 2@2 1⁄2” WOF
- Binding 2@2 1⁄2” WOF
- Backing and batting – 22” square
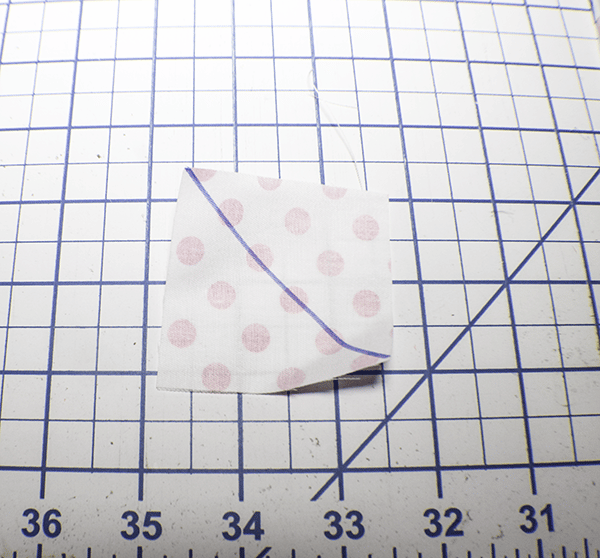
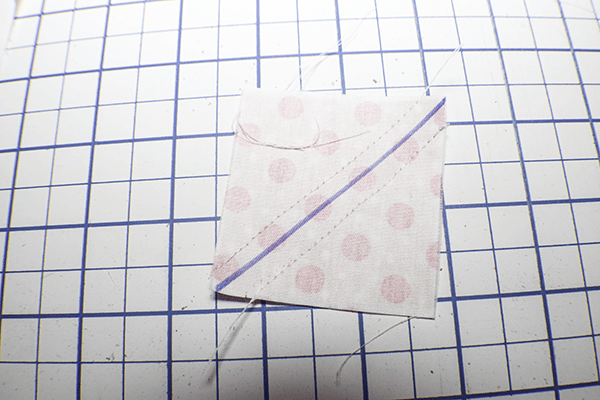
Step 1: Create the Half Square Triangles
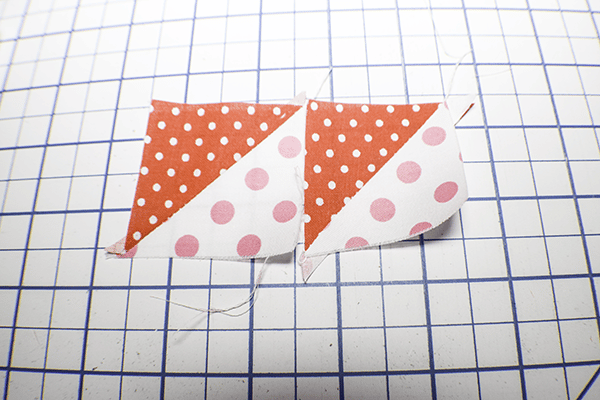
You will need 10 half square triangles for this project. To make them, take a 2 3/8” background square and draw a diagonal line on the reverse side from corner to corner. Place the background square on top of a 2 3/8” red square right sides together. Stitch 1⁄4” away from each side of the drawn line. Cut along the drawn line to separate the half square triangles into two. Open them up and press the seam allowance toward the background fabric. Trim any “dog ears”. The finished square should now measure 2” x 2″. Repeat to make 10 half square triangles.
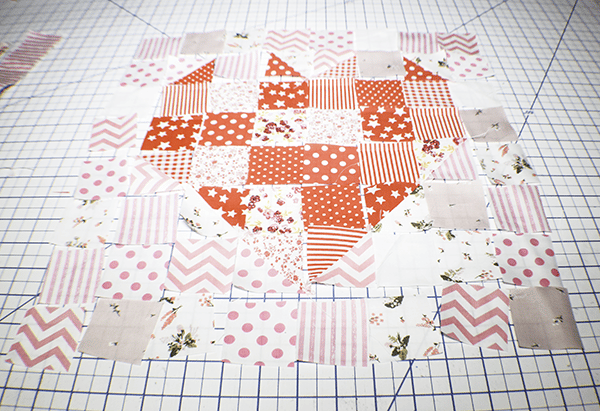
Step 2: Lay Out the Center of the Wall Hanging
Start with the 2″ background squares and lay out 8 at the top. Start each row with a background square and lay out the rest of the squares as shown in the picture. Finish up with a row of background squares. You should have the center heart laid out.
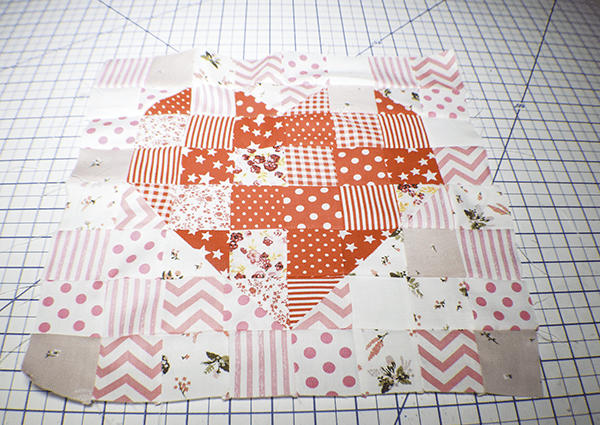
Step 3: Stitch the Center of the Wall Hanging
Stitch the top row of squares together using a 1/4″ seam allowance. Next, stitch each row until you have 8 rows. Once you have the 8 rows, stitch the rows together alternating the seam allowances until you have the center of the wall hanging stitched together.
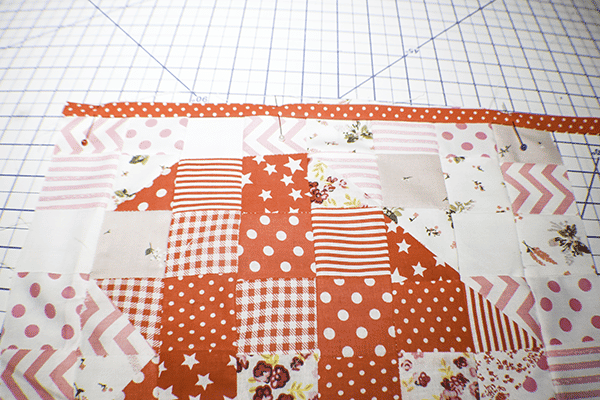
Step 4: Add the Flange
Create the flange by folding the flange pieces in half lengthwise and pressing. Place the raw edge of the flange piece together with the raw edge of one side of the center of the wall hanging and stitch using a 1/8″ seam allowance. Cut the flange at the end of each side. Repeat for each side of the wall hanging overlapping the ends as you go.
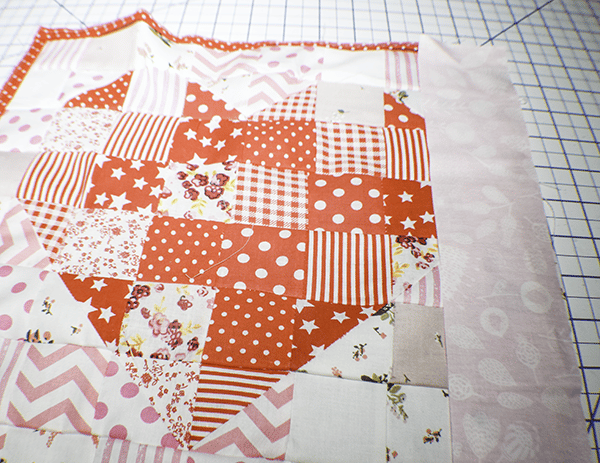
Step 5: Add the Border
Take each of the 2 1/2″ border pieces and begin stitching them on each side using a 1/4″ seam allowance making sure to line up all the raw edges. When you reach the end of each side cut off the border and start on the other side until you have completed all four sides.
Step 6: Layer the Quilt
Lay your backing wrong side up on your work surface. Place the batting on top of the backing. Lay the quilt top you just created on top of the batting and either pin or glue using fabric adhesive.
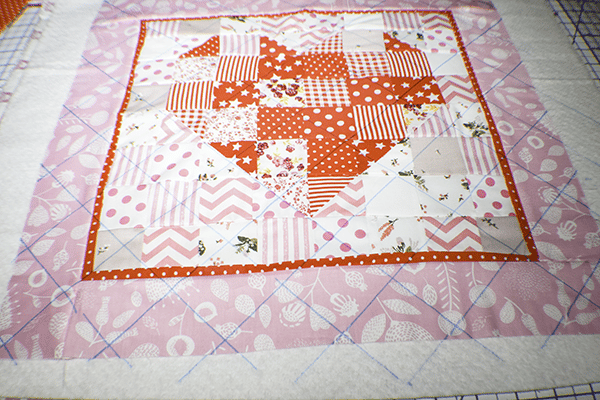
Step 7: Quilt the Wall Hanging
Quilting the wall hanging is simply the process of stitching the layers together. I have used a cross hatch pattern for this project. Simply use an erasable pen to draw lines across the wall hanging in a diamond pattern. Stitch along the lines to quilt the hanging together.
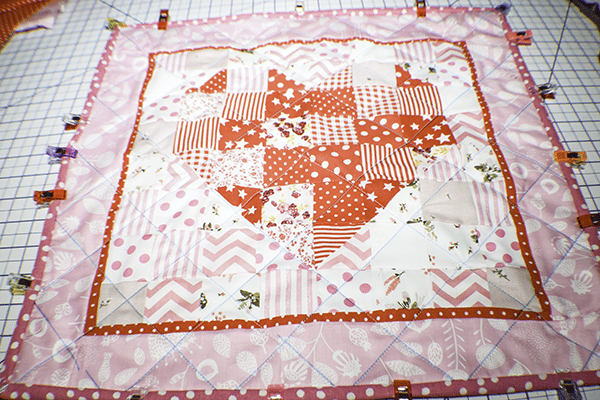
Step 8: Bind the Quilted Wall Hanging
If you have never added binding to a quilt I recommend that you check out this video to learn how to do it.

I hope that you enjoyed this simple quilting project. If you would like more sewing and crafting projects subscribe to my newsletter and receive access to my free Printables Library
If you would like video tutorials of some of Sew Very Crafty's most popular posts subscribe to me free YouTube channel here.