
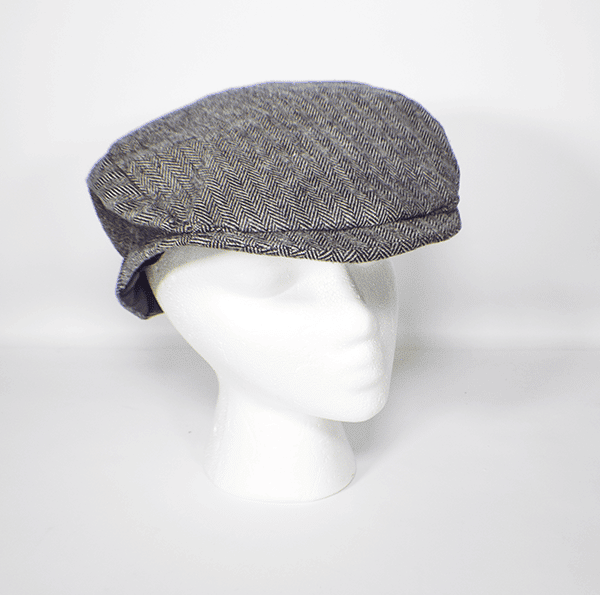
Finding things to make for the man in your life is often difficult but I came across this free pattern for a men's flat cap from Waffle patterns and thought to share it with you. I thought this would be a fun project to make for the strong beginner to intermediate sewist. I like that the pattern is free of course but it is the perfect project to make for the man in your life. It comes in two sizes so there is a choice to make. I chose the larger size when making this tutorial but I did change up the instructions a bit. If you would like some of my other hat projects check out my simple bucket hat project.
Head over to Mood Fabrics, Michaels, or Amazon and pick upo some fun fabric for your men’s flat cap. I used herringbone and some black Kona cotton that I had in my stash for the lining and some Pellon 809 interfacing to give it some structure. This post contains affiliate links that if you click on them and make a purchase I may receive a small commission at no extra cost to you. As an Amazon Associate I earn from qualifying purchases.
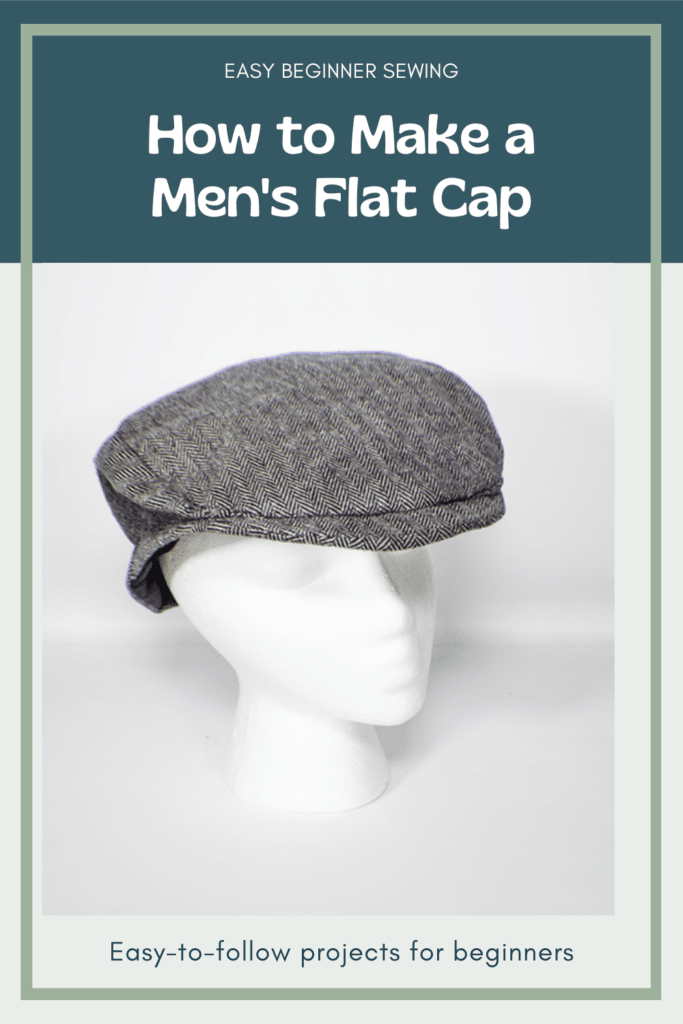
What you will Need; How to Make a Men's Flat Cap
- Pattern you can get by clicking on this link
- 1/2 yd outer and lining fabric
- 1/2 yd Pellon 809 or 808 interfacing
- Piece of Pellon Peltex for Brim
- Standard sewing supplies
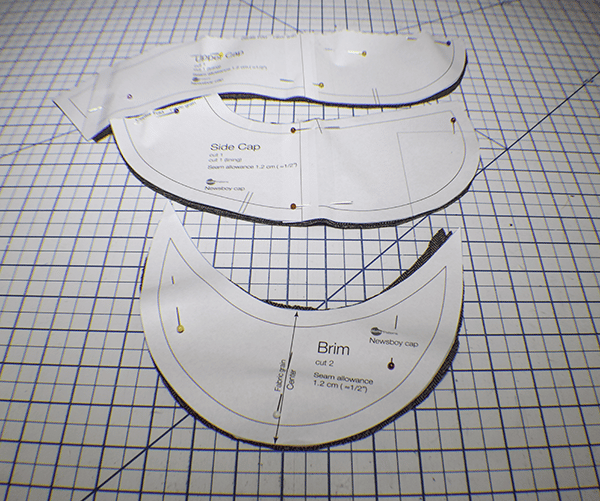
Step 1: Cut out your Fabrics
Using the pattern pieces cut the outer and lining upper and outer and lining side on the fold. Cut two brim pieces. Make sure to be cognizant of the grain of your fabric. I wanted my herringbone pattern to be all going in the same direction.
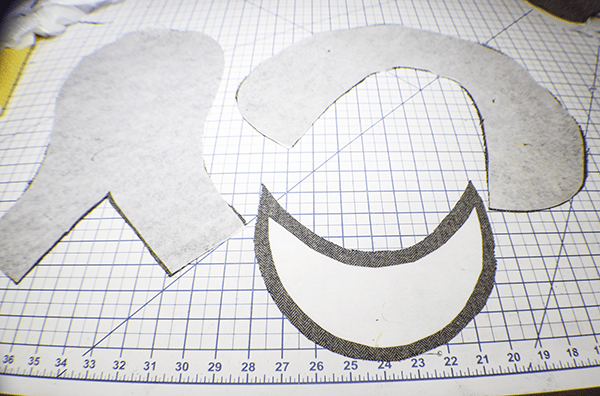
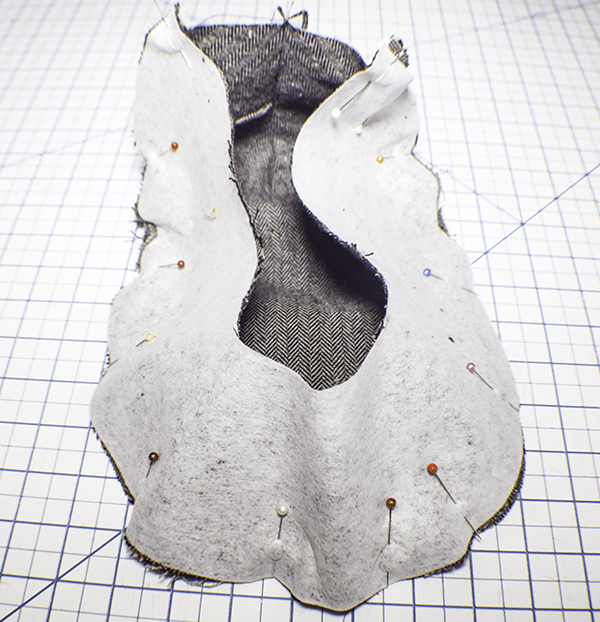
Step 2: Fuse the Interfacing
Fuse the interfacing to the outer upper and outer side of the cap following the manufacturer's instructions. Cut the Peltex 1/2″ smaller than the brim and fuse it to the wrong side of one of the brim pieces
Step 3: Sew the Back Dart
Fold the outer upper piece right sides together and stitch the back dart using a 1/2″ seam allowance. Press the seam open. Repeat for the lining upper piece as well.
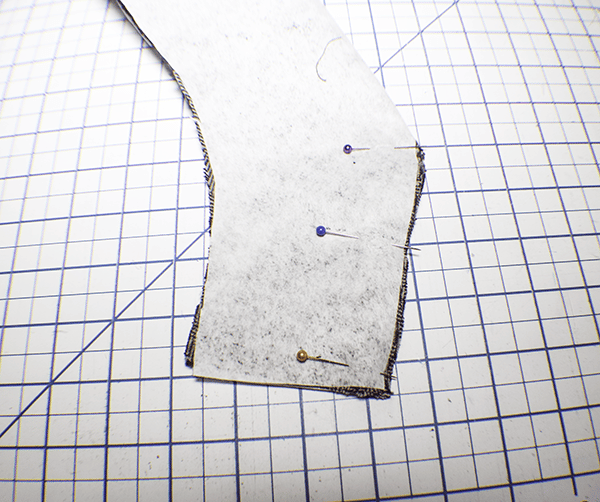
Step 4: Stitch the Side of the Cap
Add the side of the outer cap to the outer upper so that they are right sides together. It may seem like it doesn't fit but you just need to follow the contours and you will be fine. Stitch using a 1/2″ seam allowance. Press the seam open. Repeat for the lining.
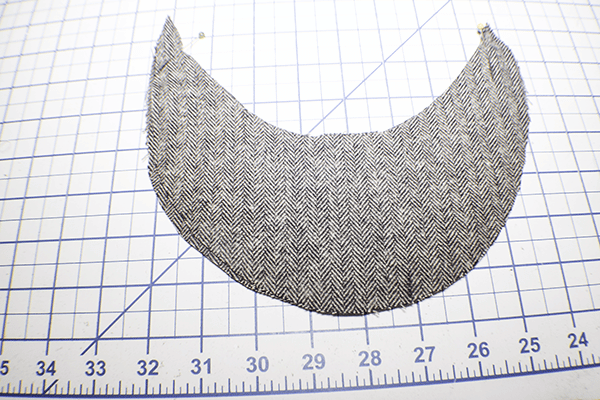
Step 5: Create the Brim
Place the two brim pieces right sides together and stitch around the front curve using a 1/2″ seam allowance. Clip the curves so that it will lay flat. Turn right sides out and press. Topstitch around the front curve of the brim.
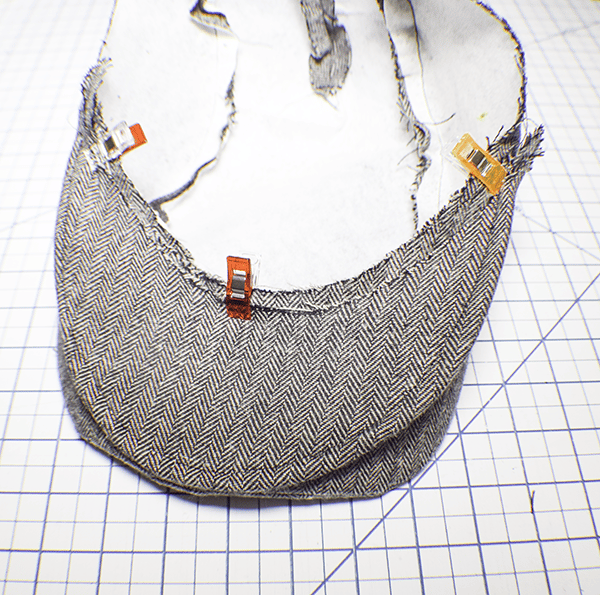
Step 6: Add the Brim
Place the brim onto the cap using the notches as a guide. Stitch the edge of the brim to the outer cap. Fold and press the raw edge.
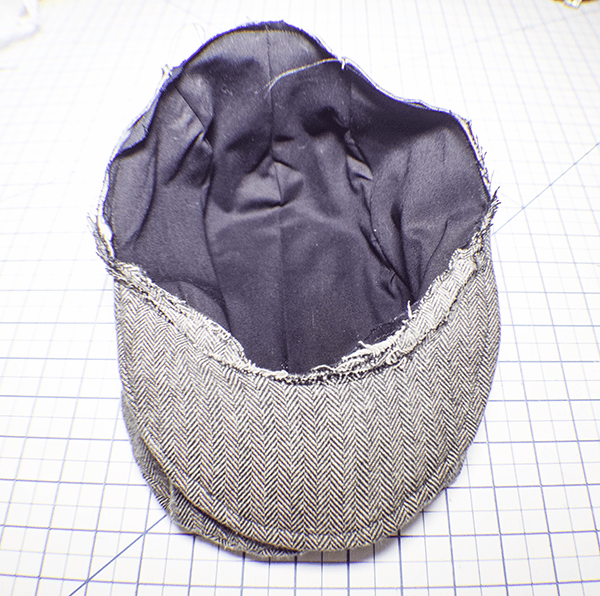
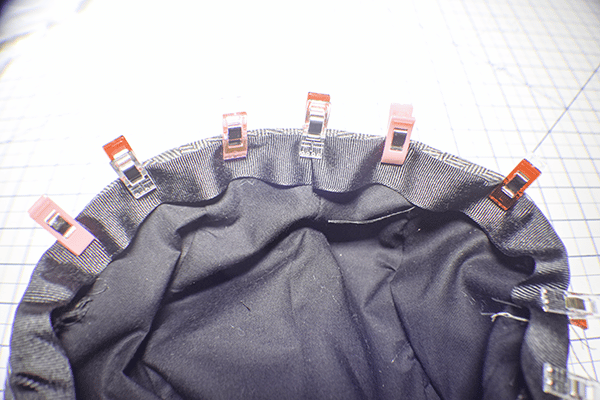
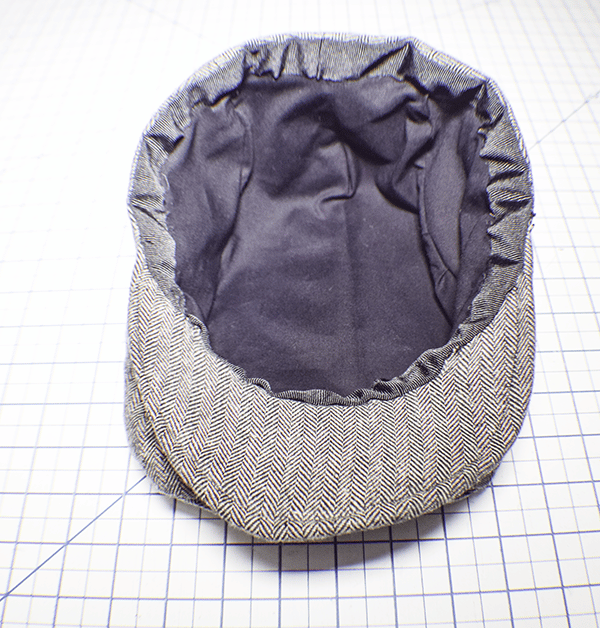
Step 6: Add the Lining
Place the lining cap inside the outer cap wrong sides together. Baste around the edge.
Step 8: Stitch the Ribbon or Tape
Place the ribbon or tape on the right side of the cap and stitch. Turn it to the inside of the cap and hand stitch the ribbon to the lining using invisible stitch.
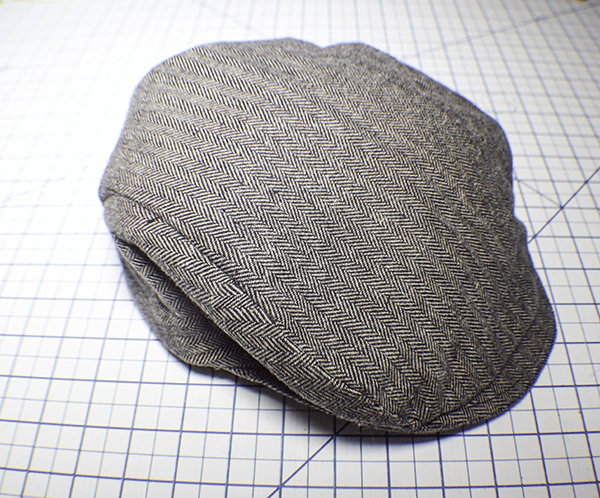
Step 9: Stitch the Brim to the Cap
Using invisible stitch, sew the brim to the cap to secure.
I hope you enjoyed this flat cap project. if you would like more sewing and crafting projects subscribe to my newsletter and receive access to our free Printables library.
If you would like Video tutorials of some of Sew Very Crafty's most popular posts subscribe to my free YouTube channel here.


I want to make the flat cap but I can’t find the link for the pattern.
I appologize. I was having a problem with the links. Here it is. https://drive.google.com/file/d/0B-kqu4kbr4kHajAxZHA1Z2ItRms/view?resourcekey=0-4oeqCqcQfsXzKQEiCryMuQ