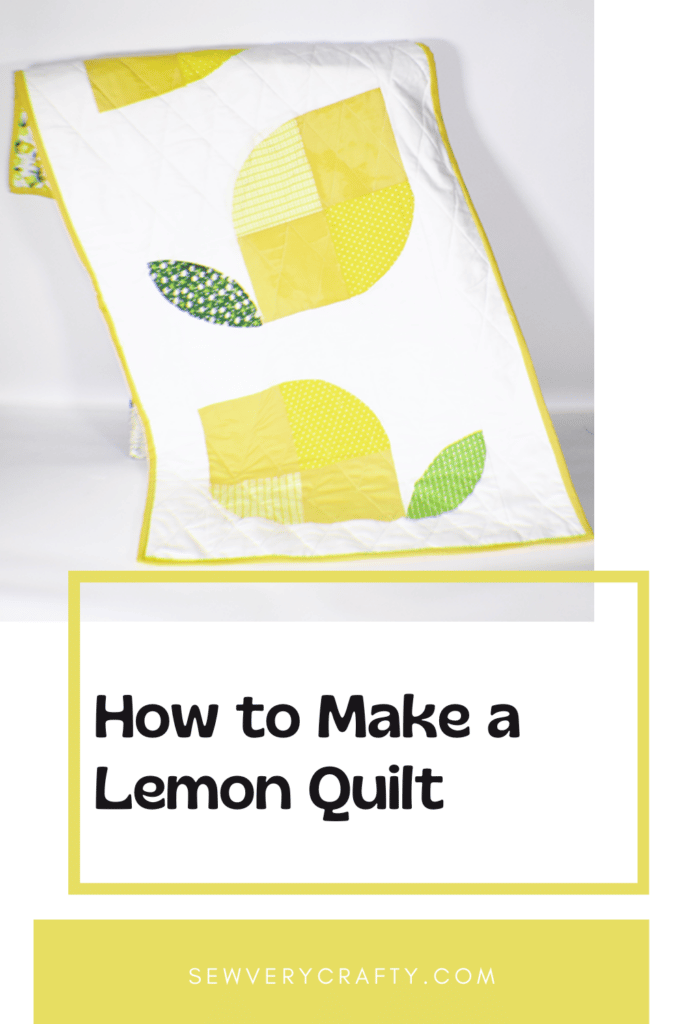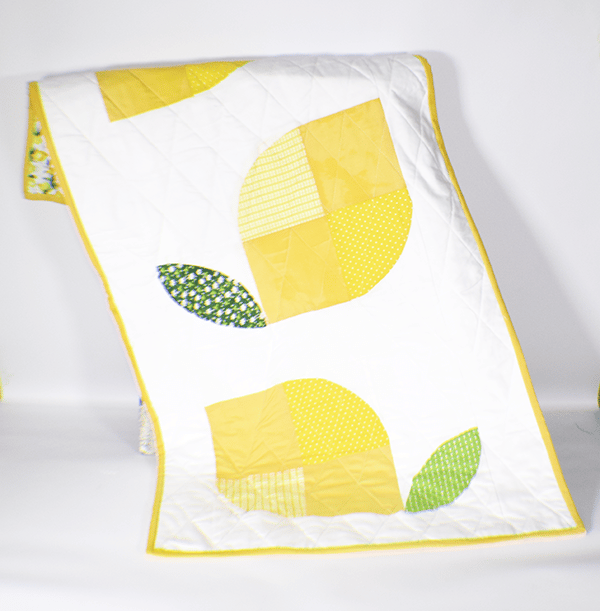
I came across this fantastic pattern on Etsy that I just fell in love with. It is called Memi's Lemons from Cotton and Joy Patterns. You have to purchase the pattern so I cannot share it with you but there are techniques for creating this quilt that I would like to share with you. As a beginner quilter I am always looking at ways to learn new things. This pattern really helps me to do that. Not only do you get the pattern you get descriptions and videos on how to stitch it together. It is really worth spending the money on. If you would like more beginner quilting projects check out my quilting page here.
This project requires a variety of yellow fabrics and a nice backing fabric. I went to Amazon and purchased a fat quarter bundle of yellow and green fabrics for the lemons and leaves and used white Kona cotton for the background and a lemon print that I got at JOANN Fabric & Craft Stores. You could, of course, head to Fabric.com or onlinefabricstore.net to get exactly what you need for your lemony quilt. This post contains affiliate links that if you click on them and make a purchase I may receive a small commission at no extra cost to you.
What you will Need: How to Make a Lemon Quilt
- Pattern you can get on Etsy
- Variety of yellow fabrics
- Variety of green fabrics
- White Background fabric
- Backing fabric
- Batting
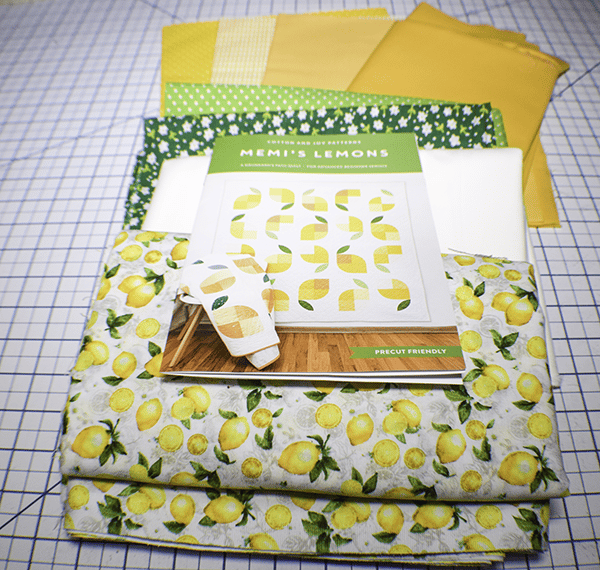
Step 1: Cut the Quarter Circle Unit
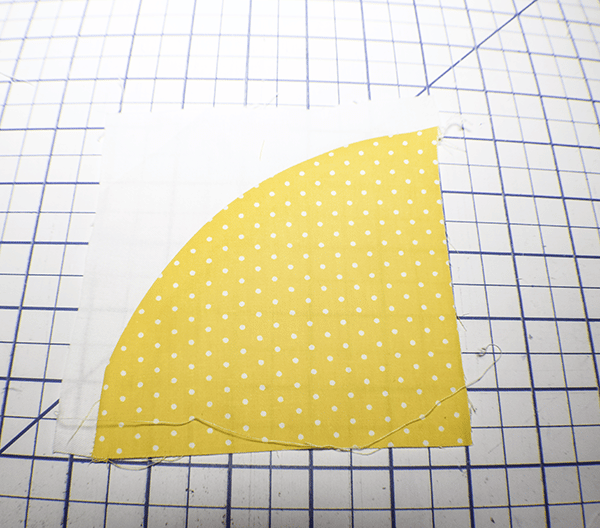
You will need several quarter circle units to make your lemons. To do this you will take the two templates provided in the pattern for the quarter circle unit and cut the wedge piece from a yellow fabric and the arc piece from the white background fabric.
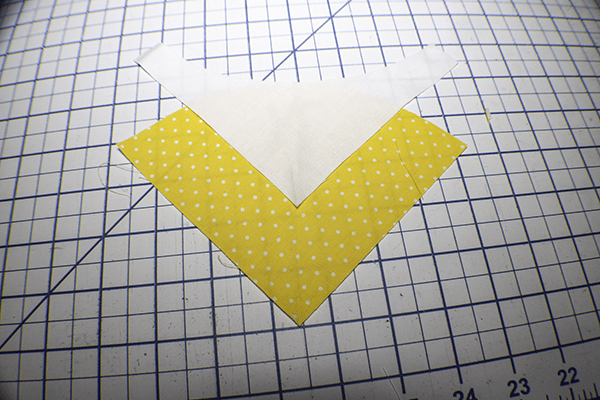
Step 2: Stitch the Quarter Circle Unit
Start by folding the wedge piece in half to find the center. Do the same for the arch piece. Place the pieces right sides together matching the centers. They will seem as though they are going in different directions but you will pin the edges together to create the curve. Stitch around the curve slowly using a 1/4″ seam allowance. Open the piece and press. Trim the unit according to the instructions in the pattern.

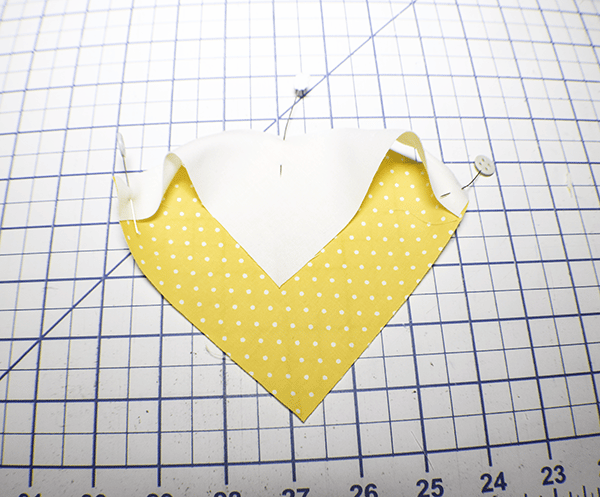
Step 3: Cut the Leaf Unit
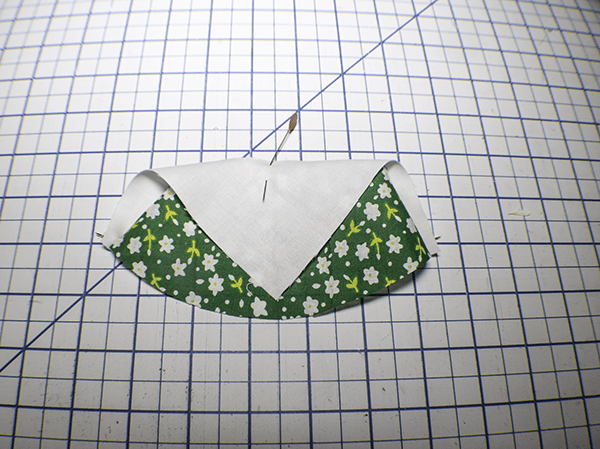
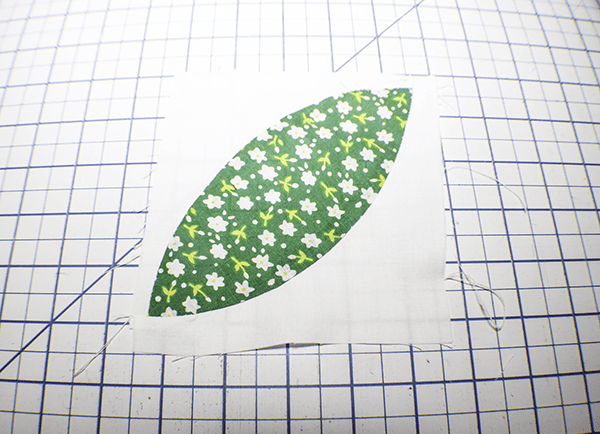
The leaf unit is also known as an orange peel. Use the provided template to cut the orange peel out of the green fabrics. Cut two of the arch pieces from that template from the white background fabric.
Step 4: Stitch the Leaf Unit
You will stitch the leaf unit the same way you stitched the quarter circle unit. Fold the orange peel piece in half to find the center. Place the arch piece right sides together and stitch. Trim according to the pattern instructions and stitch the other side of the arch and trim.
Step 5: Cut the Squares
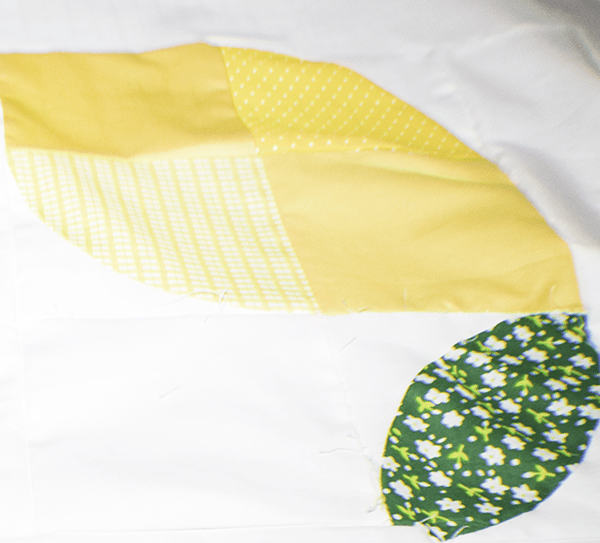
To create the lemon block you will need two yellow squares and a background square. Place the squares as shown and stitch them together using a 1/4″ seam allowance. Create as many lemon blocks as you need for the size quilt that you are making. The pattern will tell you how many blocks you need for the various sized quilts. I chose to make a runner.
Step 6: Stitch the Blocks Together
There will be a sashing strip between each block. The pattern will state the length and width of the sashing strips to be used for the quilt.
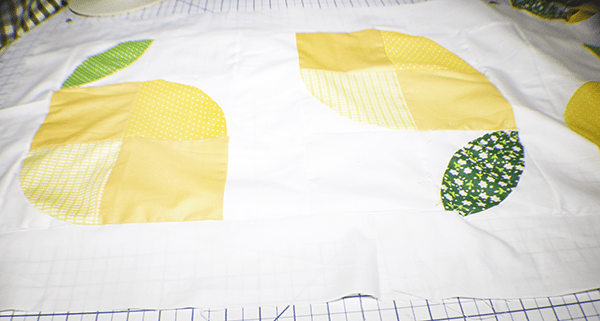
Step 7: Layer the Quilt
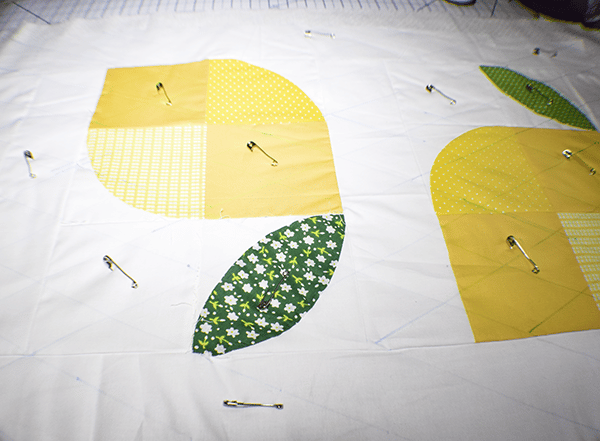
Cut the batting and backing a little larger than the quilt you are making. Place the backing wrong sides up and the batting on top. Then place the pieced quilt on top. Pin or adhere using fabric adhesive.
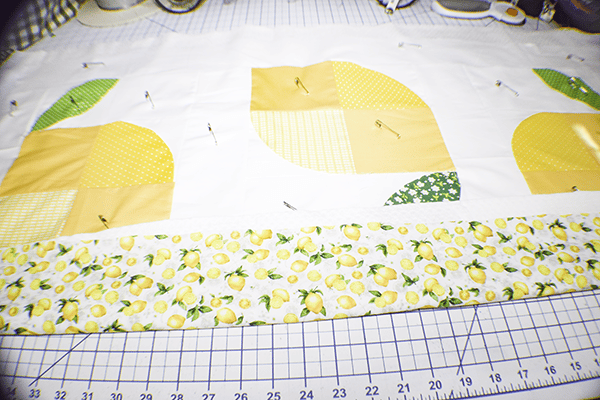
Step 8: Quilt the Lemons
I quilted my runner using a diamond cross hatch design but you can quilt it any way you choose.
Step 9: Bind the Quilt
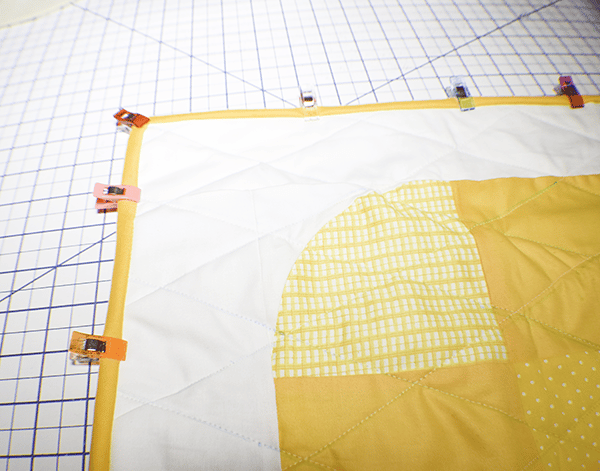
Bind the quilt using the length of binding recommended in the pattern. If you do not know how to bind a quilt check out this video.
I hope you enjoyed this lemony project. if you would like more sewing and crafting tutorials sign up for our newsletter and receive access to our free Printables Library

If you would like video tutorials of some of Sew very Crafty's most popular posts subscribe to our free YouTube channel here.
