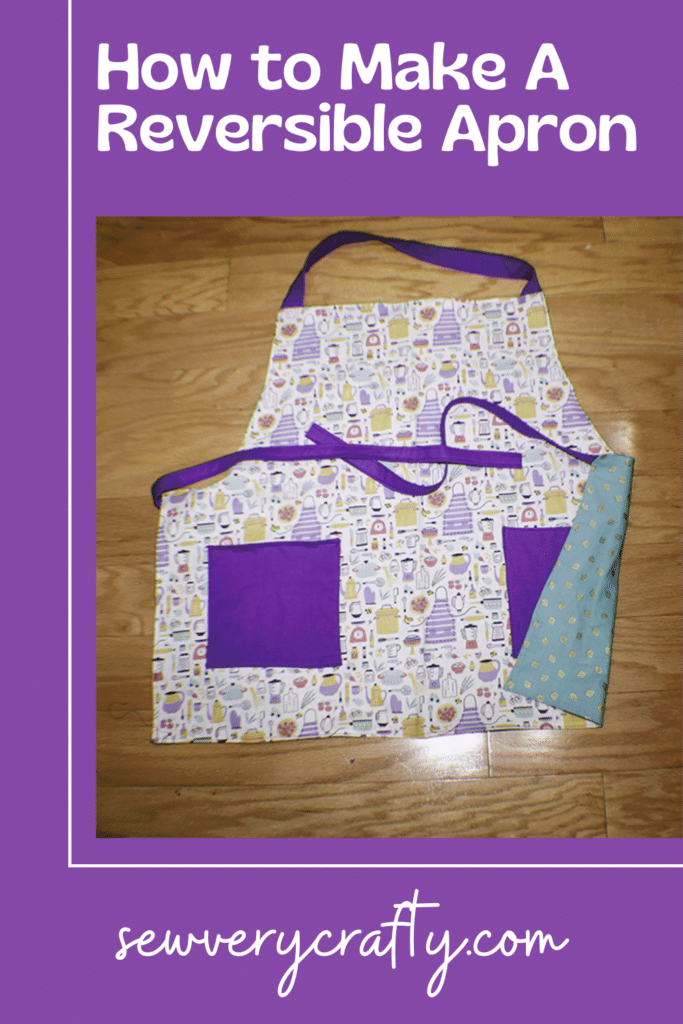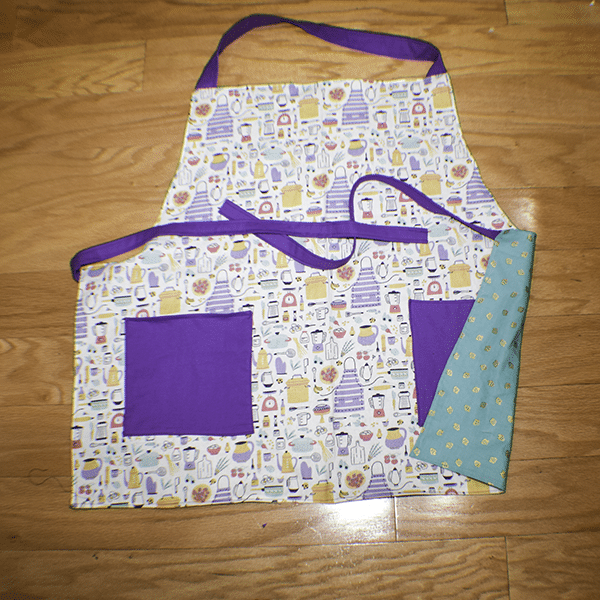
I love to make aprons. they are an easy beginner sewing project and so useful for cooking and crafting. I decided to make this apron reversible. That way when I mess up one side I can use the other. This reversible apron project is a fun and functional sewing project that anyone with basic sewing skills can make in no time. It is a great beginner sewing project like my other apron patterns. So let's get started on how to make a reversible apron.
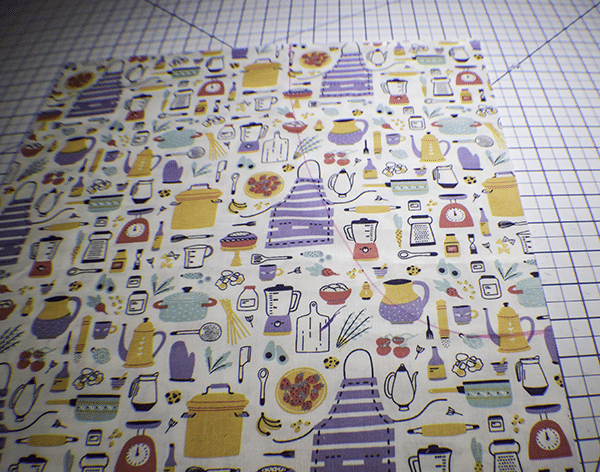
I chose a fun kitchen novelty print and a Kona cotton for my apron but you could use three different prints or solids for your apron project. I purchased my fabrics at JOANN Fabric & Craft Stores![]() online and picked up in store. So convenient. But you could head to
online and picked up in store. So convenient. But you could head to
What you will Need: How to Make a Reversible Apron
- 1 yd main outer fabric
- 1/2 yd accent fabric
- 1 yd lining fabric
Step 1: Cut your Fabrics
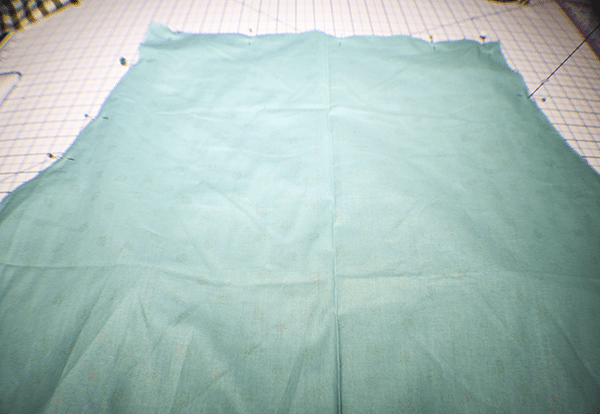
Apron Piece: Cut a rectangle that measures 32″ x 28″ from the outer and lining fabrics. Fold in half lengthwise and measure 9″from the fold and make a mark for the neckline. Measure 16″ from the bottom of the Apron piece and mark. Cut a curved line from the side mark up to the neckline mark. This is the basic apron shape.
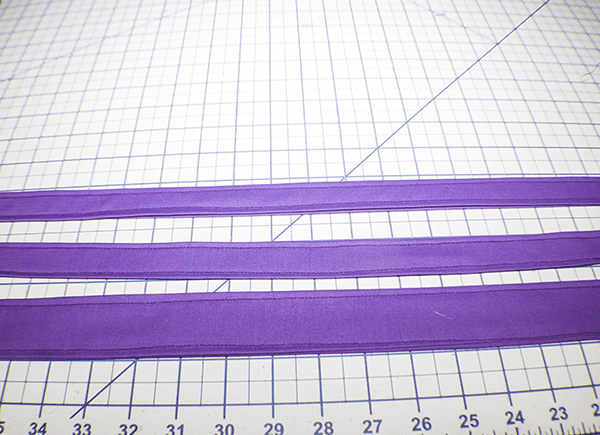
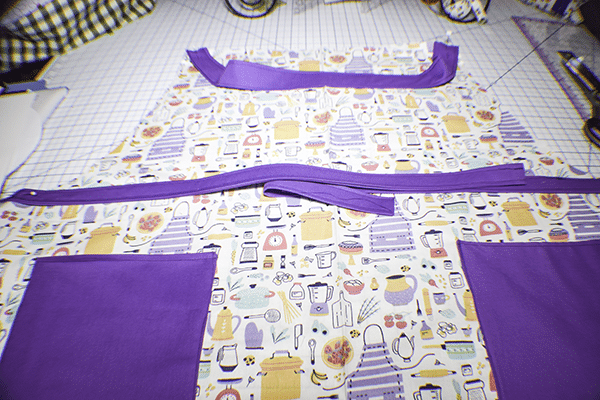
Neck Strap: Cut 1 piece that measures 6″ x 22″ from the accent fabric
Ties: Cut two pieces that measure 4″ x 25″ from the accent fabric
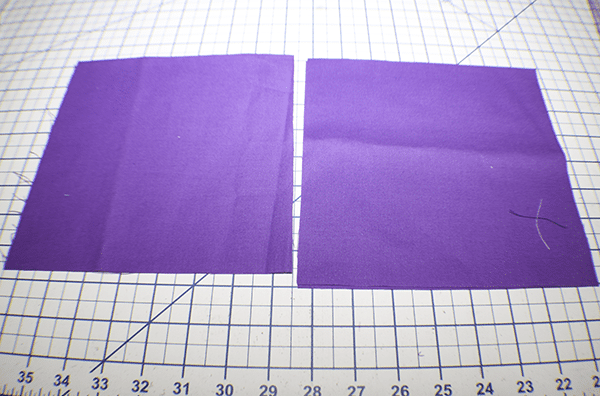
Pockets: Cut four pocket pieces that measure 8″ x 8″ from the accent fabric

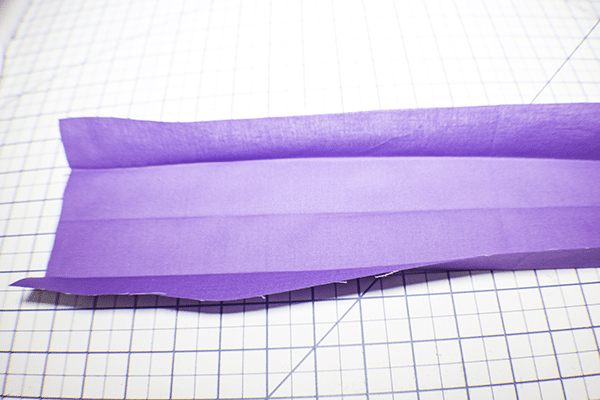
Step 2: Create the Straps
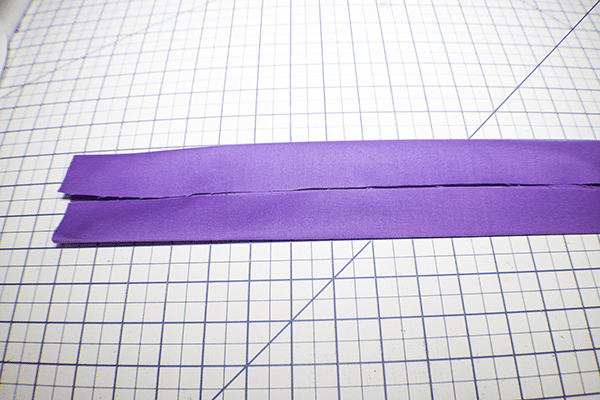
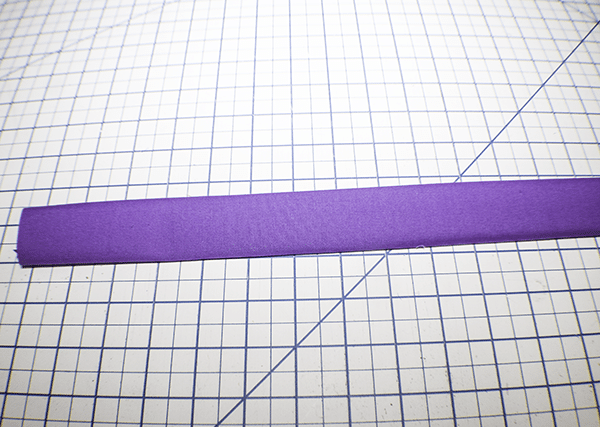
You will create the two ties and the neck strap in the same way. Fold the pieces in half lengthwise and press. Open up and fold the raw edges to the center crease you just made and press again. Fold in half to conceal the raw edges. Fold under the raw edges on one short end of each of the ties. Stitch on both long edges of each piece to secure.
Step 3: Create the Pockets
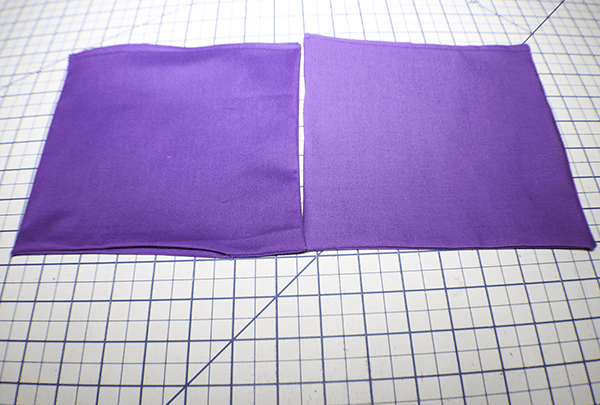
With right sides together stitch two of the pieces together using a 1/4″ seam allowance but leaving an opening on one side for turning. Repeat for the other two pieces. Clip the corners and turn right sides out and press. Determine the top of the square and stitch along the top for more strength. Repeat for the other square.
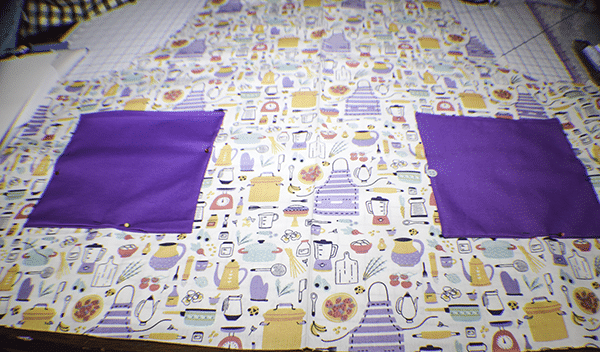
Step 4: Place the Pockets on the Apron
Measure 4 1/2″ from the bottom and 3 1/2″ from the side to place the pockets. Stitch the pockets in place along the sides and the bottom making sure to close the openings as you go.
Step 5: Add the Ties and Strap
Place the neck strap on either side of the top of the apron 1/4″ from each side right sides together and baste. Add the ties to the corner where the curved part meets the straight part of the apron right sides together 1/4″ down the side and baste.
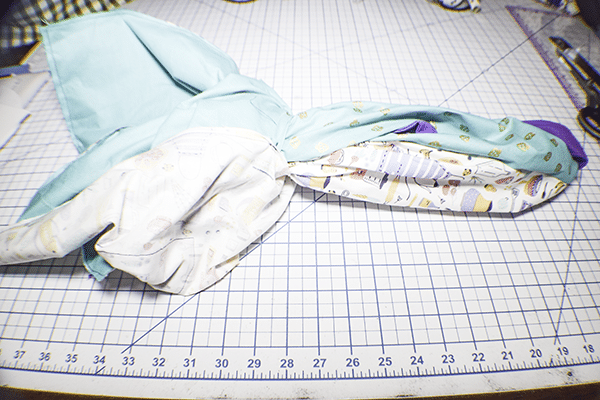
Step 6: Add the Lining Apron
Place the lining apron on top of the outer apron right sides together with the strap and ties in between. Stitch all the way around the apron Leaving an opening at the bottom for turning right sides out. Turn right sides out and press. Topstitch all the way around the apron making sure to enclose the opening as you go. You have now finished your reversible apron.
I hope you enjoyed this reversible apron project. if you would like more sewing and crafting projects subscribe to our newsletter and receive access to our free printables library
If you would like video tutorials of sone of Sew Very Crafty's most popular posts subscribe to our free YouTube channel here.