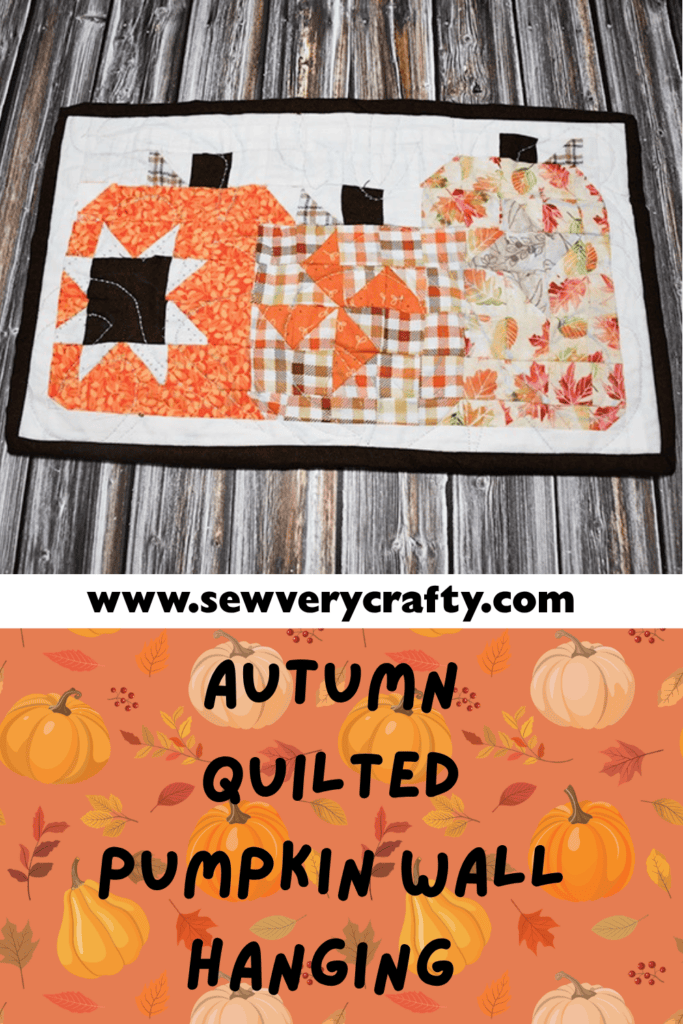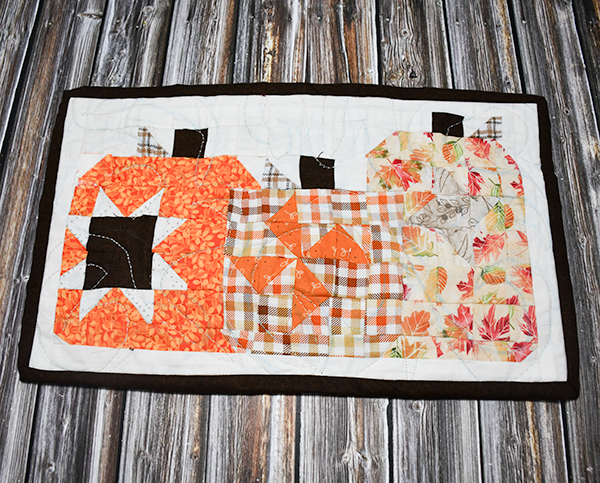
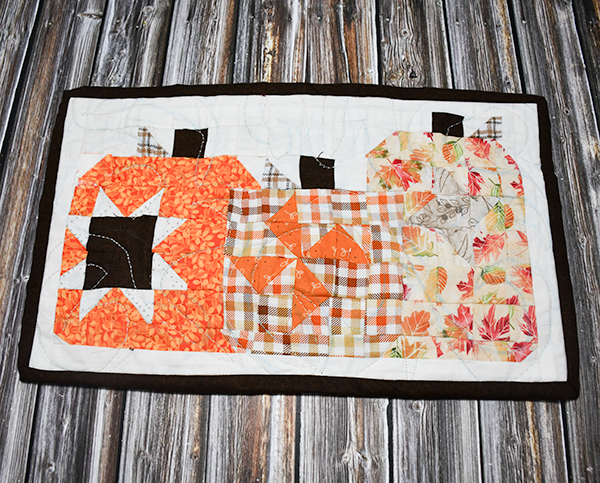
Shabby Fabrics has a lot of free simple quilting projects and fun fabrics. I came across this free super simple beginner patchwork pumpkin wall hanging on the shabby fabrics website and thought to make it and share it with you. The pattern is by TenSisters Handicraft. I have a large stash of fabrics and am trying to get through it, of course, to make room for more. I was able to use some of my Dollar Tree autumn fabrics for my pumpkin trio. This project only required Dollar Tree fat quarters and remnants I had on hand. You can make any size you like as stated one the diagram. This was such an easy project to put together. I hope you enjoy it. If you would like more quilting projects head over to my quilting page.

Note: This post contains affiliate links that if you click on them and make a purchase I will receive a small commission at no extra cost to you. As an Amazon Associate I earn from qualifying purchases.
What you will Need: How to Make a Patchwork Pumpkin Wall HanginG
Step 1: Cut the Fabrics
The pattern tells you how many squares to cut for each color fabric. I made the small version of this project so I cut 1 1/2″ squares except for the half square triangle blocks. I wanted them to measure 1 1/2″ when finished so I used 2″ squares for all of the half square triangle pieces.
Step 2: Create the half square triangle blocks
There are 33 1/2 square triangle pieces throughout the design. To create the half square triangles place two pieces right sides together and draw a line from corner to corner. Stitch on both sides of the line using a 1/4″ seam allowance. Cut on the line. Unfold the 1/2 square triangle block and press.
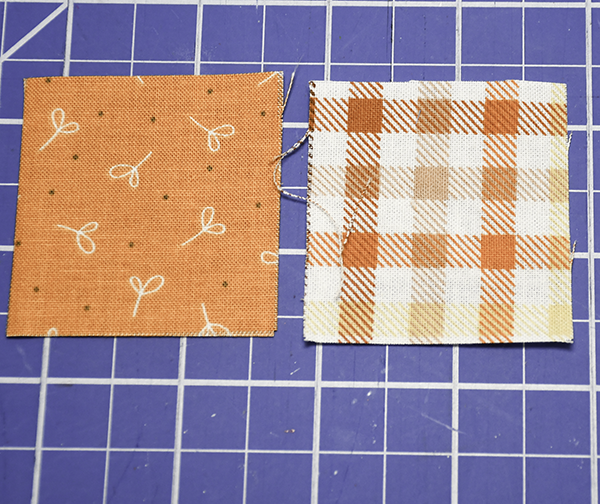
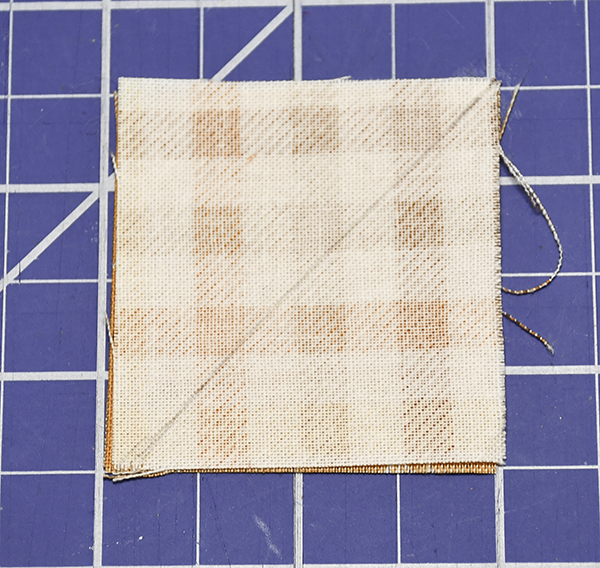
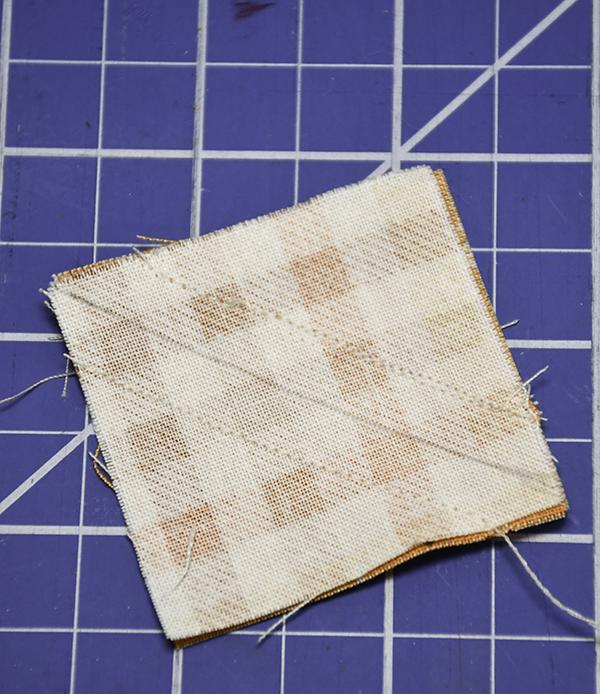
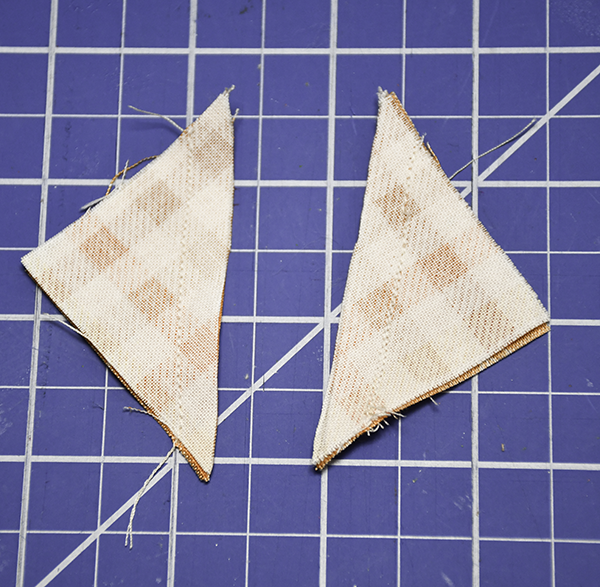
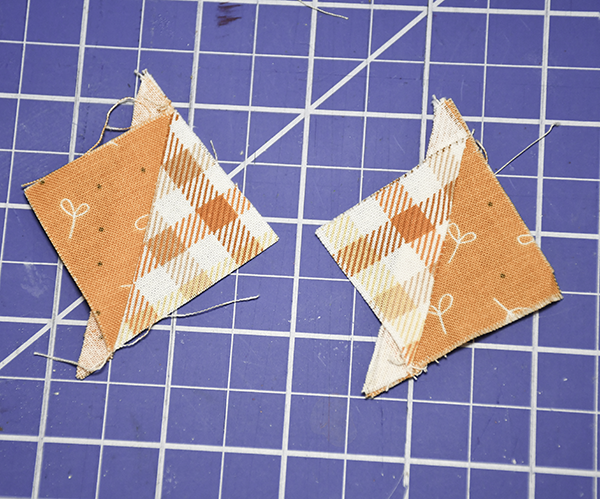
You can follow the diagram using the link but you will need: eight half square triangle blocks for the first pumpkin using the cream and black fabric and the orange fabric you choose for that pumpkin. Create eight half square blocks using the second orange fabric and the orange fabric in the same way. Next, stitch four half square blocks for the using the final orange fabric and a light brown fabric. Three using the first orange and the cream. two of the first two orange fabrics. Two using the second and third fabrics. three of the third orange fabric and the cream. Finally, make three half square triangle blocks using the cream and the second light brown fabric.
Step 2: Stitch the Wall hanging
The best way to do this is to follow the pattern. You will see the order to stitch the pieces. I started at the bottom of the piece and stitched the rows as you see them using the fabrics you chose. You can easily see the location of each half square triangle and full block.
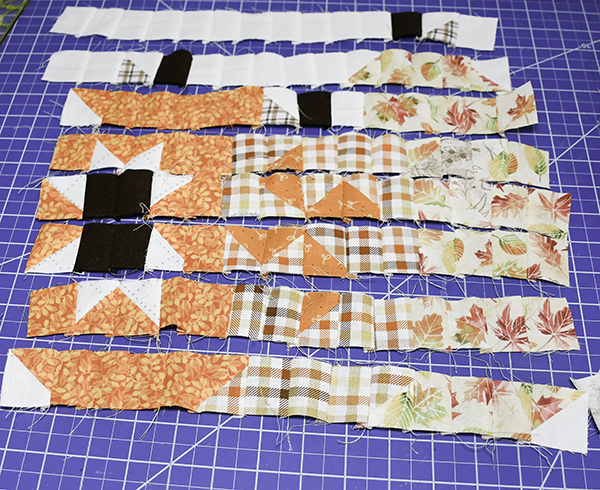
Step 3: Stitch the rows together
Once you have stitched each row. Stitch the rows together to complete the three pumpkins. Place the rows right sides tougher and stitch.
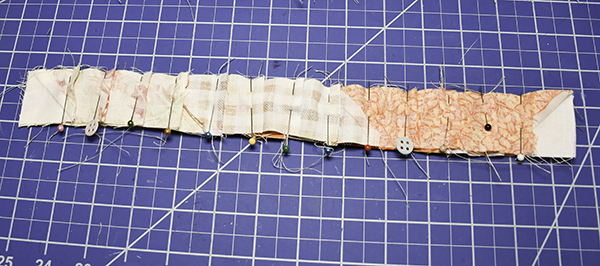
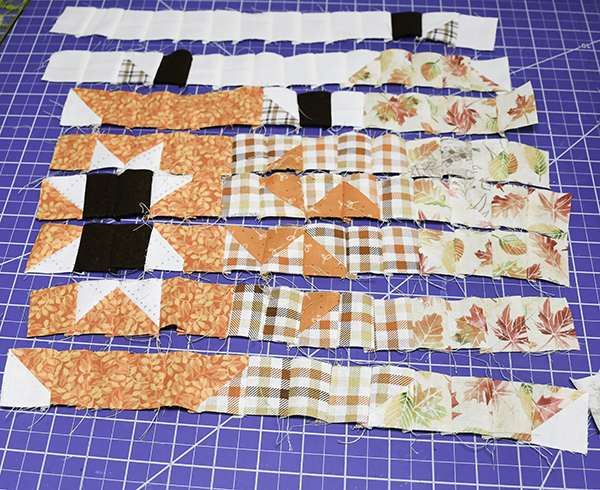
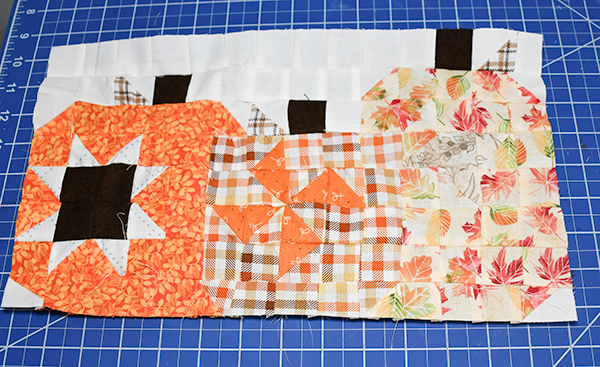
Step 3: Add the Border
Place the longer boarder strips on the top and bottom of the wall hanging right sides together with the pumpkin front. Stitch using a 1/4″ seam allowance. Add the strips to the sort ends in the same way.
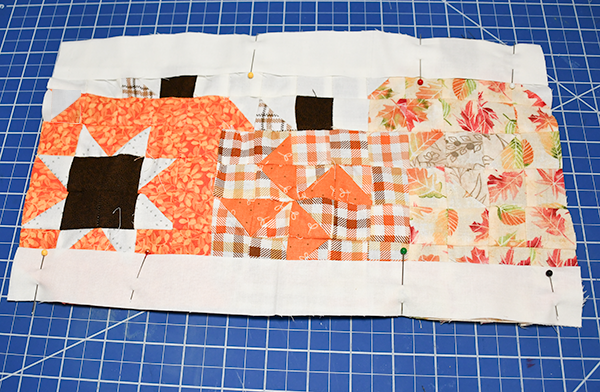
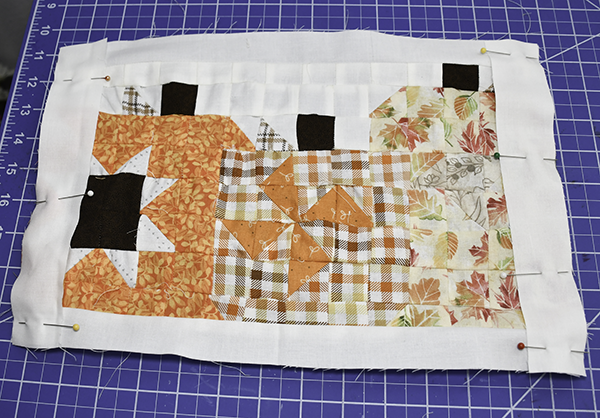
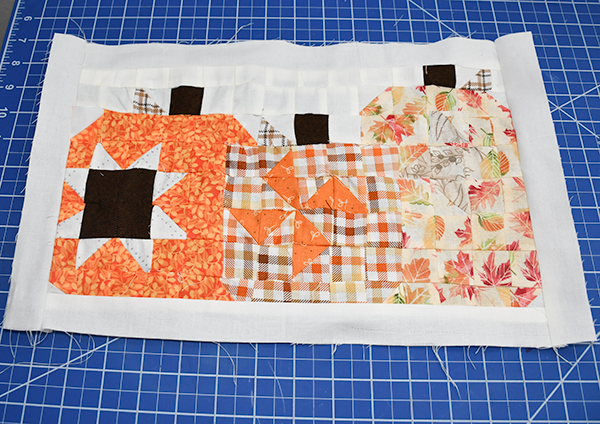
Step 4: Sandwich the quilt
Place the backing fabric right sides down on your work surface. Lay the batting on top of the backing. Finally place the pumpkin front on top of the batting. You can use quilting adhesive or safety pins to hold the quilt together.
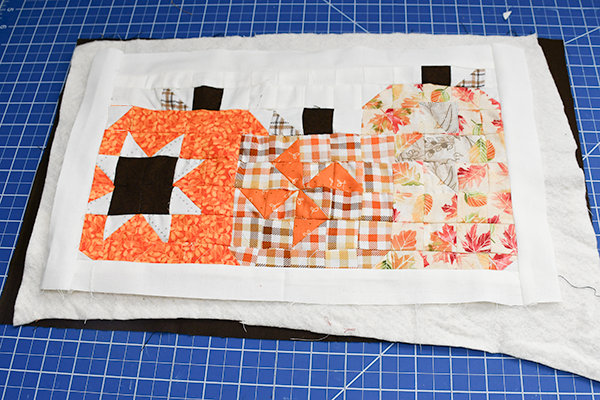
Step 5: quilt the piece
Quit the piece through all layers in any pattern you like. Make sure there are no wrinkles or creases in the fabrics as you go. Square up the quilt.
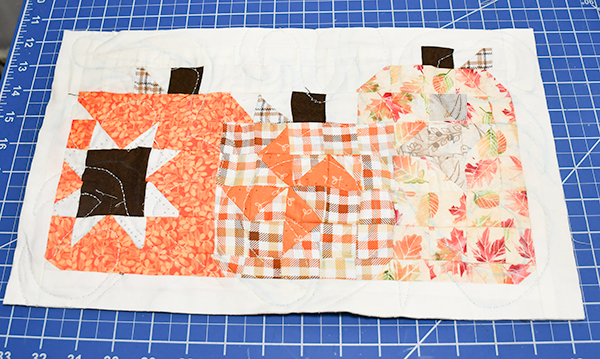
Step 6: Create the binding
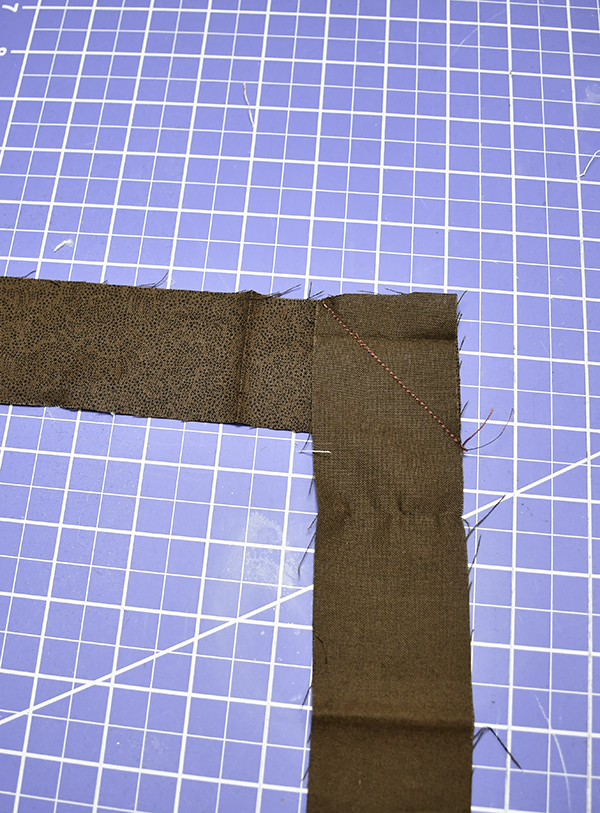
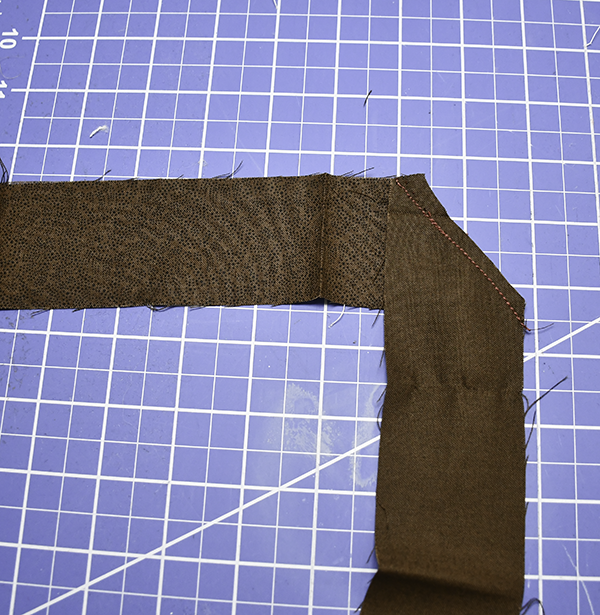
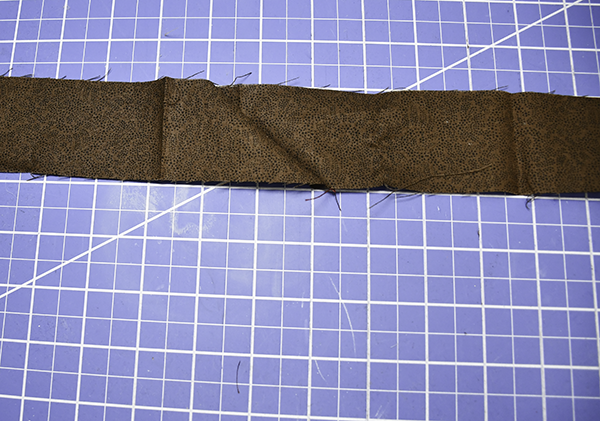
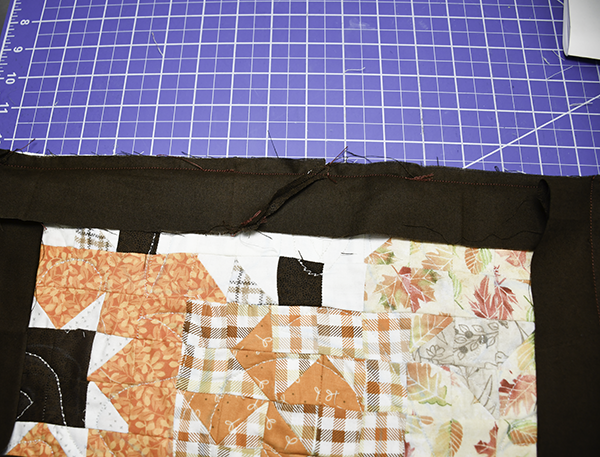
Stitch the binding pieces together so they make one long piece. To join the pieces place the ends perpendicular right sides together and stitch diagonally from top to bottom. After making sure that the pieces form a straight line trim the excess fabric to 1/4″. Join as many strips as you need to bind the whole piece.
Step 7: Bind the wall hanging
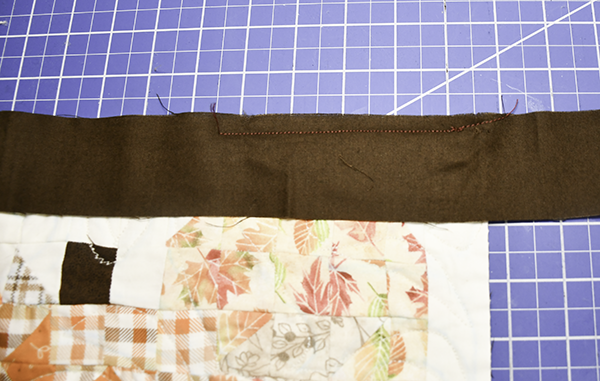
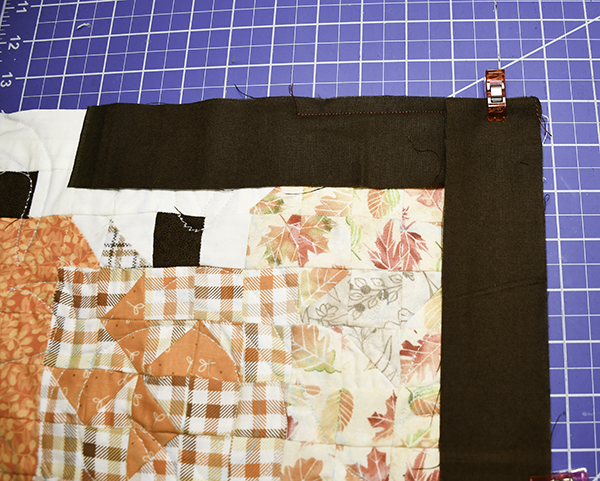
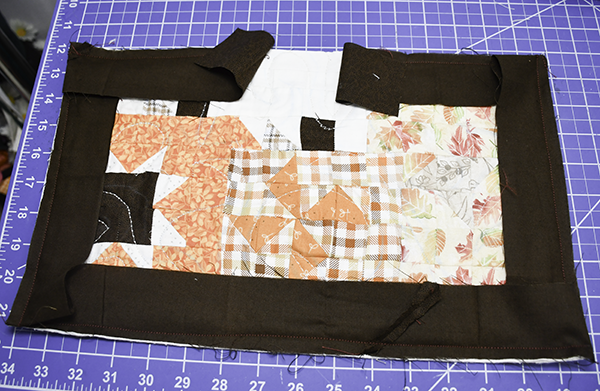
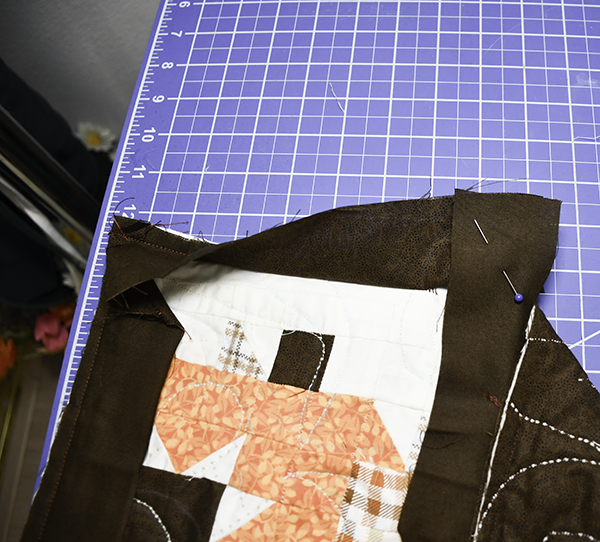
Place the binding right sides together with the front of the piece. Start in the middle of one side leaving a fairly long tail Stitch the binding to the quilt using a 1/4″ seam allowance. When you get to the corners stitch diagonally off the edge. Fold the binding so that the next side raw edges match and are right sides together. Make sure the fold you create is even with the end of the quilt. Start stitching along the next side. Continue this until you reach the side you started on.
Step 8: Finish the Binding
When you reach the end, overlap the ends by 2 1/2″ and cut off any excess. Place the ends perpendicular right sides together in the same way you did for the binding and stitch diagonally. This can be a bit fidgety bit you will finish with a nice join. Once you have joined the binding finish stitching it to the quilt. Double fold the binding to the back side and hand stitch it to secure. You have now finished your patchwork pumpkin wall hanging.
I hope you enjoyed this simple quilt project. For more sewing and crafting projects subscribe to our free newsletter and receive access to our free printable library.
Join our Sew Very Crafty Fans Facebook group
If you want to ask questions and share your projects join our Facebook group here. The community will help to achieve your sewing and crafting dreams.

Subscribe to our Free YouTube Channel!