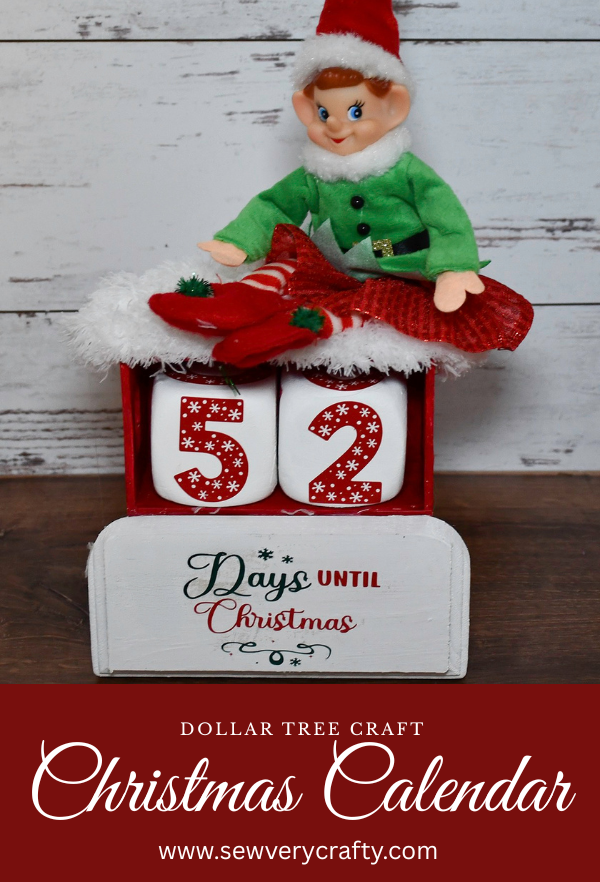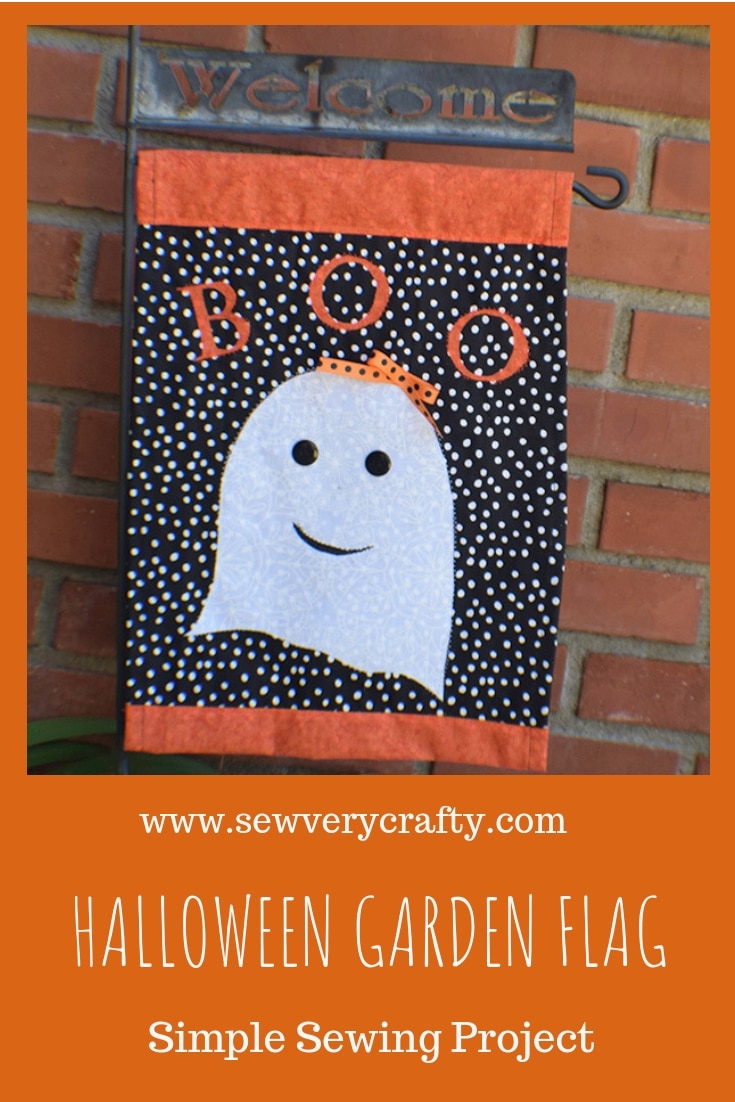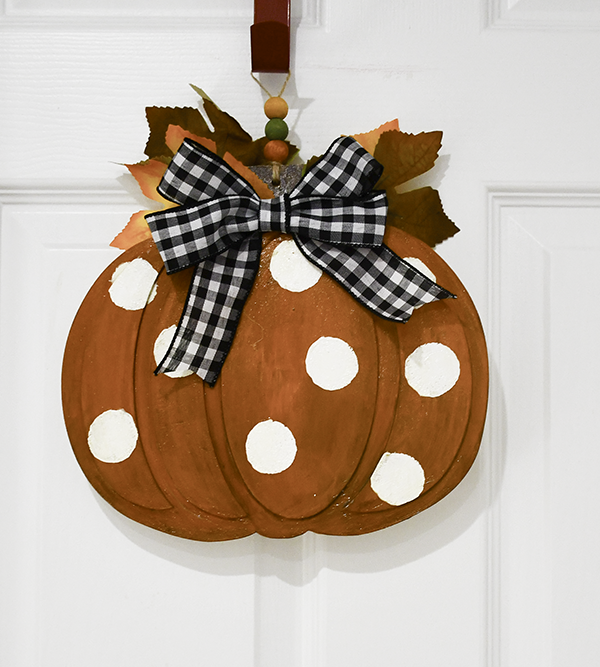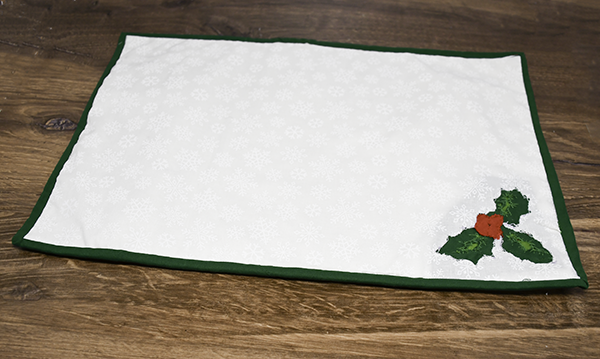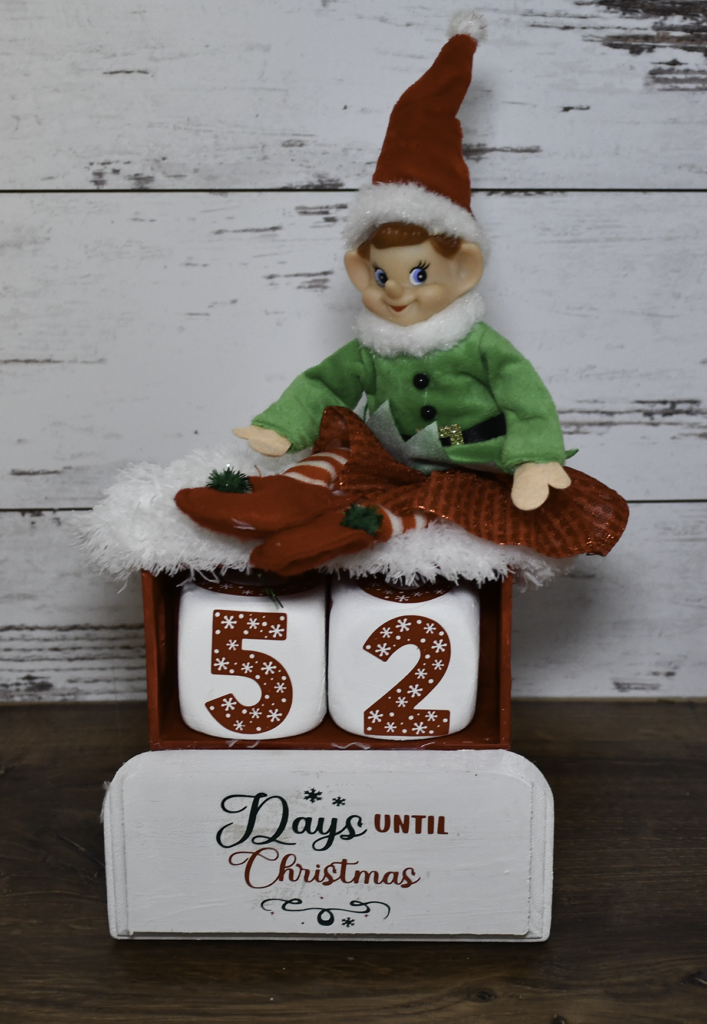
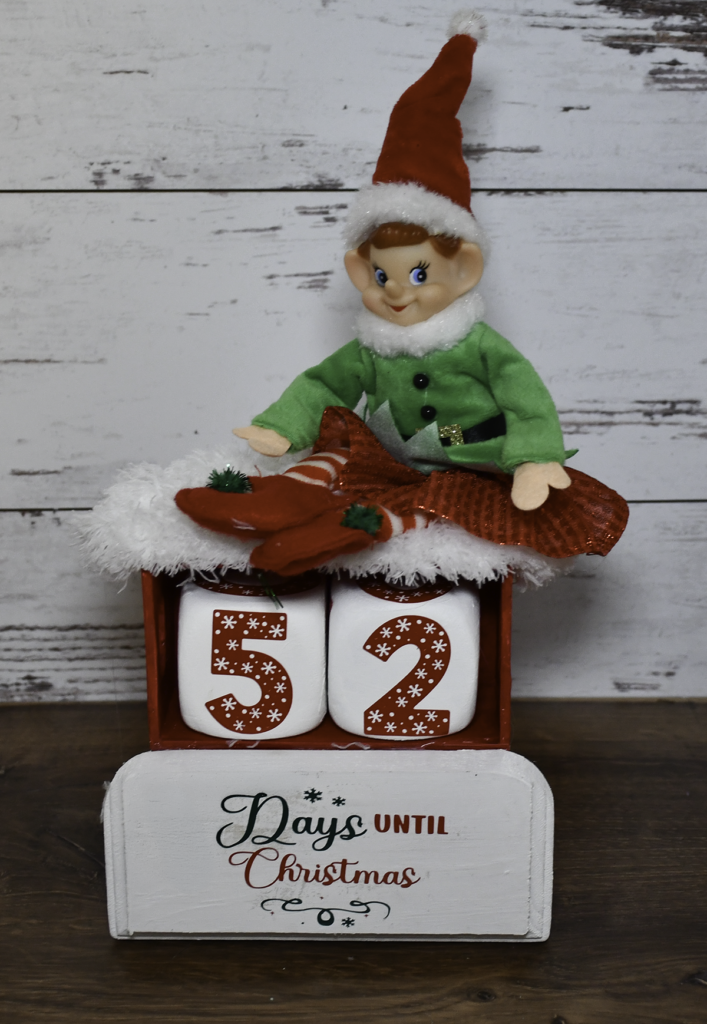
I love the countdown to Christmas. With that in mind I thought to create this fun Dollar Tree Christmas Perpetual Calendar to count down the days. This Christmas craft project uses basic crafting skills and mostly Dollar Tree finds. I thought that it came out really cute. I hope you like it too. If you would like more Dollar Tree Crafts head over to my Dollar Tree page for more. For holiday sewing and crafting projects check out my Holiday Project Vault.

Note: This post contains affiliate links that if you click on them and make a purchase I will receive a small commission at no extra cost to you. As an Amazon Associate I earn from qualifying purchases.
What you will Need: How to Make a Dollar Tree Christmas Perpetual Calendar
- 2 Dollar Tree wooden crates
- 1 Dollar Tree wood plaque
- 2 Dollar Tree foam Dice
- 2 Dollar Tree snowflake napkins
- White chalk paint
- Either Dollar Tree letters and numbers or make your own using a Cricuit
- Hot glue
- e6000 or Titebond glue
- Mod Podge
- 1 Dollar Tree Mop Pad
- Elf
- Sand Paper
Step 1: Cut the Plaque
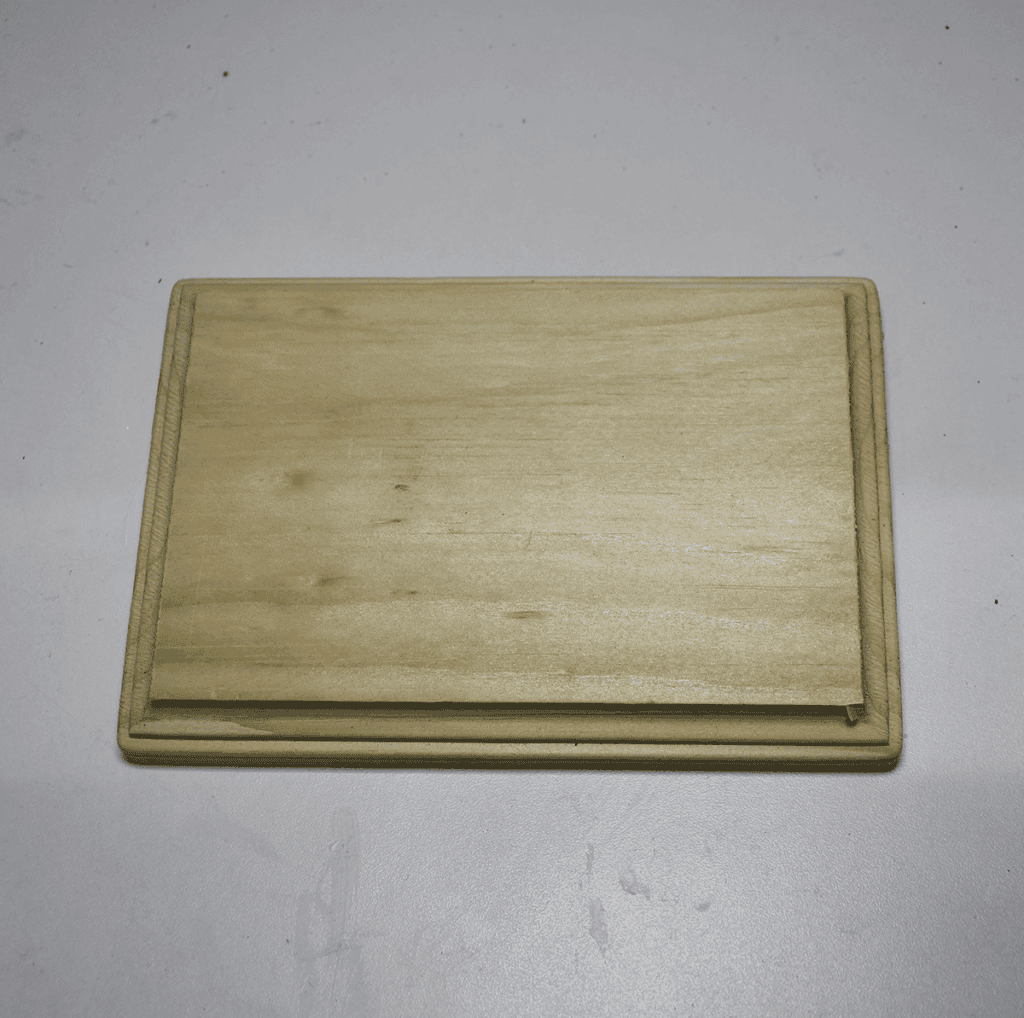
Start by stacking the crates to determine the size of the calendar. Keep the width the same but cut the height to the height of the bottom crate draw a line. Cut the line using a saw.
Step 2: Paint the wood pieces
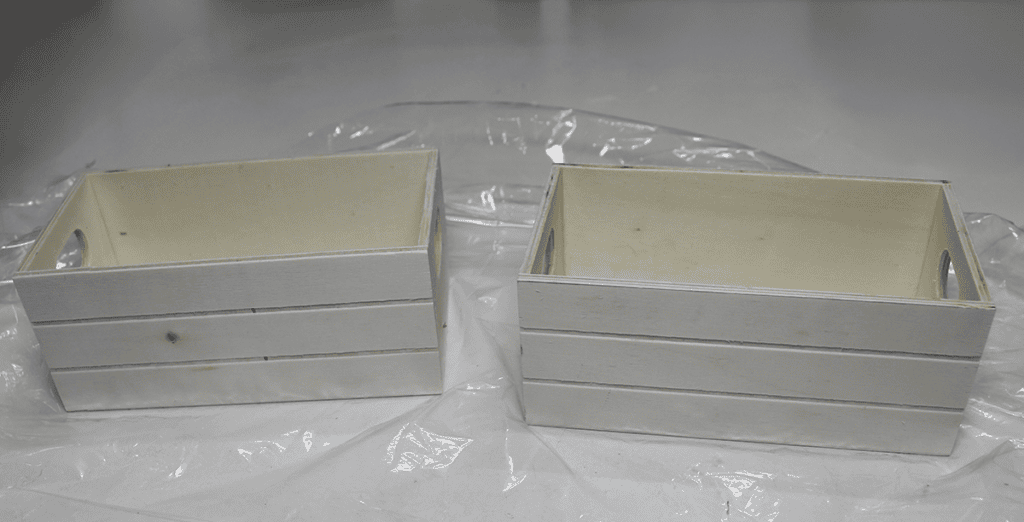
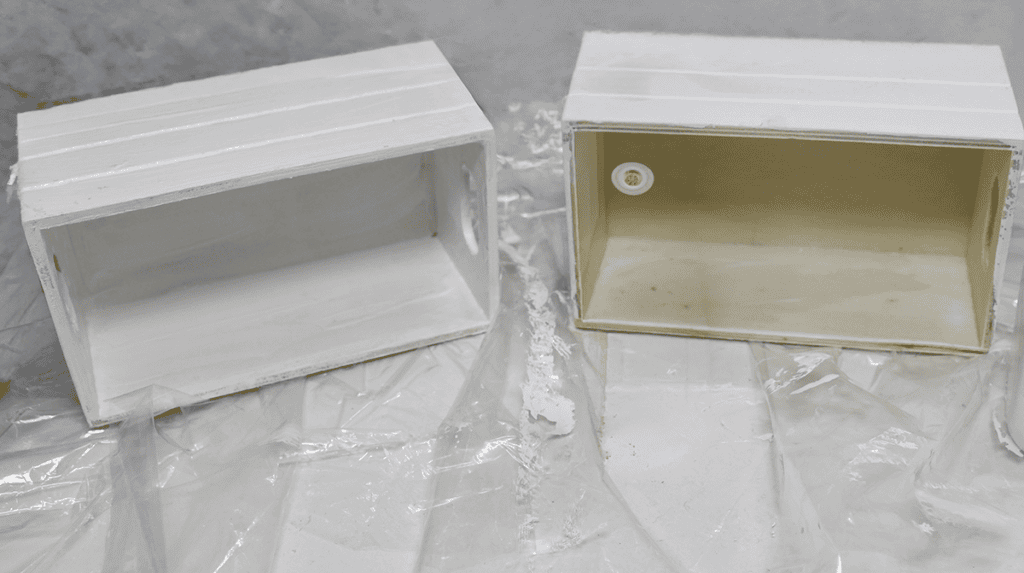
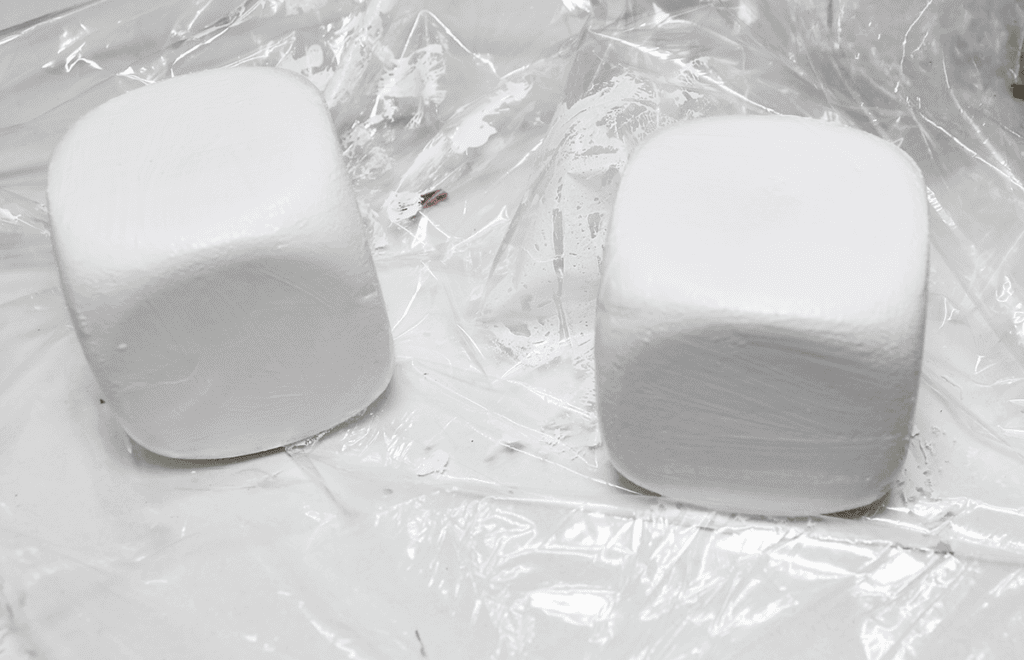
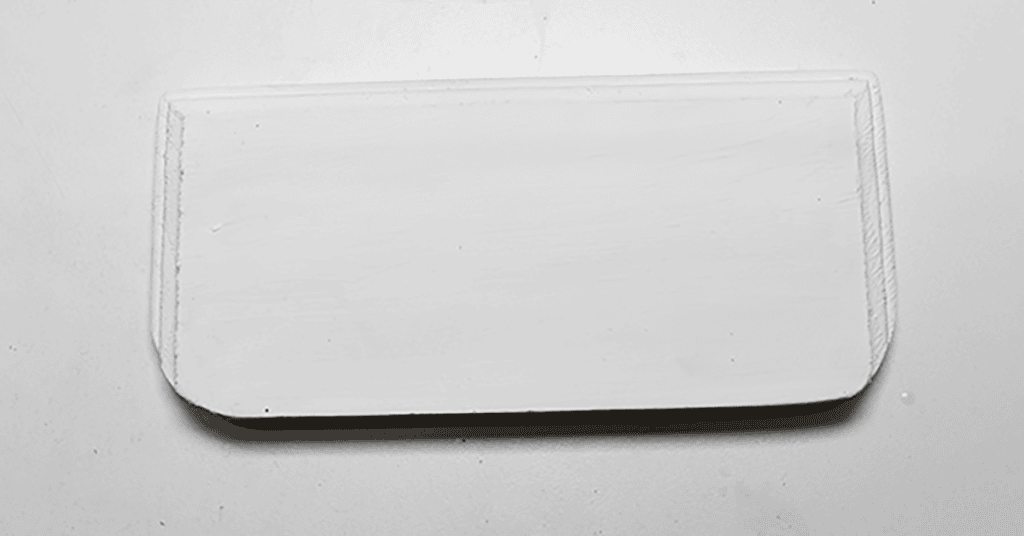
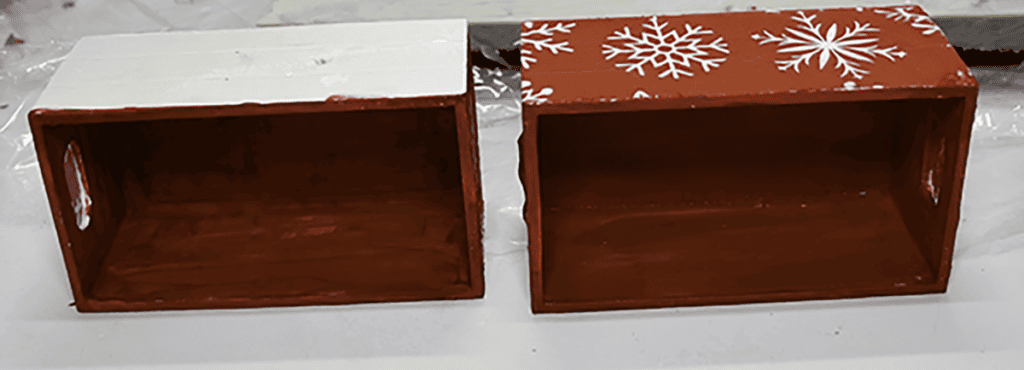
Paint the outside of the crates and the plaque white. You do not want the wood or other color peaking through the snowflake napkins. Let dry. Paint the inside of the crates red. Paint the dice white also.
Step 3: Add the Mod Podge
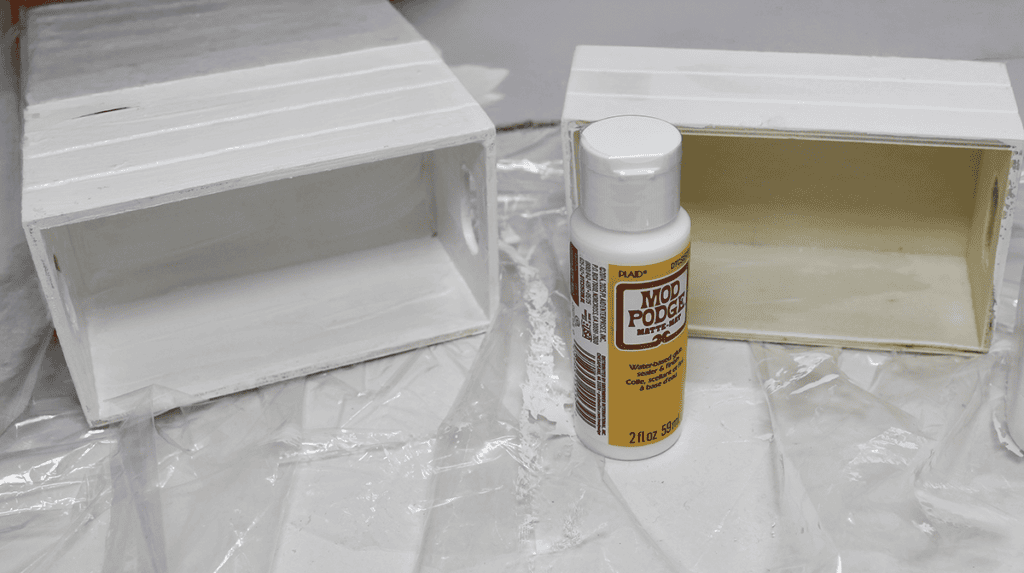
Add Mod Podge to the outside of the crate. Let the Mod Podge Dry completely.
Step 4: Add the Napkins
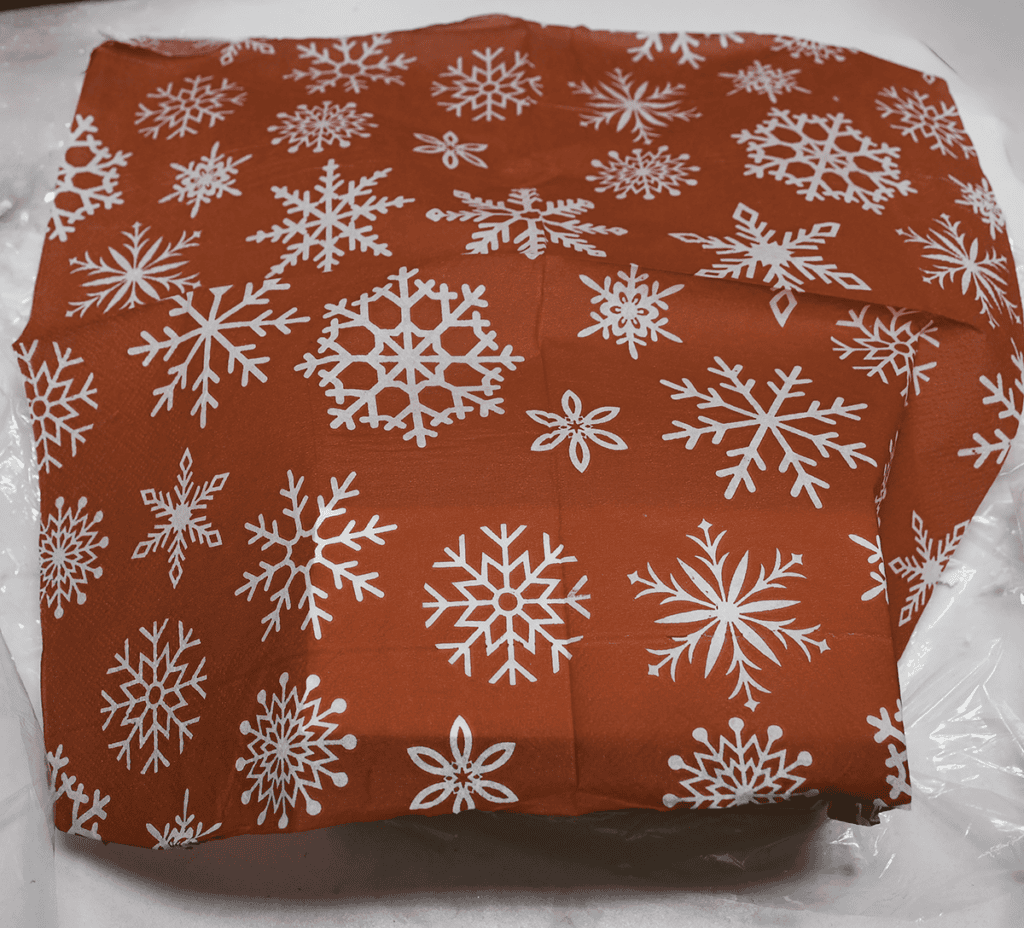
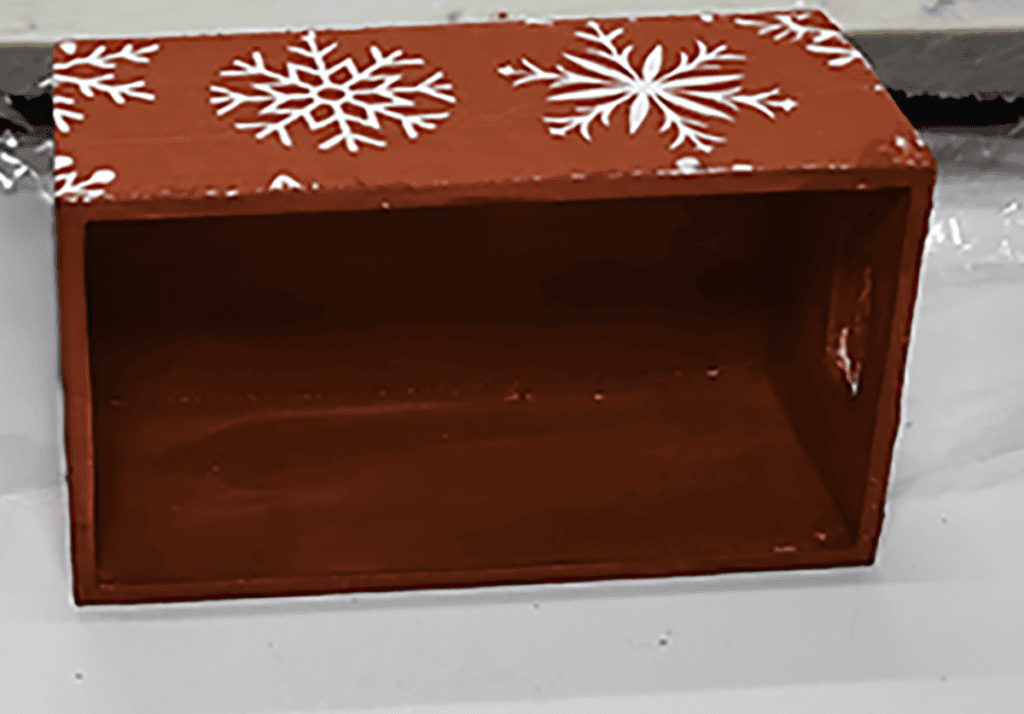
Remove the top layer from the bottom layer of each napkin. Place the top layer onto the crates. Place a piece of parchment paper on top and press with an iron to reactivate the Mod Podge and fuse the napkin to the crates. Once cool, add another layer of Mod Podge to seal the napkins. Sand off any excess using sand paper.

Step 5: Attach the Crates
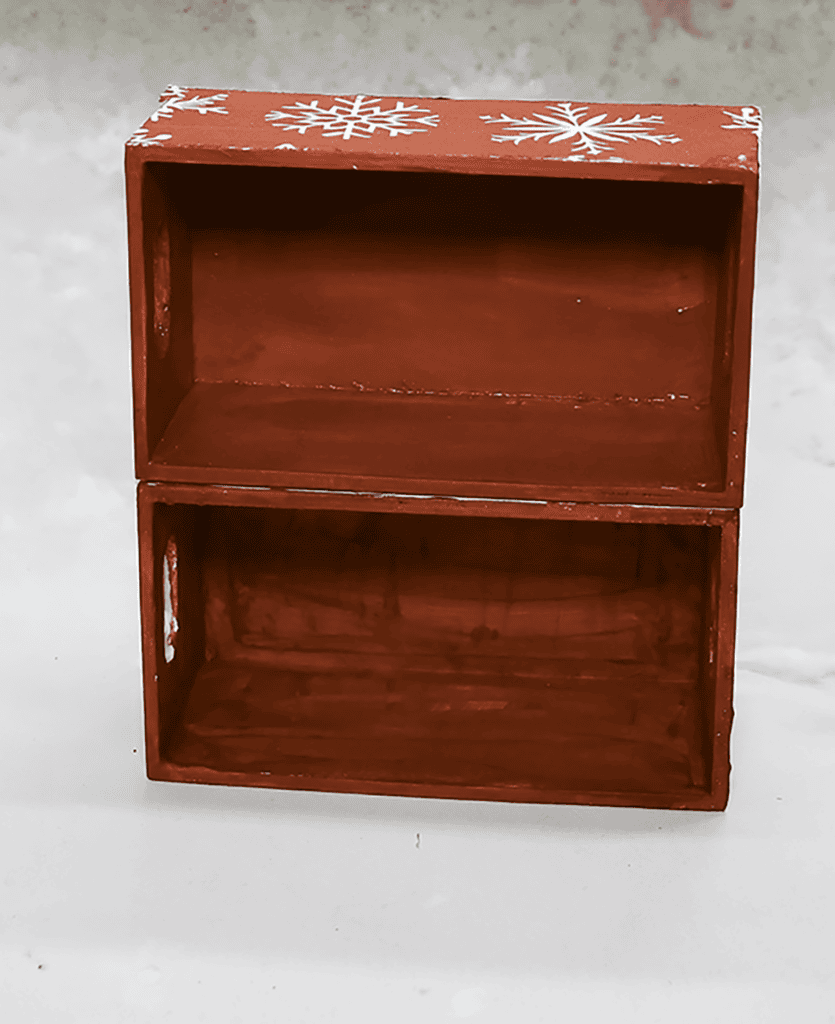
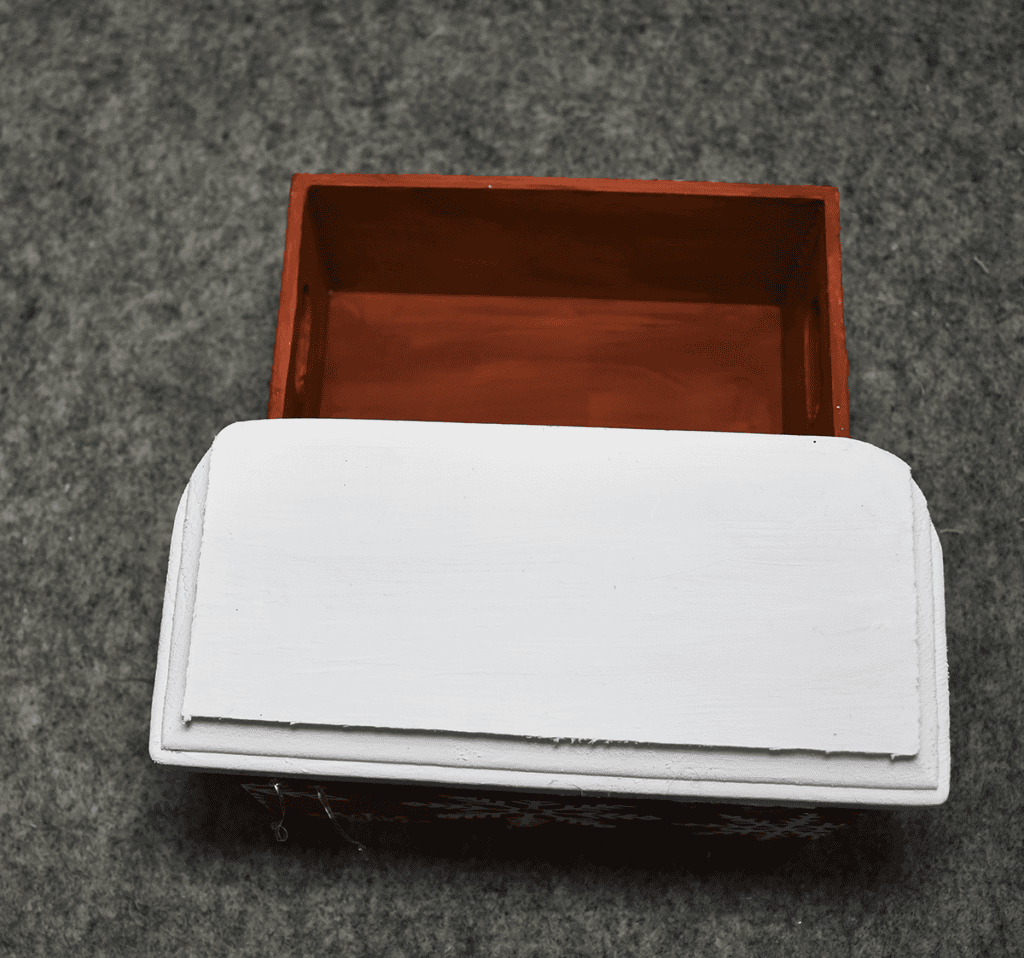
Using hot glue and Titebond or e6000 attach the crates so that one its evenly on top of the other.
Step 5: Add the Plaque
Using hot glue attach the plaque to the bottom crate.
Step 5: Attach the Numbers to the dice
I used my Cricut to create the numbers but you can purchase Dollar Tree numbers or order off Amazon. I wanted to continue the snowflake theme in the numbers. I made them out of permanent vinyl and simply adhered them to the dice. To create the perpetual calendar place the numbers on the first die using 0, 1, 2, 3, 4, and 5. For the second die use 0, 1, 2, 6, 7, and 8.

Step 6: Add the Saying
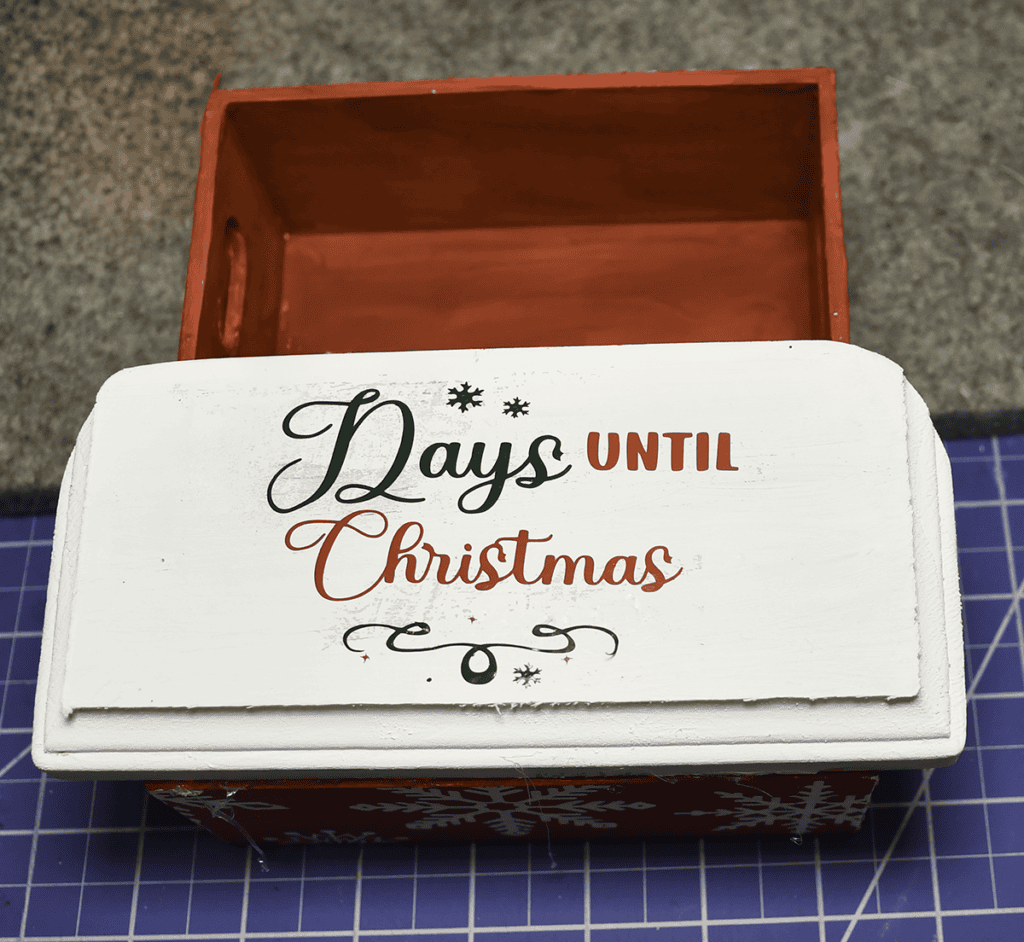
Once again I used my Cricut to make the saying but you can use printable vinyl to print out your own saying using a printer and then cut them out by hand. You can also create the numbers this way if you like. Place it in the center of the plaque.

Step 7: attach the Dollar Tree Mop Pad
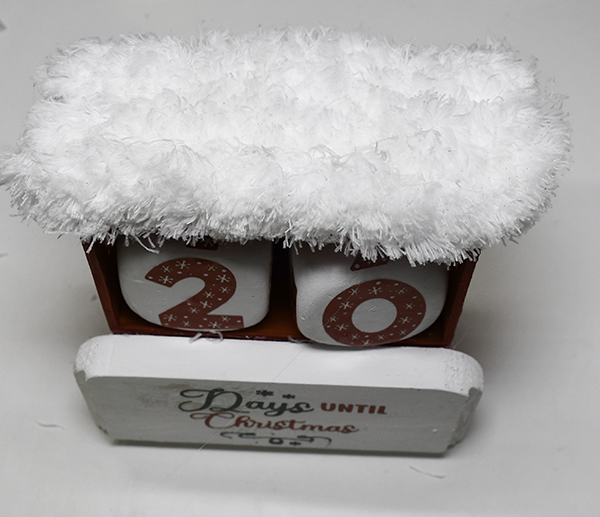
Cut the mop pad to equal the length and width of the top crate. Hot glue the pad to the top of the top crate to simulate snow.
Step 8: Decorate the Top
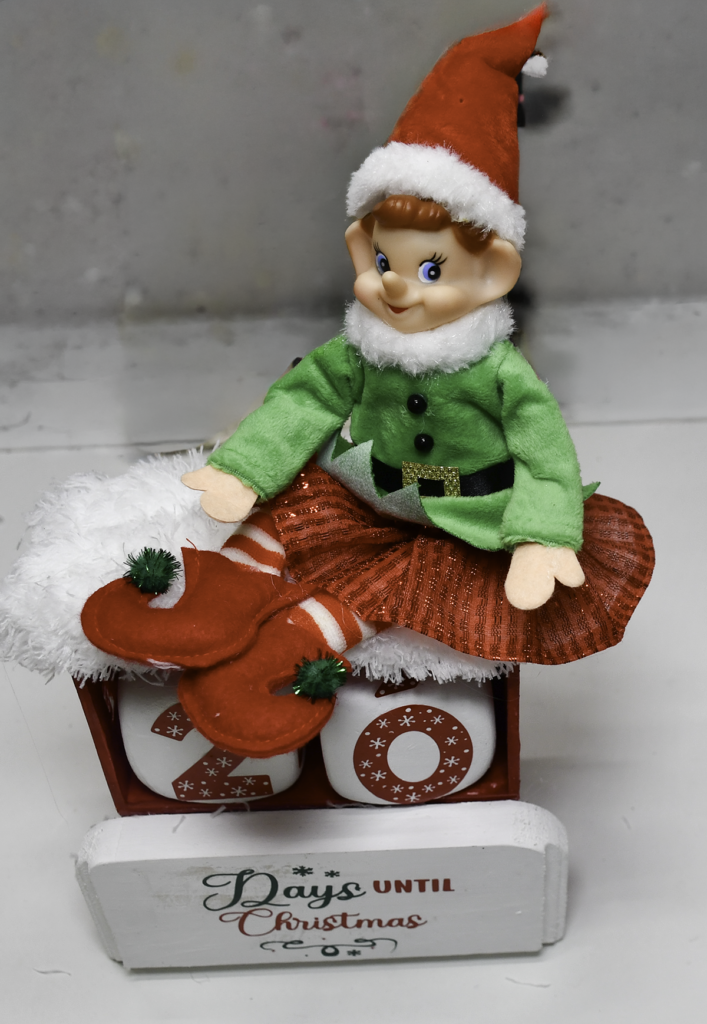
I had this elf Christmas ornament in my stash and thought it would be cute on the top. You can decorate the top of your project any way you like. Once the top has been decorated you have finished your Dollar Tree Christmas Perpetual Calendar.
I hope you enjoyed this simple Christmas craft. If you would like more sewing and crafting projects subscribe to our free Newsletter and receive your free Dollar Tree Holiday eBook.
Subscribe to our Free YouTube Channel!
Join our Sew Very Crafty Fans Facebook group
If you want to ask questions and share your projects join our Facebook group here. The community will help to achieve your sewing and crafting dreams.