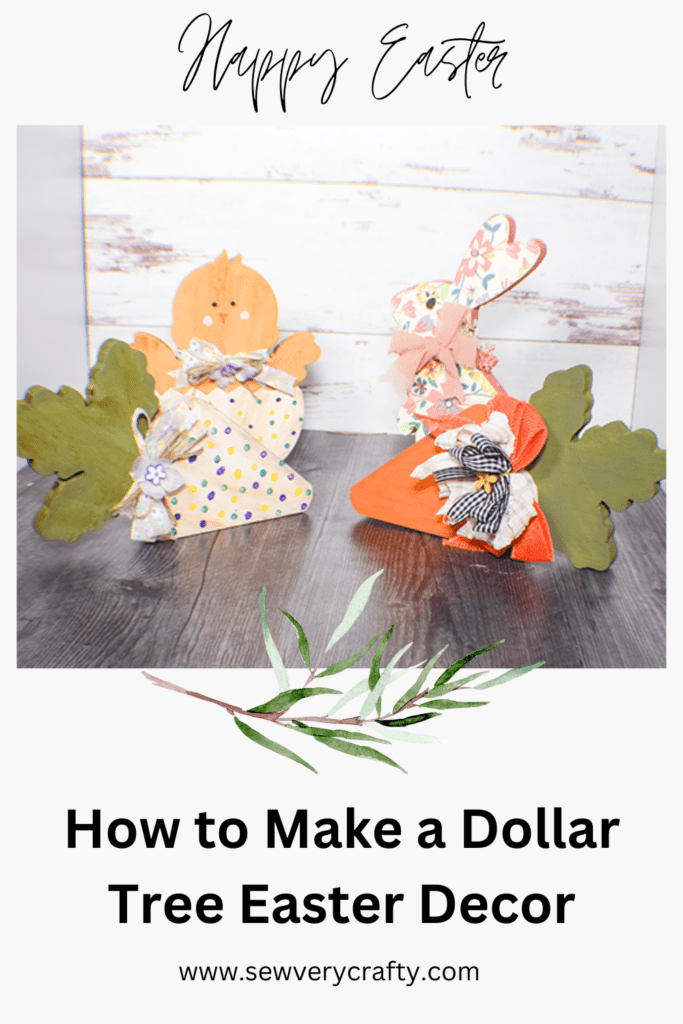
I came across these large Dollar Tree Easter shapes and it took me a while to decide what I wanted to do with them. I decided to make Dollar Tree Easter Decor to add a bit of fun this Easter season. These shapes are pretty large so they were really easy to work with. I used a combination of paint and decoupage for this project and I was really pleased with how they came out. I hope that you enjoy them too. If you would like more Dollar Tree Crafts head over to my Dollar Tree page for more. If you prefer holiday sewing and crafting check out my Holiday Project Vault.
Note: This post contains affiliate links that if you click on them and make a purchase I will receive a small commission at no extra cost to you. As an Amazon Associate I earn from qualifying purchases.
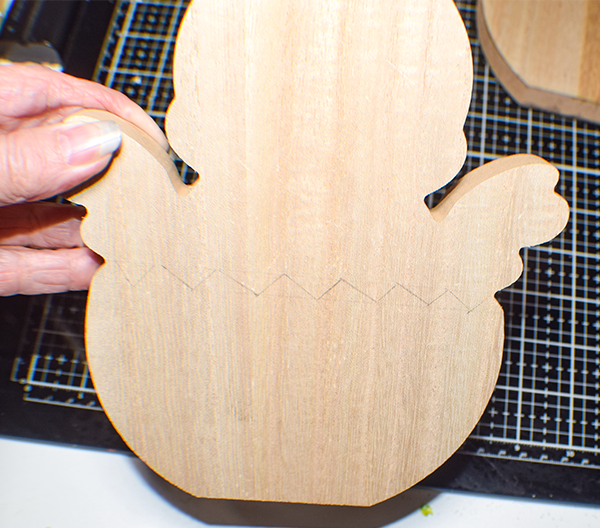
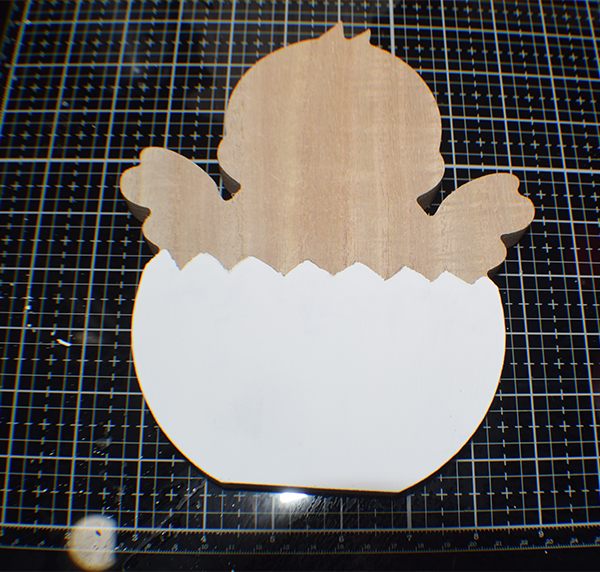
Step 1: For the Chick
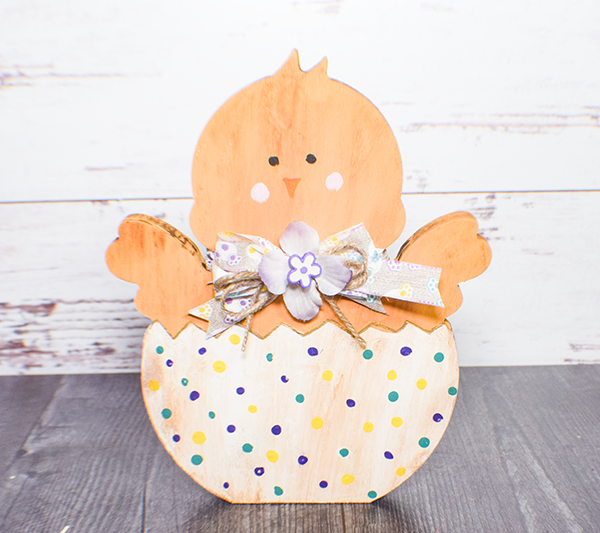
Start at the bottom of the chick. I lightly drew a zig zag line across the lower third of the chick on both sides.
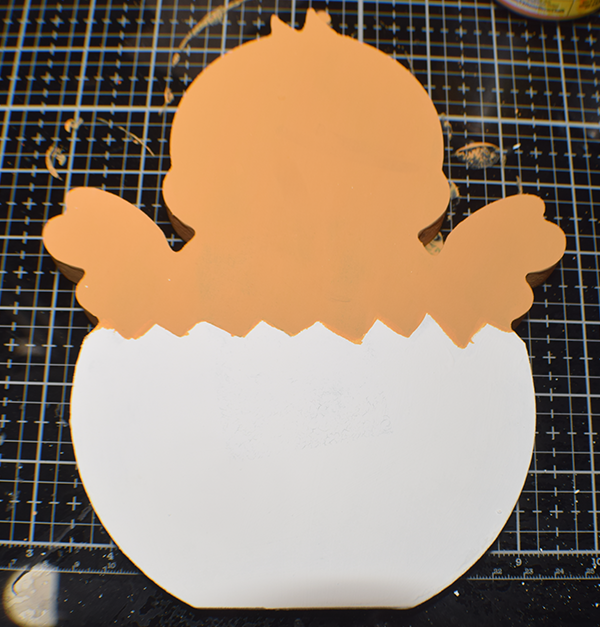
Step 12: Paint the Chick
I painted the area below the zig zag line white. Let the white dry completely. I used a dotting tool and placed Easter colored dots on the white paint. Paint the top of the chick yellow.
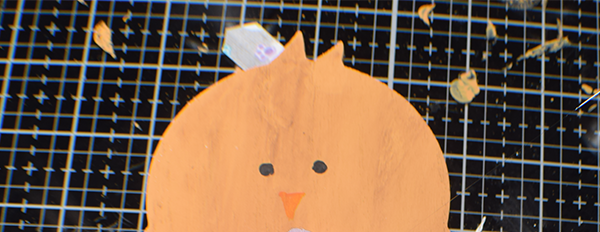
Step 13: Add the Face
Using black paint add the eyes. Use orange paint for the beak. Age it a bit using brown wax. Add the cheeks using either rouge or pink paint.
Step 14: Add the Ribbon and Wine
I added twine to the zig zag separating the egg shell from the chick. Create a small bow using Easter ribbon and add it to the chick. Once this is done you have finished your chick.
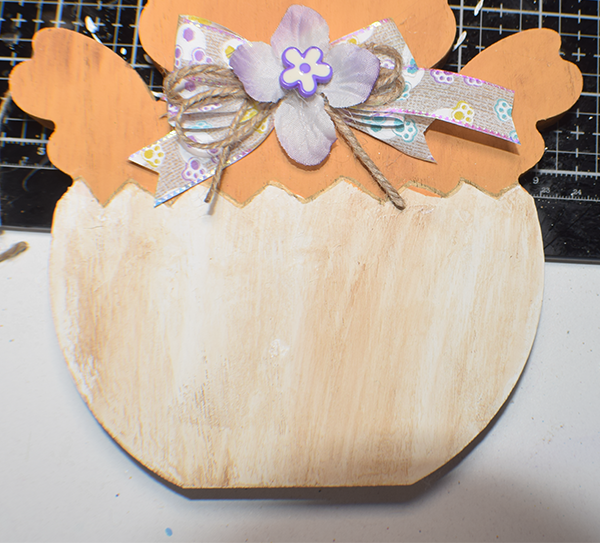
Step 15: Paint the Dots
I used purple, teal, and yellow dots on the bottom of my egg shell.
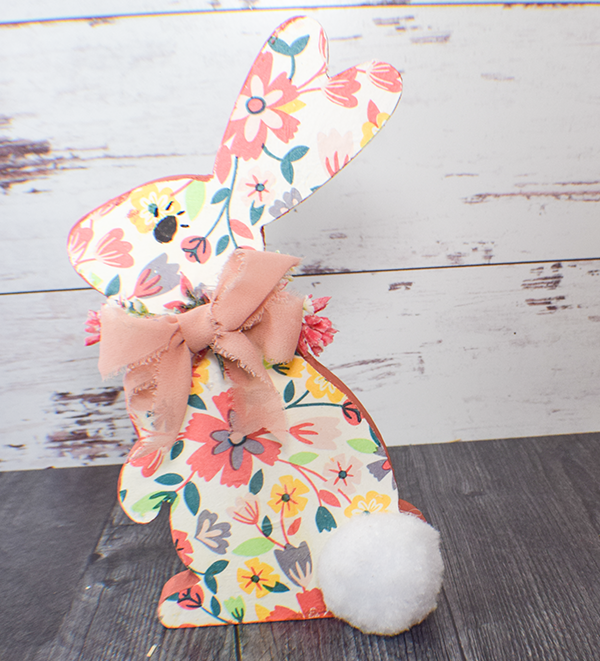
Step 16: Create the Bunny
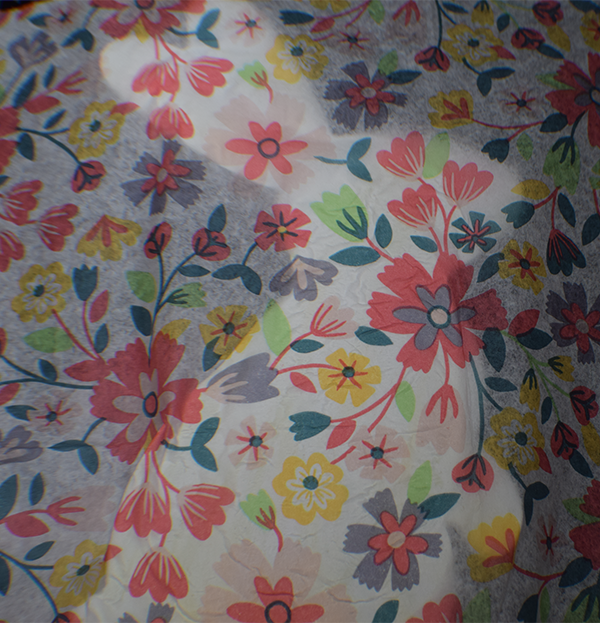
For the bunny I used decoupage. This time instead of the napkin I used some patterned paper. On a flat surface lay the bunny shape on the wrong side of the paper and trace around it. I traced the paper on both sides. Cut out the bunny shapes.
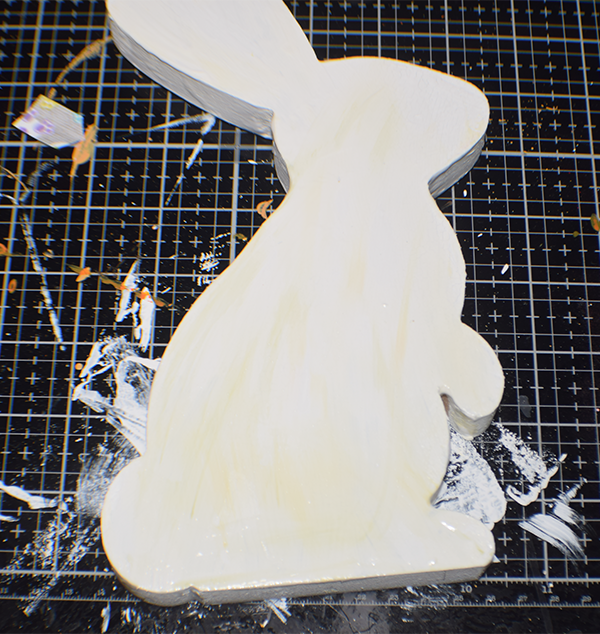
Step 17: Paint the Bunny White
Paint the bunny white. I used white chalk paint. I did not want the wood grain to show through the paper.
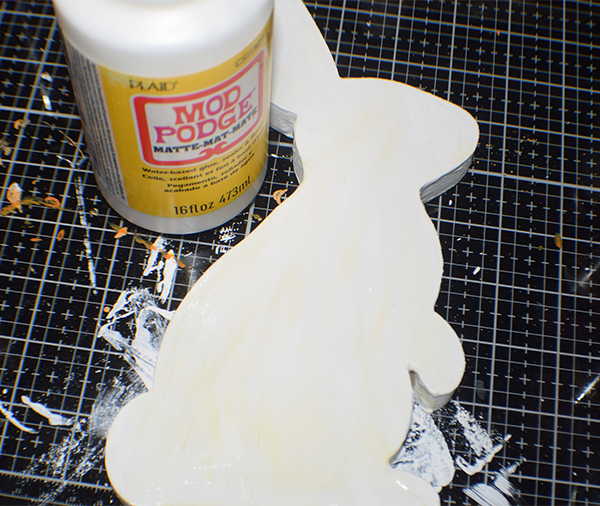
Step 18: Add the Modpodge
Add modpodge to both sides of the bunny shape. Let it dry completely. Add the bunny paper you just cut and place it on the bunny. Use a piece of parchment paper and place it on top of the bunny and bunny paper. Iron until it is secure. Let dry. Sand off any excess. Once it is completely dry cover the bunny with more modpodge to seal.

Step 19: Paint the Sides
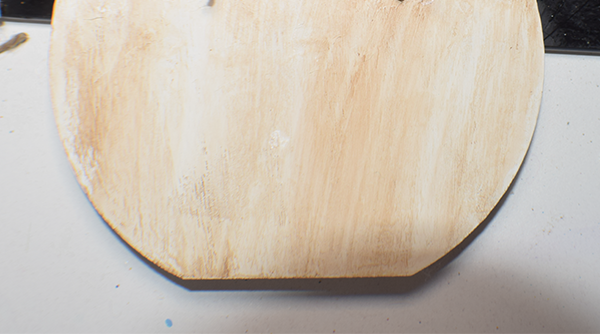
Using a coordinating color, paint the sides of the bunny. Age the bunny a bit using distressed oxide along the edges.
Step 20: Embellish the Bunny
Using a black paint marker I added an eye.

Step 21: Add a Bow
Create a small bow and add it just below the flowers.
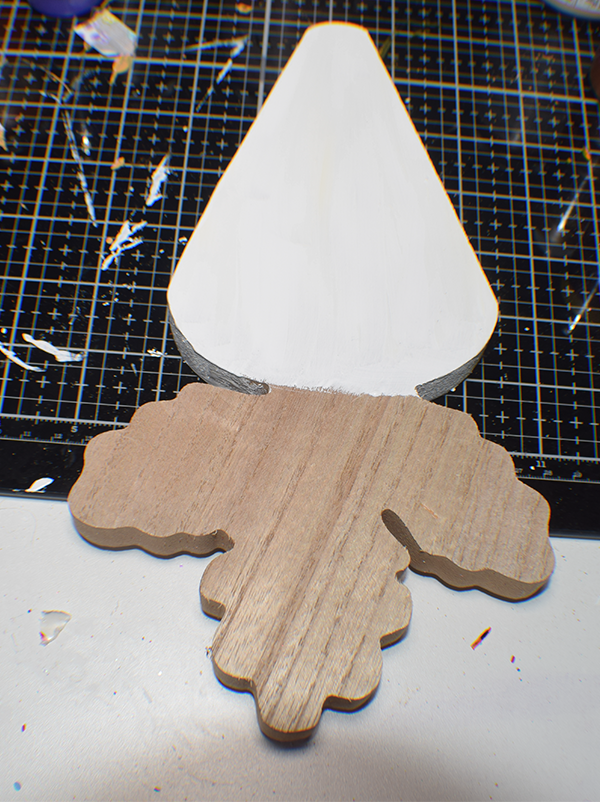
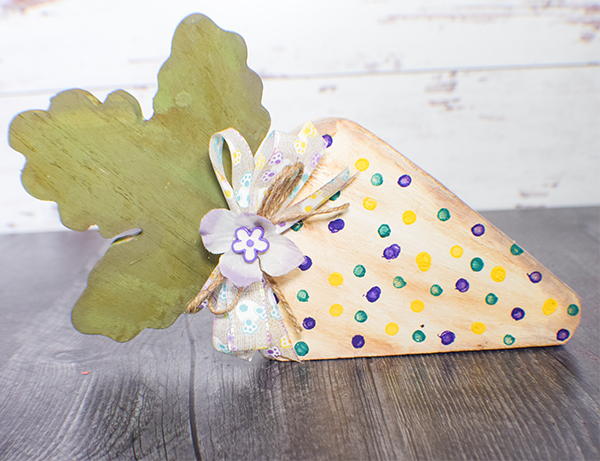
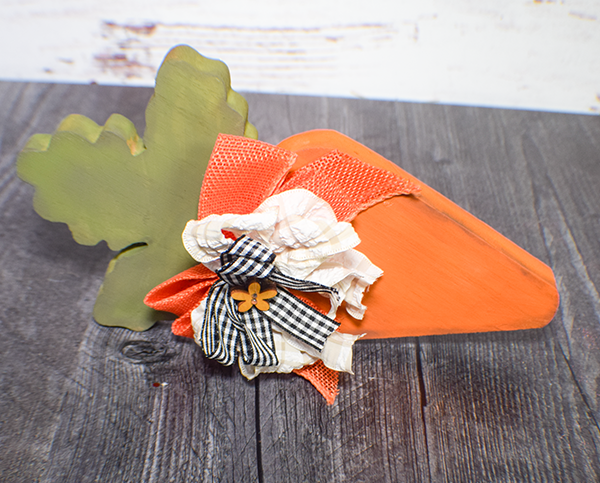
Step 22: Paint the Carrots
Pint the carrots using chalk paint. I had two carrots and painted them differently. One of the carrots was painted to match the chick with white on the bottom and green on the top. The other carrot was painted to in the traditional way with orange and green.
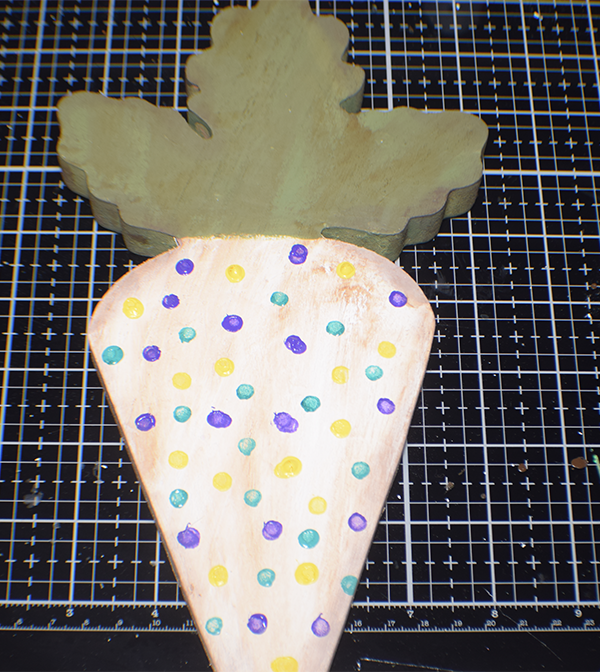
Step 23: Age Both Carrots
I used brown wax on the white carrot and distressed oxide for the orange carrot.
Step 24: Embellish the White Carrot
I added dots and the same bow to the white carrot as I did for the chick.
Step 25: Embellish the Orange Carrot
I hope you enjoyed these Simple Dollar Tree Easter projects. If you would like more sewing and crafting projects subscribe to our free newsletter and receive our free Holiday Dollar Tree eBook.
If you would like video tutorials of some of Sew Very Crafty's most popular posts subscribe to our free You Tube channel here.
Join our Sew Very Crafty Fans Facebook group
If you want to ask questions and share your projects join our Facebook group here. The community will help to achieve your sewing and crafting dreams.