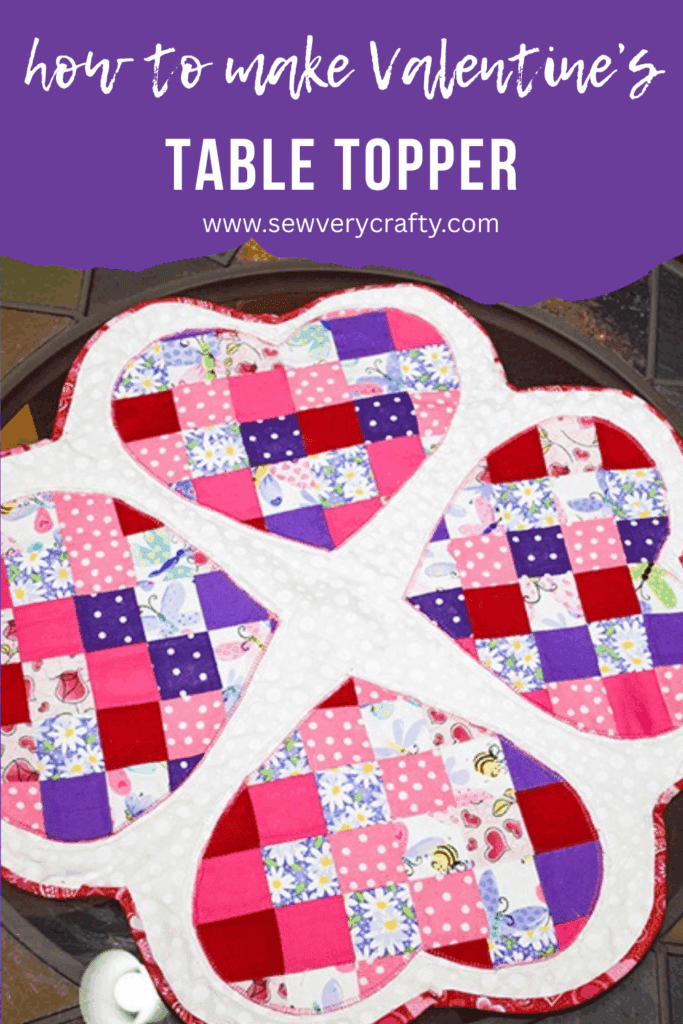
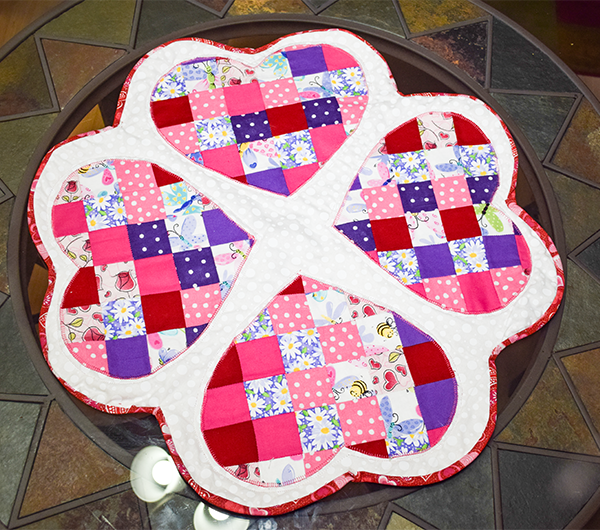
I can't believe that I am creating Valentine's Day projects already but I guess it is time. I decided to make this colorful quilted Valentine Table Topper. This is a super simple appliqué quilted table topper that anyone with basic sewing skills can make. Even if you have never quilted before you can create this simple project. I am delighted with how this came out. I hope you like it too. If you would like more holiday sewing projects head over to our holiday project vault for many more.
Note: This post contains affiliate links that if you click on them and make a purchase I will receive a small commission at no extra cost to you. As an Amazon Associate I earn from qualifying purchases.
What you will Need: How to Make a Valentine Table Topper
- Pattern you can get by clicking on this link
- Table Topper SVG
- 1 yd light colored quilting cotton
- Scraps of red, pink, purple and white cotton fabric
- 1 yd backing fabric
- 1 yd quilt batting
- 1/2 yd cotton fabric for binding
- 1/2 yd Wonder Under
- Sewing machine
- Iron
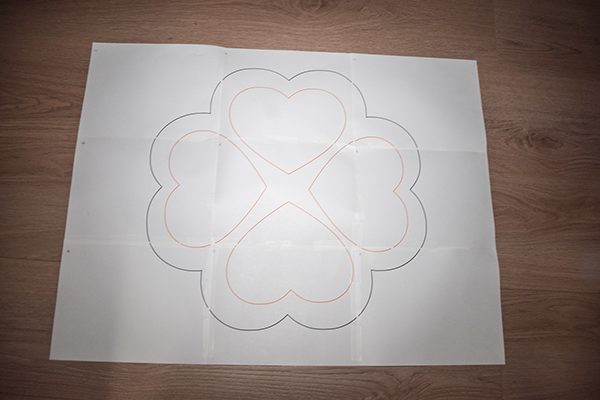
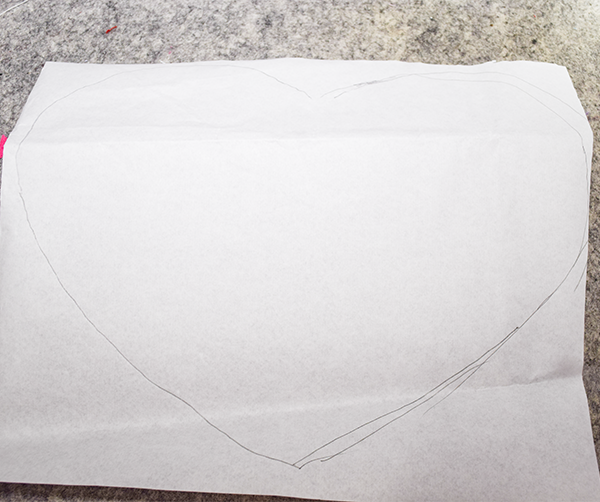
Step 1: Print the Pattern
Print all 9 pages of the pattern. Tape the pieces together in rows of three. Overlap the pages by 1/4″. The outer piece is the main part of the table topper. The inner orange hearts will be for the appliqué.
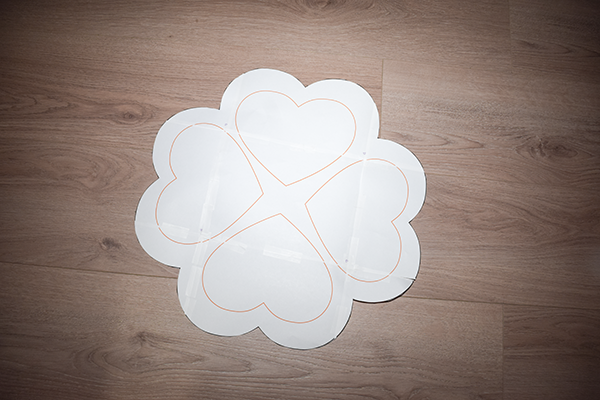
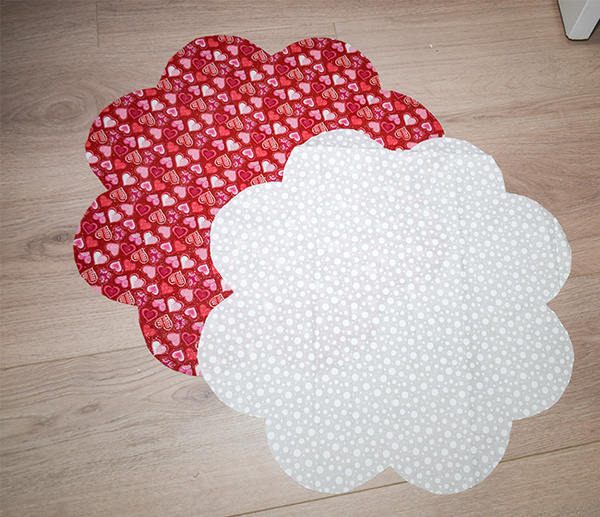
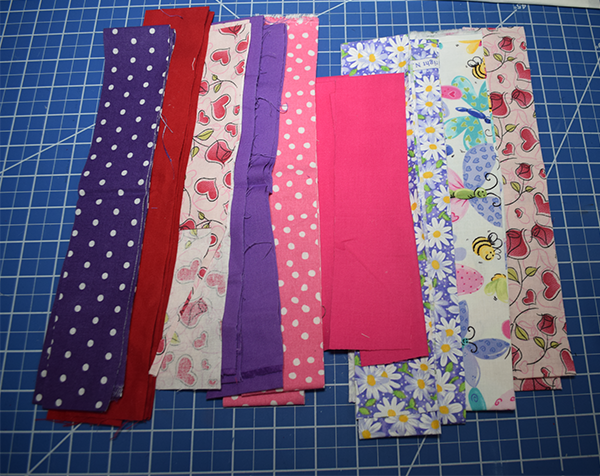
Step 2: Cut your fabrics
Cut one top piece and backing piece from the light colored fabric using the free pattern. From the scraps cut 100 2″ x 2″ squares. To do this cut your heart fabrics in 2″ strips. Use as many different colors as you like but don't overwhelm with color. Cut a piece of quilt batting a little larger than the outer and top pieces.
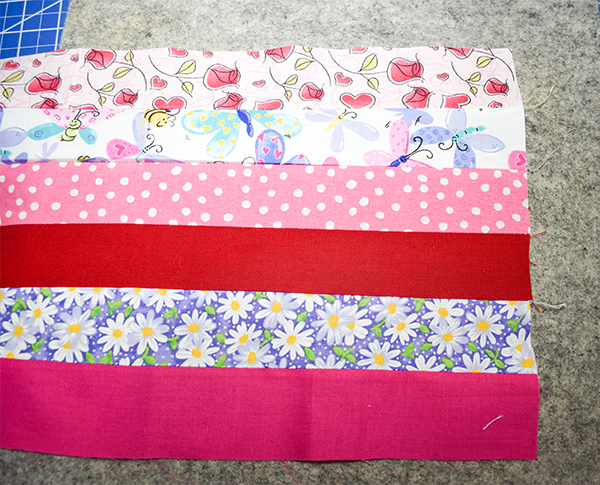
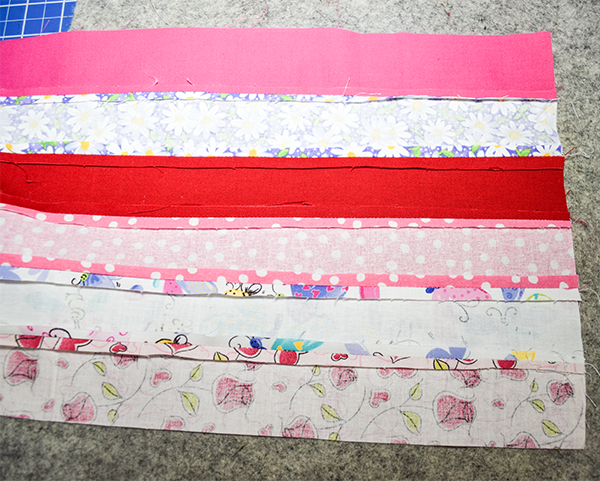
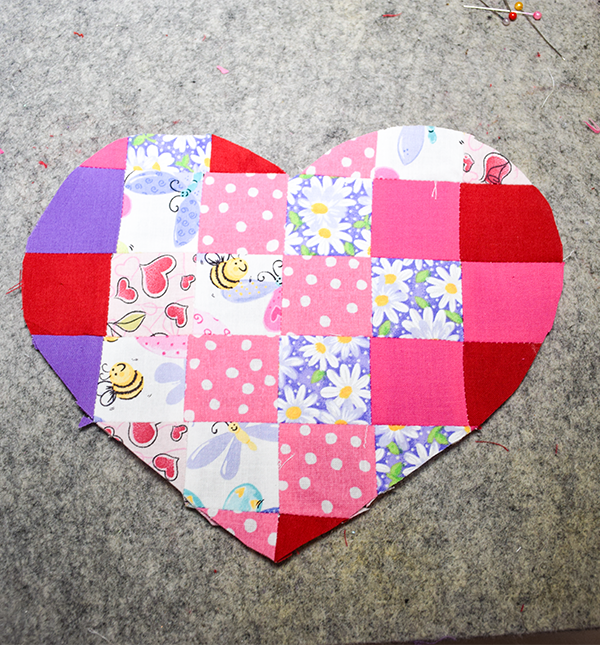
Step 3: Create the Hearts
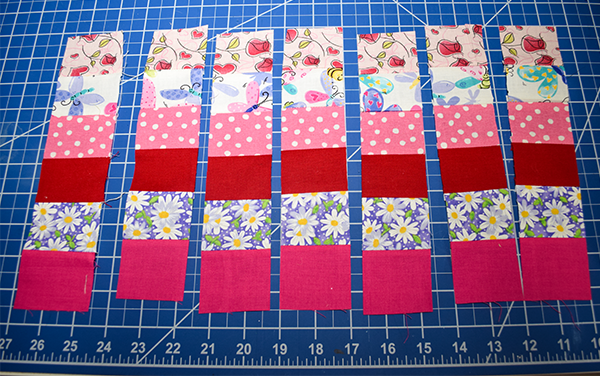
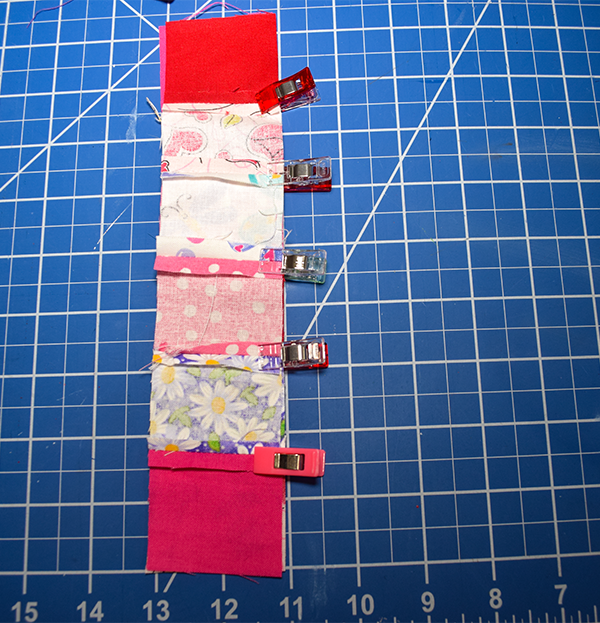
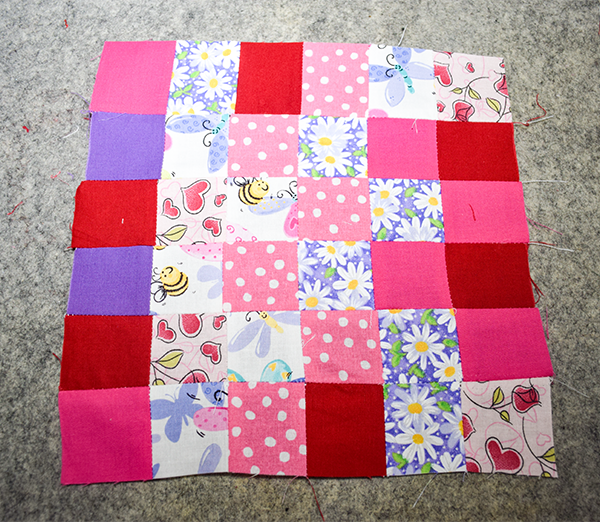
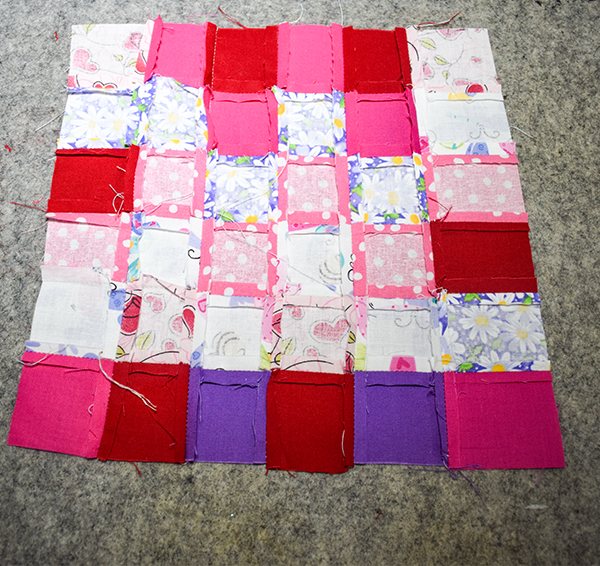
Stitch the 2″ strips in rows of six using a 1/4″ seam allowance. Press the seams open. Repeat until you have four sets of the stitched 2″ strips. Cut each block of strips into 2″ strips that create six 2″ squares already stitched together. Stitch the strips of 2″ squares to create six rows. Using the heart pattern cut the squares you created into hearts.


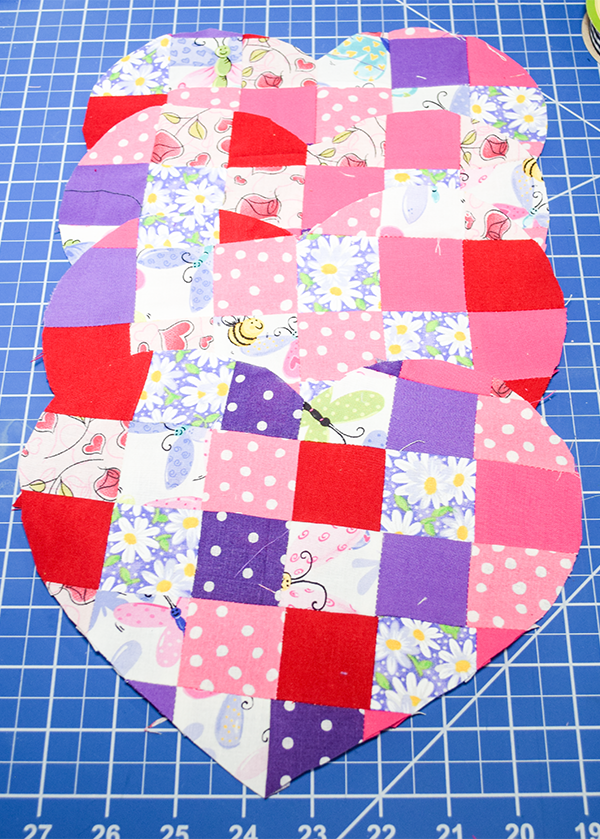
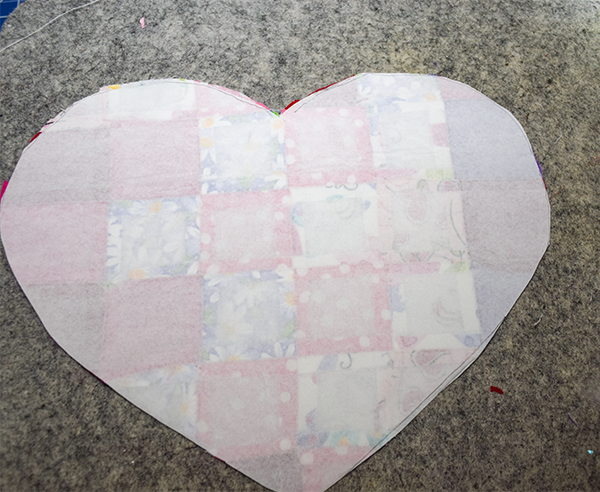
Step 4: Applique the Hearts
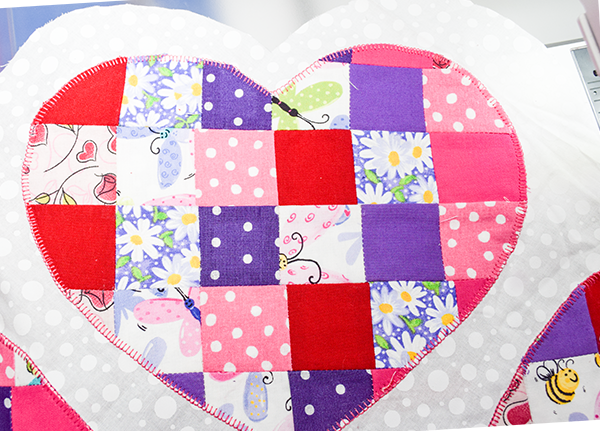
You will notice that the pattern for the outer light colored fabric is made up of four combined heart shapes that will accommodate the hearts you just made. Using a hot iron press the Wonder Under to the wrong side of the each of the hearts. Remove the paper backing and press the hearts to the light colored outer fabric so that the top of the hearts echo the curves on the light colored fabric. Stitch the hearts to the fabric using either zig zag stitch, blanket stitch or satin stitch. I chose blanket stitch for my hearts.
Step 5: Sandwich the Quilt
Place the backing fabric right side down on your work surface. Spray the wrong side of the backing fabric with quilting adhesive. Place the quilt batting on top. Spray the batting with quilting adhesive. Finally, lay the top of the quilt on the quilt batting. Make sure the layers are nice and smooth.
Step 6: Quilt the Table Topper
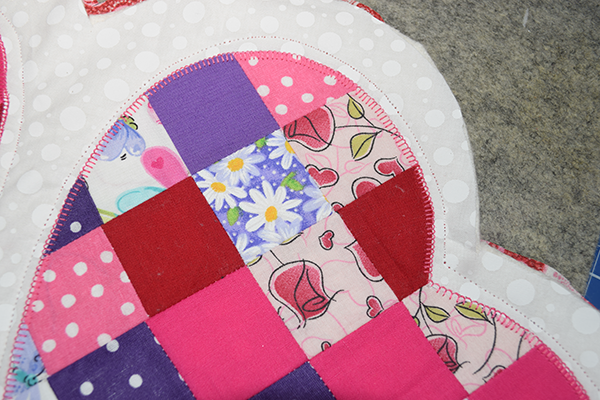
Stitch through all layers on the light colored outer fabric using any pattern you like. I chose to echo the hearts for my table topper.
Step 7: Trim the Table Topper
Once you have finished quilting the table topper trim the backing and batting so that it is even with the outer flower shape.
Step 8: Create the binding
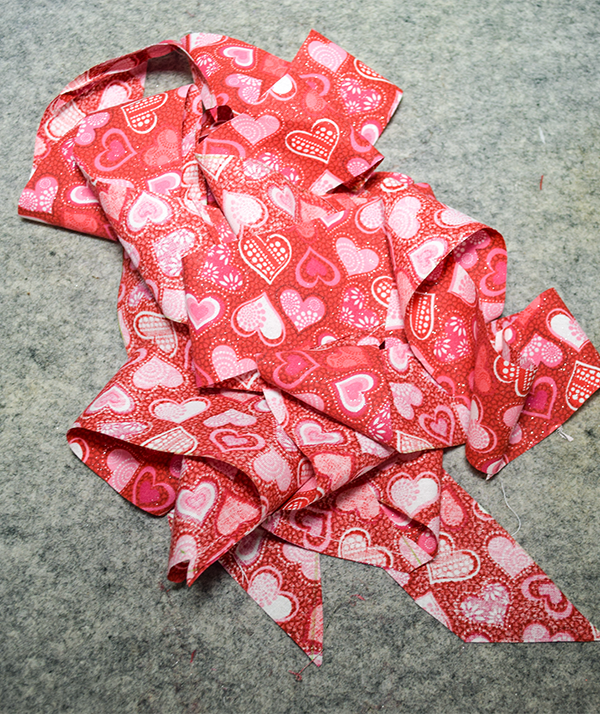
I used bias binding for this project because of the outer curves of the flower shape. If you do not know how to make your own bias binding check out my bias binding tutorial here. I used 2 1/2″ binding for my table topper.
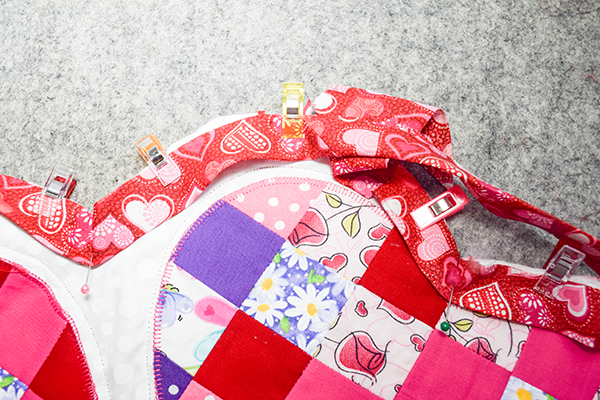
Step 9: Add the Bias binding
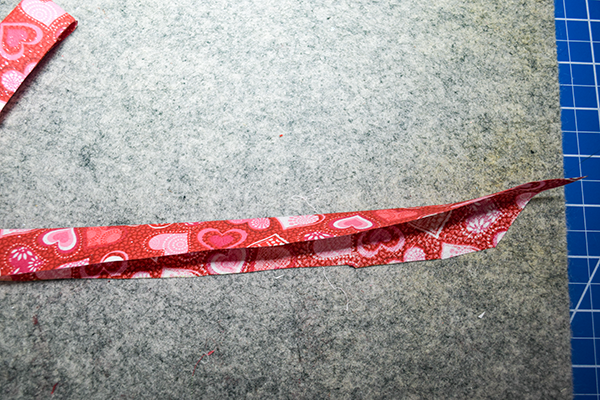
Fold the bias binding in half lengthwise. Press. Start in the center of one of the petal shapes and leave a 3″ lead. Place the folded binding with raw edges matching. Stitch the binding using a 1/4″ seam allowance. When you get all the way around overlap the lead fabric you started with by 2 1/2″. Place the ends in a cross right sides together. Stitch diagonally from the outside to the inside of the toper. Cut off the excess. Pull the binding taught and finish stitching it to the quilt.
Step 10: Finish the Table Topper
Trim the quilt edge to 1/8″. Fold the binding over the raw edge and clip. You can either machine stitch the binding or hand finish it. I always prefer to hand finish the binding for a cleaner look. Once that is done so are you.
I hope you enjoyed this simple appliqué quilt. If you would like more sewing and crafting projects subscribe to our free newsletter and receive access to our free printable library.
If you would like video tutorials of some of Sew Very Crafty's most popular projects subscribe to our free You tube channel here.
Join our Sew Very Crafty Fans Facebook group
If you want to ask questions and share your projects join our Facebook group here. The community will help to achieve your sewing and crafting dreams.