Making Bias Binding Tutorial

Making double or single fold bias binding seems intimidating at first but it is really easy once you get the hang of it. This making bias binding tutorial will help you with the process. The beauty of making your own is that you can coordinate it with whatever you are making instead of being limited to the solid colors generally available in your local fabric store. This post contains affiliate links that if you click on them and make a purchase I may receive a small commission at no extra cost to you.
The standard rule of thumb is that ¼ yard of fabric will get you about 4 yards of double fold bias tape and ½ yard of single fold bias tape. A little bit of fabric really does go a long way when it comes to making bias tape. Keep in mind that the purpose of making bias tape is that it stretches so it can be used to bind all kinds of shapes and remain flat.
What you will need: Making Bias Binding Tutorial
- ¼ yard fabric of your choice cut into a square
- Clear ruler
- Scissors or rotary cutter
- Cutting mat
- HONEYSEW Bias Tape Maker Kits
- Disappearing ink pen
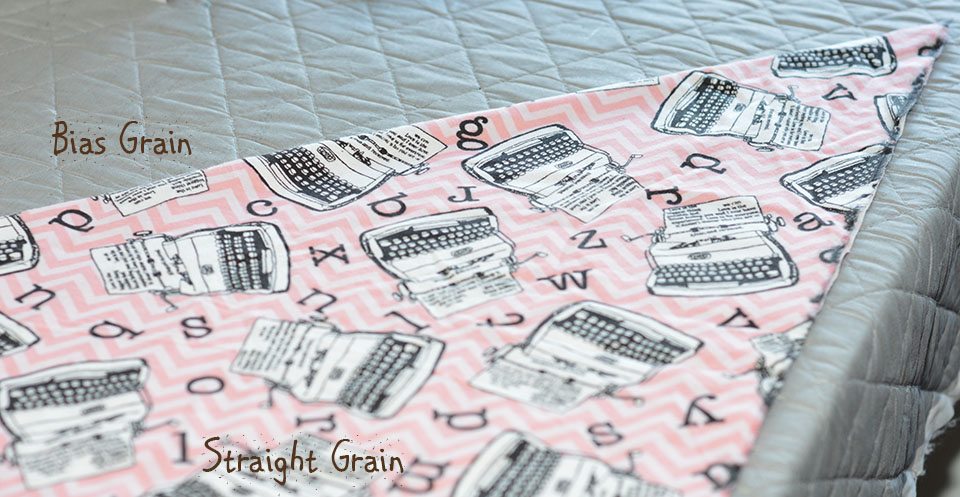
Step 1: Cut the Diagonal Fold
First fold your square of fabric along the bias. This is the same as folding it on the diagonal. After pressing the diagonal fold cut along that line.
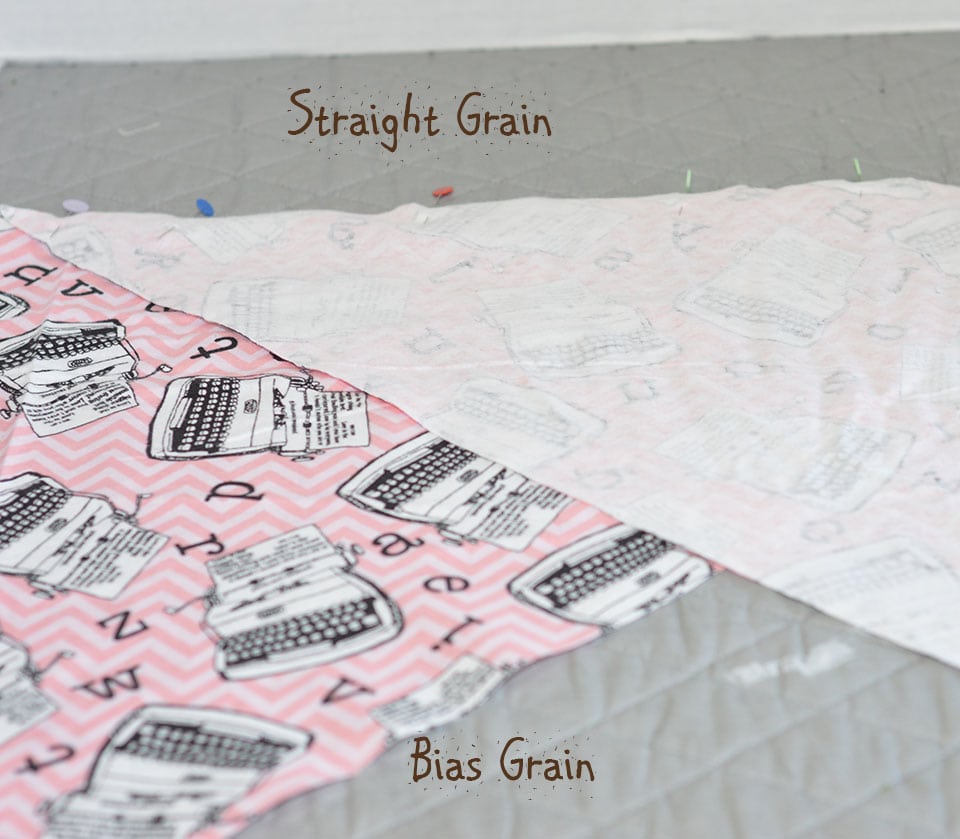
Step 2: Lay the Pieces Right Sides Together
Take the cut piece and lay the straight grain of the cut piece over the straight grain of the remaining piece right sides together and sew the two pieces together using a ¼ inch seam.
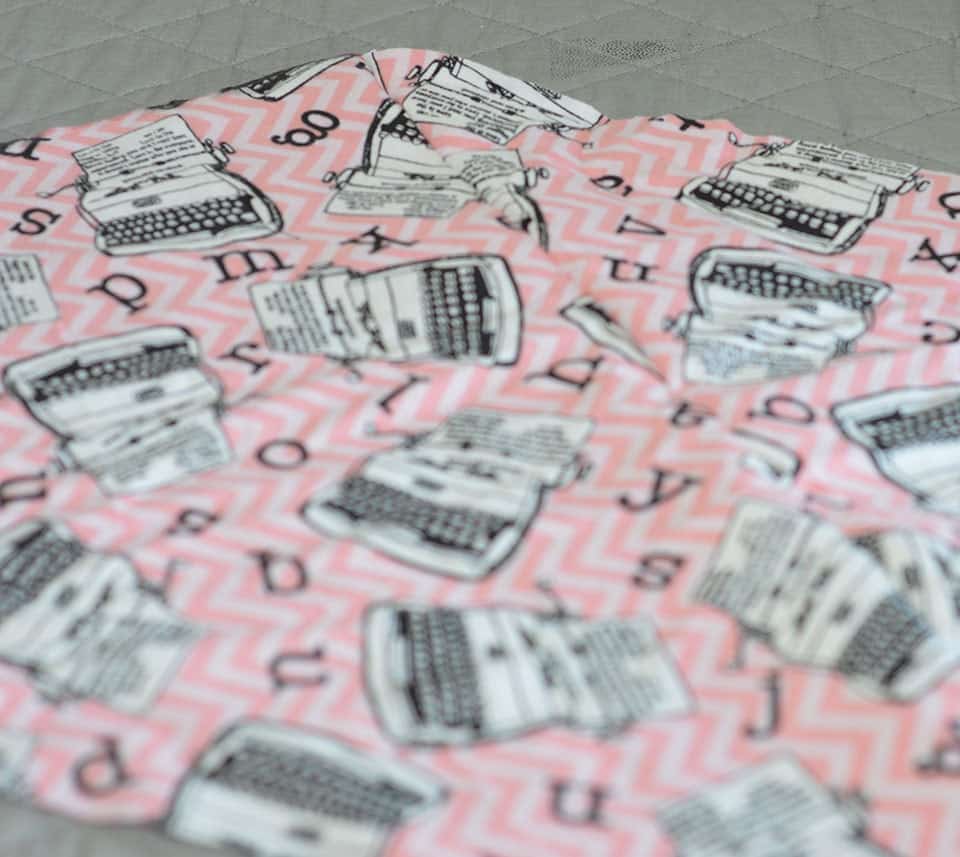
Step 3: Press the Seam Open
After sewing the two pieces together, press the seam open so it looks like a giant trapezoid.
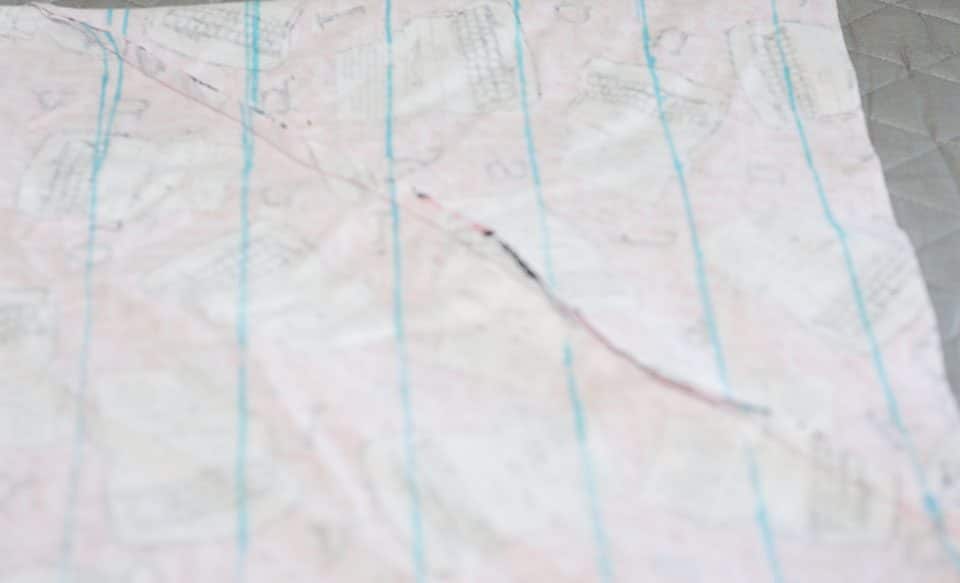
Step 4: Draw the Lines of the Binding
Turn the entire panel to the wrong side. Take out your see through ruler and begin to mark lines. Mark the lines along the long edges of the trapezoid as this is the bias edge. Double fold bias tape requires that your lines be 4 x the final width of your bias tape apart. So if you want your bias tape to be ½” wide then you will need to multiply 4 X your final width of 1/2” which equals 2” apart. If you are making single fold bias tape you will need to make the lines 2 times the final width of your tape.
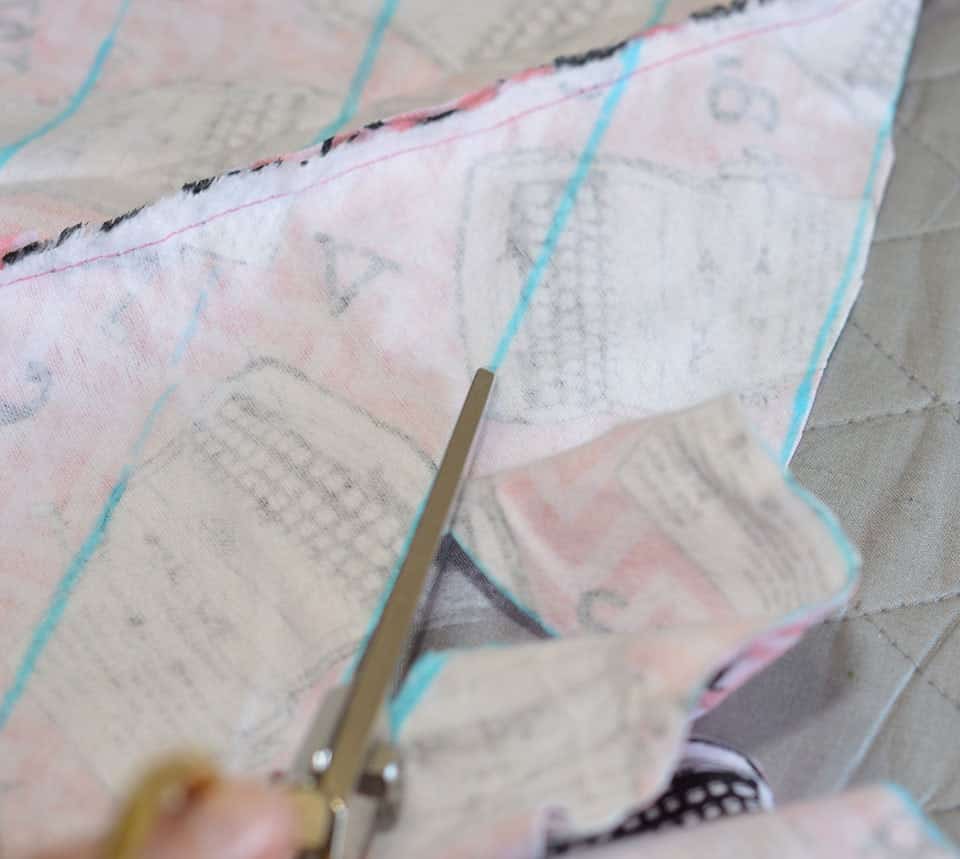
Step 5: Cut the Binding
Once you have drawn the lines fold the fabric so the short ends meet but the lines are offset by one line. This will leave one line not having a corresponding line on the end. It will seem a bit wonky but it is correct. Sew the two ends right sides together so that you have made a tube with an offset line on the end. Once the tube has been created start cutting down the offset line so that you are creating one long line of bias cut fabric. Take care not to cut the fabric below. Remember you are only cutting the top layer of the tube as you go around it in a spiral.
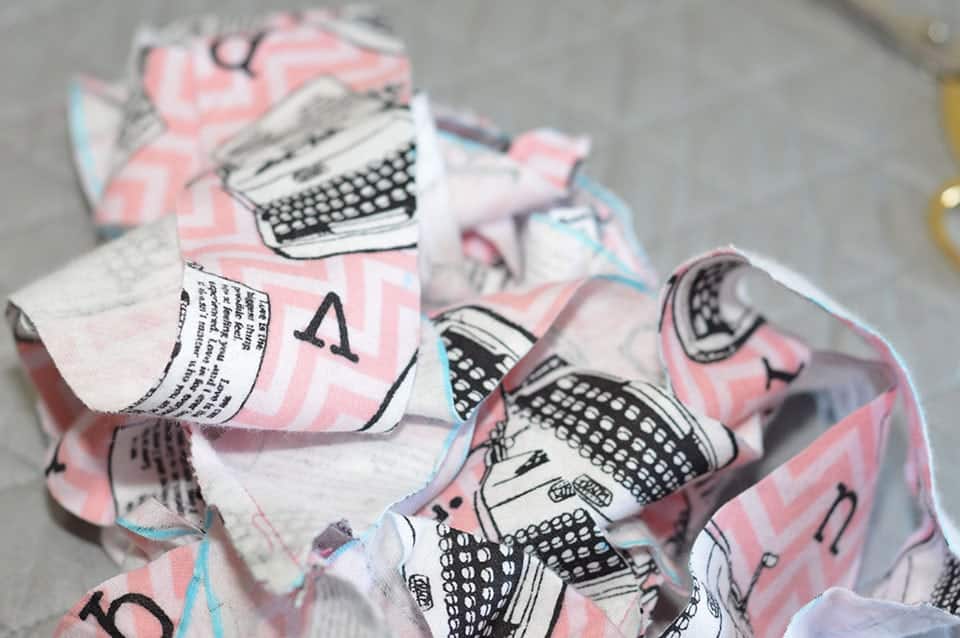
Once you have finished cutting the lines you should have a pile of unfolded bias binding.
Step 6: Put the Binding through a Bias Tape Maker
Once you have the pile of tape you need to convert it into folded bias tape. I used a Bias tape maker that I got from Amazon.com in a set of 4 for $7.00. I made ½ inch double fold tape to use for my latest project. These tape makers are super simple to use. You just feed the fabric through the back and pull it through the front.
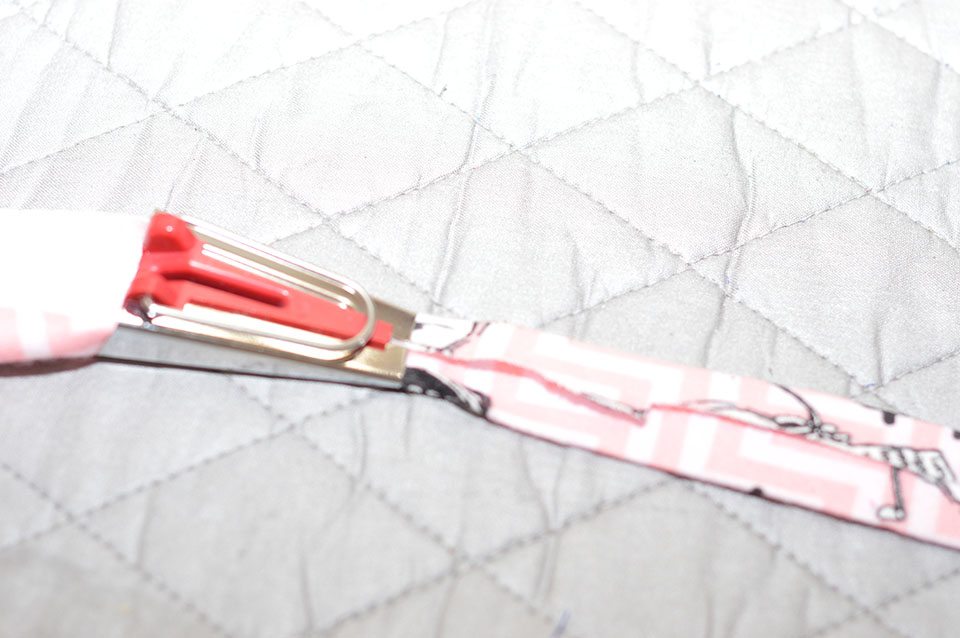
Once it comes through the front, iron it and voila you have made coordinating bias tape for any project.
If you would like more sewing and crafting projects sign up for my newsletter and receive your free list of sewing room must haves.