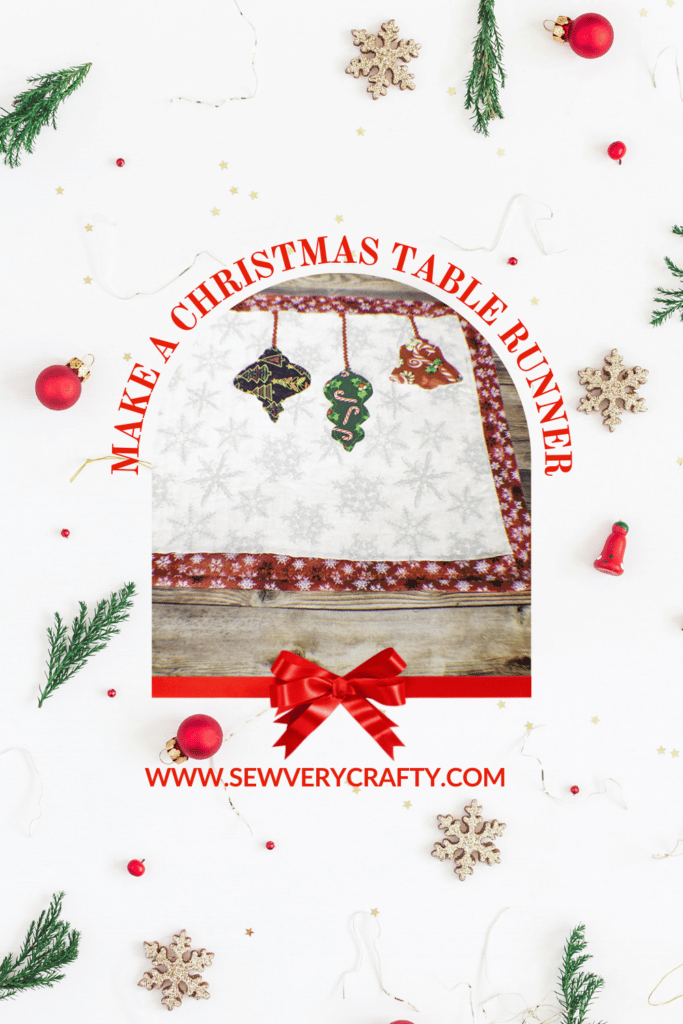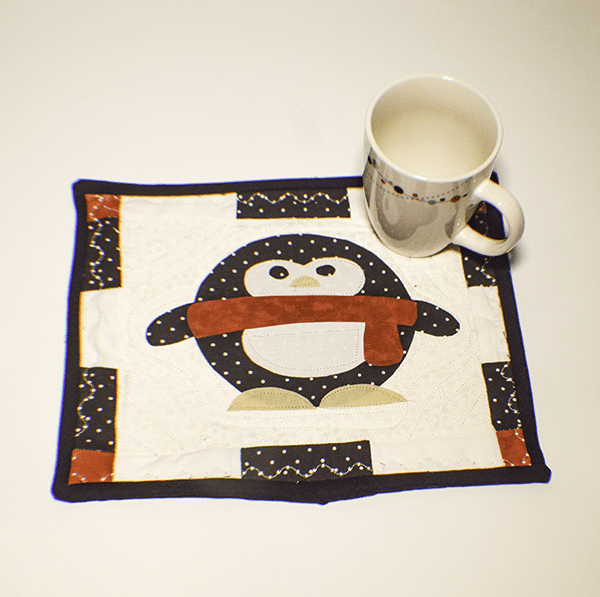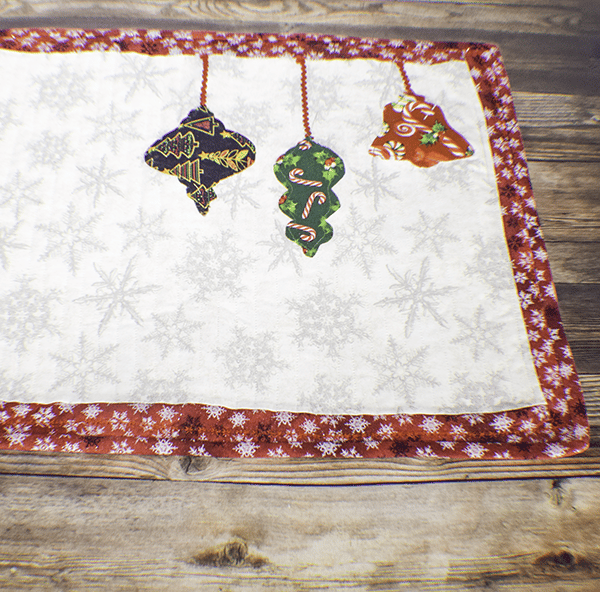
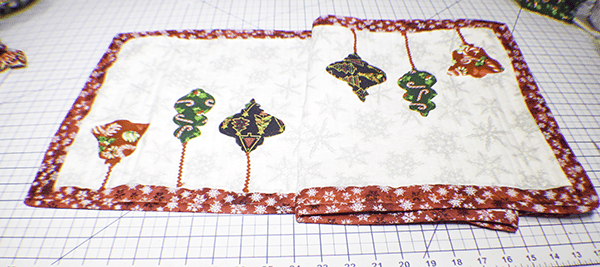
I decided to use appliqué to make this terrific and simple Christmas table runner. This is a fun sewing and quilting table runner project that is perfect for your Christmas table this year. I used Christmas ornaments to decorate my table runner that are vintage in style. Fortunately, I was able to find some backing fabric from Joann's that had the same shapes of ornaments that I was using on the front. It really came together well and only took a few hours to make. If you would like my Christmas runner from last year check out my quilted Christmas table runner here.
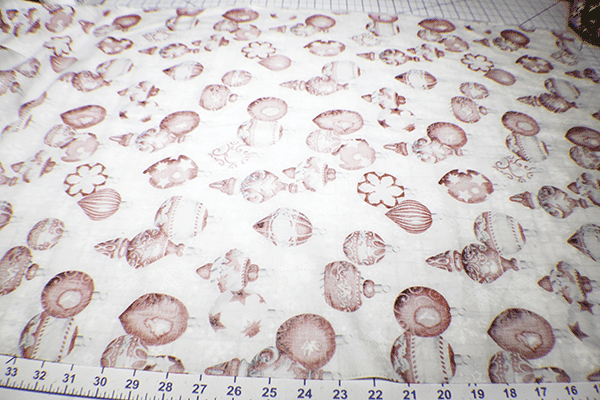
I used both fabrics that I purchased and that I had on hand for this project. I got them all at JOANN Fabric & Craft Stores![]() but you could head to
but you could head to
What you will Need: How to Make a Christmas Table Runner
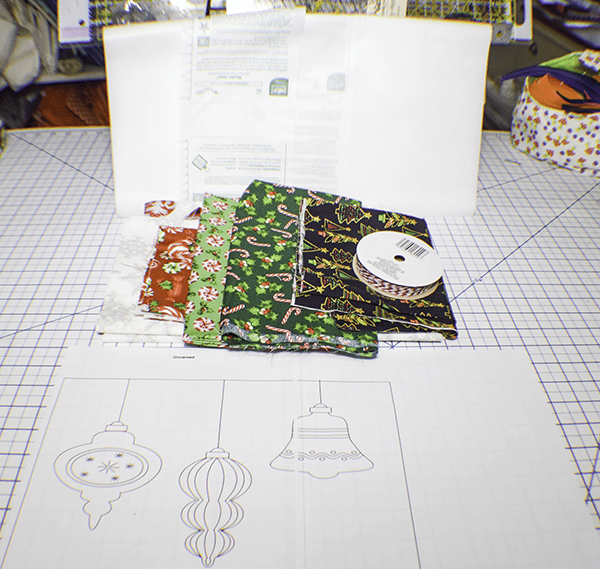
- Pattern you can get by clicking on this link
- 12 1/2″ x 39 1/2″ piece of background fabric
- Backing fabric a little larger than background fabric
- 1/4 yd border fabric
- 1/4 yd Binding fabric
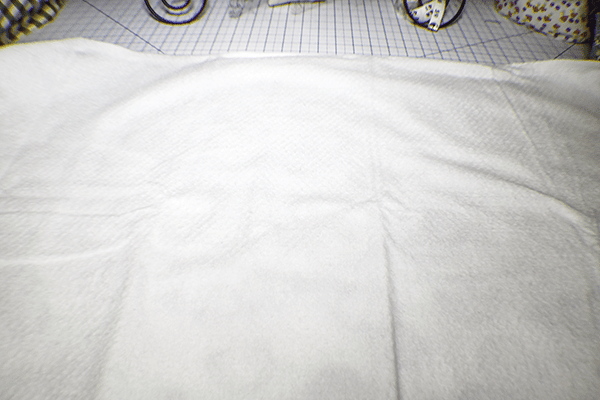
- Batting a little larger than the background fabric
- Scraps of fabric in different colors for the ornaments
- Heat n Bond
- Ric-Rac for the hangers
- Glue Stick
Step 1: Cut your Fabrics
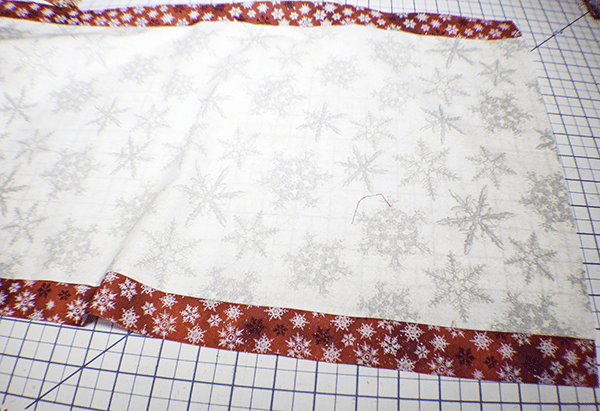
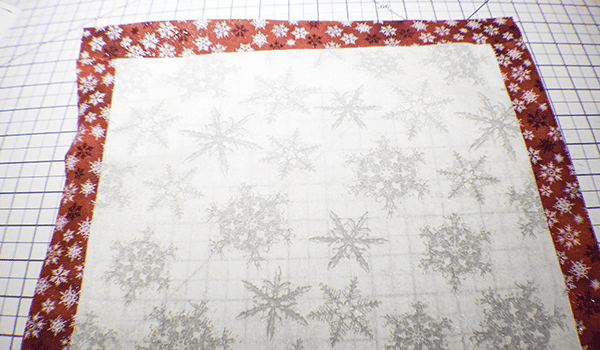
Cut the background fabric to measure 12 1/2″ x 39 1/2″. Cut the backing and batting larger to accommodate quilting. Using the border fabric cut two pieces that measure 1 1/2″ x 39 1/2″ and two pieces that measure 1 1/2″ x 14 1/2″.
Step 2: Add the Border
Starting with the long pieces, stitch them right sides together with the long side of the background fabric using a 1/4″ seam allowance. Press open. Then, stitch the short pieces to the short ends also using a 1/4″ seam allowance. Press open.
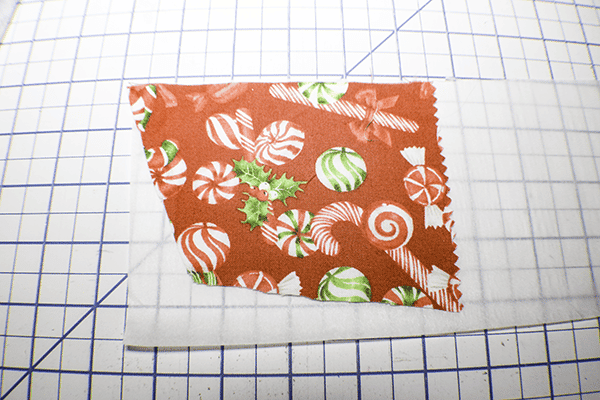
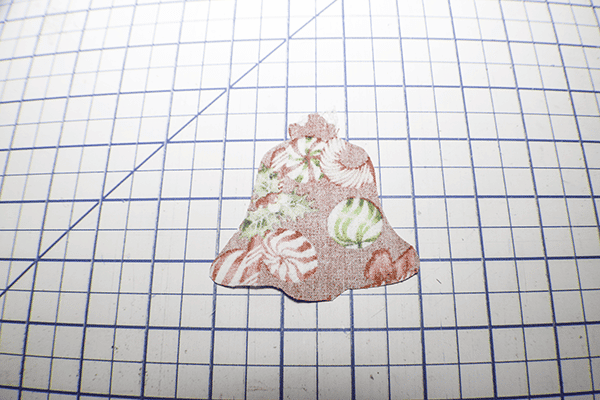
Step 3: Cut out the Appliqué
Fuse one side of the Heat n Bond to the appliqué fabric. If you have never worked with Heat n Bond you will find that it is a fusible mesh that has a paper backing and glue side. Place the glue side on the wrong side of the fabric and press with a hot iron until the fabric and glue have fused together. Place your appliqué pattern onto the appliqué fabric and cut out the pattern. You can trace it if you like.
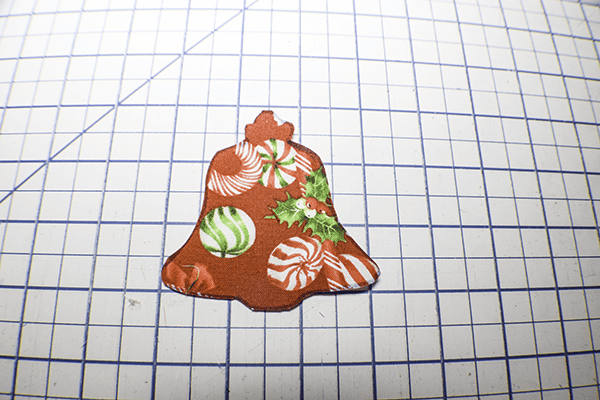
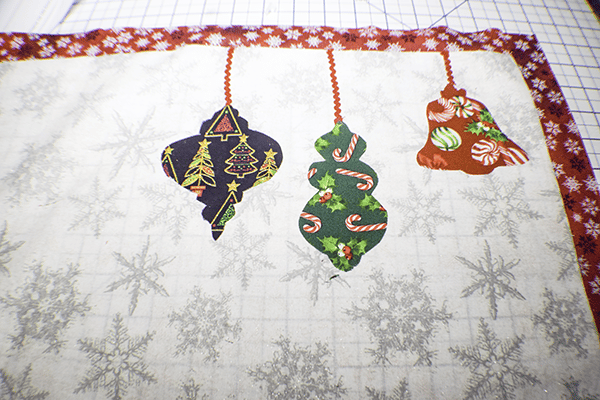
Step 4: Add the Appliqué and Tic-Rac
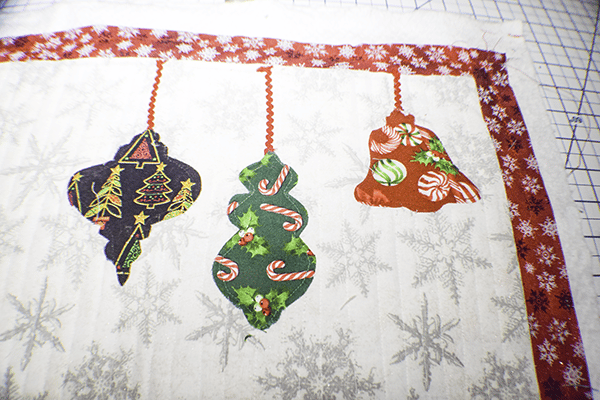
From the short end of the table runner measure 2 1/4″ and place a piece of tic-rac that measures 1 1/4″ long by stitching over the ric-rac. Fuse the bell shaped ornament to that piece of ric-rac. Measure over 3 1/4″ and add another piece of tic-rac that measures 3″ and zig zag. Fuse the long thin ornament to this piece. Finally measure over 3 1/4″ and add the third piece of tic-rac that measures 2 1/2″ and the final ornament. Repeat this same process on the other end of the runner but on the opposite side. Stitch around the appliqué pieces using a straight stitch for zig-zag to secure.

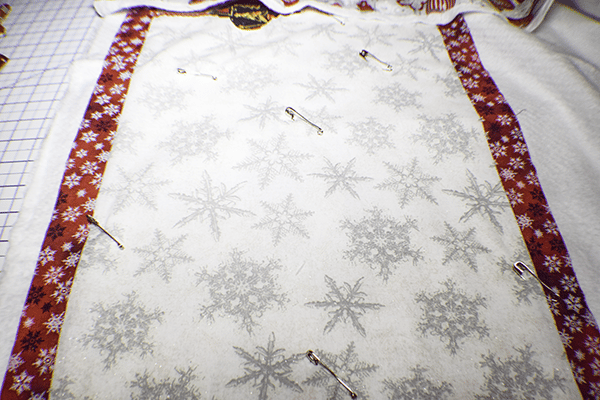
Step 4: Layer the Christmas Table Runner
Place the backing fabric wrong side up on your work station. Lay the batting on top of the backing fabric. Then, place the front on top of the batting. Spray baste in place or pin.
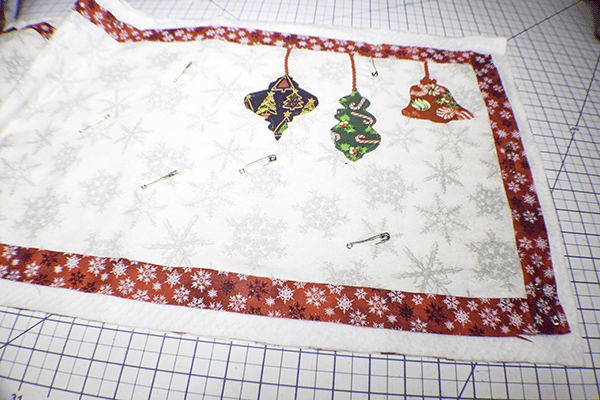
Step 5: Quilt the Christmas Table runner
I quilted the table runner by quilting straight lines 1/2″ apart across the width of the runner without stitching over the appliqué.
Step 6: Trim the Table Runner
Using a rotary cutter and mat, trim the excess backing fabric and batting from the front of the table runner making sure to square up the runner as you go.
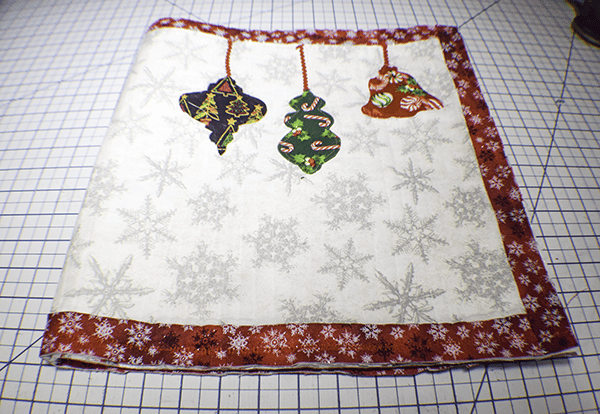
Step 7: Bind the Table Runner
Bind the runner. If you are unfamiliar with how to bind a quilt, check out this video. It will walk you step by step through the process.

Once you have bound your runner you have finished this fun and simple Christmas Table runner project.
I hope you enjoyed this simple Christmas Table Runner project. If you would like more sewing and crafting tutorials sign up for our newsletter and receive access to our free printables library.
If you would like video tutorials of some of sew Very Crafty's most popular posts subscribe to our free YouTube channel here.