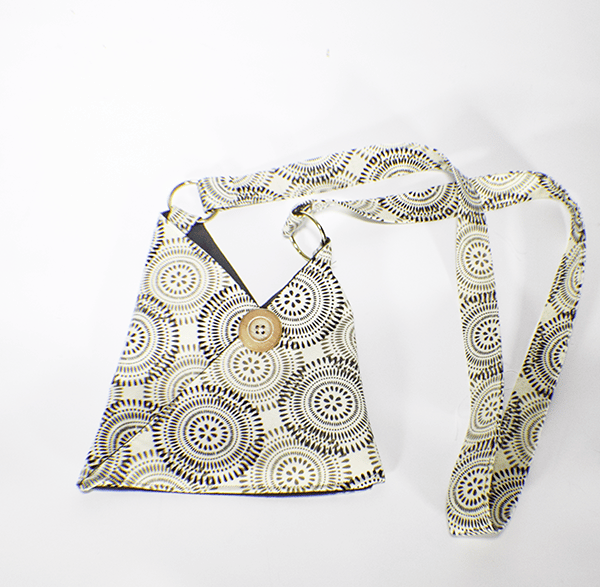
I came across this free pattern on the Bernina website and thought it was a cute handbag pattern to share with you. I like to cal it a triangle bag but they refer to it as an origami bag. Either is correct I suppose. This is a super simple bag to put together. It requires very little sewing but has a great look. This bag is all about the folding. I love making handbags so if you would like to see more of my handbag projects head over to my handbag page and check them out.
I used standard cotton fabric for this bag but you could use wool, denim or felt if you like. This bag is good for many types of fabrics but if you are using a light weight fabric like me I advise to use some interfacing in it. I used fabrics that I had on hand for my bag. The fabrics were purchased at JOANN Fabric & Craft Stores![]() but you could head to
but you could head to
What you will Need: How to Make a Triangle Bag
- Pattern you can get by clicking on this link
- 1/2 yd outer and lining fabric
- 1/2 yd Pellon 808 interfacing
- 2 decorative Buttons
- 2 Circle Rings
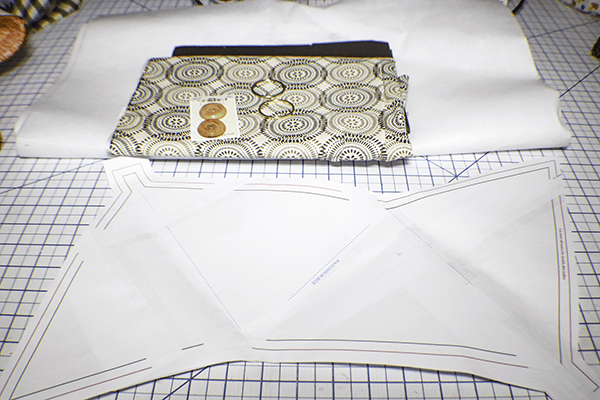
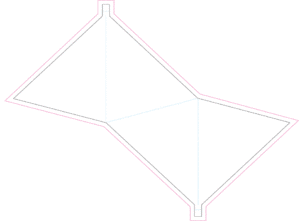
Step 1: Print out the Pattern
Print out the pattern at 200% on your printer and tape it together. It should look like this when it is taped together.
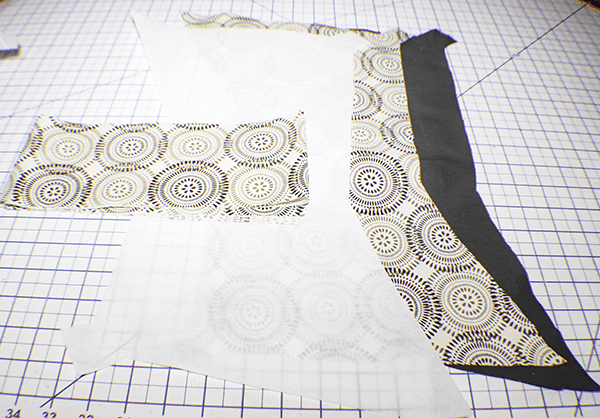
Step 2: Cut Out your fabrics
Using the pattern piece, cut an outer, lining and interfacing piece. From the outer fabric cut a strap that measures 4″ x width of fabric.
Step 3: Fuse the Interfacing
Using a hot iron and following there manufacturer's instructions. Fuse the interfacing to the wrong side of the outer fabric.
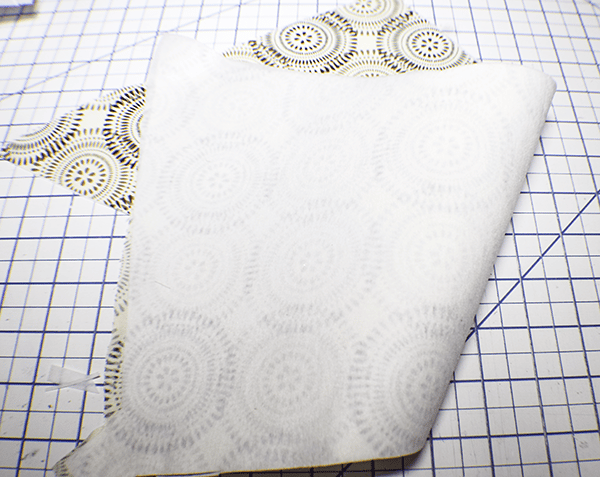
Step 4: Stitch the Outer and lining Fabric
Place the outer and lining fabrics right sides together. Stitch all the way around using a 1/4″ seam allowance and leaving an opening for turning. Turn right sides out and press. Topstitch all the way around closing the opening as you go. Using an erasible pen mark the fold lines.

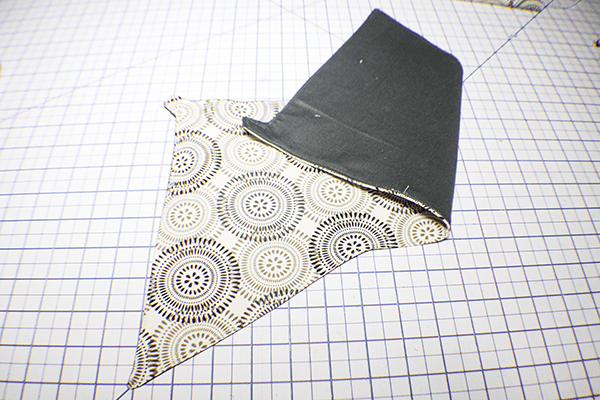
Step 5: Fold the Bag
Following the fold lines fold the bag to create the triangle bag. Fold the middle line first. Then fold the other lines one in front and one in back to create the triangle. Stitch the junctions of the bag by hand to secure the bag together.
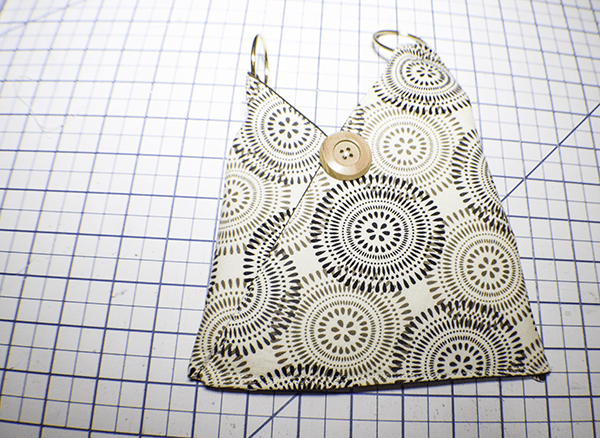
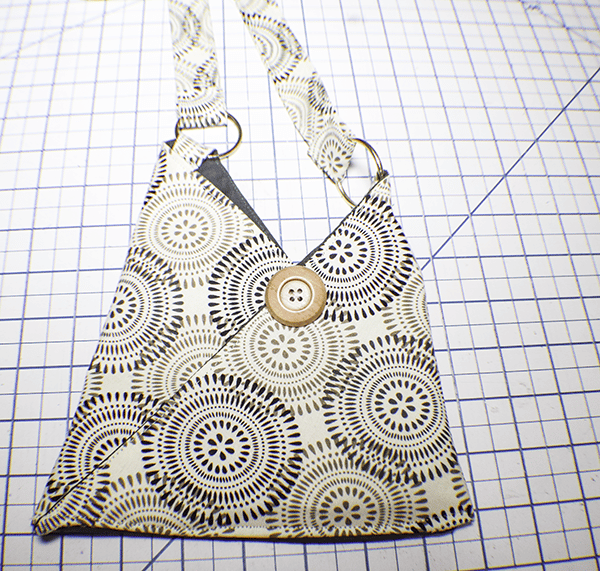
Step 6: Add the Buttons
Stitch a button on the junctions to cover the stitches and for a more professional look.
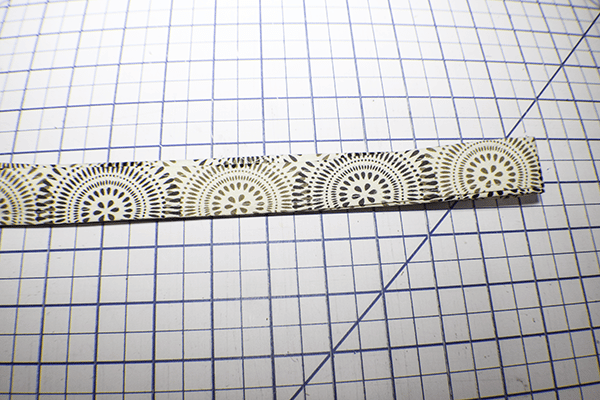
Step 7: Create the Strap
Fold the strap piece in half lengthwise and press. Open the strap and fold the raw edges to the center and press. Fold in half lengthwise so that the raw edges are enclosed and press. Topstitch along both sides to secure.
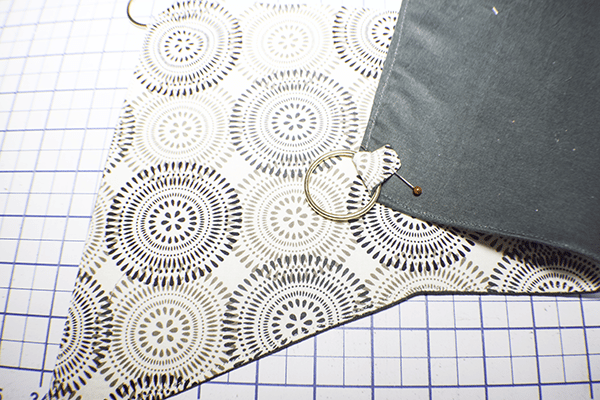
Step 8: Add the Rings
You will notice that there is a tab on both sides of the bag. Fold the tab over and through the ring. Fold he raw edges under and stitch to there lining side of the bag.
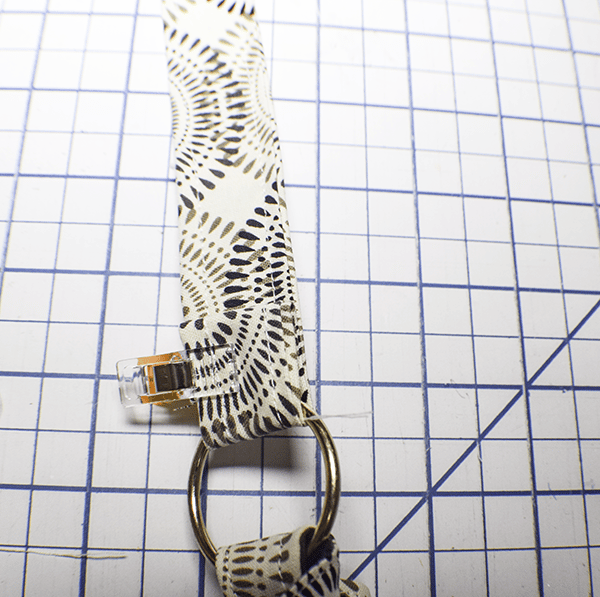
Step 9: Add the Strap
Place the raw edges through the Rings. Fold the raw edges under and stitch to secure. Stitch the bottom of the bag. You have now finished your triangle bag.
I hope you enjoyed this triangle bag project. If you would like more sewing and crafting projects subscribe to our newsletter and receive your free eBook of 15 handbag patterns and tutorials taken from the blog.
If you would like video tutorials of some of Sew very Crafty's most popular posts subscribe to our free YouTube channel here.