How to Make Fabric Easter Eggs

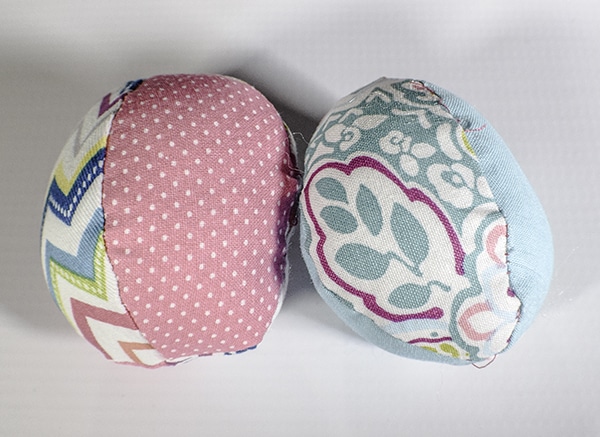
These fabric Easter eggs are a fun little project to make and are an alternative to coloring eggs this Easter. The best part about them is that they can be used again next year and the year after. This is also a great stash buster project. Beginner sewists will love this project too. Only four seams and some fiberfill gets you these fun eggs. I love the different colors and patterns that you just can't get with coloring. Place them in a hand sewn Easter basket and you are ready to go.
I delved into my remnant stash for my eggs. You could head over to JOANN Fabric & Craft Stores, Hobby Lobby or Fabric.com to get exactly what you need for this project. This project contains affiliate links that if you click on them and make a purchase I may receive a small commission at no extra cost to you.
What you will need: How to Make Fabric Easter Eggs
- Pattern you can get Here
- Scraps of various spring fabrics
- Polyester fiberfill
- Standard sewing supplies
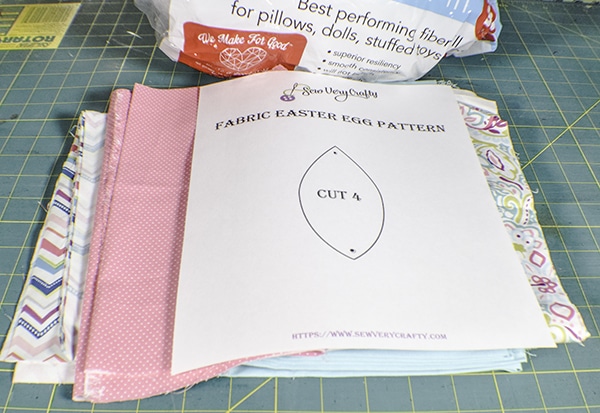
Step 1: Cut out your fabrics
Cut out four pattern pieces of fabric for each egg remembering to mark each dot.
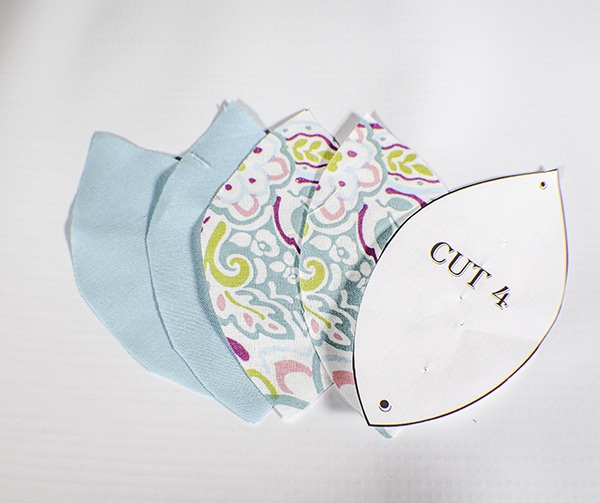
Step 2: Stitch the pieces
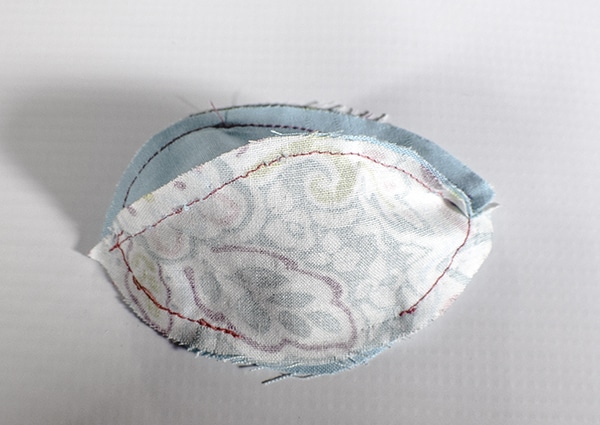
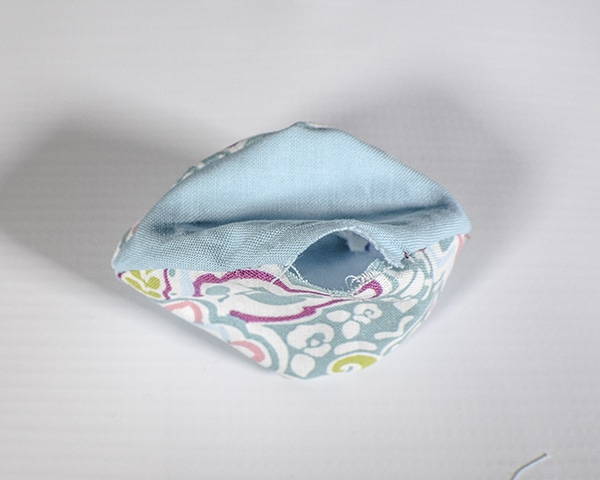
Start by stitching two pieces together along one side starting at one dot and ending at the other dot and using a 1/4″ seam allowance. Repeat for the other two pieces. You now have two half eggs. Place these eggs right sides together. Stitch around the egg but leave a small opening in one side to insert the fiberfill. Remember to backstitch.
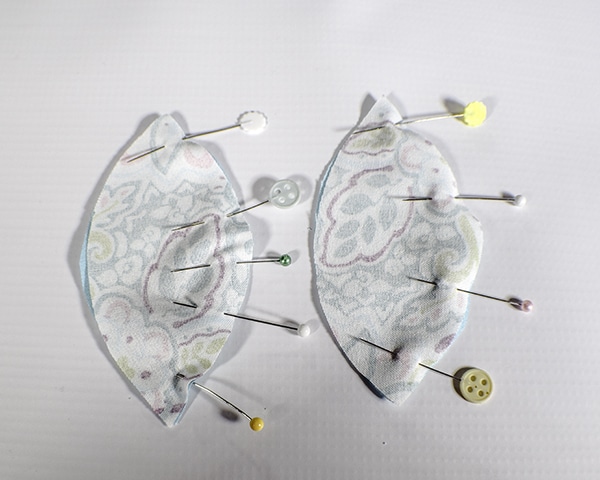

Step 3: Stuff the egg
Stuff the egg with the fiberfill as full as you can.
Step 4: close the opening
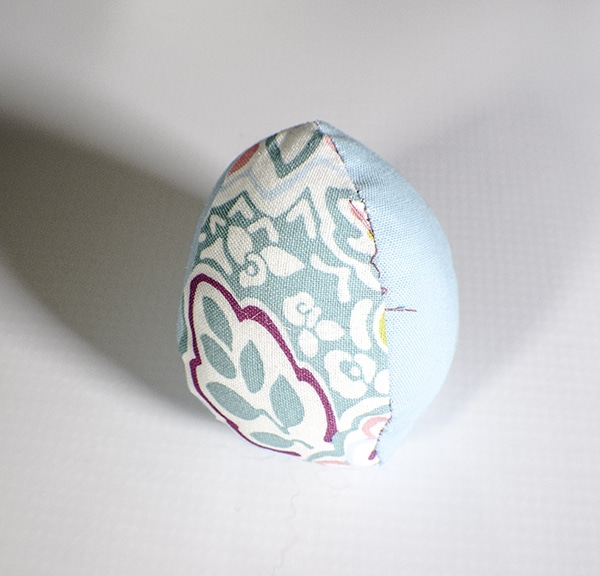
Stitch the opening closed using ladder stitch. If you are unfamiliar stitch check out this video.
I hope you enjoyed this project. If you would like more sewing and crafting projects sign up for our newsletter and receive access to our free printables library.
IF YOU WOULD LIKE VIDEO TUTORIALS SUBSCRIBE TO OUR FREE YOUTUBE CHANNEL HERE.


