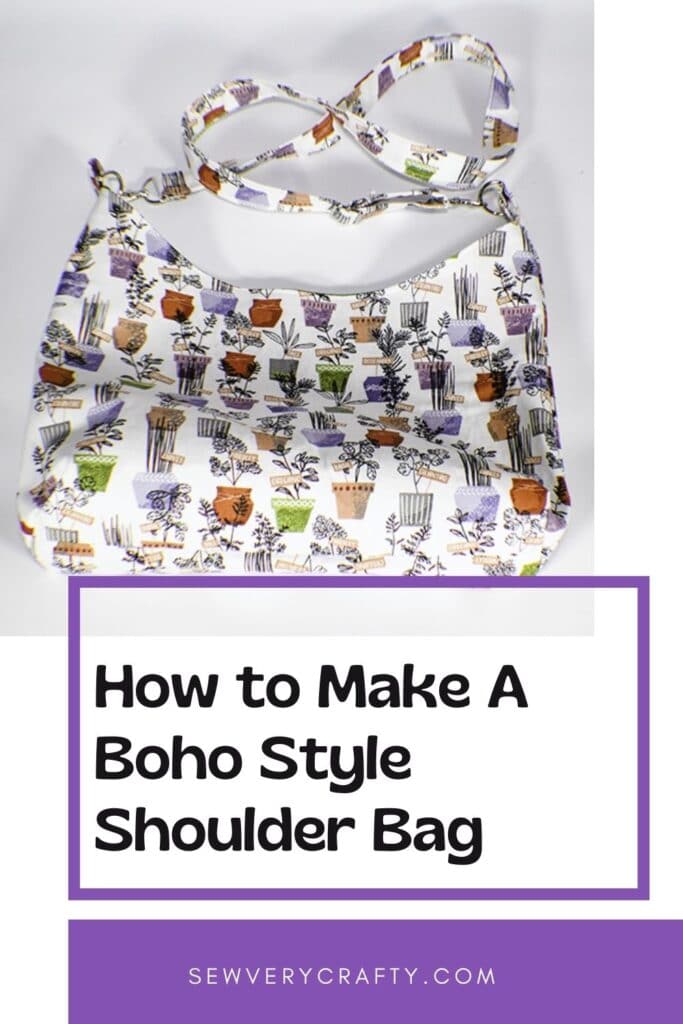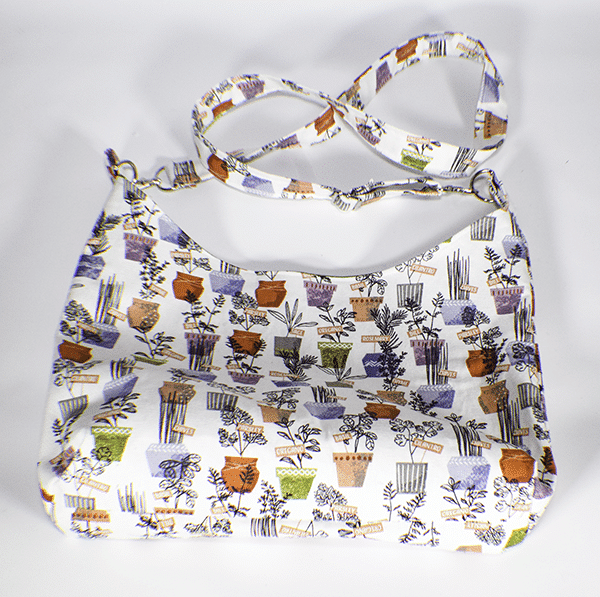
Handbags are my favorite thing to make. This one is no different. This is a really cute and simple beginner handbag making project that anyone with beginner sewing skills can make. This BOHO Style shoulder bag comes with a free sewing pattern to make sewing this bag a breeze. It is a nice sized bag that has a cool Boho vibe. I hope you give this project a try and expand your bag making skills. If you would like other handbag making projects head over to my handbag page full of bag making projects.
I used a home decorator weight fabric for my Boho style shoulder bag but you could use quilting cotton if you like. Kona cotton was used for the lining. You can use any cotton fabric for your lining. I purchased my fabrics at JOANN Fabric & Craft Stores![]() but you could order online at
but you could order online at
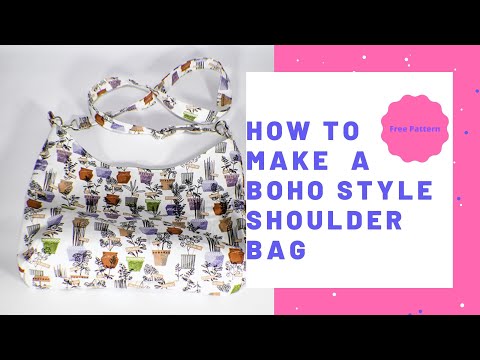
If you would like a video tutorial of this project head over to YouTube and check out my video. While you are there subscribe to my free YouTube channel.
What you will Need: How to Make a DIY Boho Style Shoulder Bag
- Pattern you can get by clicking on this link
- 1/2 yd outer and lining fabric
- 1/2 yd Pellon 808
- 1 magnetic snap
- 1 1″ triglide
- 2 1″ D-Rings
- 2 1″ swivel clips
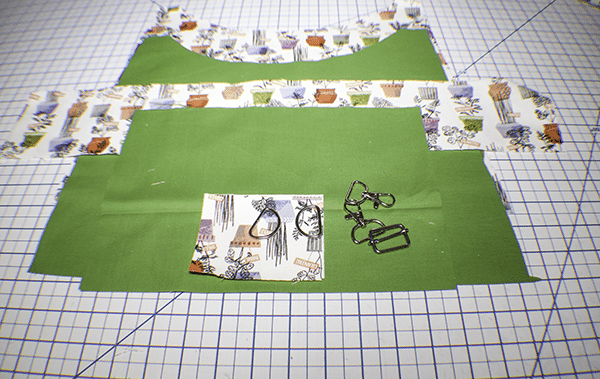
Step 1: Cut out your fabrics
Tape the two pattern pieces together lining up the triangles to create a diamond. Using the pattern piece cut 2 pieces of outer fabric, lining fabric and fleece on the fold. Cut a piece of lining fabric that measures 11 1/2″ x 8 1/4″ for the interior slip pocket. Cut two 4″ x 3″ pieces for the D-Ring tabs. Finally, cut 4″ wide x the width of your fabric for the strap.
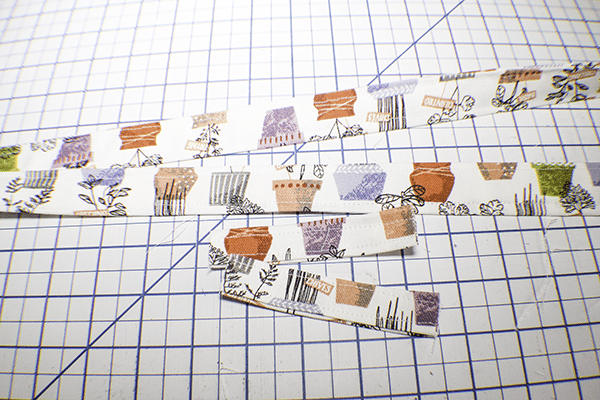
Step 2: Create the Strap
Fold the strap in half lengthwise and press to create a crease in the center. Open up the strap. fold the raw edges to the center crease and press again. Fold in half to enclose the raw edges. Stitch on both long edges. Create the two tab pieces exactly the same way.
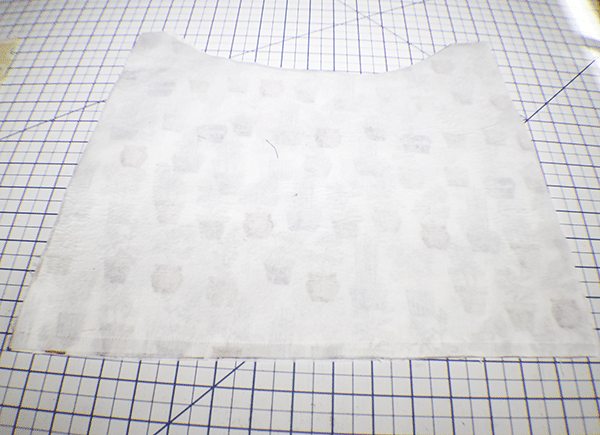
Step 3: Fuse the Interfacing
Fuse the Interfacing to the wrong side of the outer bag fabric following the manufacturer's instructions.

Step 4: Stitch the Outer Bag
Place the outer bag pieces right sides together and stitch along the sides and the bottom using a 1/4″ seam allowance.
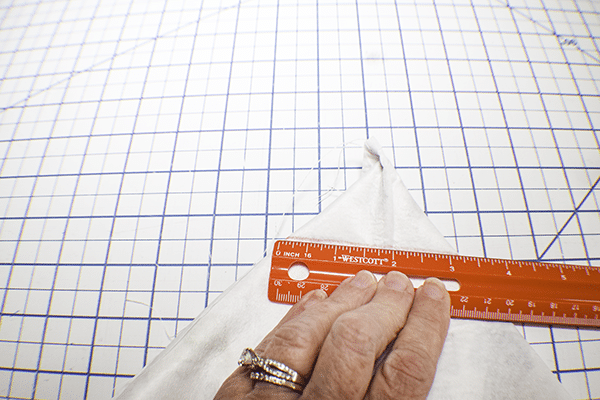
Step 5: Box the Corners
Press the side seam to the bottom to create a triangle. Draw a line at the 3″ mark and stitch. Do this for both sides of the bottom. Trim off the excess from the corners. Turn right sides out.

Step 6: Add the D-Ring Tabs
Place the D-Ring Tabs right sides together with the top side seams of the outer bag and stitch to secure.
Step 7: Create the Slip Pocket
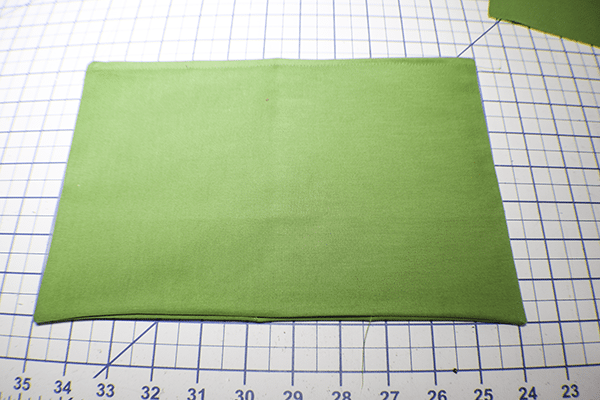
Take the lining piece that measures 11 1/2″ x 8″ and fold it in half right sides together. Stitch around the three sides leaving an opening for turning. Clip the corners. Turn right sides out and press. Top stitch along the fold.
Step 8: Add the Slip Pocket
Find the center of the lining piece. Measure down 2 1\/2″ from the center and place your slip pocket. Stitch around the three sides to secure it to the lining.
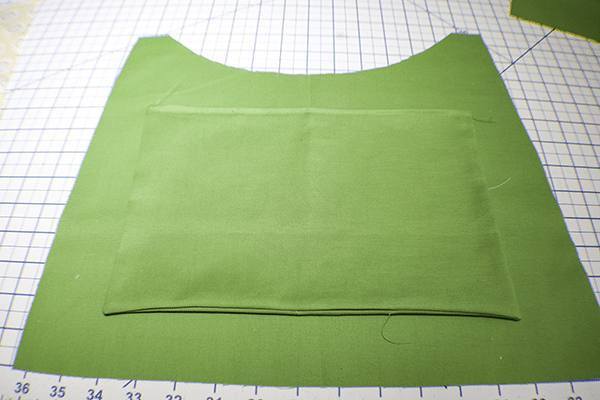
Step 9: Add the Magnetic Snap
Find the Center of the lining. Place a scrap piece of interfacing on the wrong side of the lining about 1″ down from the center on both ends of the bag. Place each half of the magnetic snap 1 1/4″ down from the center following the manufacturer's instructions.

Step 10: Stitch the Lining
Stitch the lining in the same way that you stitched the outer bag but leave an opening in the bottom for turning. Remember to box the corners.
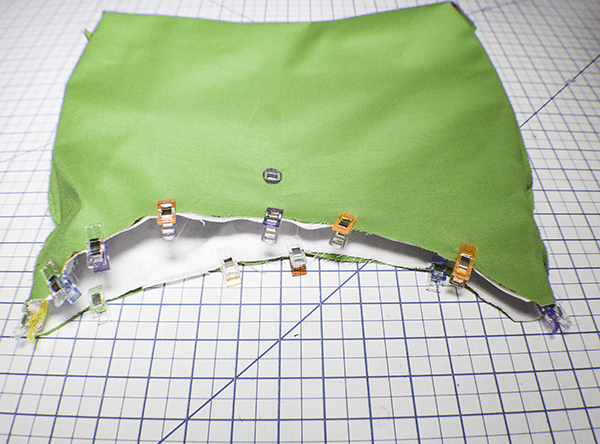
Step 11: Add the Outer Bag to the Lining
Place the outer bag inside the lining bag so that they are right sides together. Match the side seems and the top raw edges. Stitch around the top using a 1/4″ seam allowance.
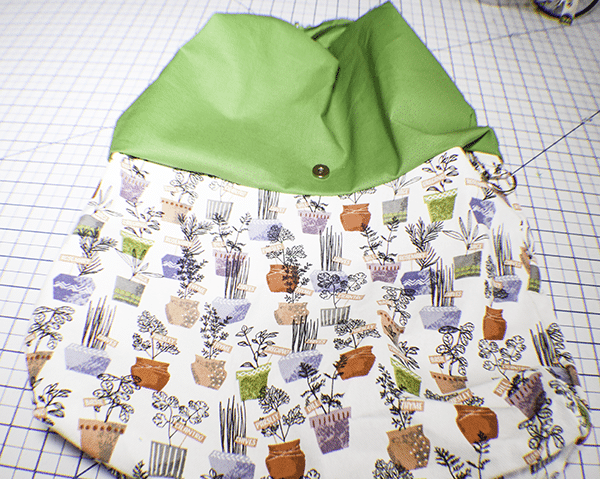
Step 12: Turn the Bag
Turn the bag right sides out through the opening you left in the lining. Stitch the opening closed using ladder stitch or your machine. Push the lining into the outer bag and press. topstitch all the way around the top of the bag to secure the lining.
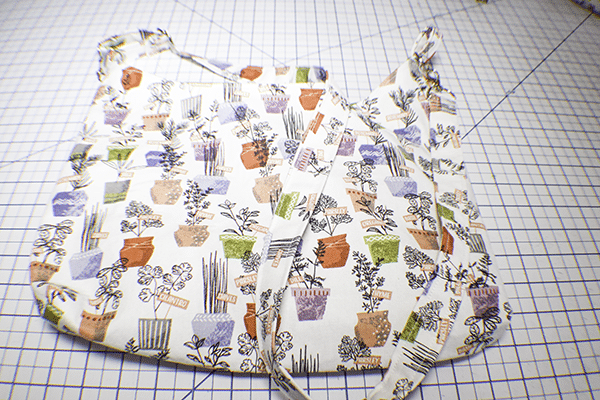
Step 13: Add the Strap
Place the strap into one of the swivel clips and secure by folding the raw edge under and stitching. place the other end into the triglide. Insert the same end into the other swivel clipped back through the triglide. Fold under the raw edge and stitch to the underside. Clip onto the D-Rings and you have finished your Boho style shoulder bag.