
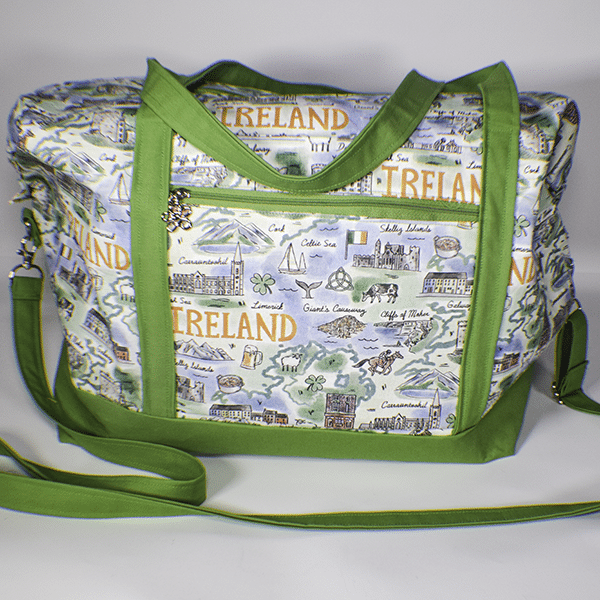
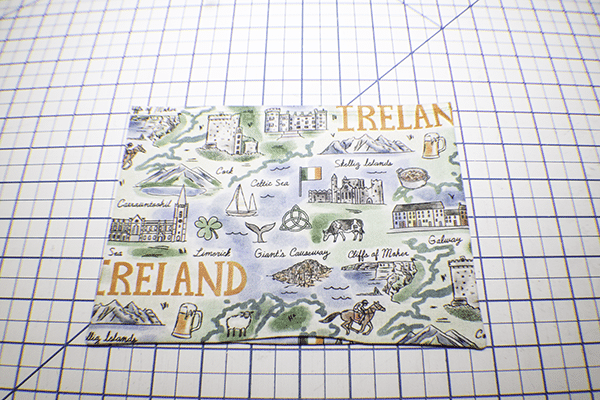
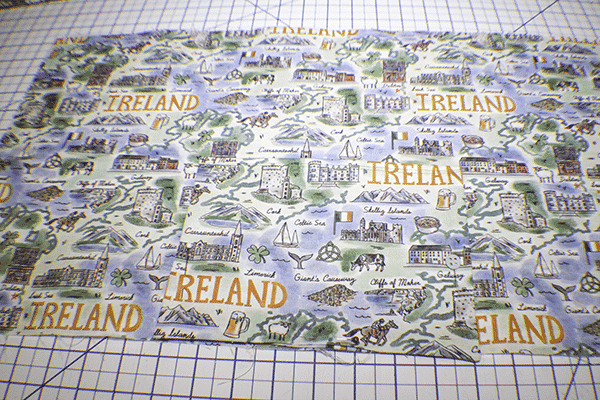
I am gearing up for my yearly trip to Ireland. I still have a while to go but because not is nearing St. Patrick's day all of the Ireland fabrics are on sale. I came across this fun Ireland travel fabric and decided to make this terrific overnight bag or travel tote to take with me. This tote bag is a nice size and perfect for sliding on the handle of your suitcase. It is a pretty simple overnight bag to make though it has a zipper.
This is a great bag making project to really increase your bag making skills. I don't think it is a difficult project but I would put it in the intermediate range but if you are in the strong beginner category I urge you to give this one a try. If you would like other travel bag making patterns check out my travel bag with pockets.
I used standard cotton fabrics for my large travel tote bag that I purchased at JOANN Fabric & Craft Stores. You could head to Fabric.com, or Onlinefabricstore.net to get exactly the fabric you want for your large tote bag. I decided to match my suitcase so I chose red. This post contains affiliate links. If you click on them and make a purchase I may receive a small commission at no extra cost to you. As an Amazon Associate I earn from qualifying purchases.
What you will Need: How to Make a Large Travel Tote Bag
- 1 yd main fabric
- 2 yds lining fabric for lining, accent and straps
- 1 yd Pellon 809 interfacing
- 1/4 yd Pellon SF 101 Interfacing
- 2 Kam Snaps
- 27 1/2″ zipper
- 9 1/2″ zipper
- 2 1″ D Rings
- 2 1″ Swivel Clips
- 1 1″ Triglide
Step 1: Cut Your fabrics
- Outer Fabric cut 2 pieces that measure 23 5/8″ x 13″
- Lining fabric cut 2 pieces that measure 23 5/8″ x 7 7/8″
- front pocket cut 1 that measures 9″ x 13″
- Zipper pocket cut one outer and one lining piece that measures 9 x 16 1/2″
- 2 zipper tabs from the outer fabric that measures 4 3/4″ x 3 1/8″
- 2 tabs from the liningHYHYHYYY*Uyy8h8 fabric that measure 4″ x 3″
- Lining Fabric cut two that measure 23 5/8″ x 20″
- 1 inner pocket that measures 16 1/2″ x 10 1/4″
- 2 Lining pieces that measure 4″ x the width of your fabric for the handles
- 1 lining piece that measures 59″ x 4″ ( you can join two pieces for this. )
- 2 Pellon 809 interfacing pieces that measure 22 7/8″ x 19 1/4″
- 1 Pellon SF 101 interfacing piece that measures 8 1/4″ x 7″.
- 1 Pellon SF 101 interfacing piece that measures 8 1/4″ x 16 “
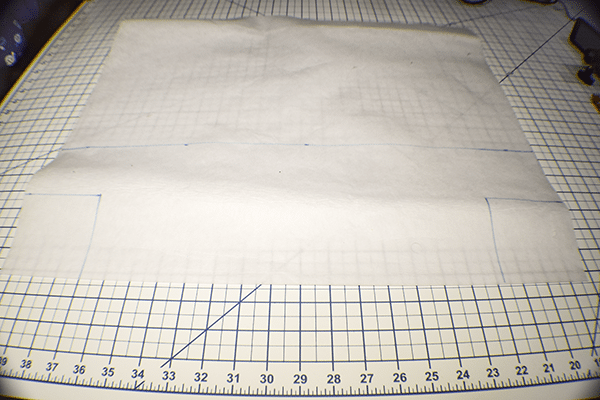
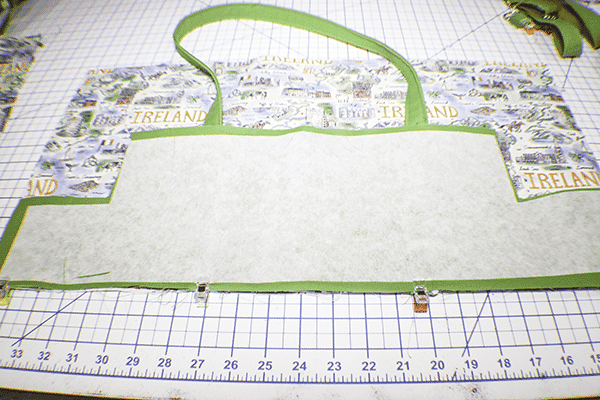
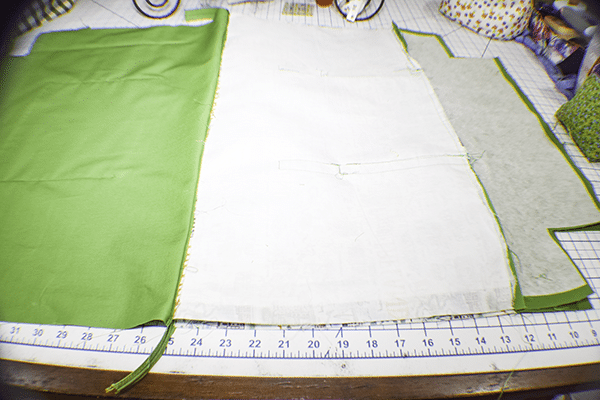
Step 2: Cut and fuse the Pellon 809 Interfacing
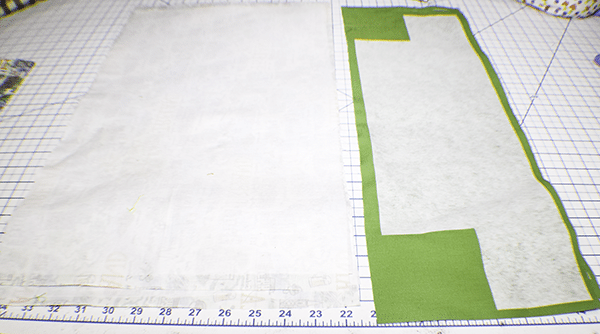
Measure 3 1/2″ squares on the bottom corners of each piece of interfacing and cut them out. Measure up 7″ from the bottom and draw a line. Cut along that line so that you have two large pieces and two smaller pieces of interfacing. Fuse the interfacing to the outer fabric pieces and the contrasting fabric pieces in the center following the manufacturer's instructions. There will be seam allowance around the interfacing. The contrasting piece should be the one with the squares cut out. Cut out the fabric from the squares leaving the seam allowance.
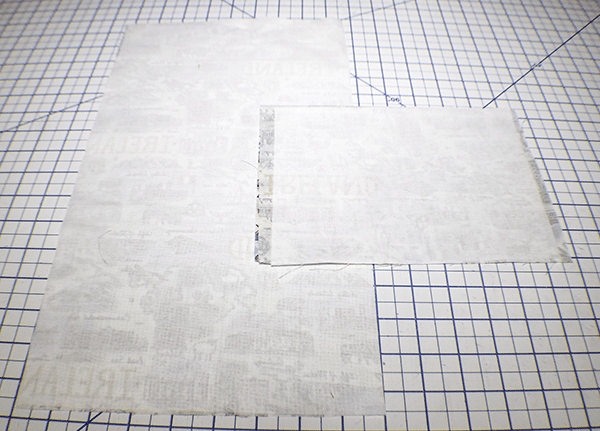
Step 3: Fuse the Pellon SF101 Interfacing
Take the 9″ x 13″ outer pocket piece and fold it in half right sides together. Fuse the 8 1/4″ x 7″ piece of SF 101 to one of the folded sides following the manufacturer's instructions. Take the 9″ x 16 1/2″ outer pocket piece and fuse the SF 101 that measures 8 1/4″ x 16″.
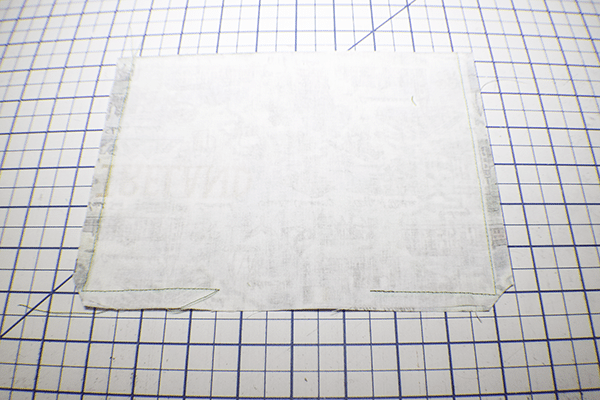
Step 4: Stitch the Outer Slip Pocket
Take the 9″ x 13″ slip pocket piece and fold it in half right sides together. Stitch along the and bottom using a 3/8″ seam allowance and leaving an opening on the bottom for turning. Turn the pocket piece right sides out and topstitch along the fold.
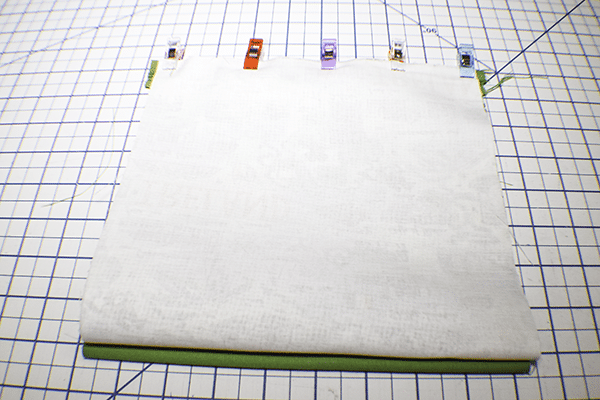
Step 5: Create the Outer Zipper Pocket
Take the outer piece that measures 9″ x 16 1/2″ and place it right sides up on your work station. Place the 9 1/2″ zipper right sides down on the outer piece then lay the corresponding lining piece right sides down on top of the zipper creating a zipper sandwich. Stitch the zipper through all layers. Turn right sides out and topstitch. Fold up the outer fabric to meet the other side of the zipper and fold up the lining piece to create your zipper sandwich. Stitch the zipper through all layers and topstitch. Fold the pocket so that the zipper is 1 1/8″ from the top of the pocket and press. Zigzag stitch along both sides of the pocket

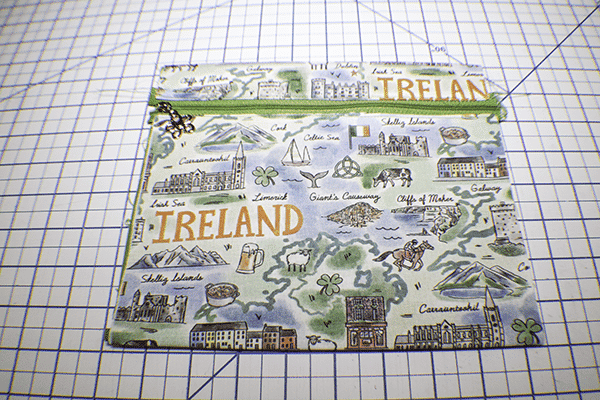
Step 6: Attach the Outer Pockets to the Tote
Find the center of both pocket pieces and mark. Find the center of both larger outer pieces and mark. Place the slip pocket piece on the bottom of one of the main outer pieces so that it is centered and matching the raw edges. Stitch along the sides to secure. Add the szipper pocket piece to the other large outer piece. Measure up from the bottom of the main outer piece 5/8″ and place the bottom of the zipper pocket piece on the 5/8″ line and centered. Stitch along the sides only.
 Add Zipper pocket to outer bag
Step 7: Create the Handles, Strap and D-Ring Tabs
Take the fabrics for the handles and strap. Fold the raw edges to the center and press. Fold in half lengthwise so that the raw edges are enclosed. Press again. Stitch along both long edges. For the D-Ring tabs Repeat the process but make sure that the short raw edges are turned under to enclose the raw edges.
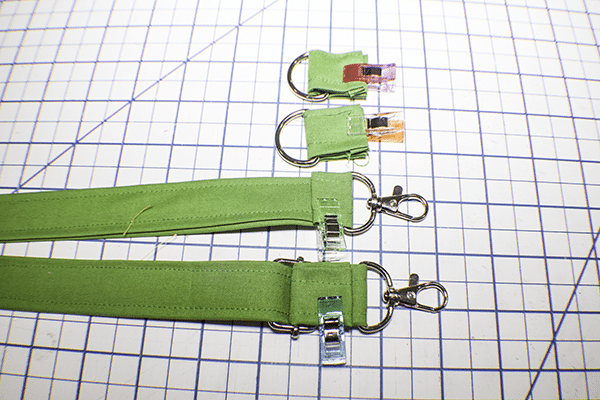
Step 8: Add the Hardware
Place a swivel clip at one end of the strap and fold under the raw edges and stitch. Add the triglide to the other end of the strap then add the second swivel clip. feed the raw edge back through the triglide and fold under the edge and stitch so that the strap becomes adjustable. Place the D-Ring tabs around the D-Rings and clip. Set aside.
Step 9: Attach the Handles to the Tote
Place the handles along the centers of the edges of the pocket pieces on both sides so that the raw edges are on the bottom. Stitch along both sides of the handles 9″ from the bottom and across the top.
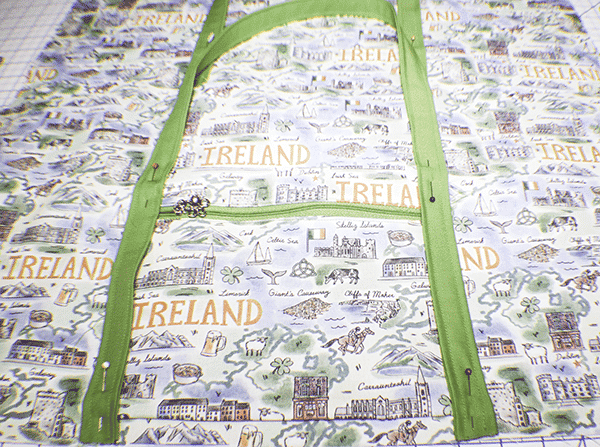
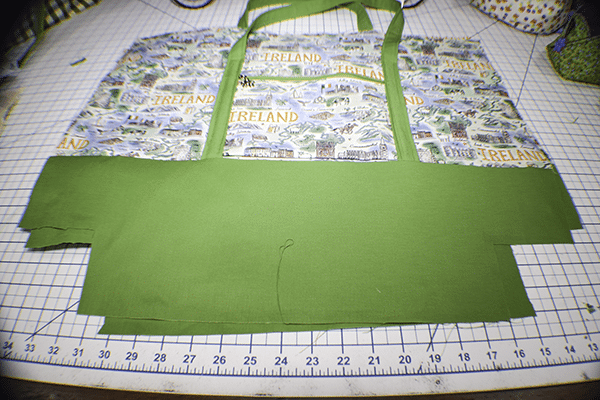
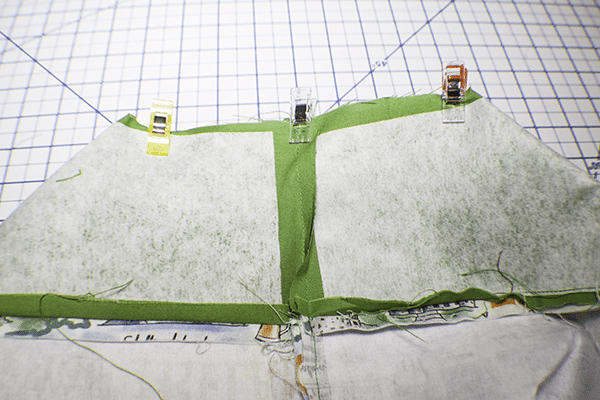
Step 10: Add the Contrasting Fabric to the Overnight bag
Place the Contrasting fabric right sides together with the bottom of the larger outer fabric and stitch along the long straight edge using a 3/8″ seam allowance. Topstitch along the seam on the contrasting fabric side.
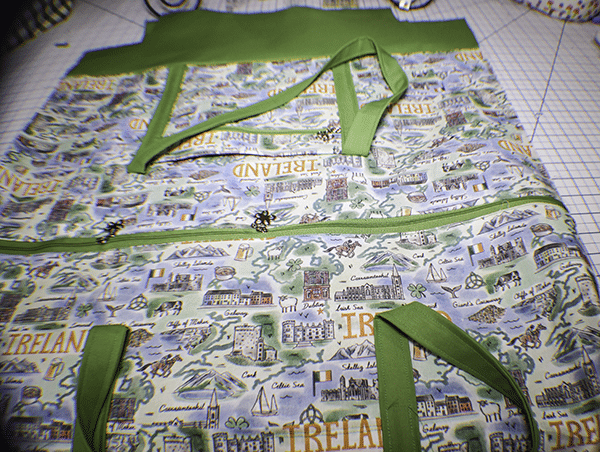
 Finished Outer Panels
 Finished Outer Panels
Step 11: Create the Lining
Take the two lining pieces and cut out 3 1/2″ squares from the bottom corners as you did on the contrasting fabric. Fold the inner pocket piece in half right sides together. Stitch along the sides and bottom using a 3/8″ seam allowance but leaving an opening in one of the sides for turning. Clip the corners. Turn the pocket right sides out and press. Top stitch along the side to enclose the opening. Find the Center of one of the lining pieces. Place the pocket piece in the center of the lining piece and stitch along the sides and bottom.
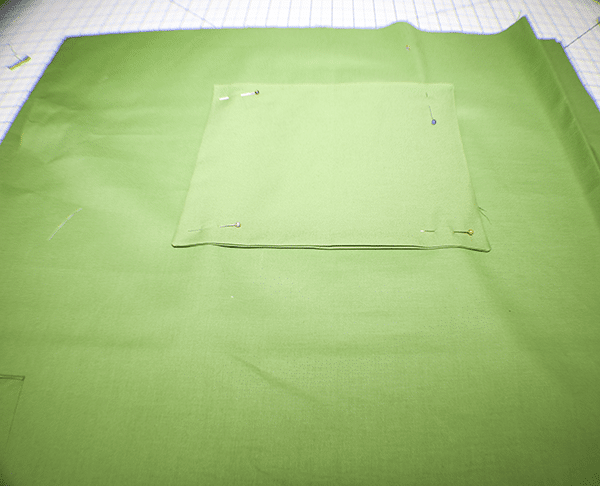 Add the Lining Pocket
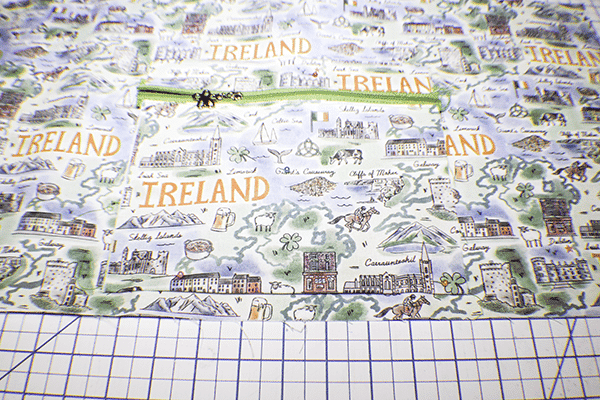
Place the outer bag right sides up on your work surface. Place the zipper wrong side down onto the outer piece so that it is centered. Lay one of the lining pieces wrong sides down on top of the zipper creating a zipper sandwich. Using your zipper foot stitch the zipper in place through all layers. Repeat for the other side of the zipper using the remaining outer piece and lining piece. Topstitch along both sides of the zipper.
 Add the Main Zipper
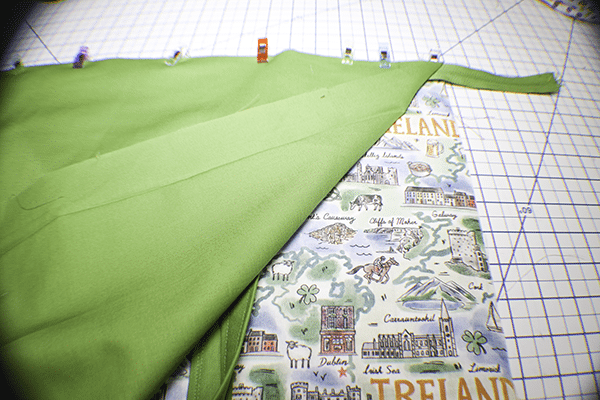
Step 13: Stitch the Overnight Bag
Open the bag so that the outer bag pieces are right sides together and the lining pieces are right sides together with the zipper in the center. Open the zipper half way. Stitch along the sides and the bottoms but leave an opening in the bottom of th lining for turning. Use a 3/8″ seam allowance.
Step 14: Box the Corners
To box the corners pinch the side seam of the corner to the bottom seam closing the hole. This creates a line. Stitch along the line using a 3/8″ seam allowance. Do this for all four corners. Turn the bag right sides out stitch the opening closed in the lining. Stuff the lining into the bag.
Turn the Bag Right Sides Out
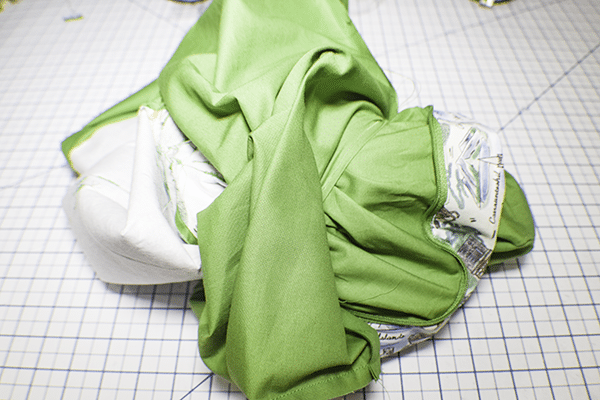 Turn the Bag Right Sides Out
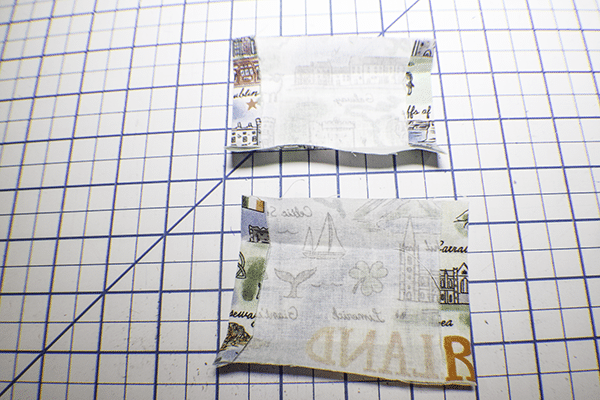
Step 15: Create the Zipper Taps
These are not typical zipper tabs as the zipper has already been sewn into the bag. They are going to be placed at the ends of the zippers any way. Take the zipper tab pieces and fold the long edges to the center and press. Fold the short edges in by 3/8″ and press. Fold in half. Place the short edges on the ends of the zipper and clip. Stitch all the way around the tab securing it to the zipper ends.

Step 16: Add the Kam Snaps to the overnight Bag
Attach half the Kam Snap to each of the zipper Tabs. If you are unfamiliar with how to attach Kam snaps check out my video. Measure down 7″ on each side seam of the outer bag and place the other half of the Kam Snaps.
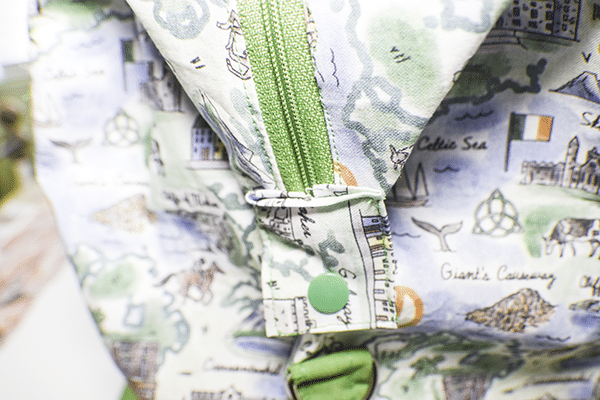

Step 17: Attach the D-Ring Tabs
Measure down 1″ from the cam Snaps and place the D-Ring Tab. Stitch the tab to the outer bag by stitching a box around the tab with an X in the center. This will hold the strap and needs to be sturdy. Attach the strap and you have completed your overnight bag.

I hope you enjoyed this travel tote project. If you would like more sewing and crafting projects subscribe to our newsletter and receive your free eBook of 15 handmade patterns and tutorials taken from the blog.
If you would like video tutorial of some of Sew Very Crafty's most popular posts subscribe to our free YouTube Channel here.


Cutting instruction number 3 cut from main or lining?
I cut mine from the main.
Also what are the measurements for cutting contrasting fabric? Trying to tackle this project again today and cannot see that instruction . Thx
To create the contrast fabric you need to follow the following instructions. You will have two pieces of interfacing. The larger piece is for the body of the bag the bottom piece with the corners cut out are the contrast fabric. I hope this helps.
Measure 3 1/2″ squares on the bottom corners of each piece of interfacing and cut them out. Measure up 7″ from the bottom and draw a line. Cut along that line so that you have two large pieces and two smaller pieces of interfacing. Fuse the interfacing to the outer fabric pieces and the contrasting fabric pieces in the center following the manufacturer’s instructions. There will be seam allowance around the interfacing. The contrasting piece should be the one with the squares cut out. Cut out the fabric from the squares leaving the seam allowance. You will use the 2 Pellon 809 pieces that measure 22 7/8″ x 19 1/4″ to create the pattern.
Also can’t see cutting instructions for contrast fabric?
To create the contrast fabric you need to follow the following instructions. You will have two pieces of interfacing. The larger piece is for the body of the bag the bottom piece with the corners cut out are the contrast fabric. I hope this helps.
Measure 3 1/2″ squares on the bottom corners of each piece of interfacing and cut them out. Measure up 7″ from the bottom and draw a line. Cut along that line so that you have two large pieces and two smaller pieces of interfacing. Fuse the interfacing to the outer fabric pieces and the contrasting fabric pieces in the center following the manufacturer’s instructions. There will be seam allowance around the interfacing. The contrasting piece should be the one with the squares cut out. Cut out the fabric from the squares leaving the seam allowance.You will use the 2 Pellon 809 pieces that measure 22 7/8″ x 19 1/4″ to create the pattern.
Also can’t see any measurements for cutting contrast fabric?
To create the contrast fabric you need to follow the following instructions. You will have two pieces of interfacing. The larger piece is for the body of the bag the bottom piece with the corners cut out are the contrast fabric. I hope this helps.
Measure 3 1/2″ squares on the bottom corners of each piece of interfacing and cut them out. Measure up 7″ from the bottom and draw a line. Cut along that line so that you have two large pieces and two smaller pieces of interfacing. Fuse the interfacing to the outer fabric pieces and the contrasting fabric pieces in the center following the manufacturer’s instructions. There will be seam allowance around the interfacing. The contrasting piece should be the one with the squares cut out. Cut out the fabric from the squares leaving the seam allowance.You will use the 2 Pellon 809 pieces that measure 22 7/8″ x 19 1/4″ to create the pattern.