
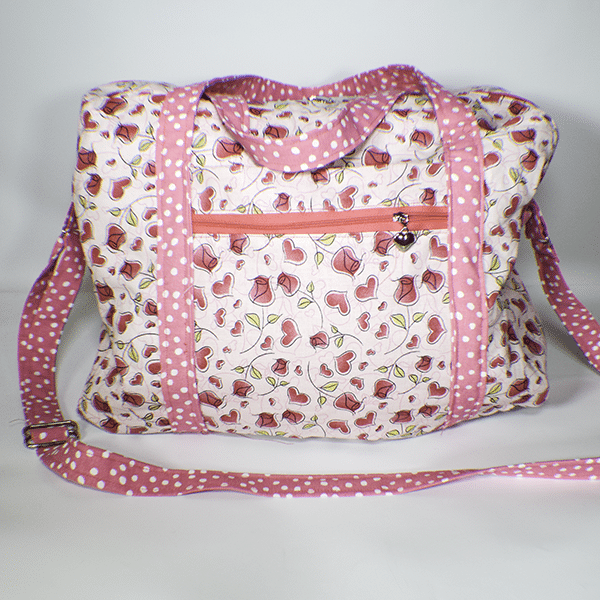
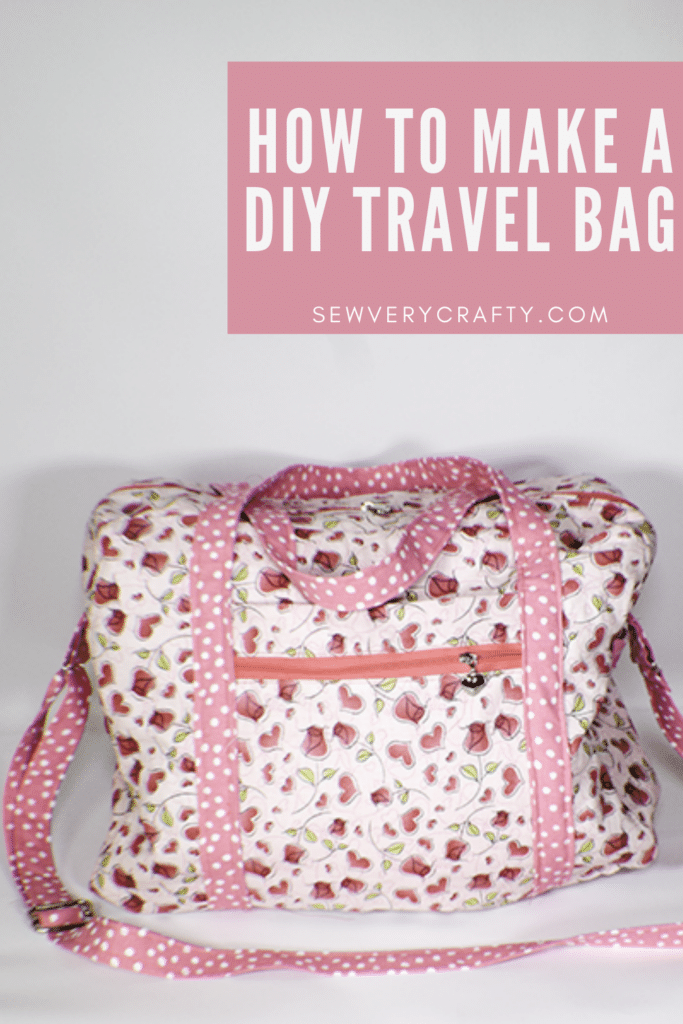
For those of you who follow Sew Very Crafty you know that I love to make bags. This is a terrific travel bag with pockets that is perfect for overnight or any trip. It is an intermediate sewing project that is both fun and functional. Choose a fun fabric to make this sewing project truly your own. I really enjoyed making this travel bag with pockets and fully intend to use it. I hope you will give it a try too. If you would like to see some other travel bags my simple travel bag or my large travel tote.
The fabrics used for this project were purchased from JOANN Fabric & Craft Stores![]() but you could head to
but you could head to
What you will Need: How to Make a Travel Bag with Pockets
- Pattern you can get by clicking on this link
- 2 yds outer Fabric and Lining Fabric
- 1 yd fusible fleece like Pellon 987F
- 1/2 yd accent fabric
- 23″ zipper
- 9″ zipper
- 2 x 1″ D ring
- 1 x 1″ triglide
- 1 magnetic snap
Step 1: Create the Travel Bag Pattern
Print out the pattern pieces and tape them together. You should have three pattern pieces for this project. Take the “B” piece and cut it in half lengthwise keeping in mind that both pieces will be cut on the fold.
Step 2: Cut out your Fabrics
Outer fabrics
- 2 pieces — 17 3/8″ x 13 3 /8″
- 1 piece — 3 5/8″ x 7″
- 2 pieces — 3 1/2″ x 22″
- 2 pieces — 7″ x 8 5/8″
- 1 piece — 18 1/8 x 8 5/8″
- 2 pieces — 7″ x 8 5/8″
- 2 Pieces — 3 1/2″ x 8 5/8″
- 1 Piece — 34 7/8″ x 7 1/8″
- 2 Pieces — 7 7/8″ x 8 5/8″
Lining fabrics
- 2 pieces — 17 3/8″ x 13 3 /8″
- 1 piece — 3 5/8″ x 7″
- 2 pieces — 3 1/2″ x 22″
- 2 pieces — 7″ x 8 5/8″
- 1 piece — 18 1/8 x 8 5/8″
- 2 pieces — 7″ x 8 5/8″
- 2 Pieces — 3 1/2″ x 8 5/8″
- 1 Piece — 34 7/8″ x 7 1/8″
- 2 Pieces — 7 7/8″ x 8 5/8″
- 1 piece — 18 1/8″ x 11 3/4″
Accent Fabrics
- 2 pieces — 7″ x 3 1/8″
- 2 pieces — 4 3/8″ x 4″
- 1 piece — 59″ x 4″
- 2 pieces — WOF x 4″
Fusible Fleece
- 2 pieces — 17 3/8″ x 13 3 /8″
- 1 piece — 3 5/8″ x 7″
- 2 pieces — 3 1/2″ x 22″
- 1 Pieces — 3 1/2″ x 8 5/8″
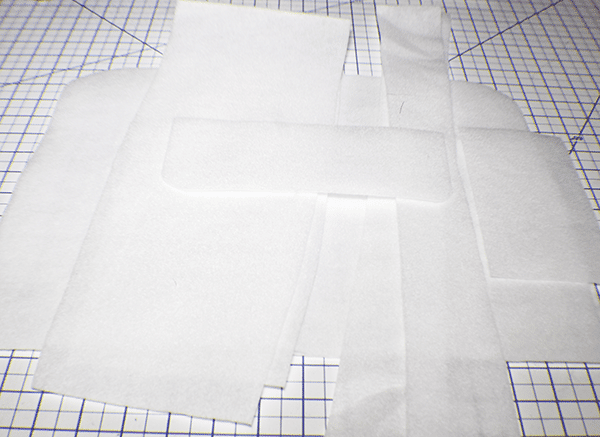
Step 3: Cut the Travel Bag Pattern Pieces
From the appropriate fleece piece cut out the pattern pieces you printed and taped. Make sure to cut them on the fold.
Step 4: Fuse the Fleece
Fuse the fleece to the corresponding outer fabric pieces. Trim the outer pieces to match the fleece pieces leaving a 3/8″ seam allowance.
Step 5: Create the Straps
Take the 59″ x 4 3/8″ accent fabric and fold it in half lengthwise and press used two pieces of fabric to race the 59″ length. Open up and fold the raw edges to the center fold and press. Fold in half again to enclose the raw edges. Repeat for the other accent fabrics. Topstitch the shorter straps on both sides starting and finishing 11″ from each end. Topstitch along the long sides of the rest of the accent fabrics. For the shortest pieces, fold the fabric over the D-Rings and stitch to secure.

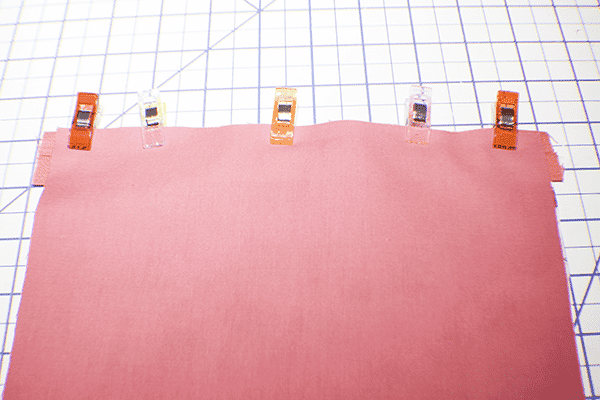
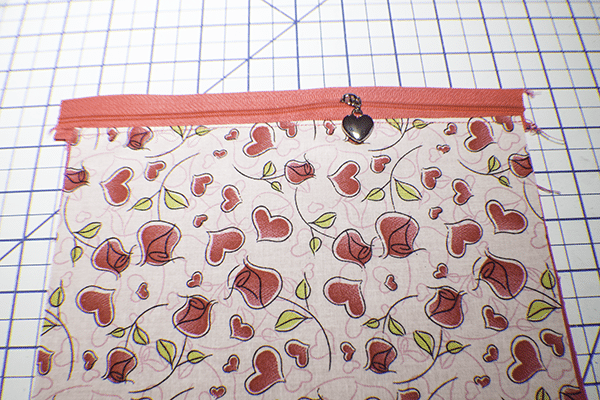
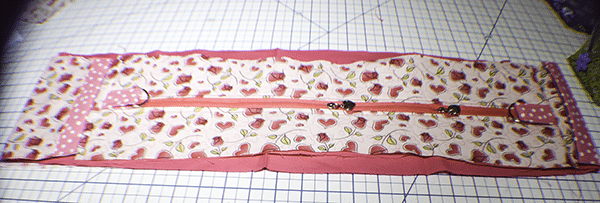
Step 6: Create the Outer Zipper Pocket
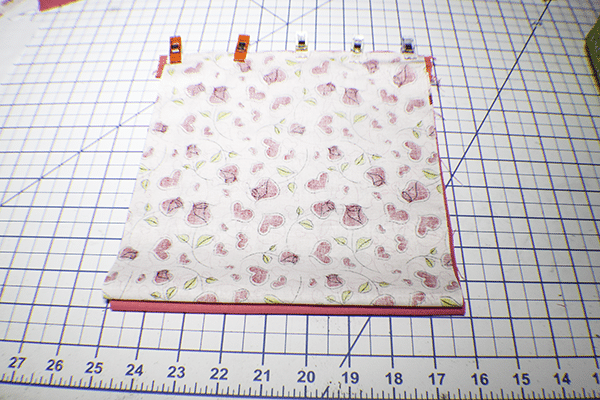
Take the outer piece that measures 8 5/8″ x 18 1/8″ and place it right sides up on your work station. Place the 9″ zipper right sides down on the outer piece then lay the corresponding lining piece right sides down on top of the zipper creating a zipper sandwich. Stitch the zipper through all layers. Turn right sides out and topstitch. Fold up the outer fabric to meet the other side of the zipper and fold up the lining piece to create your zipper sandwich. Stitch the zipper through all layers and topstitch. Fold the pocket so that the zipper is 1 1/8″ from the top of the pocket and press. Zigzag stitch along both sides of the pocket

Step 7: Create the Flap Pocket
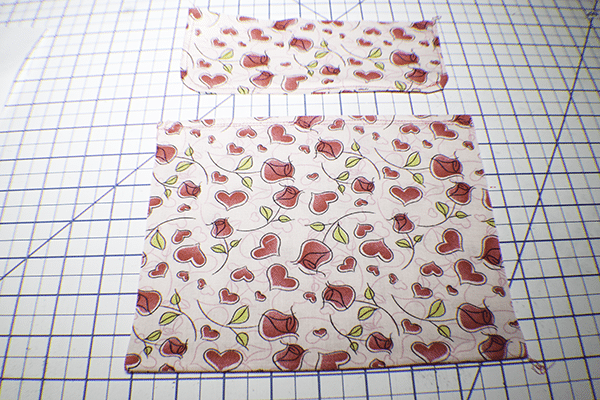
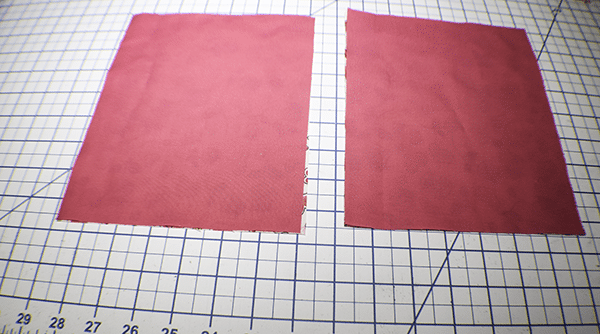
Take the two outer pieces that measure 7 7/8″ x 8 5/8″ and the outer pieces “D”. Place the 7 7/8″ x 8 5/8″ pieces right sides together and stitch along the two long sides using a 3/8″ seam allowance Turn right sides out and press. Topstitch along one of the seams. Take the outer piece “D” and stitch around the sides and bottom using a 3/8″ seam allowance. Turn right sides out and press. Topstitch.
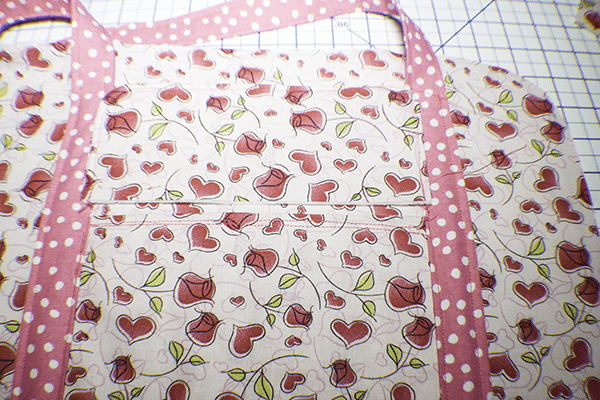
Step 8: Add the Flap Pockets
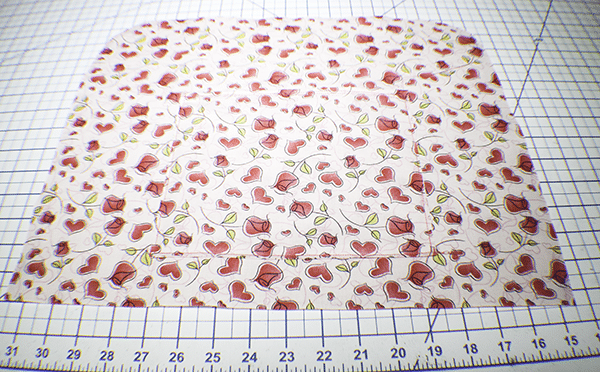
Take the main outer piece “A” and find the center of the bottom. Measure up 1 1/2″ from the bottom and place zipper pocket you created in the center. Stitch along the sides leaving the bottom open. Take the other main side and repeat the process by placing the other pocket piece. Stitch on both sides and the bottom.
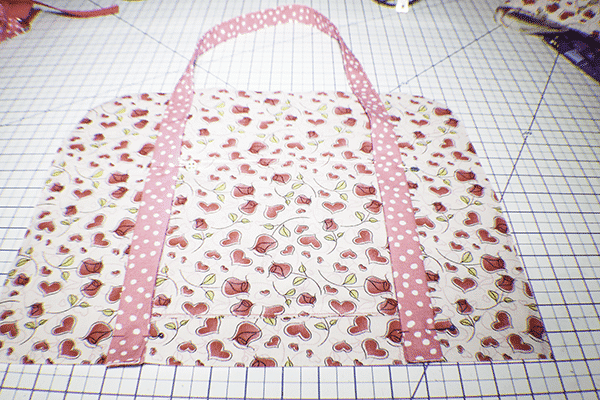
Step 9: Add Handles
Take the handle pieces and place them along the sides of the pockets. Stitch along both sides and across the top at the 11″ mark.
Step 10: Add the Flap
Place the flap piece Right sides together just above the pocket piece and stitch. Fold the flap down and topdstitch to enclose the raw edge underneath.
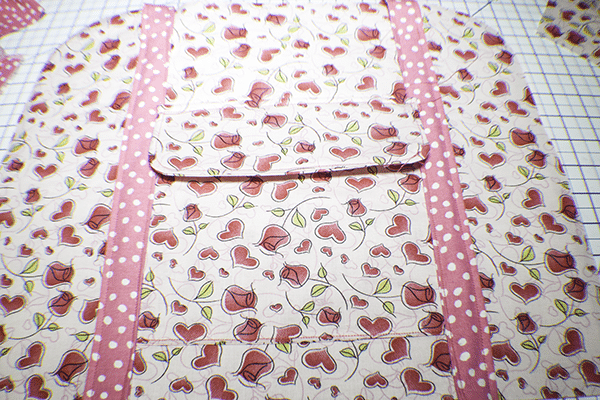
Step 11: Add the Kam Snaps
Find the center of the flap toward the bottom and place half of the Kam Snap. place the other half of the Kam Snap in the center of the pocket measuring so that the flap snaps into the pocket. If you would like to know how to install Kam Snaps check out the below video.

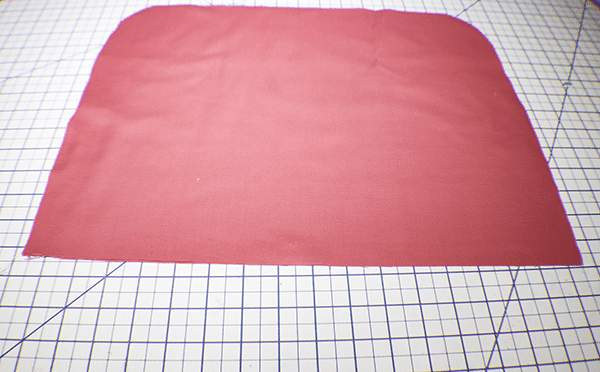
Step 12: Create the Lining
Take the main outer piece and use as a pattern for the lining. Cut the lining.
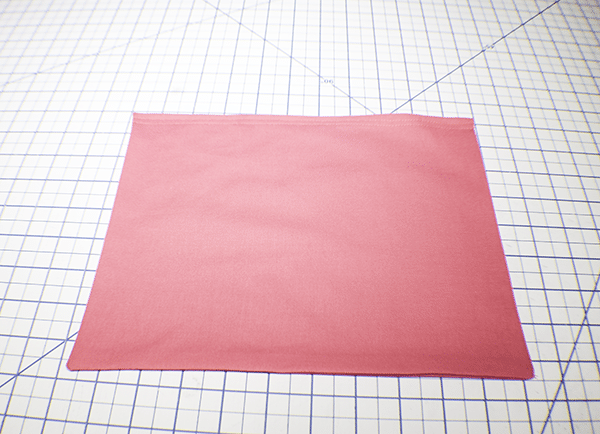
Step 13: Stitch the Lining Pocket
Take the 18 1/8″ x 11 3/4″ and fold it in half right sides together. Stitch along the sides and bottom leaving an opening in the bottom for turning. Turn right sides out and press. Topstitch along the fold.
Step 13: Add the Lining Pocket
Find the center the lining piece. Measure up 1 1/8″ from the bottom and place the pocket piece in the center. Stitch along the sides and bottom.

Step 14: Create the Side Pockets
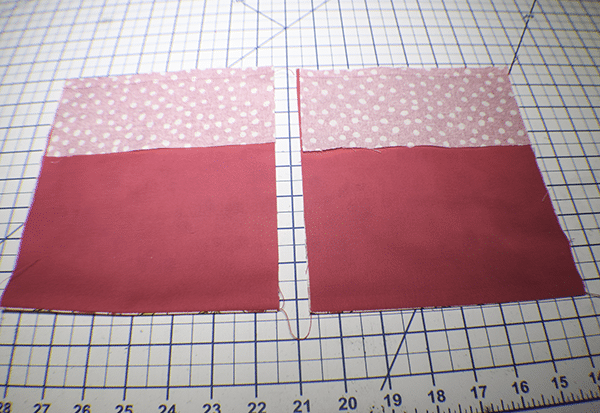
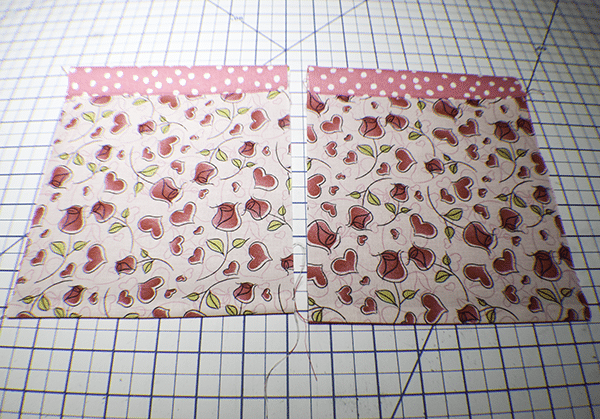
Take the 7″ x 8 5/8″ outer and lining pieces along with the accent pieces that measure 7″ x 3 1/8″. Place the outer and lining pieces right sides together and stitch on one short end each. Turn right sides out and press. Place the seam on the bottom. Lay the accent pieces on the top of each pair of fabric pieces on the lining side. Stitch to through all layers. Fold the accent piece twice to the right side of the pocket pieces and stitch.
Step 15: Add the Side Pockets
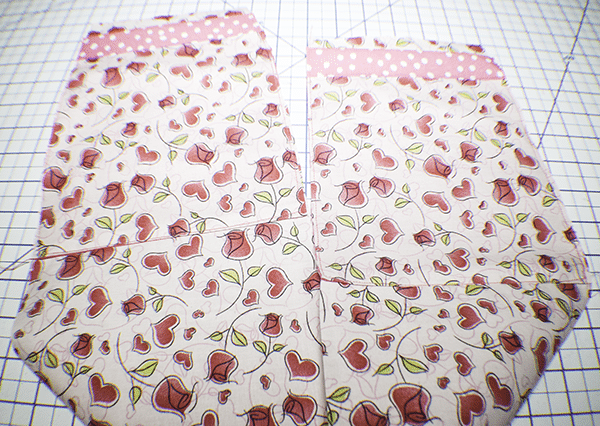
Take the Pattern piece “C” and find the center. Measure up 8 1/4″ from the center mark on both sides and place the pocket pieces so that the accent fabric faces toward the top on both sides. Trim the pocket pieces to match the pattern piece. Stitch the pockets along the sides and bottom.
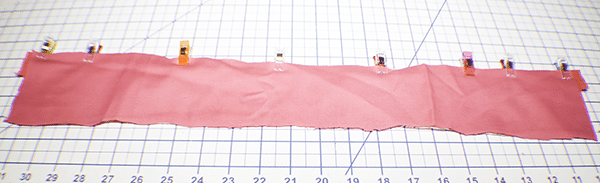
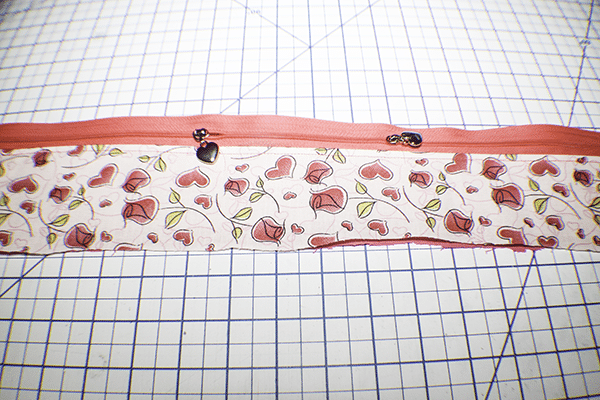
Step 16: Create the Zipper Placket
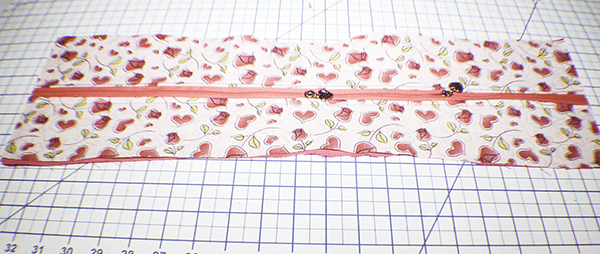
Take the pattern pieces “B” outer and place them on your work surface. Take the lining pieces that measure 31/2″ x 22″ and use the corresponding outer pattern pieces as a pattern and cut the lining pieces to match. Place one of the outer pieces face up on your work surface. Place the zipper right sides down on the outer piece and the lining piece on top of the zipper. Stitch the zipper through all layers. Repeat for the other side. Topstitch on both sides of the zipper.
Step 17: Add the D-Rings
Place the D-Ring tabs at each end of the zipper placket at the ends of the zipper. Stitch.

Step 18: Add Pattern Piece C
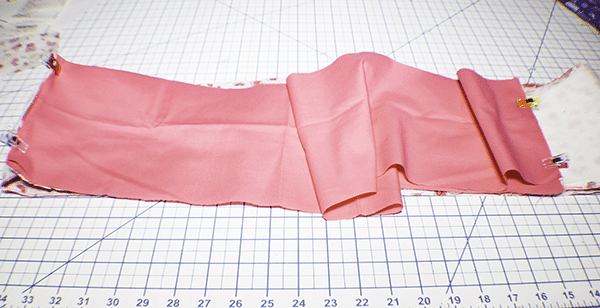
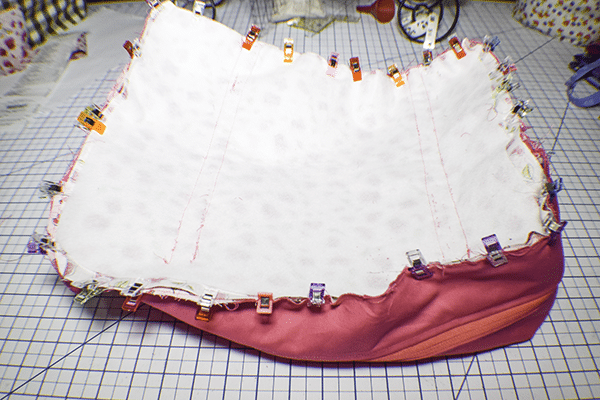
Place outer pattern piece “C” right sides together with the corresponding lining piece and trim off the excess lining fabric so that the lining fabric and outer piece match. Place the zipper placket right sides together with the outer piece “C” and clip. Lay the lining piece right sides together with the other side of the placket so that the zipper placket is sandwiched between the outer and lining gusset and clip using the same clips. Stitch both short ends using a 3/8″ seam allowance. Topstitch along the seams. Stitch layers together on the top and bottom to secure using a zigzag stitch. This creates the gusset.

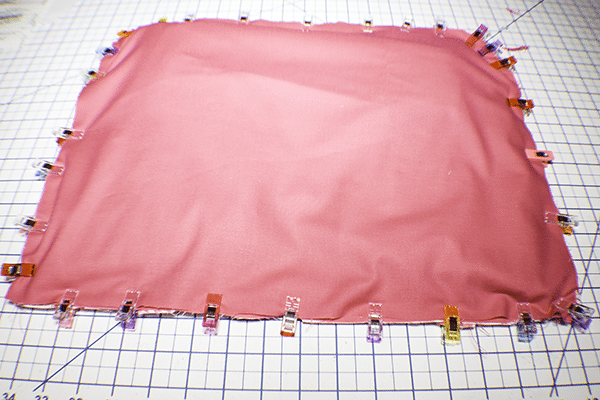
Step 19: Add the Outer Bag Piece
Fold the gusset in half and find the center. Mark the centers on both sides on top and bottom. Fold in half the other way matching the previous marks and mark again. Take one of the outer pieces and mark the centers in the same way you did the gusset. Place the outer main piece right sides together with the gusset matching the center marks. Make sure the top is on the zipper side of the gusset. Clip so that the main outer piece is wrapped by the gusset.
Fold in the gusset and place a lining piece on top right sides together. Start stitching 5″ from the side of the bottom of the bag but exclude the top lining piece. Stitch until you get to 5″ from the other side then start to stitch all layers of the bag using a 3/8″ seam allowance, Clip the curves and turn right sides out.
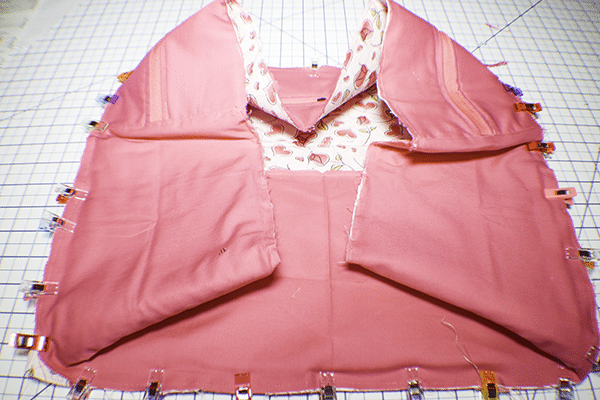
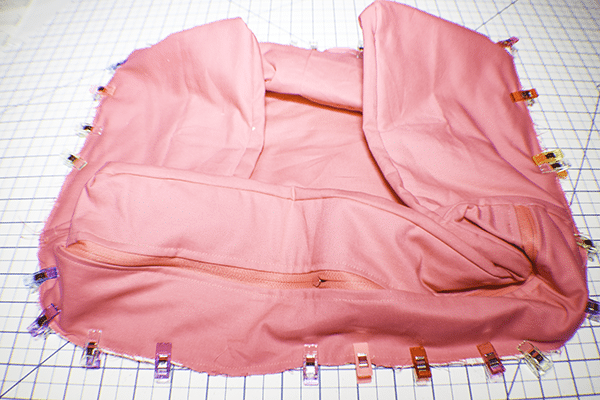
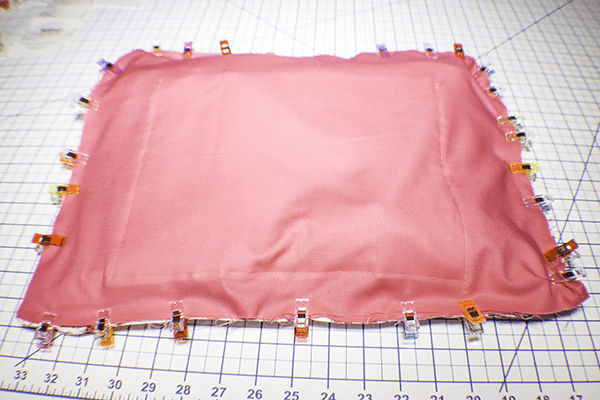
Step 20: Add the Other Outer Bag Piece
Place the other bag piece right sides together with the gusset matching the marks you previously made. Turn the whole piece so that the lining is facing up. Fold the sides of the bag to the center and place the final lining piece on top. Clip all the way around. Stitch all the way around the bag leaving an opening in the bottom. Clip the curves and turn right sides out. Stitch the opening closed using ladder stitch.
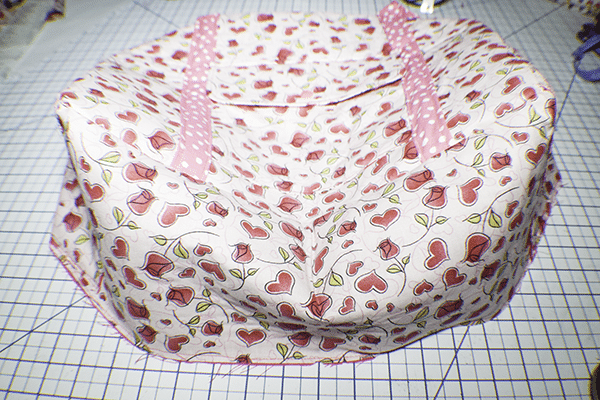
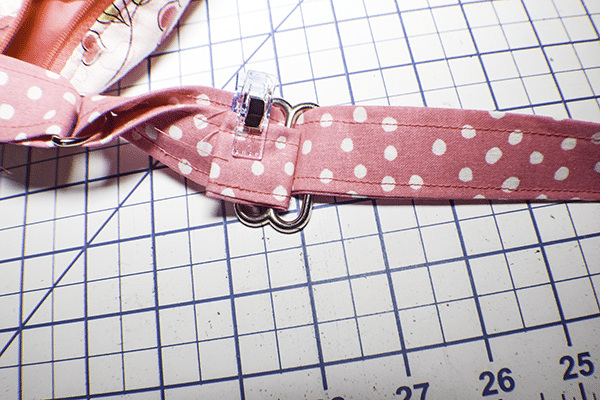
Step 21: Add the Shoulder Strap
Place one end of the long accent piece that you stitched around a D-Ring tab. Stitch to secure. Place the other end of the bag strap through the Tri-glide then through the opposite D-ring and back through the Tri-glide Stitch to secure. Your travel bag with handles is now complete. Fill it up and travel to far off places or just stay overnight. It is perfect.
I hope that you enjoyed this travel bag with pockets. If you would like more sewing and crafting projects subscribe to our newsletter and receive your free eBook of 15 handbag patterns and tutorials taken from the blog.
If you would like video tutorials of some of Sew Very Crafty's most popular posts subscribe to our free YouTube channel here.


Hello! When cutting out the pieces I noticed that the size 7″ by 8 5/8″ was repeated. Do you need 2 or 4 of those sizes? Also for the pattern printed pieces are those just for the fusible fleece or do we cut those in the outer and lining fabrics as well? Thanks! Such a cute bag.
I believe that here are just two but it has been a while since I have made this project.
What is the size of the completed bag?
I don’t really recall but I think it is 17″ x 13″ x 8″. If I find it I will give you more accurate measurements.
How do you tape the printed pages together? Do you match the “v’s” on top of each other or place the pages bottom to top, lining the v’s up?
Bottom to bottom for this one.