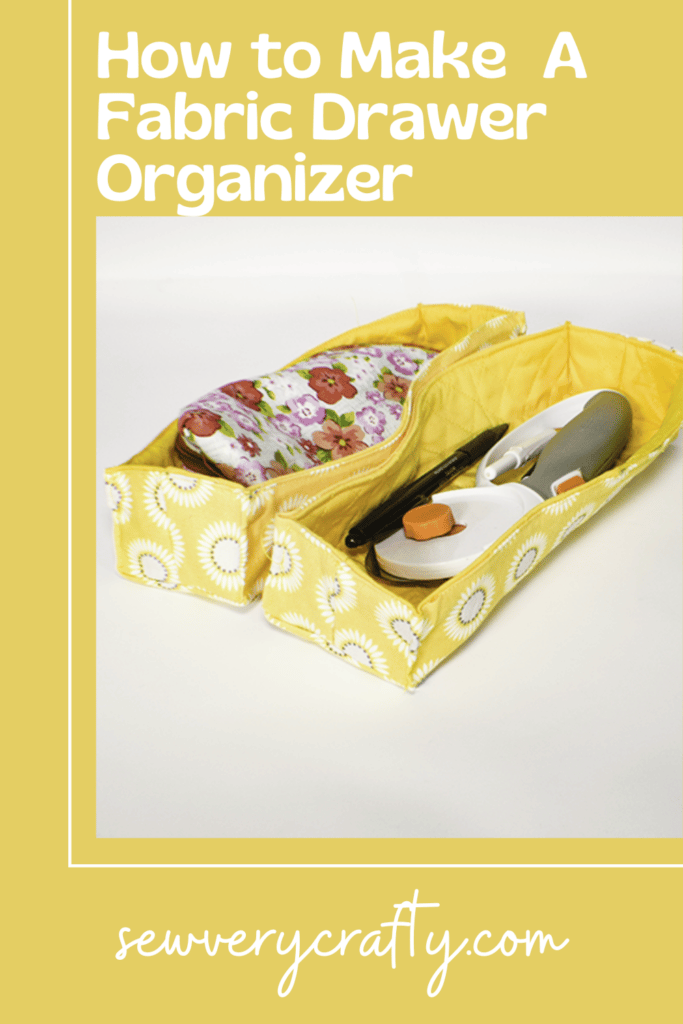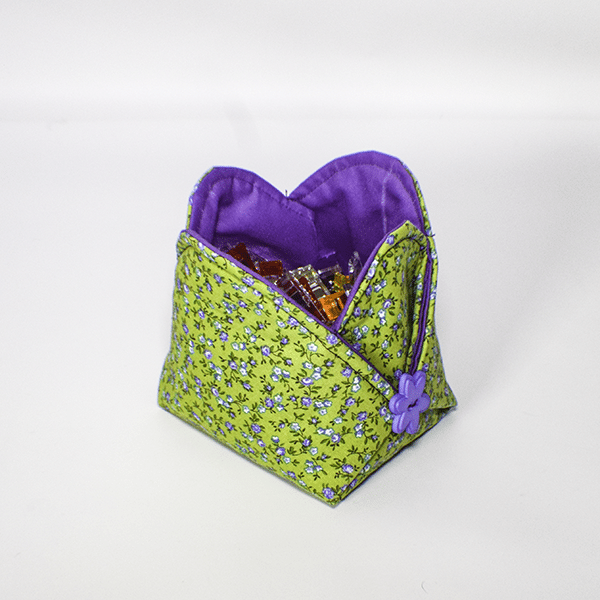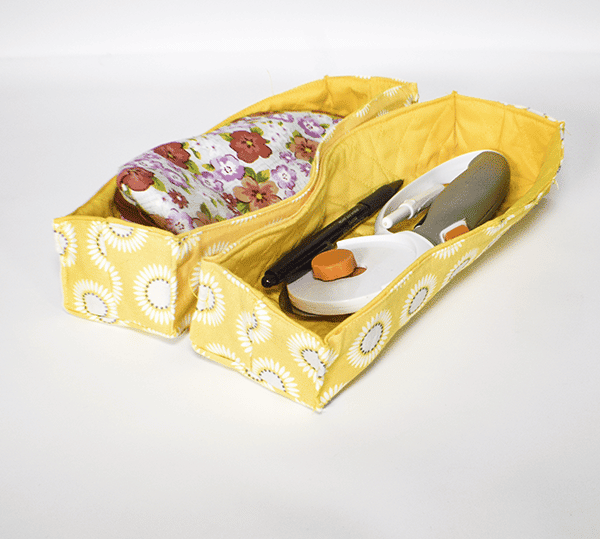
I love to organize things, especially my drawers. I came across this great pattern and tutorial at Pink Penguin on how to make a fabric drawer organizer and had to share it with you. This is a super simple organizer project with a little quilting that will go a long way to keeping all of your small things in line. I have other tutorials on how to make fabric baskets that are just as easy if you want to try those out but these are great for using in drawers.
I used plain cotton fabrics from my stockpile and some quilt batting to create these fabric drawer organizers. My fabrics were purchased from JOANN Fabric & Craft Stores![]() and others from
and others from
If you would like a video tutorial of this project head over to YouTube and check out my video. While you are there subscribe to my free YouTube channel.

What you will Need: How to Make a Fabric Drawer Organizer
- 1/4 yd outer and lining fabric
- 1/4 yd quilt batting and Pellon SF101 (Optional)
- Standard sewing supplies
Step 1: Cut your Fabrics and Batting
From the outer, lining and Pellon SF 101 fabrics cut one each that measures 13″ x 7″. From the batting cut one piece that is a little bit larger all the way around to accommodate the quilting.
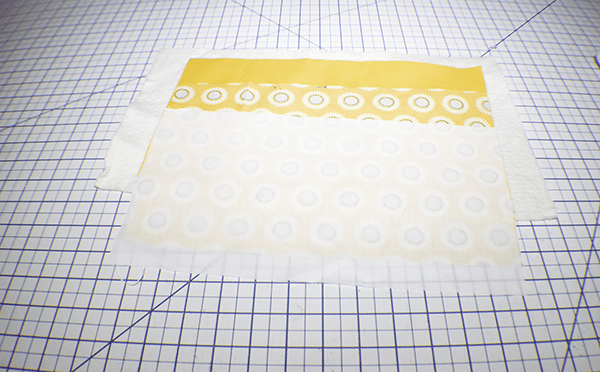
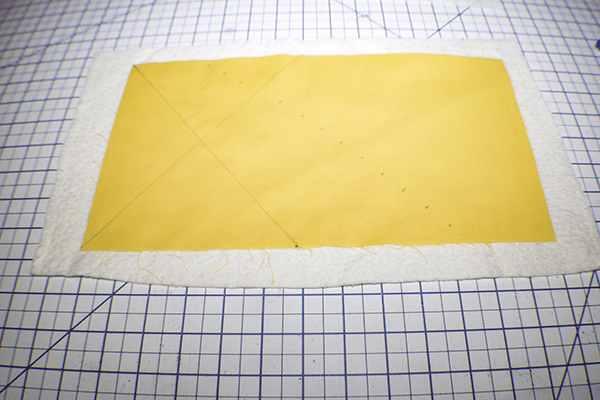
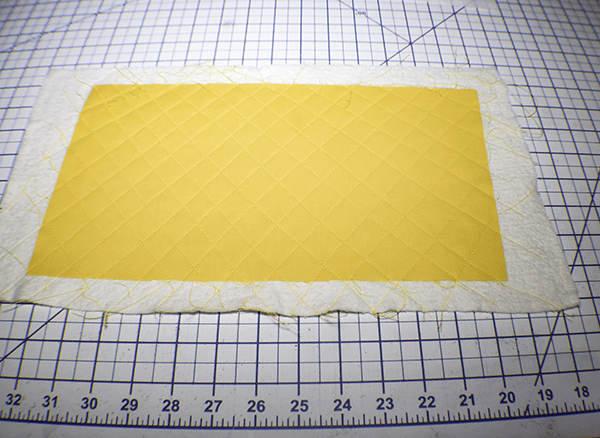
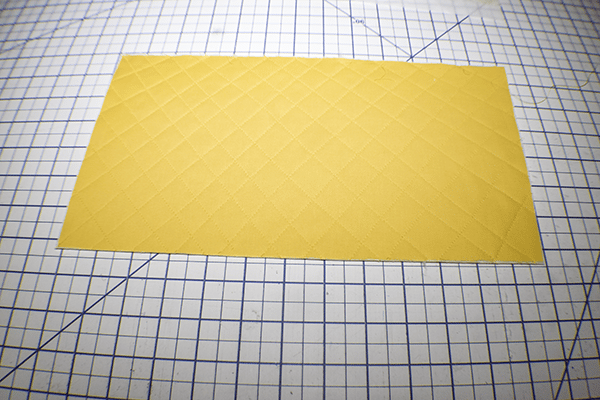
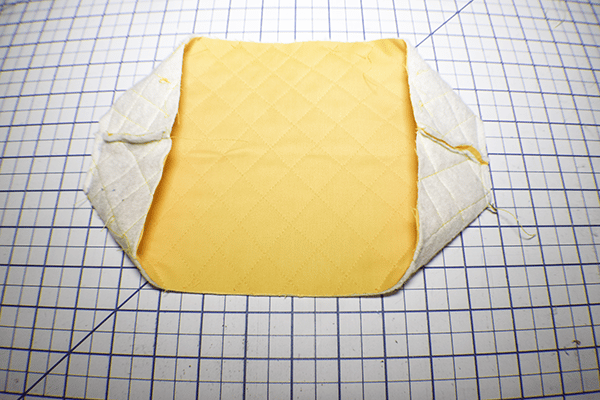
Step 2: Quilt the Lining
Place the lining fabric onto the batting making sure that it is centered. Quilt any way that you would like. I quilted mine in a diamond pattern starting with marking a line from one corner to 6″ from the other corner. Each line is 3/4″ wide. Once you have finished your diamond pattern trim off the excess batting.
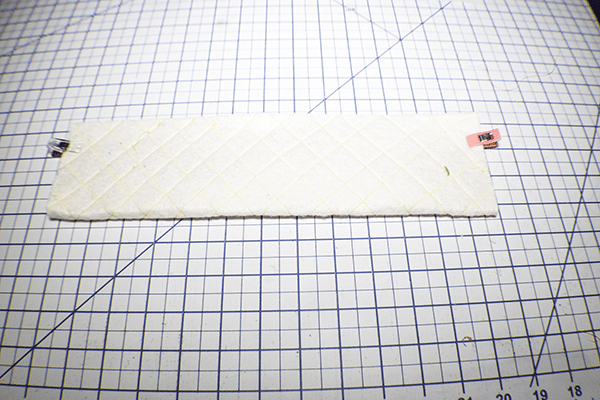
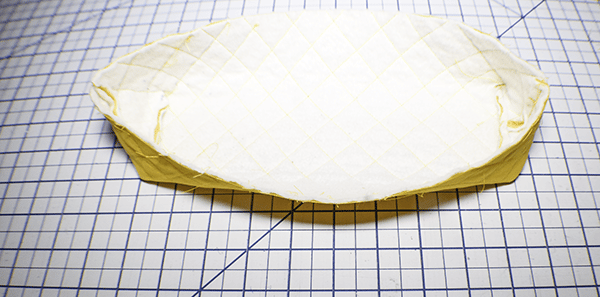
Step 3: Stitch the Ends
Fold the quilted piece right sides together and lengthwise. Stitch along the short ends using a 1/4″ seam allowance.
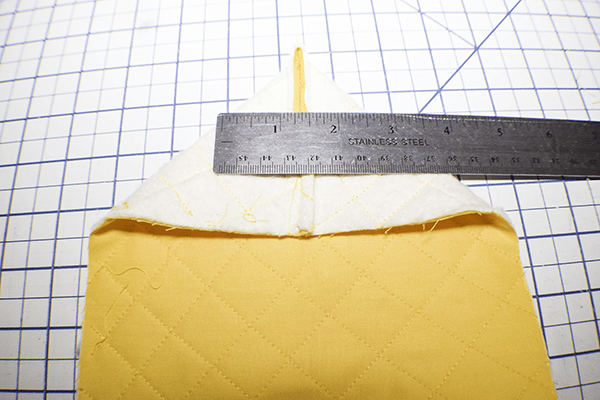
Step 4: Box the Corners
Fold the corners so that they are in a point. Using a ruler, measure down from the point so that there is a line that measures 2 1/2″. Stitch along this line. Trim off the excess. Do this for both ends.
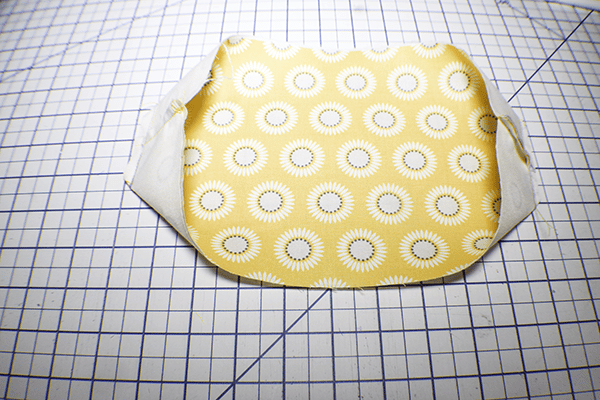
Step 5: Create the Outer Body
Fuse the SF 101 to the wrong side of the outer fabric following the manufacturer's instructions. This step is optional. Create the outer body the same way you created the lining only without the quilting. Just use the fabric.
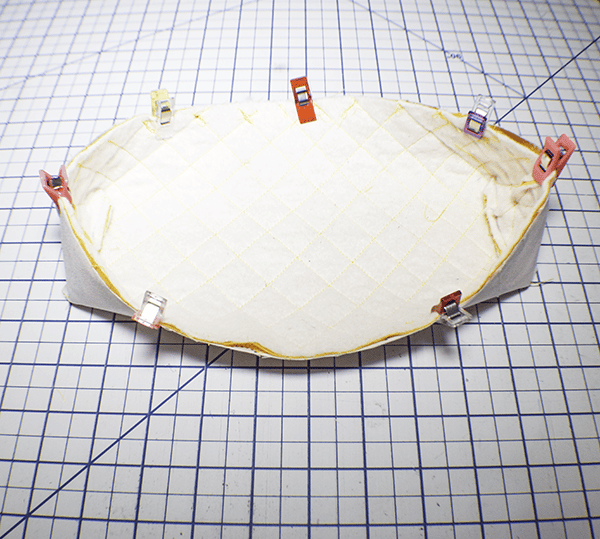
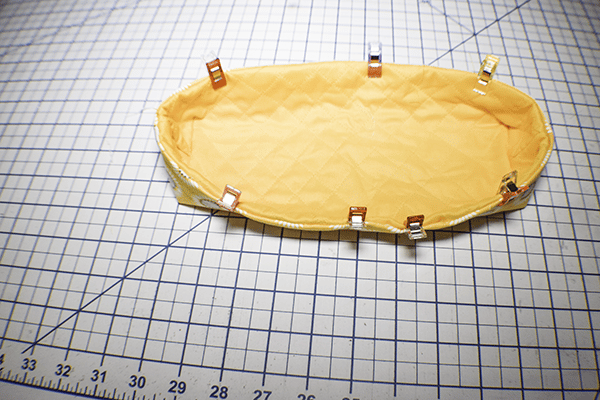
Step 6: Add the lining to the Outer Organizer
Place the outer body right sides together with the lining body and pin or clip. Stitch along the top using a 1/4″ seam allowance and leaving san opening for turning.
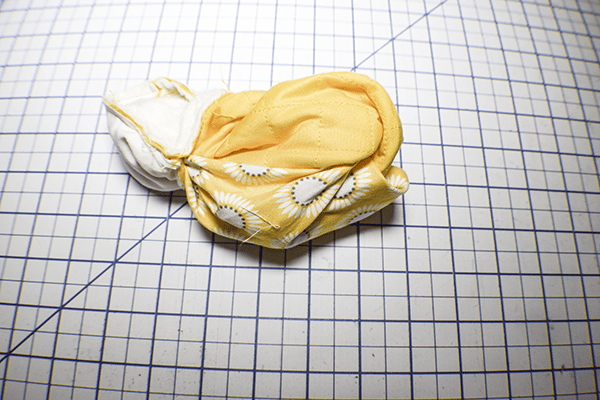
Step 7: Turn Right Sides Out
Reach into the opening you left in the top and turn the organizer right sides out. Push the lining into the outer body and press. Fold under the opening and topstitch all the way around the top to secure.
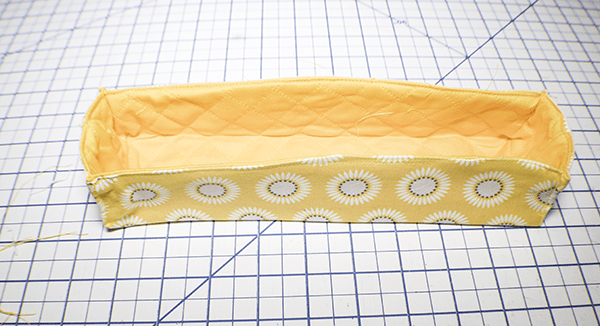
Step 8: Optional Topstitch
Topstitch along each corner to stabilize the organizer. Press the long edge bottoms and you are finished with your long drawer organizer.
I hope you enjoyed this drawer organizer project. If you would like more sewing and crafting projects subscribe to our newsletter and receive access to our free printables library
If you would like video tutorials of some of Sew Very Crafty's most popular posts subscribe to our free YouTube channel here.