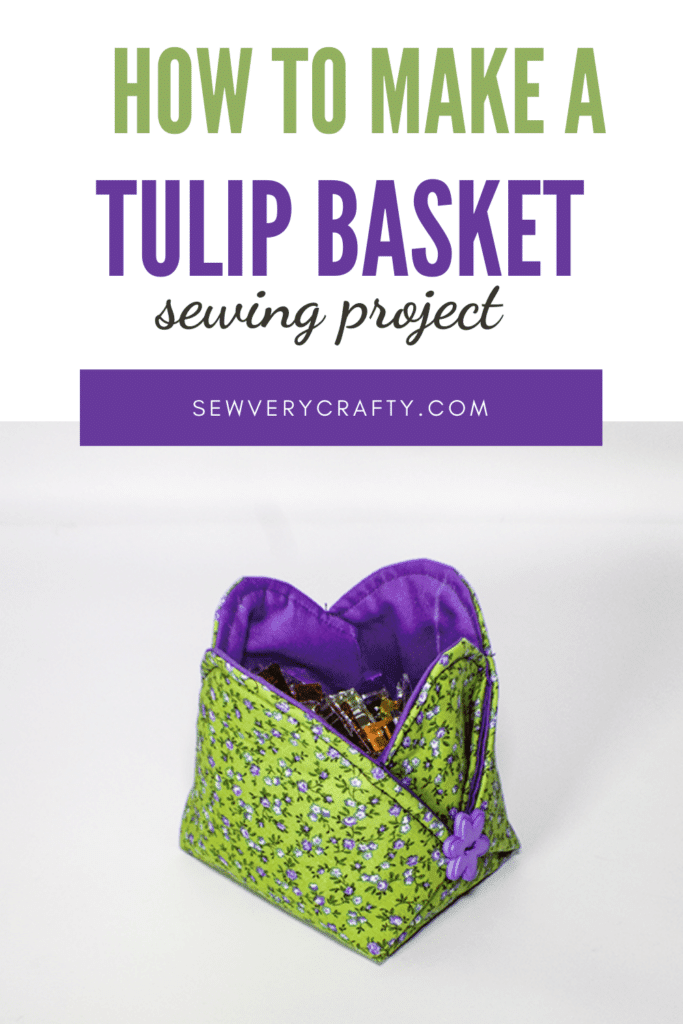
I love to make simple things. This simple tulip basket is no different. It is so simple to make and only requires two pieces of fabric, a piece of fleece and two buttons. It is the perfect size for all of my wonder clips. I just love it. This is a beginner sewing project that anyone with beginner sewing skills can make. It requires both machine sewing and some hand stitching and can be mad in minutes. It is the perfect project to teach children to sew, Let's get going on how to make a simple tulip basket. If you would like other basket projects check out my storage basket with pockets.
I used two cotton fabrics from my stash. A remnant and some Kona cotton that I purchased at JOANN Fabric & Craft Stores![]() . Of course if you can't order from JOANN Fabric & Craft Stores
. Of course if you can't order from JOANN Fabric & Craft Stores![]() head over to
head over to
if you would like a video tutorial of this project head over to YouTube and check out my video. While you are there subscribe to my free YouTube Channel.

What you will Need: How to make a Tulip Basket
- 10 3/4″ x 10 3/4″ outer and lining fabric
- 10 3/4″ x 10 3/4″ fusible fleece like Pellon 987F
- 2 Buttons
- Standard sewing supplies
Step 1: Fuse the Fleece
Fuse the fusible fleece to the wrong side of the outer fabric following the manufacturer's instructions.
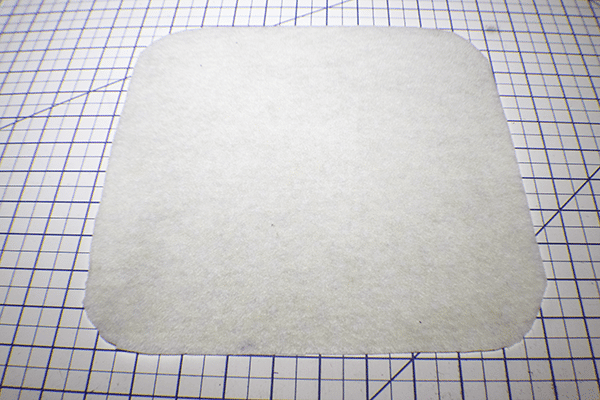
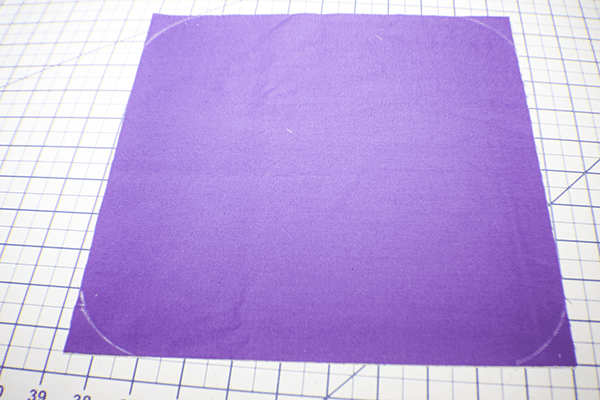
Step 2: Round the Corners
Round all four corners of the outer and lining pieces. This will create the petals of the tulip basket.
Step 3: Stitch Outer and Lining Right Sides Together
place the outer piece and the lining piece right sides together and stitch all the way around using a 3/8″ seam allowance but leaving an opening on one side for turning.
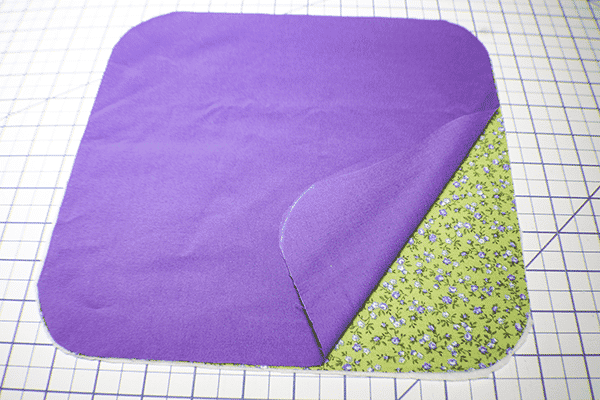
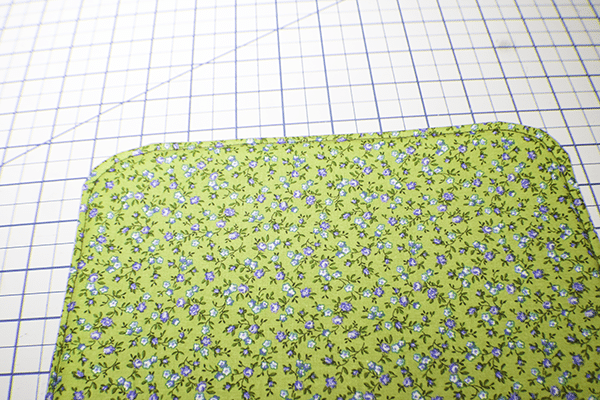
Step 4: Turn Right Sides Out
Turn the piece right sides out and top stitch all the way around enclosing the opening you left for turning.
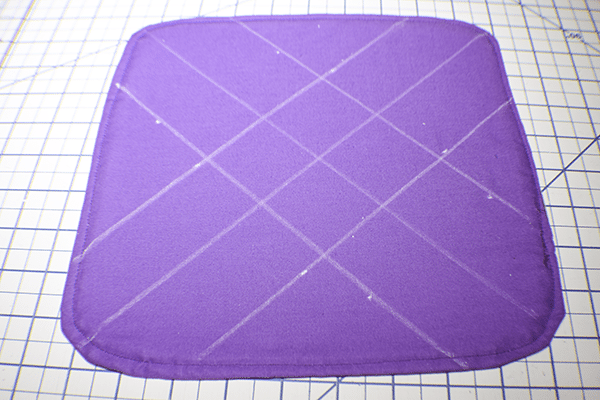
Step 5: Draw the Fold Lines
Draw lines from corner to corner. Then measure 1 7/8″ on either side of each of the lines and draw another line. you should have a grid when you are finished.
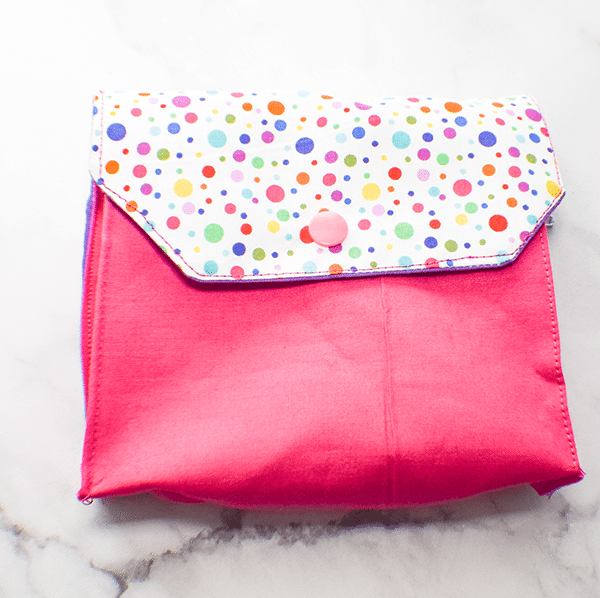
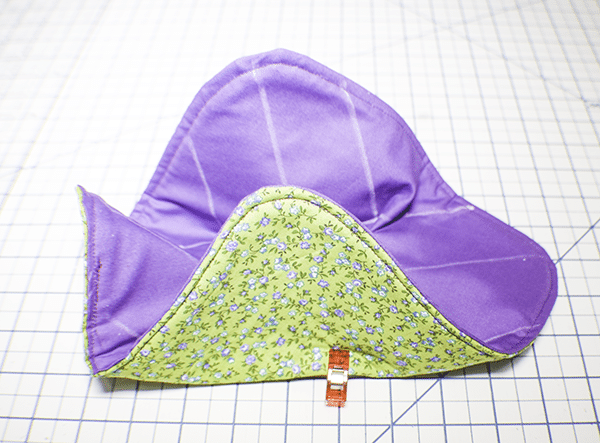
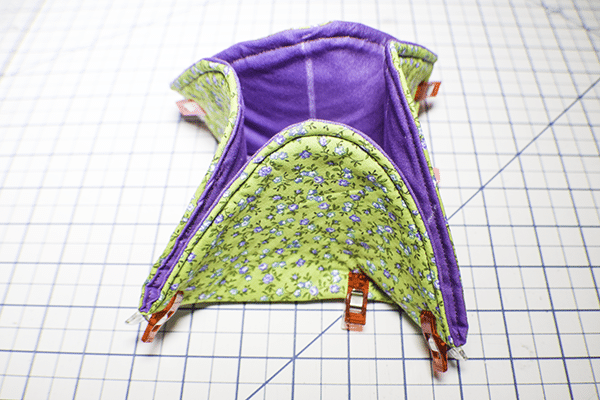
Step 6: Fold the Basket
Fold up the bottoms of the basket along the first fold lines that you drew and clip. You will notice that the corners stick out. Fold the corners toward the center and clip. Do this on both sides.
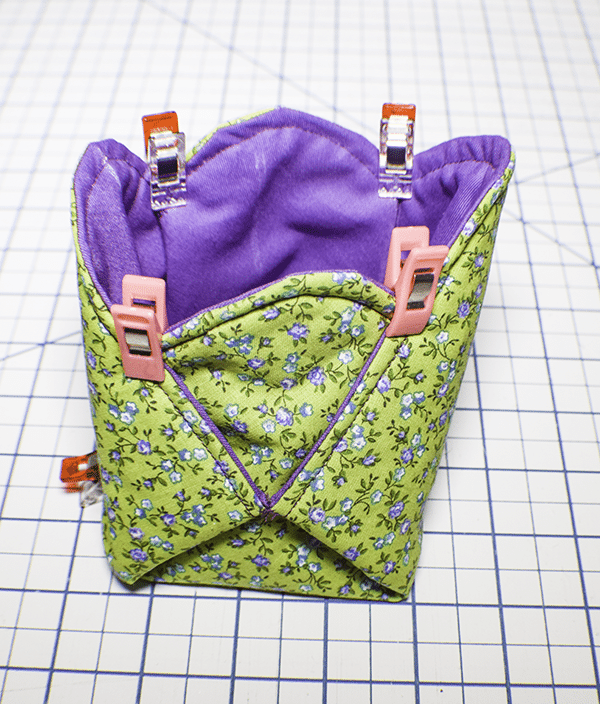
Step 7: Stitch the Basket
Hand stitch the points created when you folded the corners to the center so that the corners are stitched together. Do this on both sides. Clip the top of the tulip basket. Hand stitch the inner petal to the outer petal.
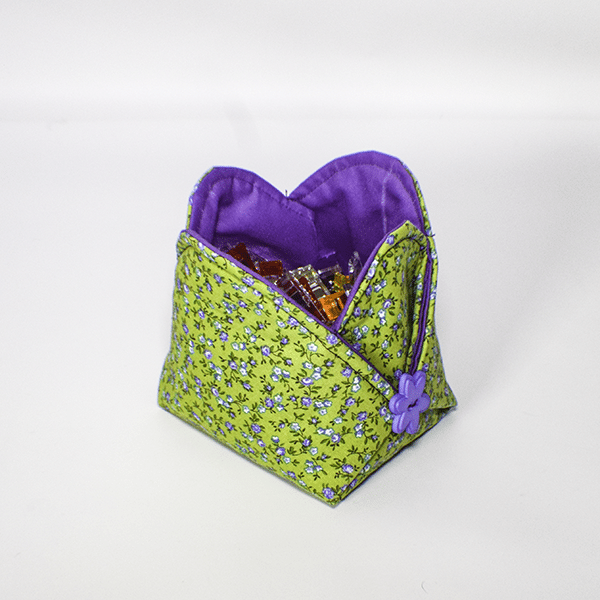
Step 8: Add the Buttons
Stitch a button on each side where you stitched the corners together. You can use a covered button for this if you like. I happened to have a cute purple flower button on hand. You have now finished your simple tulip basket.
I hope you enjoyed this tulip basket. if you would like more sewing and crafting projects sign up for our newsletter and receive access to our free Printables library.
If you would like video tutorials of some of Sew very Crafty's most popular posts subscribe to our free YouTube channel here.