Inexpensive Fleece Throw Blanket Gift Tutorial
Inexpensive Fleece Throw Blanket Gift Tutorial
What you will need:
- 1.25 yd remnant of polyester fleece fabric.
- 2 packages of 4.75 yd Satin blanket binding (optional)
- Coordinating thread
- Standard sewing supplies

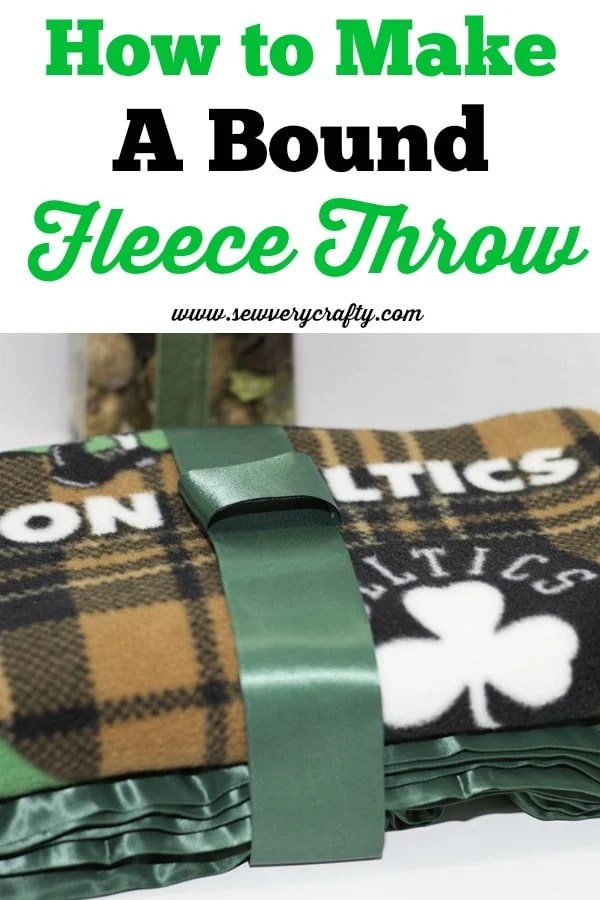
What makes this project easy and inexpensive is the use of the polyester fleece and purchasing the remnant. Polyester fleece does not ravel so you do not have to bind it at all. You can simply cut a length and fold it into a throw. I chose to bind my project with the satin blanket binding to give it a more finished look. The other important aspect of this project is purchasing the remnant. At my local fabric store all remnants are 50% off. However, on this occasion my store was having a 75% off all remnants sale and I lucked out and found 1.25 yds of Boston Celtic basketball team fleece. A favorite in our household so I purchased it with an eye to making a throw as a gift. I actually kept it myself.
Believe me, this bound fleece throw is the easiest and most inexpensive project you can make to give as a house warming or other gift or to keep for your self. Fleece comes in all colors and patterns so you can pick the one that is perfect for you. If you don’t have what you need, feel free to head over to Hobby Lobby or Fabric.com to find the perfect fleece and binding for your project. This post contains affiliate links that if you click on them and make a purchase I may receive a small commission at no extra cost to you.
Cost:
The remnant cost after the 75% discount was $4.68
The satin blanket binding after using 2 60% off coupons was a total of $6.40
I already had the thread so the total cost of this project was $11.08
You can make this project even less expensive by making your own binding from other remnant fabric or stitching the raw edge using a blanket stitch or simply leaving the edges raw.
Step 1
Cut the selvedges off the sides of the fleece.
Step 2
If you choose to bind the edges, take your binding which is 4″ wide and folded in half and lengthen it by mitering an additional piece at a 45 degree angle then clip it around the edges of the throw. You can pin it at the top if you don’t have clips.


Step 3
When you get to the corners of the throw make sure you miter them. This is simple to do. Just open the binding at the edge of the corner then fold it back on itself creating a nice mitered corner.


Step 4
Once the Binding has been clipped all the way around turn under the raw edge at the end to make a nice finished end.
Step 5
Sew the binding to the fleece making sure that both the upper and the lower binding pieces are caught with the machine as you go around the edge. You can either use a straight stitch or you can use a zig-zag stitch as I did, whichever you prefer.


An Alternative to binding the throw is to sew around it using a blanket stitch. I found this terrific video on how to sew a neat and tidy blanket stitch and thought to share it with you.
Step 6
Once the binding or the alternative you have chosen is finished so is your throw. It is now ready to be used by you or given as a gift. Very easy, very inexpensive and very quick to make for sewers of all skill levels.


