
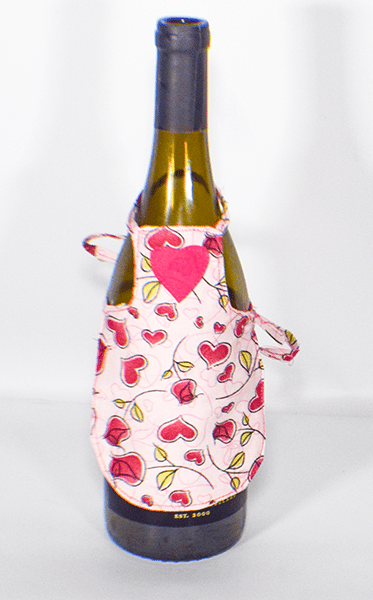
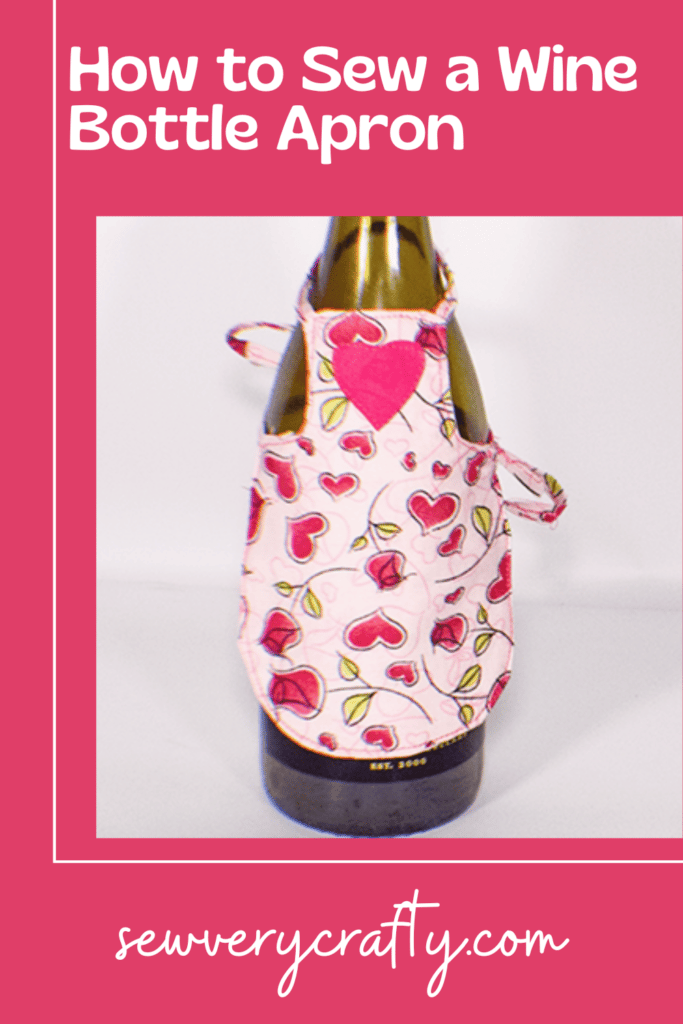
Valentine's Day is just around the corner. I thought I would sew these adorable little wine bottle aprons for the giving wine this holiday season. You can make these out of any fabric you want for house warmings, holidays or just because. I saw an example of this on YouTube but modified the pattern for this post. This is a super simple sewing project for the beginner sewist. This is a fun little sewing tutorial with a free sewing pattern. I made this for Valentine's Day and if you would like other Valentine's sewing projects check out my fabric envelopes.
I chose a Valentine's heart fabric for my project and added a heart appliqué to the front. These fabrics were purchased at JOANN Fabric & Craft Stores![]() but you could head to Amazon Fabric or
but you could head to Amazon Fabric or
What you will Need: How to Sew a Wine Bottle Apron
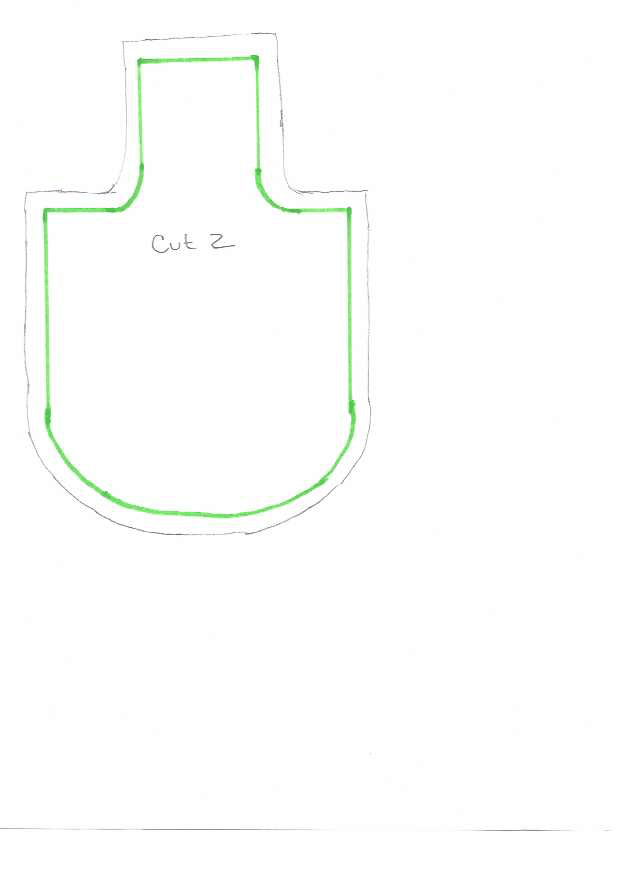
- Pattern you can get by clicking on the link
- 1/8 yd cotton fabric for apron
- Scrap fabric for applique
- Scrap of Pellon Wonder Under
- Sewing machine
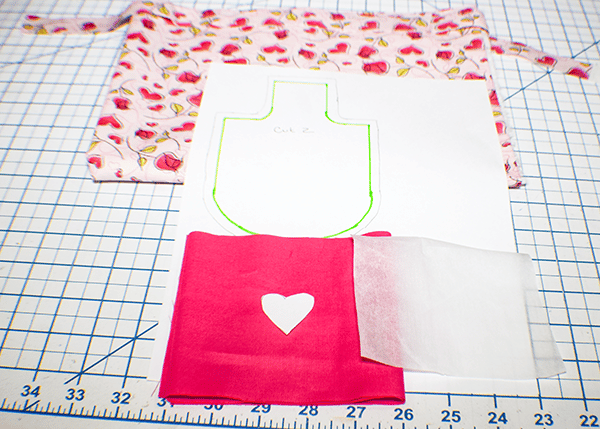
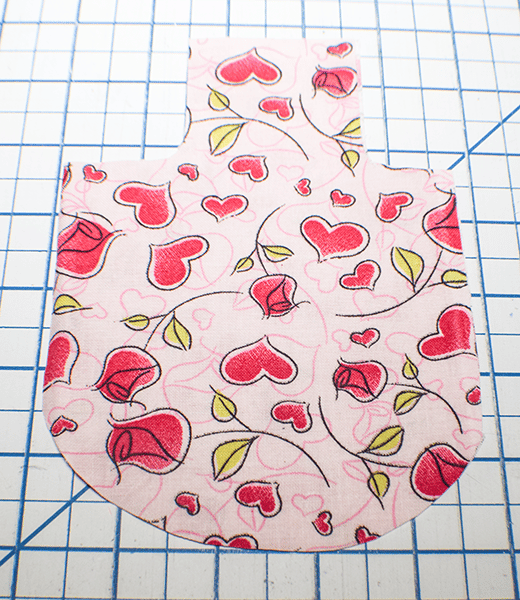
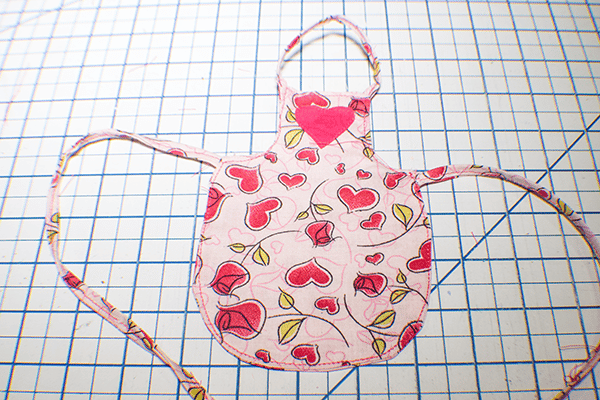
Step 1: Cut out your Fabrics
Using the pattern cut two pieces of your main fabric. From either a coordinating fabric or the main fabric cut a 1″ x WOF (Width of Fabric) strip for the ties. Cut a small heart shape from a coordinating fabric that is backed by Pellon Wonder Under.
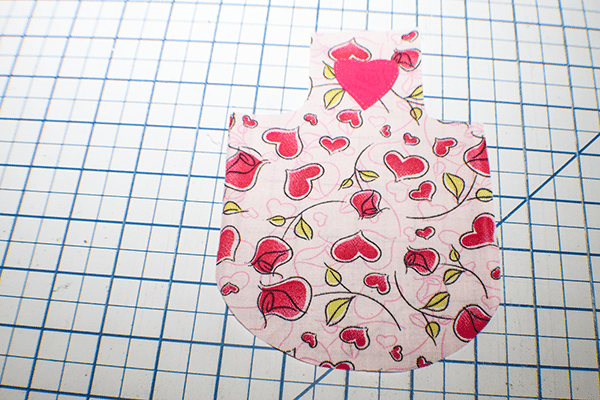
Step 2: Appliqué the Front of one of the Apron Pieces
Take the backed heart shape and place it on the front and press to secure. If you are unfamiliar with how Wonder Under works just follow my appliqué pillow tutorial here. This tutorial will walk you through how to place the appliqué onto your apron. Stitch around the appliqué using straight stitch, zig-zag stitch or blanket stitch.
Step 3: Create the Ties
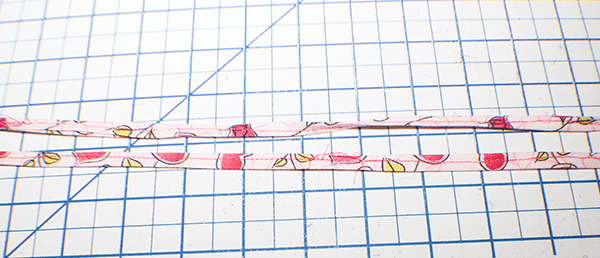
Take the strip of fabric and cut two pieces. One that measures 5″ and the other that measures 25″. Fold the long edges to the center and press. Fold in half lengthwise and press again. Stitch down the center of the straps.
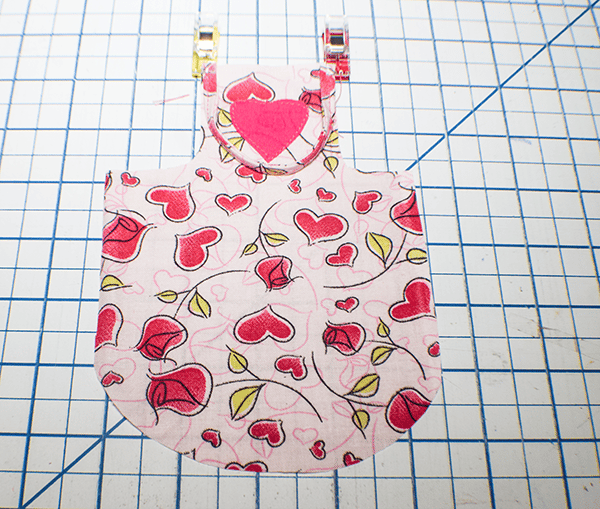
Step 4: Add the Straps
Place the 5″ strap 1/4″ from the corners of the bib of the apron on the right side. Stitch using a 1/8″ seam allowance so that you form a loop at the top. Cut the 25″ piece in half and add one piece 1/4″ from either side of the waist of the apron on the right side. Stitch using 1/8″ seam allowance.
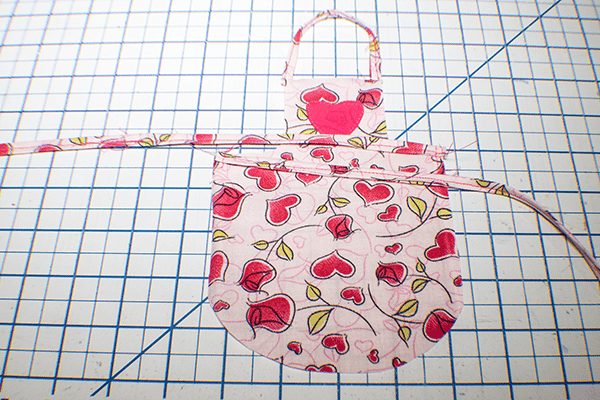
Step 5: Stitch the Wine Bottle Apron Together
Place the two apron pieces right sides together with the straps in between. Stitch all the way around the apron but leaving an opening for turning. Use a 1/4″ seam allowance.
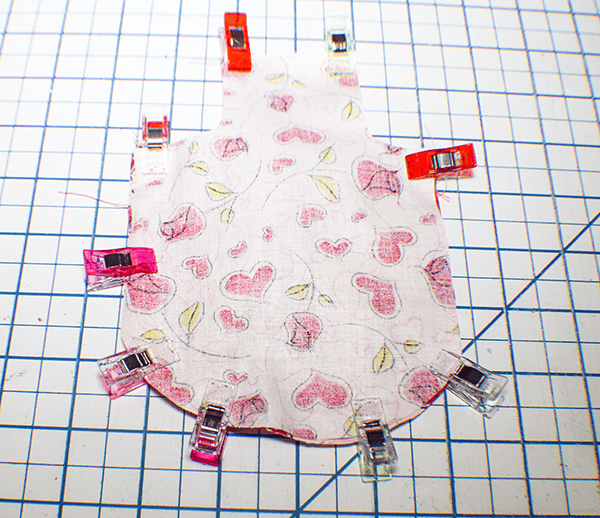
Step 6: Turn Right Sides Out
Turn the apron right sides out through the opening.
Step 7: Topstitch
Topstitch all the way around the apron to close the opening.
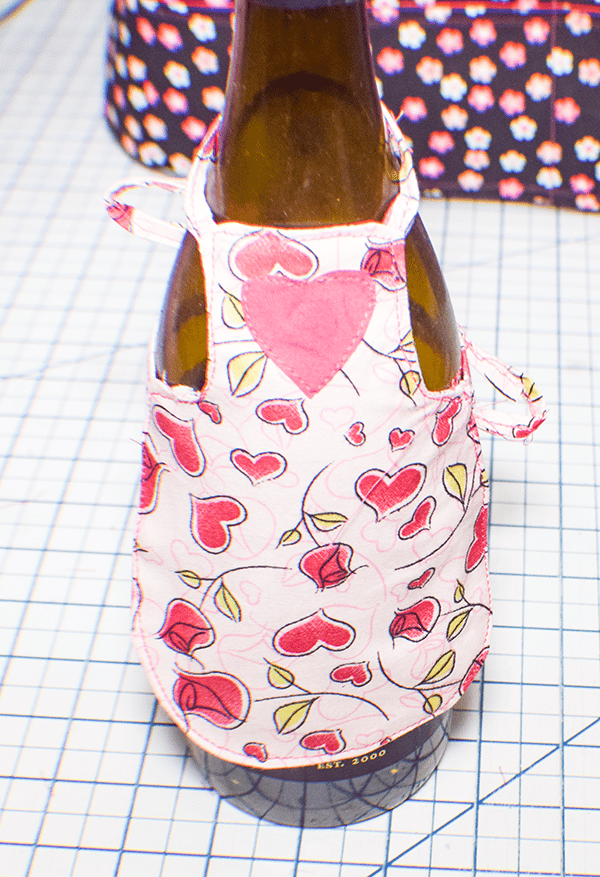
Step 8: Add the Apron to the Bottle
Tie knots in the waist straps to prevent fraying. Place the apron on the bottle and give as a gift or just enjoy yourself.
I hope you enjoyed this wine bottle apron post. If you would like more sewing and crafting tutorials subscribe to our free newsletter and get access to our free Printables library.
If you would like video tutorials of some of Sew very Crafty's most popular posts subscribe to our free youTube channel here.
