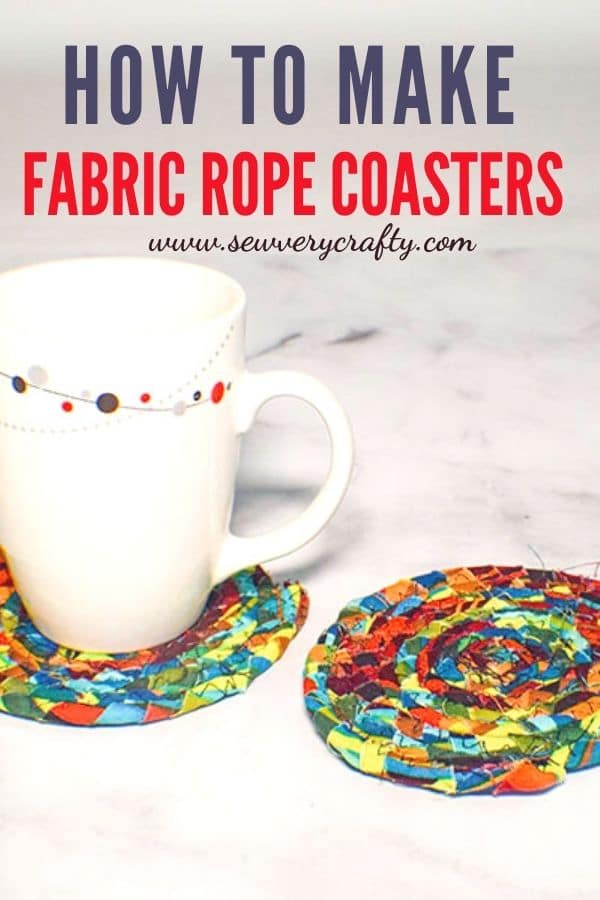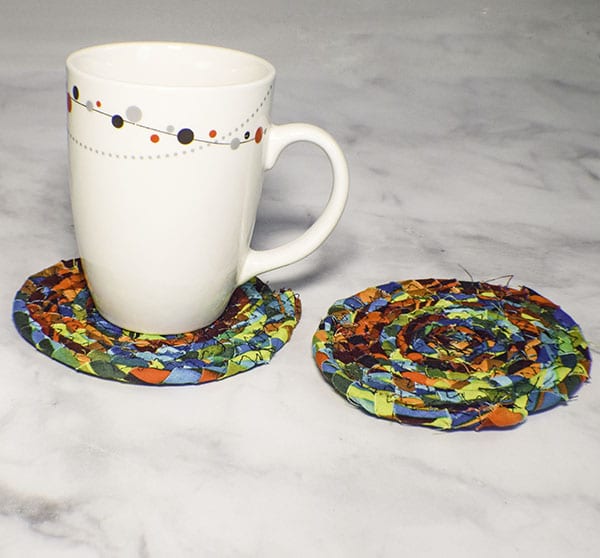
I am always looking for things to make with my horde of scrap and remnant fabrics. This project really fit the bill. While it is a little fidgety these scrap fabric rope coasters are a simple sewing project to make. The beauty of this project is you can use any colors you want. I happened to have a remnant that contained all different colors so it was perfect for this project. But even better is to string all of your scraps for a random look of color and pattern for a fun and colorful look. The only thing you really need for this project outside of the rope and fabric is a sewing machine that has a zig zag stitch. Most modern machines have a variety of zigzag stitches available with just a push of a button or the turn of a knob. So don't despair yours probably has one too.
For this project you will want to have a longer zigzag stitch than normal. It will make things go a little faster and the stitches appear more uniform. Most sewists have stacks of scraps that can be used for a project like this. I used a remnant from my stash because it was multicolored and I could get the same effect that I was looking for. I obtained this remnant at JOANN Fabric & Craft Stores but you could head to Hobby Lobby, Fabric.com or Onlinefabricstore.net for the fabric of your choice if you don't have scraps for your project.
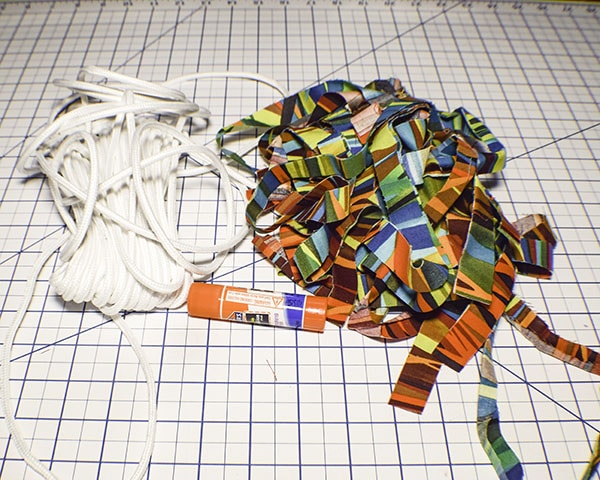
What you will Need: How to Make Scrap Fabric Rope Coasters
- Scraps of fabric
- 1/4″ Cotton clothesline rope
- Glue stick
- Standard sewing supplies
Step 1: Cut your Scraps in Strips
Cut your fabric or scraps in 3/4″ strip
Step 2: Glue the Beginning of the Strip and Rope
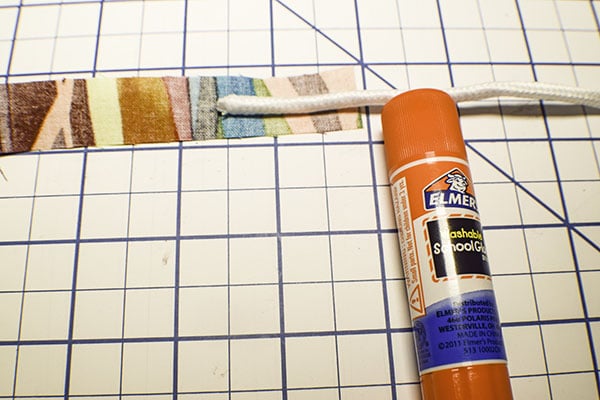
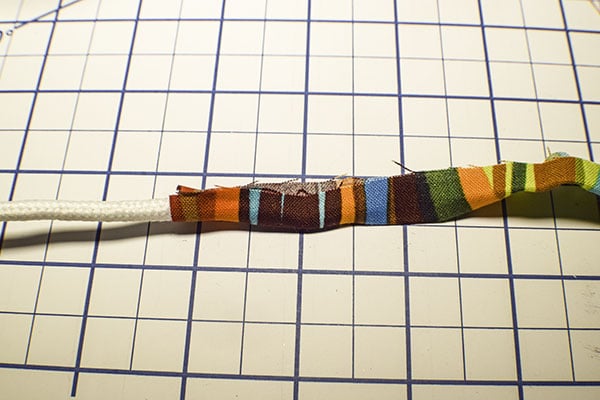
Put a stripe of glue on the wrong side of the first fabric strip and lay the top in opposite directions on the fabric and wrap the fabric around the rope. Fold over the strip and begin winding the fabric strip around the rope while at the same time winding the rope into a circle.
Step 3: Pin the Center of the Circle
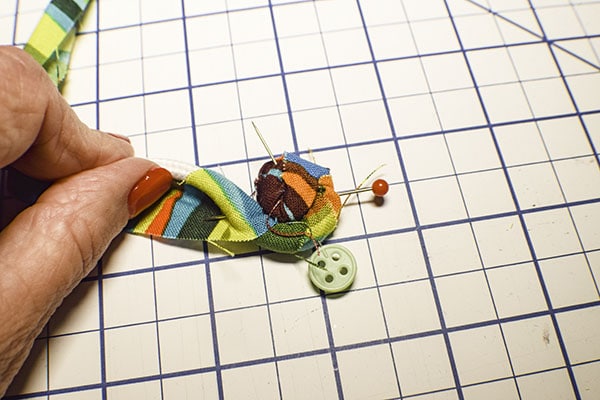
Once you have twisted and turned the center of your circle stop and pin the center.
Step 4: Stitch the Center of the Coaster
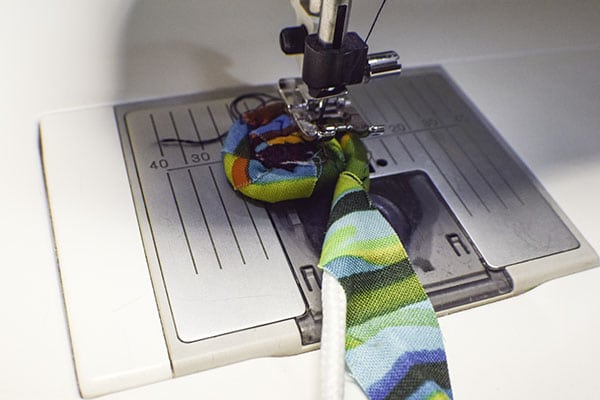
Make sure you are using a large zigzag stitch. Stitch through and across the center to secure the coil you just made. Remember to take out the pins.
Step 5: Continue to Wrap and Coil the Coaster
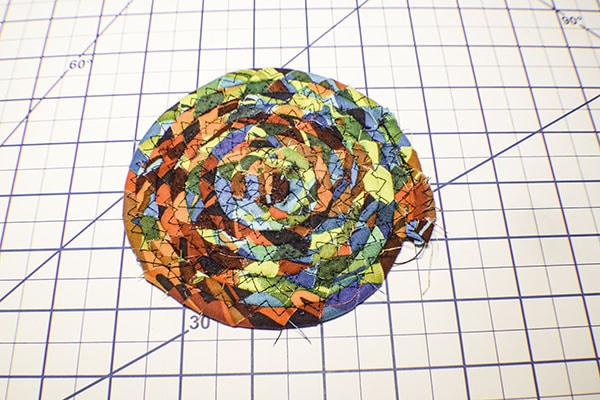
Continue to wrap and coil the rope as you stitch along. You will have to stop and start as you wrap and coil but it is an easy process. As you stitch you will notice that your presser foot has three lines on it. Place the center line in between the rows so that the zigzag will catch both sides as you continue to sew.
Step 6: Finish the Ends
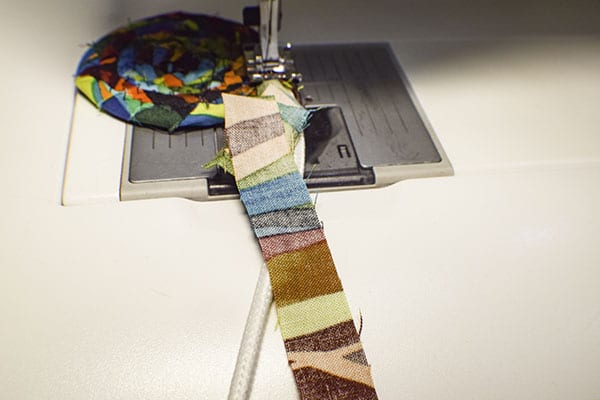
Once the circle reaches 4 1/2″ across you are finished. Cut the rope a little shorter than the fabric. Fold the fabric over the end and wrap. Stitch the end in the same way as the rest of the coaster to finish off. You have now learned how to make scrap fabric rope coasters.

I hope you enjoyed this rope coaster project. If you would like more sewing and crafting projects sign up for our free newsletter and receive access to our free printables library that includes sewing printables and much more.
If you would like video tutorials of some of Sew Very Crafty's most popular posts subscribe to our free YouTube channel here.
