
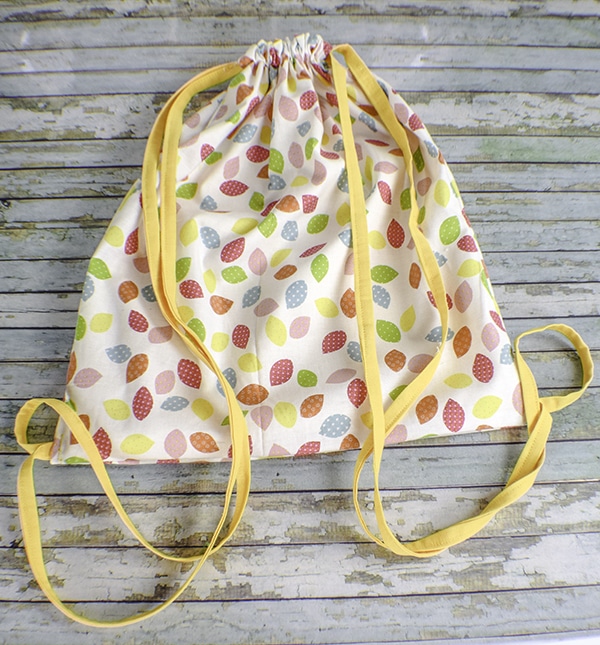
How to Make a Drawstring Wet Bag
Summer is just around the corner so I thought I would create a terrific wet bag for the beach or pool. I used a fun remnant fabric that I had on hand for the exterior of this bag but I used a water proof Ripstop Nylon for the lining. Ripstop is easy to sew and makes a perfect lining for this drawstring wet bag. It comes in loads of colors so you can find one that is perfect for your project. This bag is a beginner sewing project that is perfect for anyone with basic sewing skills. It is also a fun and functional summer sewing project so I urge you to give this one a try.
As I stated, I used two remnants that I had on hand for the outer fabric and the ripstop for the lining. I obtained all of them from JOANN Fabric & Craft Stores![]() . In fact I ordered the ripstop online and picked it up in store for even more convenience. You could head over to Hobby Lobby or Fabric.com to get exactly what you want for your project. This project contains affiliate links that if you click on them and make a purchase I may receive a small commission at no extra cost to you. As an Amazon Associate I earn from qualifying purchases.
. In fact I ordered the ripstop online and picked it up in store for even more convenience. You could head over to Hobby Lobby or Fabric.com to get exactly what you want for your project. This project contains affiliate links that if you click on them and make a purchase I may receive a small commission at no extra cost to you. As an Amazon Associate I earn from qualifying purchases.
If you would like a video tutorial of this project head over to YouTube and check out my video. While you are there subscribe to my free YouTube channel.

What you will Need: How to Make a Drawstring Wet Bag
- 1 yd Exterior fabric
- 1 yd Ripstop Nylon
- 1/4 yd accent fabric for straps and drawstring
- Standard sewing supplies
- Frixion Heat Erasable Pens
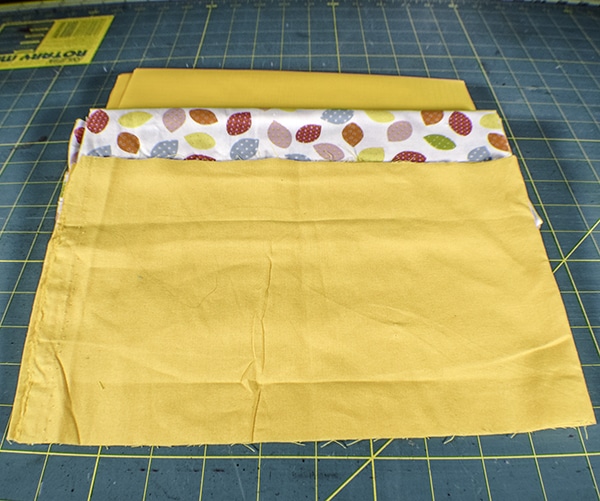
Step 1: Cut your Fabrics
Cut two outer and two ripstop pieces that measure 17″ x 14 1/2″. From the accent fabric cut three strips that measure 1 5/8″ x 44″.
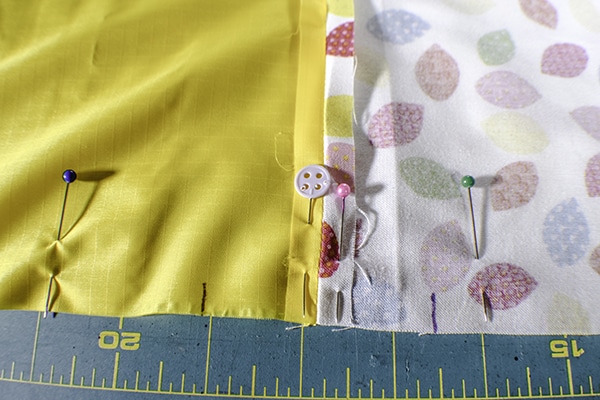
Step 2: Sew the outer and lining pieces together
Place one piece of outer fabric and one piece of lining fabric right sides together and stitch along one short end using a 3/8″ seam allowance. Repeat for the other outer and lining piece. Using a low temperature on your iron press the seams open.
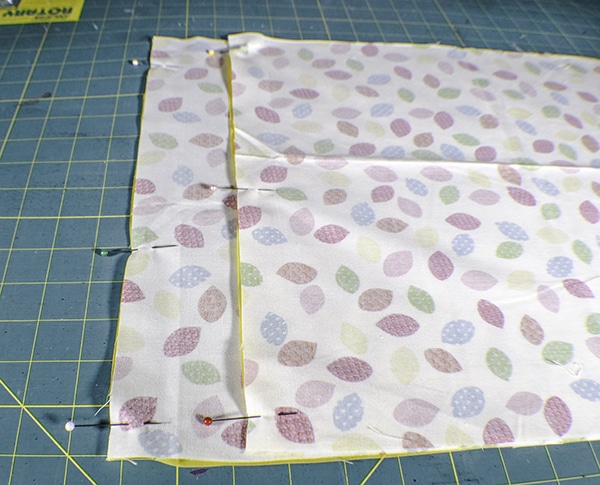
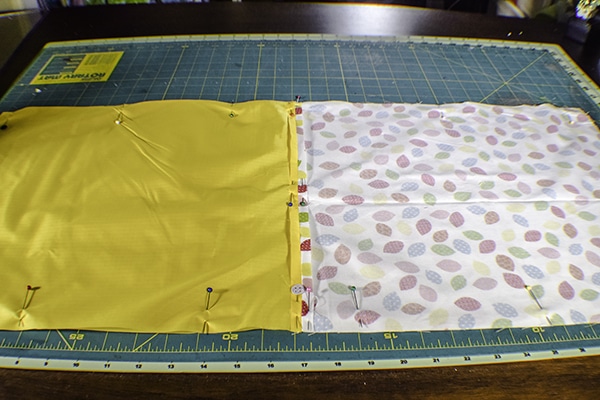
Step 3: Pin the Bag together
Place the two outer pieces right sides together and the two lining pieces right sides together and clip or pin.
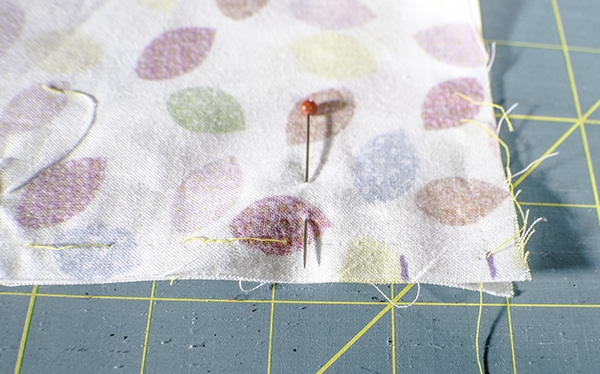
Step 4: Mark the lines
Mark the lines for the drawstring channel and the drawstring bottom gaps. Start at the top of the bag. Measure down 1 1/4″ and mark a line on the outer bag and on the ripstop using a frixion heat erasable pen or some other erasable pen. Now, go to the bottom of your bag and measure up 3/8″ and make a mark. Measure up another 3/4″ and make a second mark. Do this on both sides of the bag. These are the drawstring bottom gaps. You will also leave an opening in the lining bottom for turning.
Step 5: Sew the Bag together
Sew the bag together using a 3/8″ seam allowance leaving the drawstring opening, the drawstring bottom gaps, and the turning opening open. Press the seams open using a low temperature on your iron.
Step 6: Turn the Bag
Turn the bag right sides out through the opening that you left in the lining. Stitch the opening closed using ladder stitch or slip stitch.
Step 7: Create the drawstring channel
Measure down from the top of the bag 1 1/4″ and draw a line all the way around the front and back of the bag using a Frixion heat erasable pen. Top stitch around the top of the bag then stitch along the line you just drew. This will create the drawstring channel.
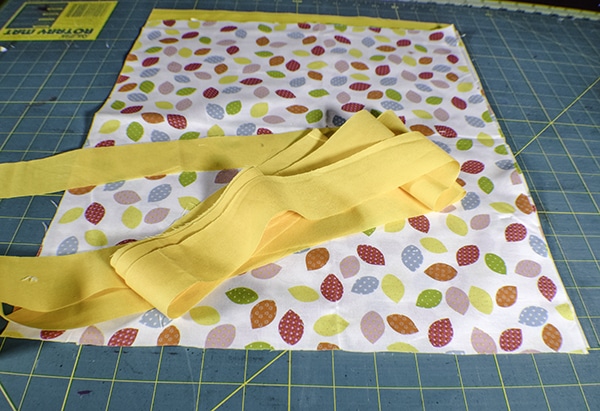
Step 8: Create the Drawstring
Cut off the selvedge of the accent fabric. Stitch the three strips of fabric right sides together along the short ends so that you have one long strip of fabric. Press the seams open. Press the long raw edges to the center of the strip. Then fold the strip in half lengthwise and press again. Top stitich along the open edge. Cut the drawstring in half widthwise.
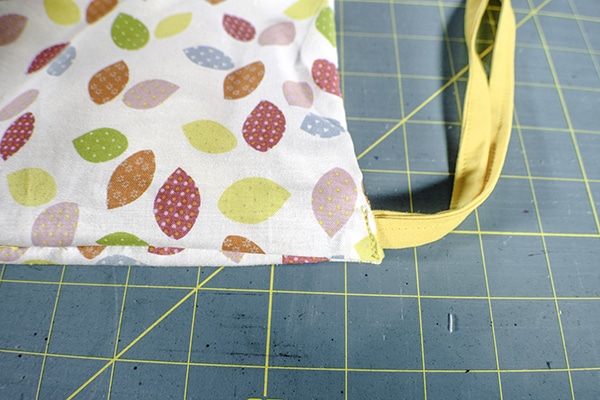
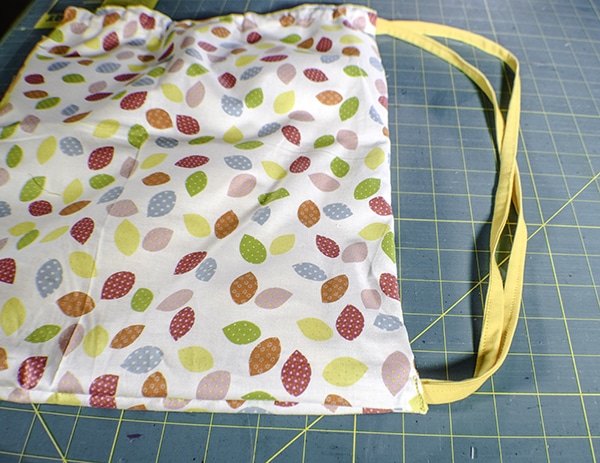
Step 9: Add the drawstring
Place a safety pin at the end of one of the drawstrings and thread it through the drawstring channel and back through the side you inserted it. Tack the raw ends together. Place the drawstring into the matching bottom drawstring hole and pin. Make sure you do not pin it to the ripstop. Push that out of the way. Top stitch over the outer bag and drawstring a few times. Repeat for the other side and you have finished your drawstring wet bag.
I hope you enjoyed this project. If you would like more sewing and crafting projects sign up for our newsletter and receive your free eBook of 15 handbag patterns and tutorials taken from the blog.
If you enjoyed this project and would like to view some of my video tutorials subscribe to my free YouTube channel


such a good idea! I’m going to make this!
Thank you. It is a great little project.