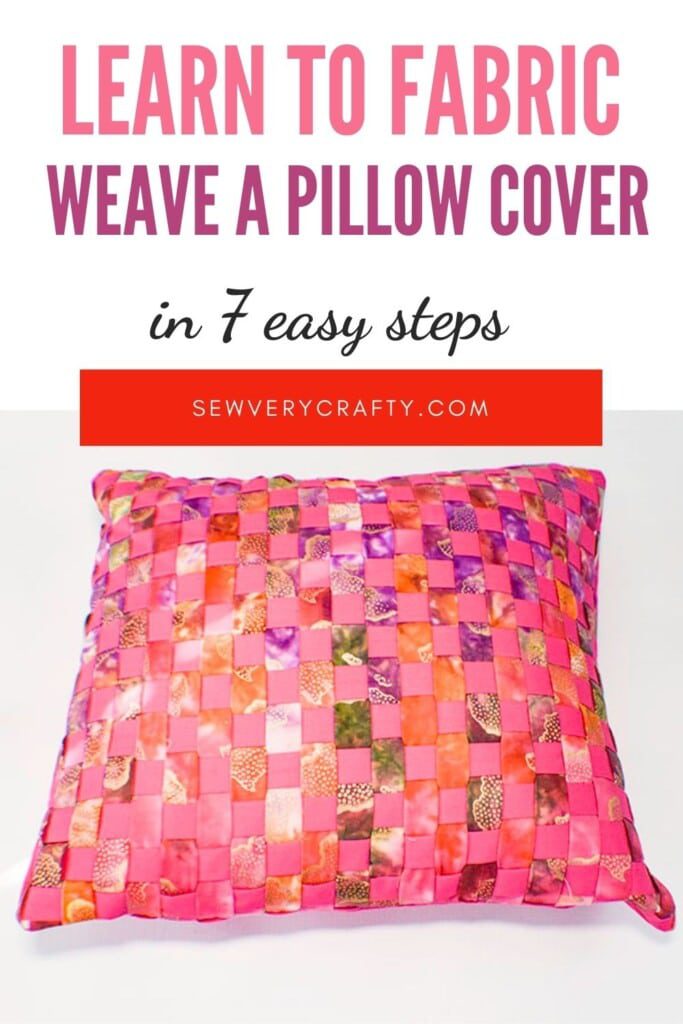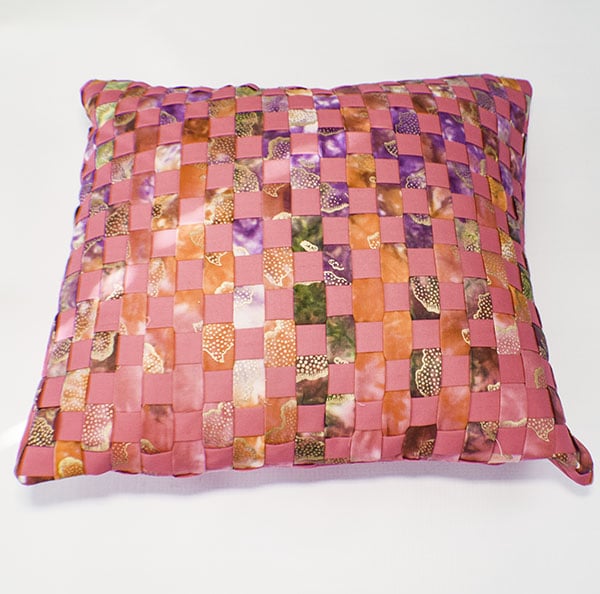
I have just recently discovered fabric weaving. It is a fun way to create fabric for a variety of items. I have chosen to create a pillow cover today but you could make a quilt, pot holders, even handbags. Just treat the fabric weave like a piece of fabric and stitch away. The fabric weaving itself is very easy to do but the preparation can take some time. You can make your own fabric strips for weaving or you can use single fold bias tape that you buy at your local fabric store. I chose to make my own fabric strips. It is a simple process but a bit time consuming. You just need a few tools, primarily a bias tape maker and an iron. For the weaving itself you will need a product called a Welty to make the weaving smooth and easy.
For my pillow cover I chose to use an ombre fabric from my stash and contrast it with a bright pink Kona cotton. I used the the Kona for the backside of my pillow cover as well. I obtained both fabrics from JOANN Fabric & Craft Stores![]() but you could head to Hobby Lobby, Fabric.com or onlinefabricstore.net to get exactly what you need for your fabric weave pillow cover. This post contains affiliate links that If you click on them and make a purchase I may receive a small commission at no extra cos to you. As an Amazon Associate I earn from qualifying purchases.
but you could head to Hobby Lobby, Fabric.com or onlinefabricstore.net to get exactly what you need for your fabric weave pillow cover. This post contains affiliate links that If you click on them and make a purchase I may receive a small commission at no extra cos to you. As an Amazon Associate I earn from qualifying purchases.
What you will Need: Learn to Fabric Weave a Pillow Cover
- 1/2 yd main fabric
- 1 yd contrast fabric
- 1/2 yd Pellon SF101 Interfacing
- Wefty
- Bias tape maker
- Iron
- Pins
- Foam Board
- 16″ x 16″ Pillow form
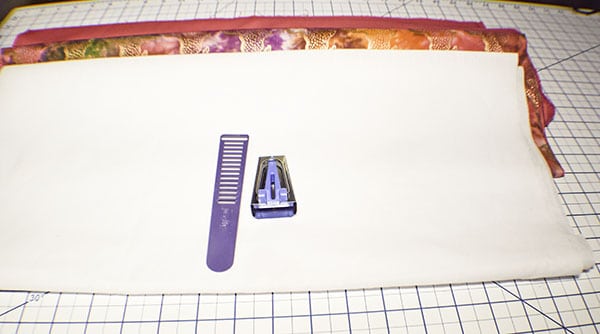
Step 1: Cut your Fabrics
To create the strips cut 1 1/2″ x 20″strips of fabric using a rotary cutter and cutting mat. Do this for both the main fabric and the contrasting fabric. Cut 21 of each type of fabric. This will create a square that measures 16″ x 16″. You will need to cut two additional pieces of fabric. The best way to do this is to cut one piece the length of the pillow form + 6″ x the width of the pillow form. For my pillow I cut a single piece that measured 22″ x 16″. Cut the second piece in half. That left me with two pieces that measured 11″ x 16″. Your measurement will be different depending on the size of your pillow form. Cut a 20″ x 20″ piece of interfacing.
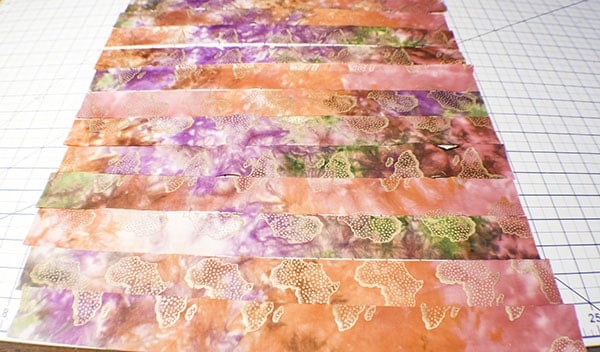
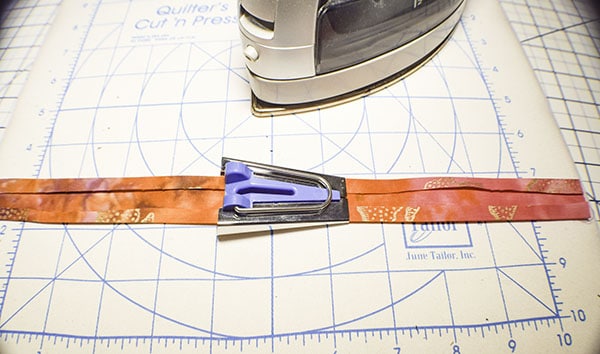
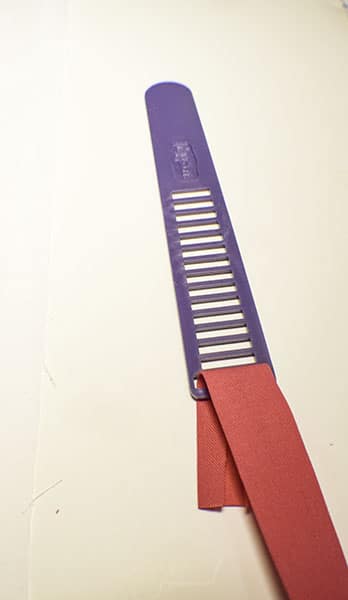
Step 2: Create your Strips
Take each of the strips and feed them through the bias tape maker. By doing this you will fold the raw edges inward leaving both edges folded.
Step 3: Prepare your Surface
Place your foam board on your work surface. Place the piece of interfacing glue side up on your foam board. Pin the interfacing to the foam board at the corners.
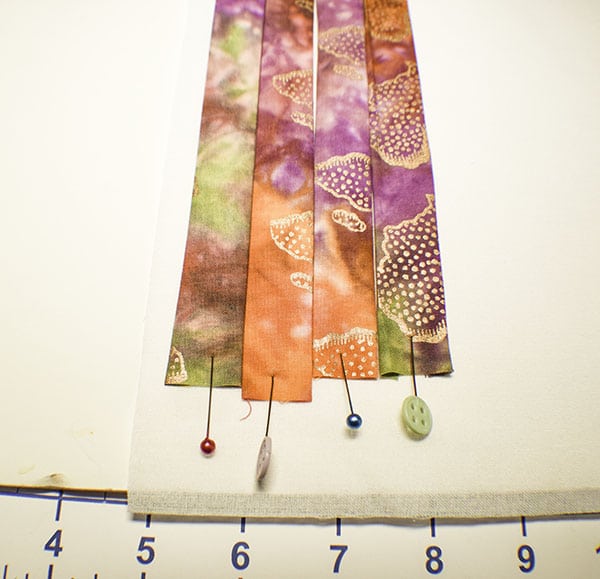
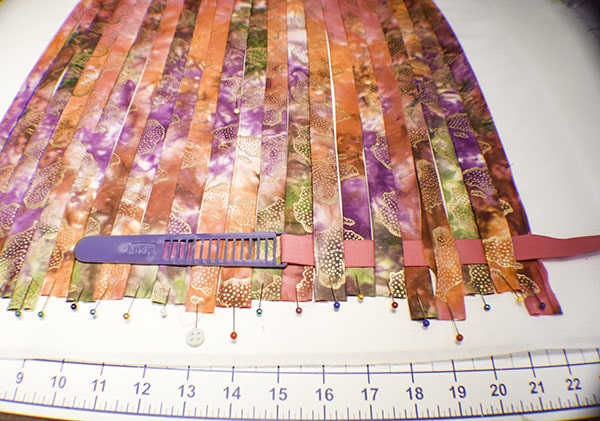
Step 4: Lay the Horizontal Strips
Take your first main fabric strip and place it 2″ down from the top of the interfacing and horizontal. Place a pin diagonally into the strip and foam board on each end to hold it in place. Place the the next main fabric piece right next to the first securing it in the same way. Continue until you have placed all 16 strips.
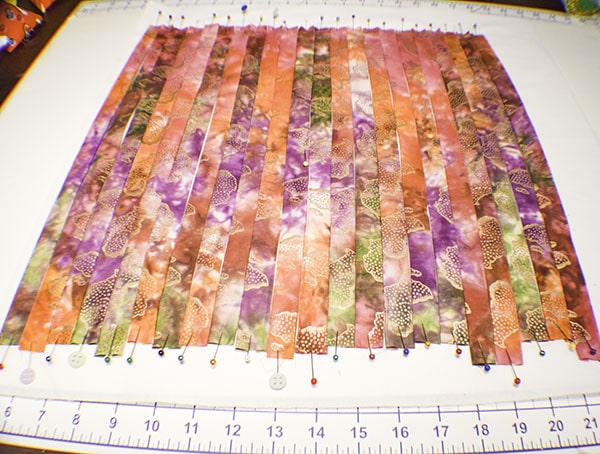
Step 5: Weave the Vertical Strips
Take a piece of contrasting fabric and insert it through the end of the Wefty. Weave the strip over one strip and under the next then over and under until you are at the end. Push the first vertical strip to the side and proceed with the next strip starting under the first then over and under etc. Continue until the whole square is complete.
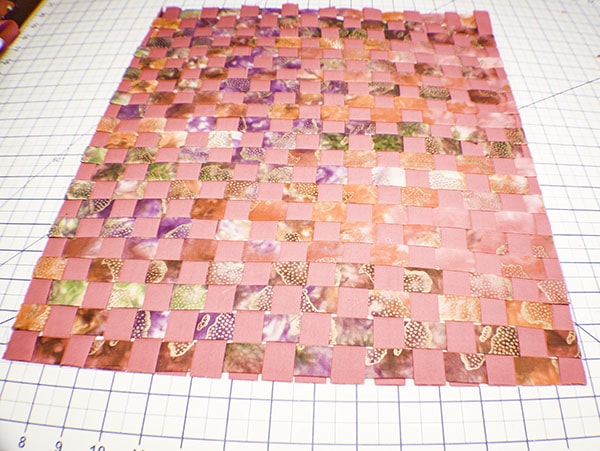
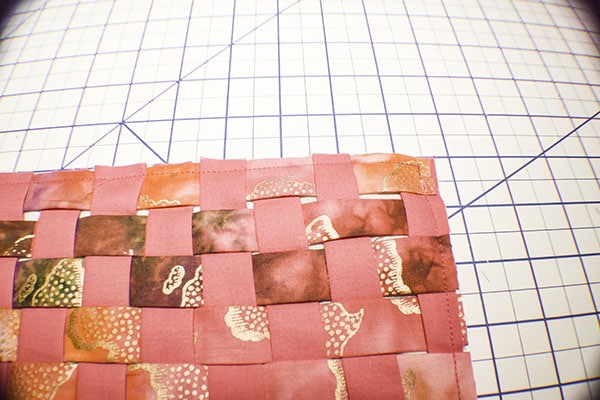
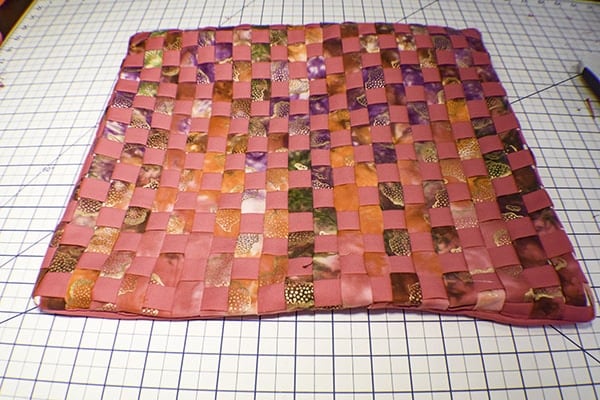
Step 6: Stitch around the Perimeter of the Weave
Carefully remove the weave and interfacing from the board by removing the pins. Press throughly so that the interfacing fuses to the backside of the woven panel. Once the panel and interfacing has fused trim the square to the 16″ x 16″ dimension and stitch around the perimeter of the panel to further secure the weave.
Step 7: Create the Pillow Cover
Hem one of the 16″ sides of both of the back pieces by folding the raw edge under 1/2″ then again by 1/4″. Sew the hem either by hand or machine. Pin the front and back pieces right sides together with the hemmed edges toward the center and overlapping. Sew all the way around the perimeter using a 1/2″ seam allowance. Turn the pillow cover right sides out and insert the pillow form. You have now completed your fabric weave pillow cover.

I hope you like this woven pillow cover tutorial. If you would like more sewing and crafting tutorials sign up for our newsletter and receive access to our free printables library.
If you would like video tutorials of some of Sew Very Crafty's most popular projects subscribe to our free YouTube Channel here.