How to Make a Button Pillow
How to Make a Button Pillow
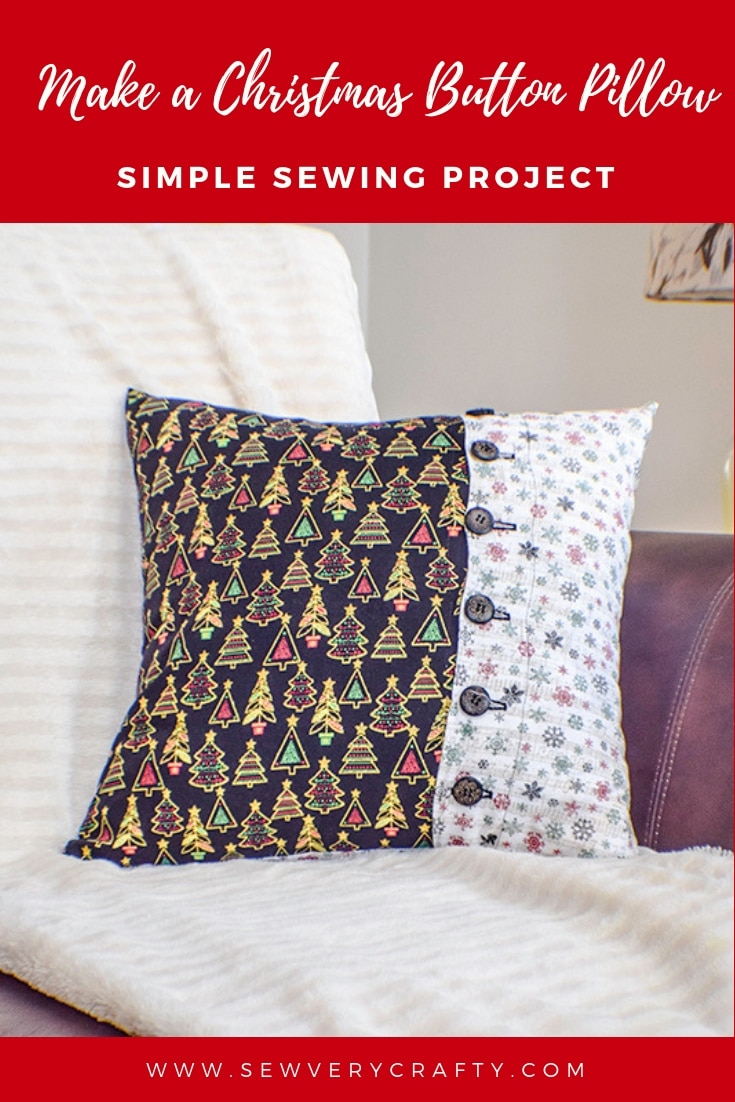
I love decorative throw pillows. I have them all over my house, on the sofa and in the bedrooms. They are perfect for decorating at the holidays. Holiday throw pillows can really jazz up your holiday decorating scheme. While searching for good throw pillow patterns I came across this terrific pattern for a button pillow at Bombshell Bling and thought I would share it with you. Sarah’s Halloween pillow was the inspiration for this Christmas version so check out her site while you are making this project. It is a simple button throw pillow pattern that can be made in no time at all. Because of the buttons on this pillow I am going to rate this as an intermediate sewing project but once you learn how to add the button holes it is a simple project.
I decided to use Christmas fabrics for my button pillow to use for this upcoming Christmas season but you could use any fabrics you like. I purchased my fabrics at JOANN Fabric & Craft Stores but you could head over to Hobby Lobby or Fabric.com to get the perfect fabric for your project. This post contains affiliate links that if you click on them and make a purchase I may receive a small commission at no extra cost to you.
What you will Need: How to Make a Button Pillow
- 17″ x 17″ pillow form or pillow
- 3/4 yd Main Fabric
- 3/4 yd accent fabric
- 6 Buttons – I used six 3/4″ round buttons
- Standard sewing supplies
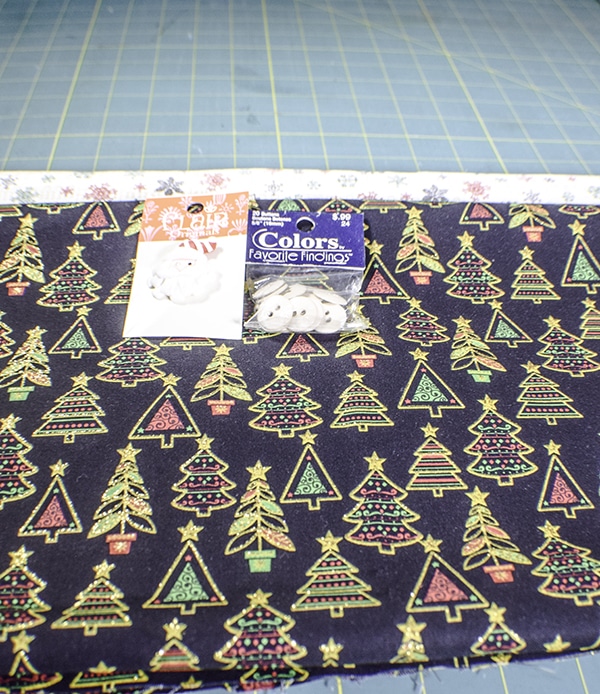
Step 1: Cut the Fabrics
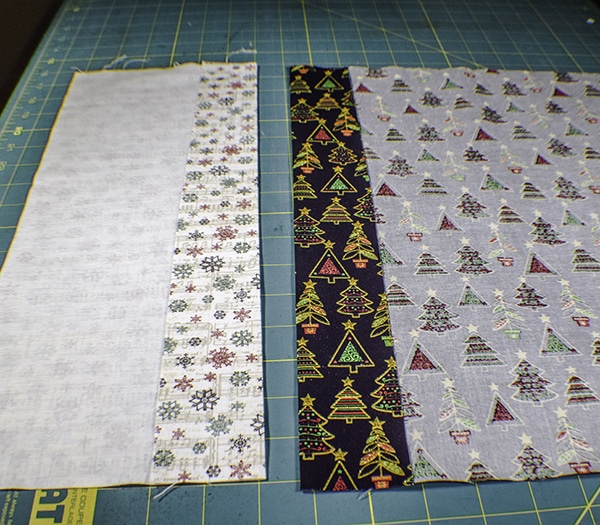
The fabric is enough for two pillow cases. For each pillow you will cut two rectangles and one square. One rectangle will be 8.5″ x 17″ and the other will be 14.5″ x 17″. The square will measure 17″ x 17″. You can make this pillow case smaller or larger if you like. Just adjust your measurements to fit the pillow or pillow form you have on hand.
Step 2: Create the Button Placket
Take one of the rectangle fabrics and fold one of the long raw edges by 2″ and press. Repeat for the other rectangle. Press. Stitch along the raw edge using a 1/4″ seam allowance. This will create a placket that you will add your buttons and buttonholes too.
Step 3: Add the Button Holes
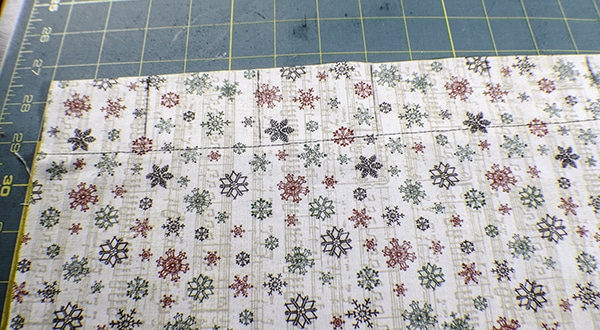
Add six button holes to the smaller of the two rectangles following your machine’s instructions. Measure down 2 1/4″ from each end and place a mark for your top and bottom button holes. Once you have placed the first two button holes measure about 2 1/2″ between the rest of the button holes. This will not be exact. You will place the button holes in the center of the 2″ placard you created. My machine has the option of several different shapes of button holes but I chose a basic rectangle for my holes. Make sure you open the center with a seam ripper without cutting through the stitching. I used a Frixion heat erasable pen to mark my button holes. You can get these pens over at my Amazon shop here.
Step 4: Add the Buttons
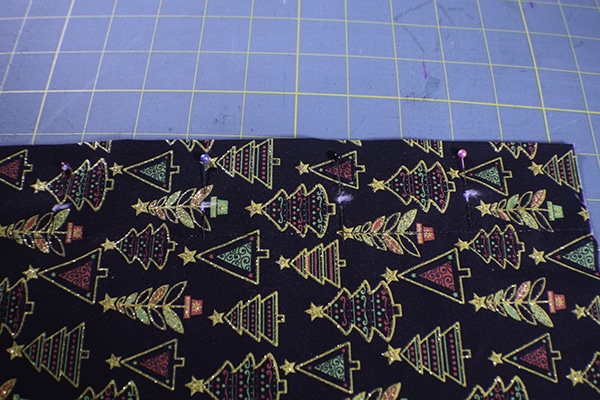
Place the buttonhole placard on top of the other rectangle making sure that the square that the pieces create measure 17″ x 17″. Mark the location for the buttons and sew them on either by hand or with your machine. Because my fabric is black I used tailor’s chalk to mark the location for the buttons.
Step 5: Sew the pillow together
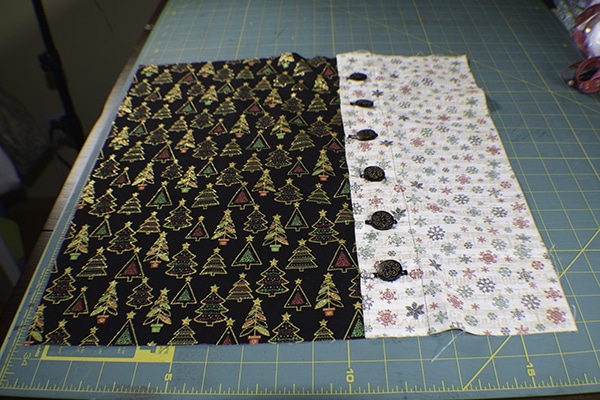
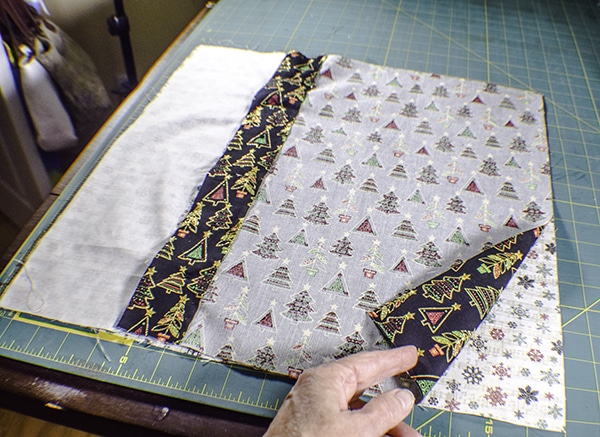
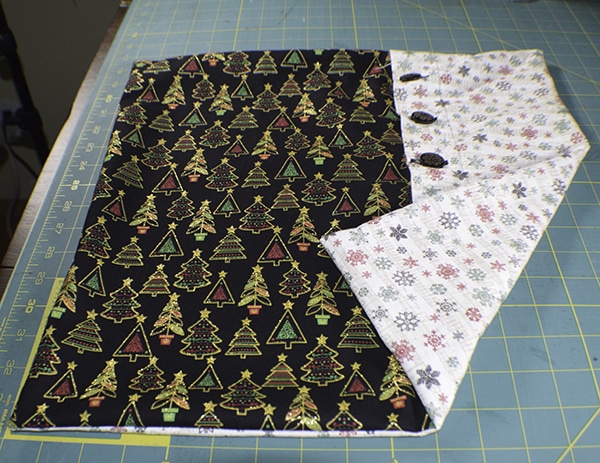
Button the top and bottom buttons leaving the others unbuttoned. Place the two buttoned rectangle pieces right sides together with the square piece and sew all the way around using a 1/4″ seam allowance. Turn the pillow case right sides out.
Step 6: Add the Pillow
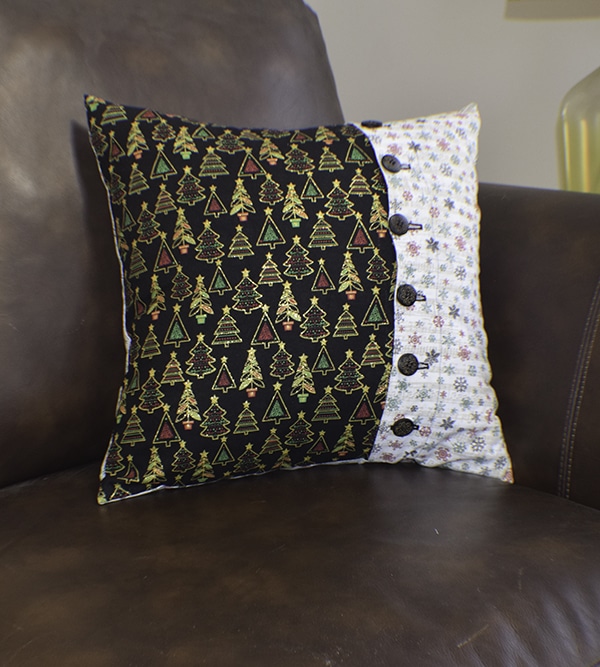
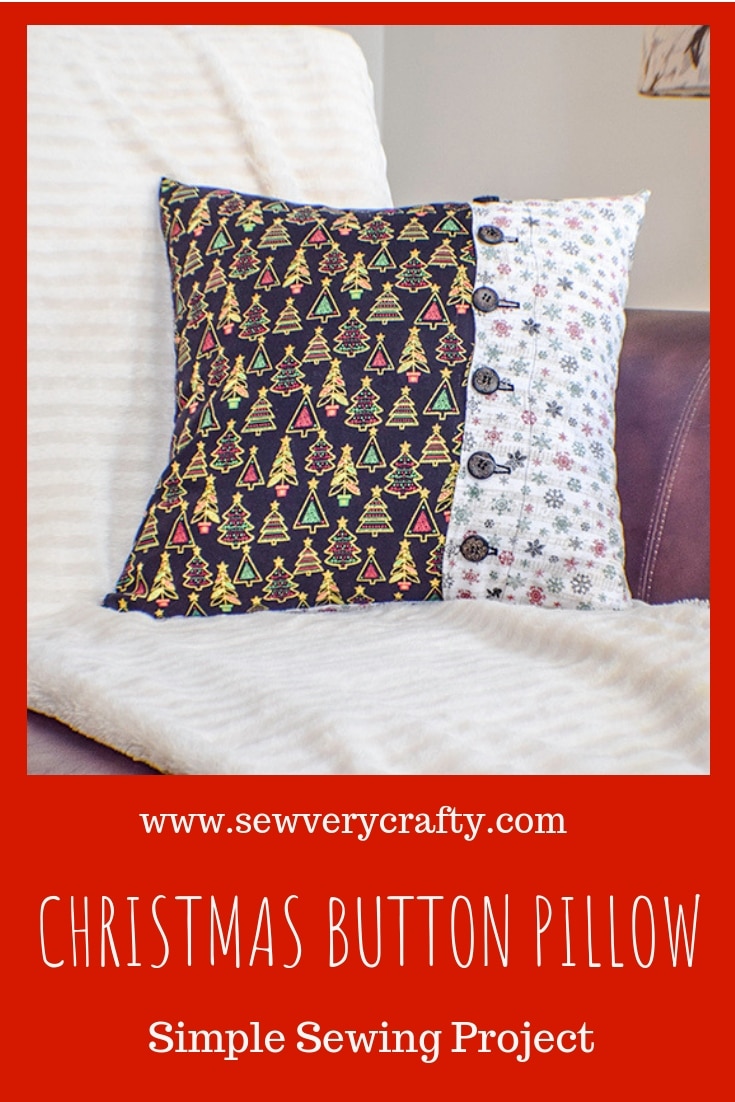
Add the Pillow to the pillow case and button the remaining buttons and you have completed your button pillow.
I hope you enjoyed this project. If you would like more sewing and crafting projects sign up for our newsletter and receive your free eBook of 15 handbag patterns and tutorials.


