
How to Make a Fleece Flap Hat
The cold weather is just around the corner. There is nothing like a fleece flap hat to keep the cold out and the warmth in. This is a simple sewing project that anyone with basic sewing skills can make. There are so many different colors and prints of fleece that you can make a hat that is totally you. I, of course, had remnants that I used for my fleece flap hat but you could choose a sports theme, Disney, or just about anything. That is the beauty of this hat. It is fun and functional.
My remnants came from JOANN Fabric & Craft Stores![]() but you can head to Hobby Lobby or Fabric.com to find dozens of prints and colors of fleece that would be perfect for this project. This post contains affiliate links that if you click on them and make a purchase I may receive a small commission at no extra cost to you. Keep in mind this hat is reversible so you have the chance to pick two different fun colors or prints.
but you can head to Hobby Lobby or Fabric.com to find dozens of prints and colors of fleece that would be perfect for this project. This post contains affiliate links that if you click on them and make a purchase I may receive a small commission at no extra cost to you. Keep in mind this hat is reversible so you have the chance to pick two different fun colors or prints.
If you would like a video tutorial of this project head over to YouTube and check out my video.

What you Will Need: How to Make a Fleece Flap Hat
- Pattern you can get Here
- 1/2 yd outer fabric
- 1/2 yard inner fabric
- Basic Sewing Supplies
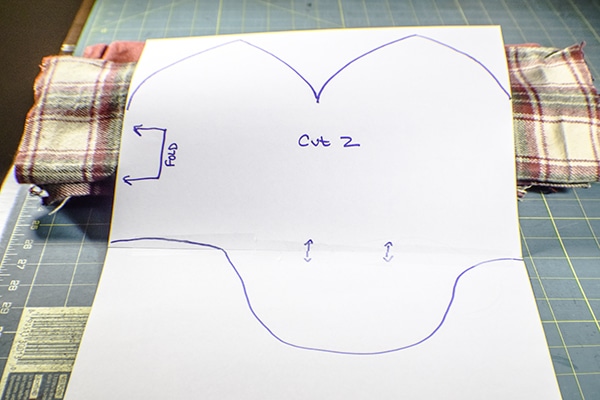
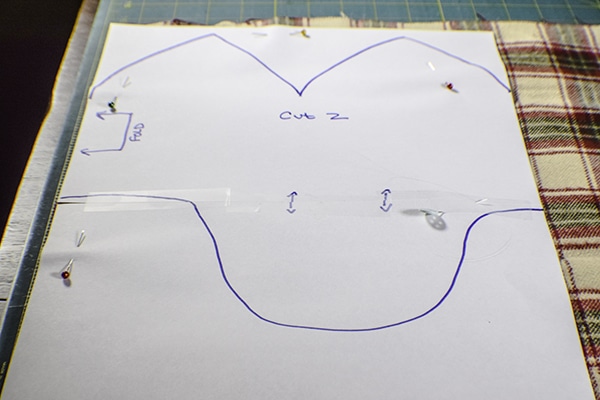
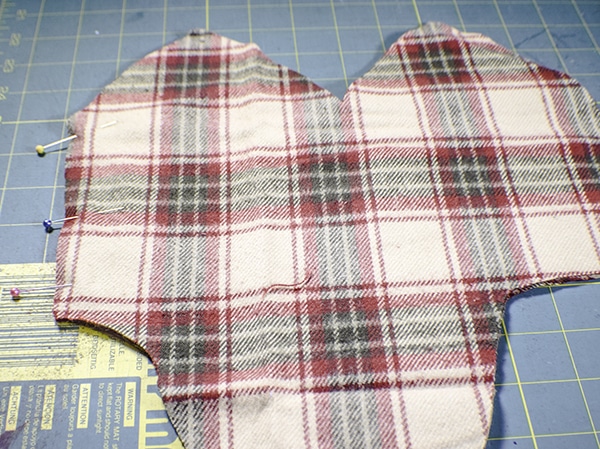
Step 1: Cut out the pattern
Print out the pattern and tape the two pieces together by abutting the two pieces of paper together. Cut the pattern on the fold of two different pieces of fleece. Then cut two rectangles that measure 1 3/4″ x 15″ for the straps.
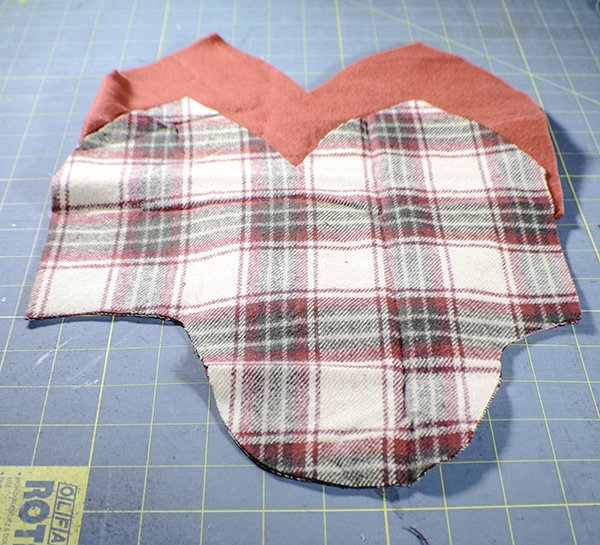
Step 2: Sew the back
Using a 1/4″ seam allowance sew the straight raw edges right sides together. At this point you just want to stitch the straight edge which constitutes the back of the hat. Do this for both pieces.
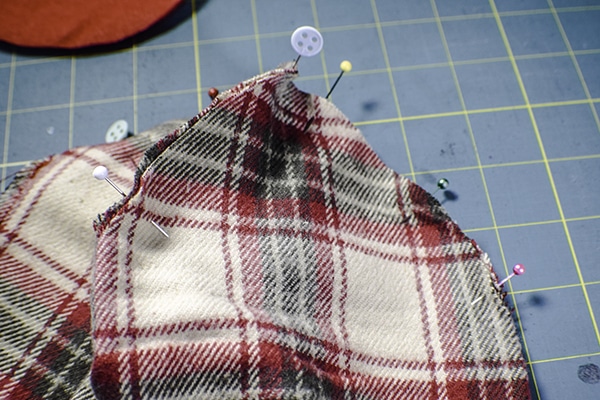
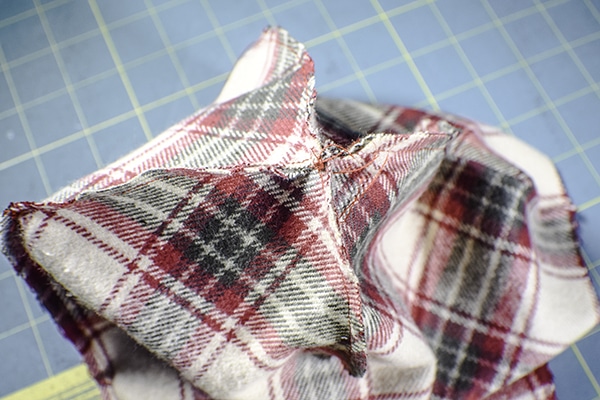
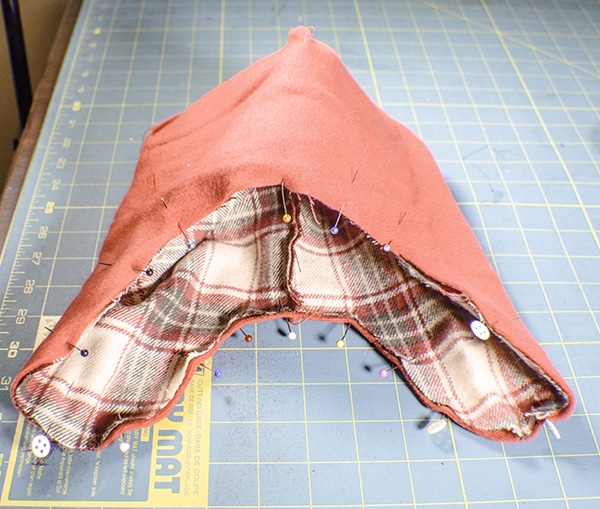
Step 3: Sew the crown
You will notice that the crown of the hat looks like a crown. Take the individual crown pieces and stitch them to the piece immediately next to it until all of the pieces are joined together and the top of the hat is finished. You will do this with right sides together using a 1/4″ seam allowance. Repeat for the second piece. You will have two completed hats.
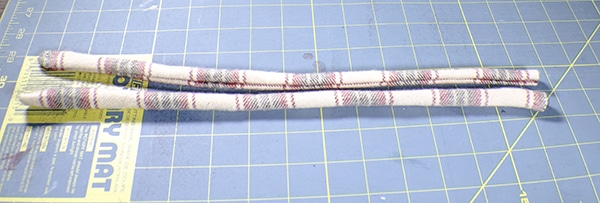
Step 4: Sew the Straps
Sew the long raw edges and one short edge right sides together using a 1/4″ seam allowance. Turn the strap right sides out.
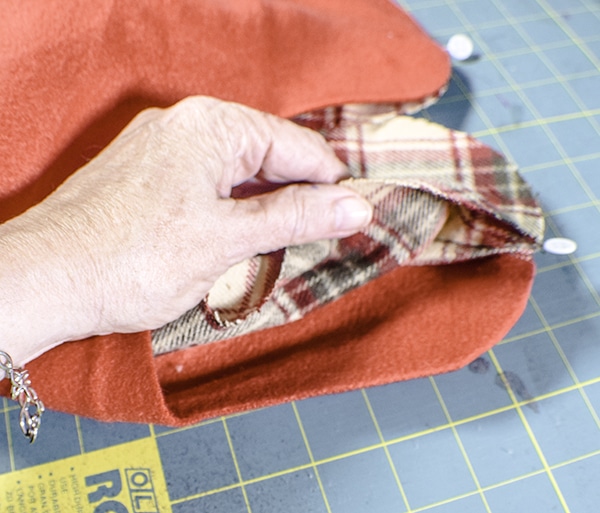
Step 5: Add the Straps
Place one hat inside the other hat right sides together. Pin the raw edge of the straps to the bottom of each flap so that the strap is nestled between the two hats. Pin the rest of the two hats together. Stitch all the way around the hat using a 1/4″ seam allowance leaving a 2″ opening at the back of the hat for turning.
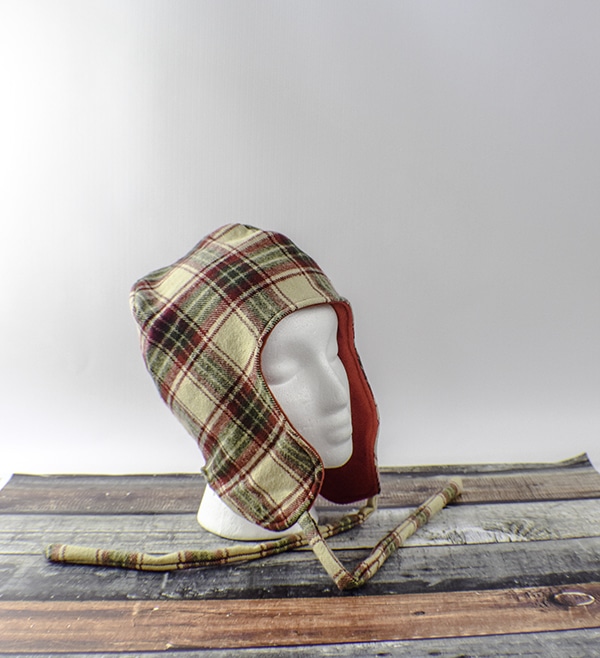
Step 6: finish the hat
Turn the hat right sides out through the opening you left at the back of the hat. Top stitch all around hat making sure to enclose the opening you left at the back of the hat. You have now finished your fleece flap hat.

I hope you enjoyed this fun winter sewing project. If you would like more sewing and crafting projects sign up for our news letter and receive access to our free printables library.
If you would like more winter sewing projects check out my winter hat and scarf post or my winter beret post among others.

I love it! Is adult size! I am going to make it!
Great. It is super simple too.