
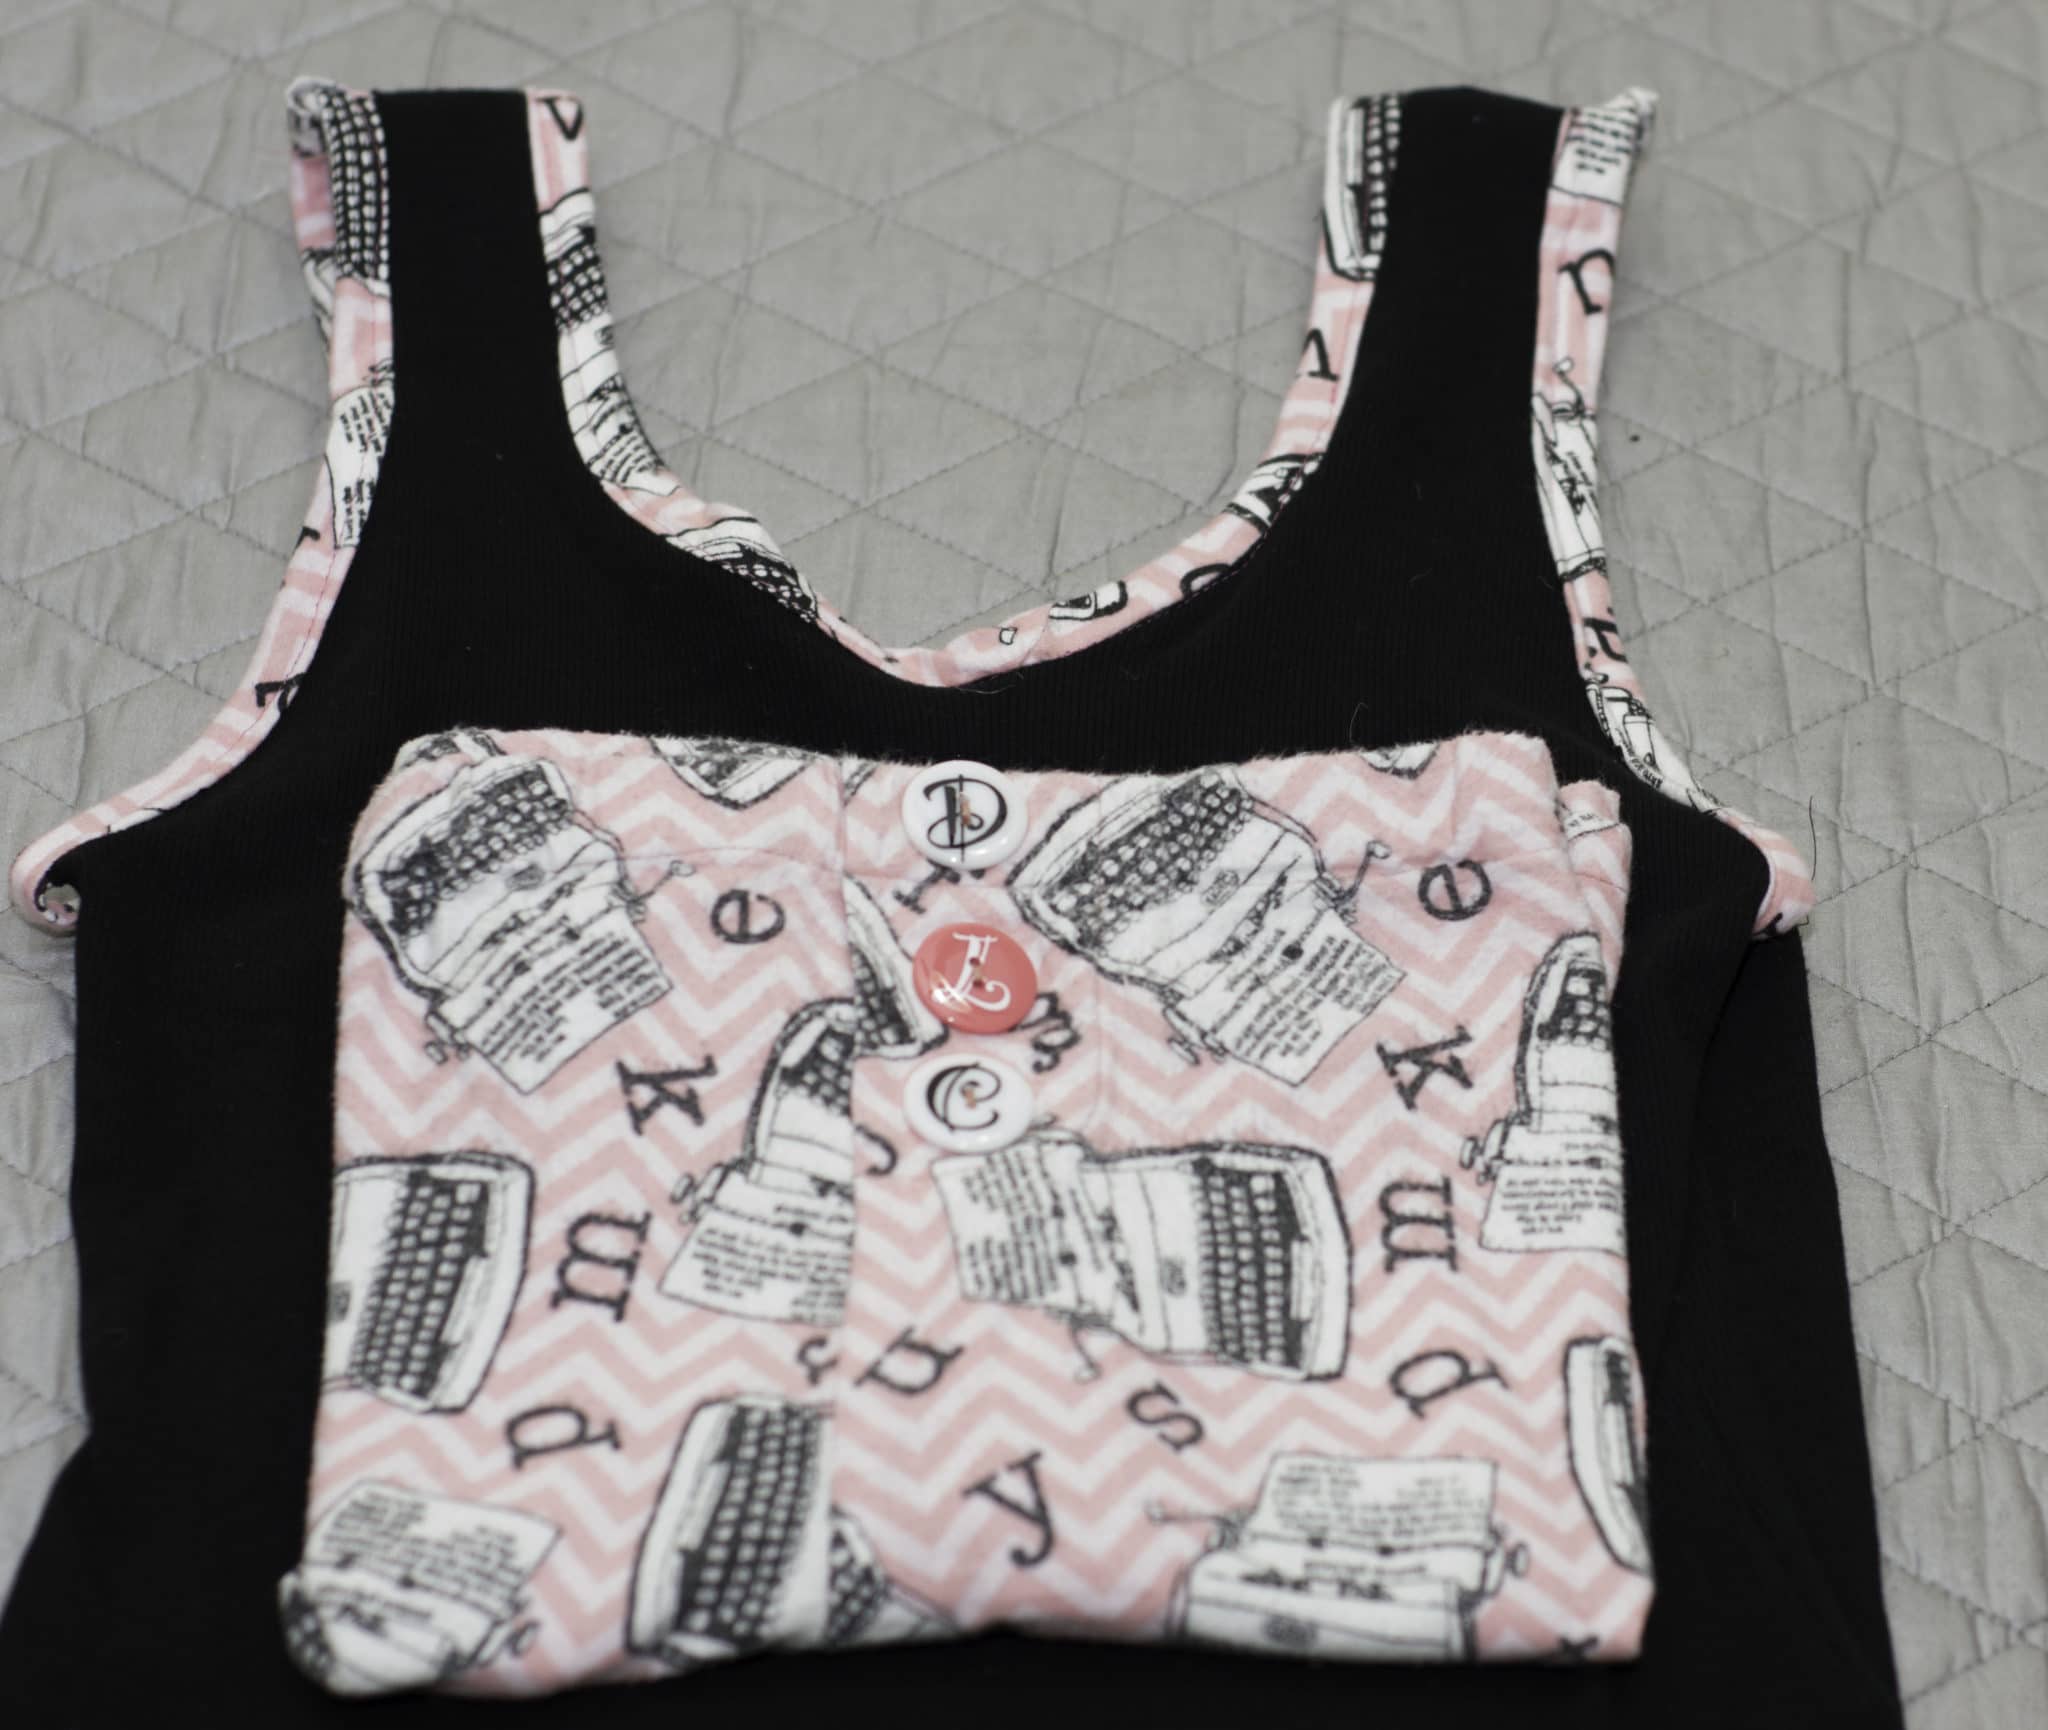
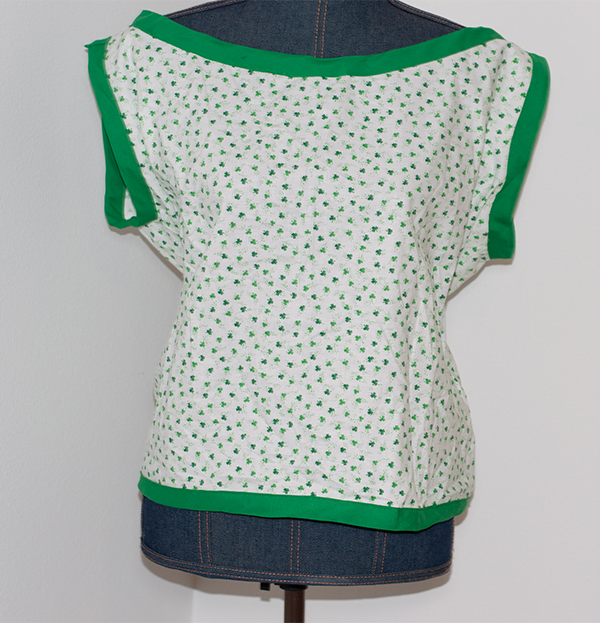
No Pattern Tank Top with Matching Bias Trim.
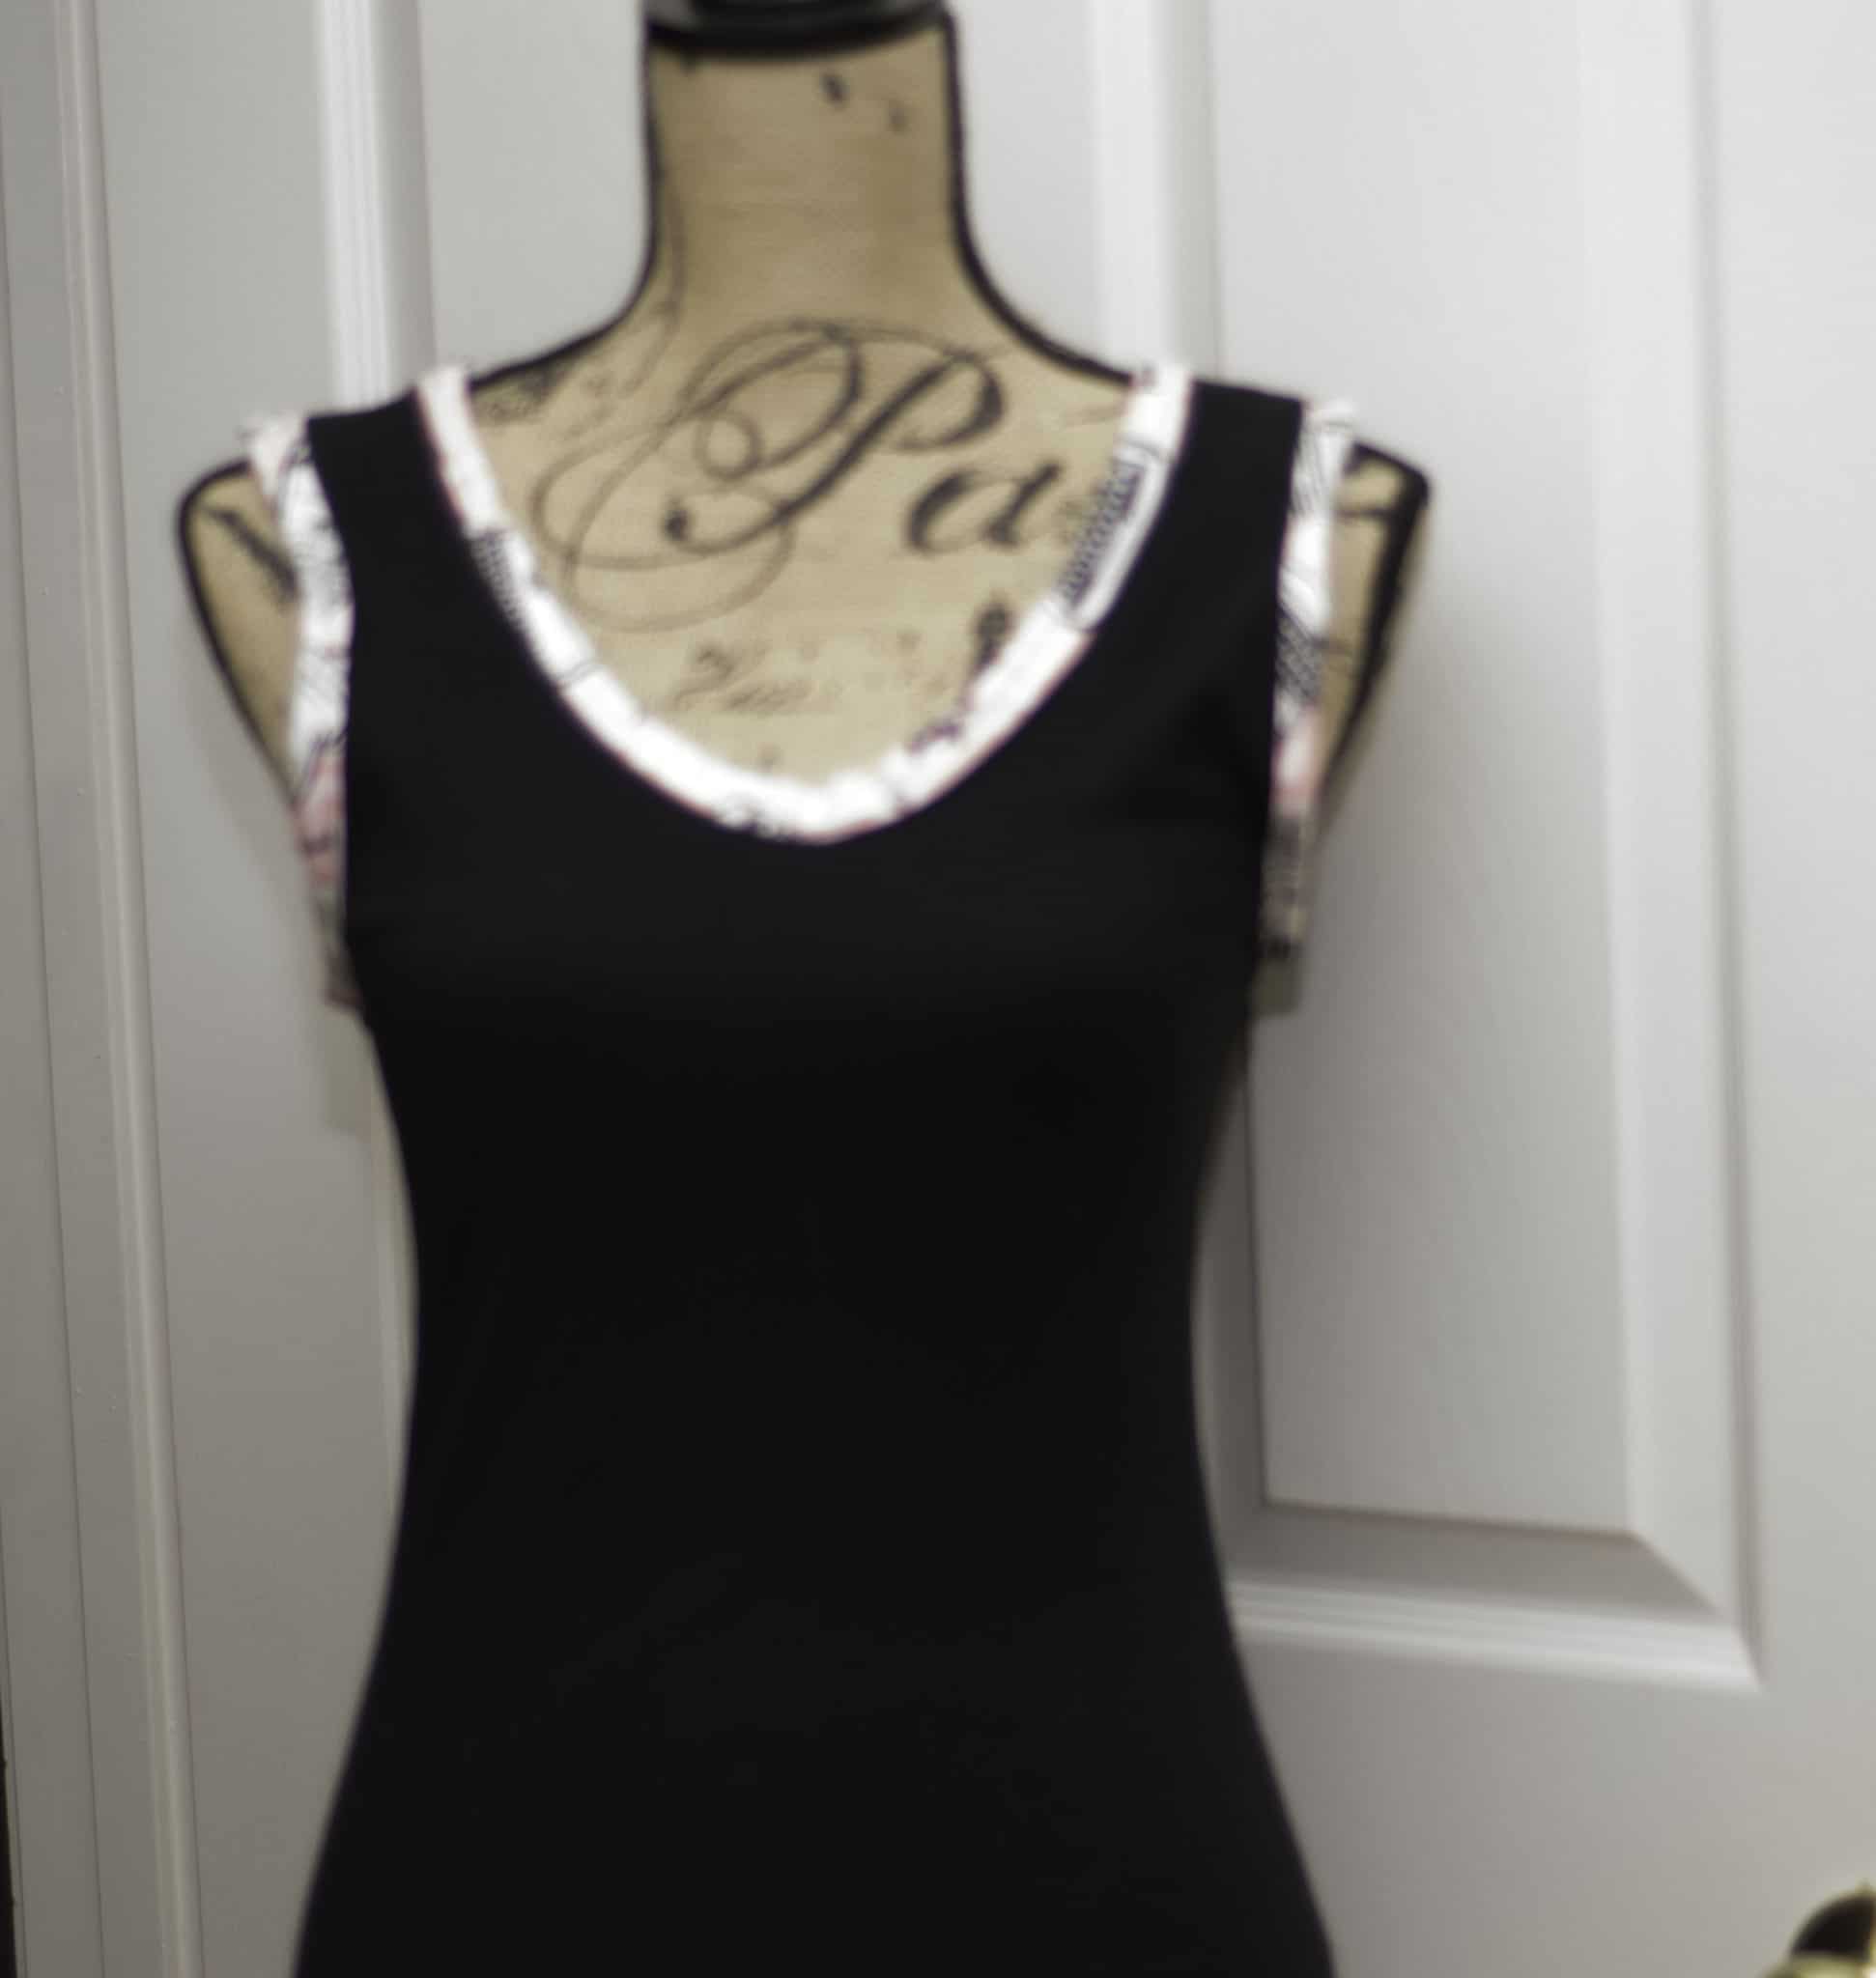
This is the promised matching tank top to go with the previously demonstrated sleep shorts. I used black to highlight the black typewriters in the fabric I chose for the shorts. Of course you can choose any fabric that matches your sleep shorts. I made my own bias binding according to my bias binding tutorial but you can either make your own or buy pre-made bias tape that matches your shorts. If you need fabric for this project head over to Fabric.com or Hobby Lobby to purchase exactly what you need.
What you will need:
- 1/2-1 yd. of ribbed knit fabric in the color of your choice.
- Matching thread
- An old tank top of a size that fits
- Bias tape to match the shorts you previously made.
- If making your own bias tape, you will need extra shorts fabric and a 1/2 inch bias tape maker. You can get a set of four bias tape makers inexpensively from Amazon.com or other online stores. I got mine for about $7.00 from Amazon.
- Iron
- Scissors
- Paper

Step 1: Cut Out the Pattern:
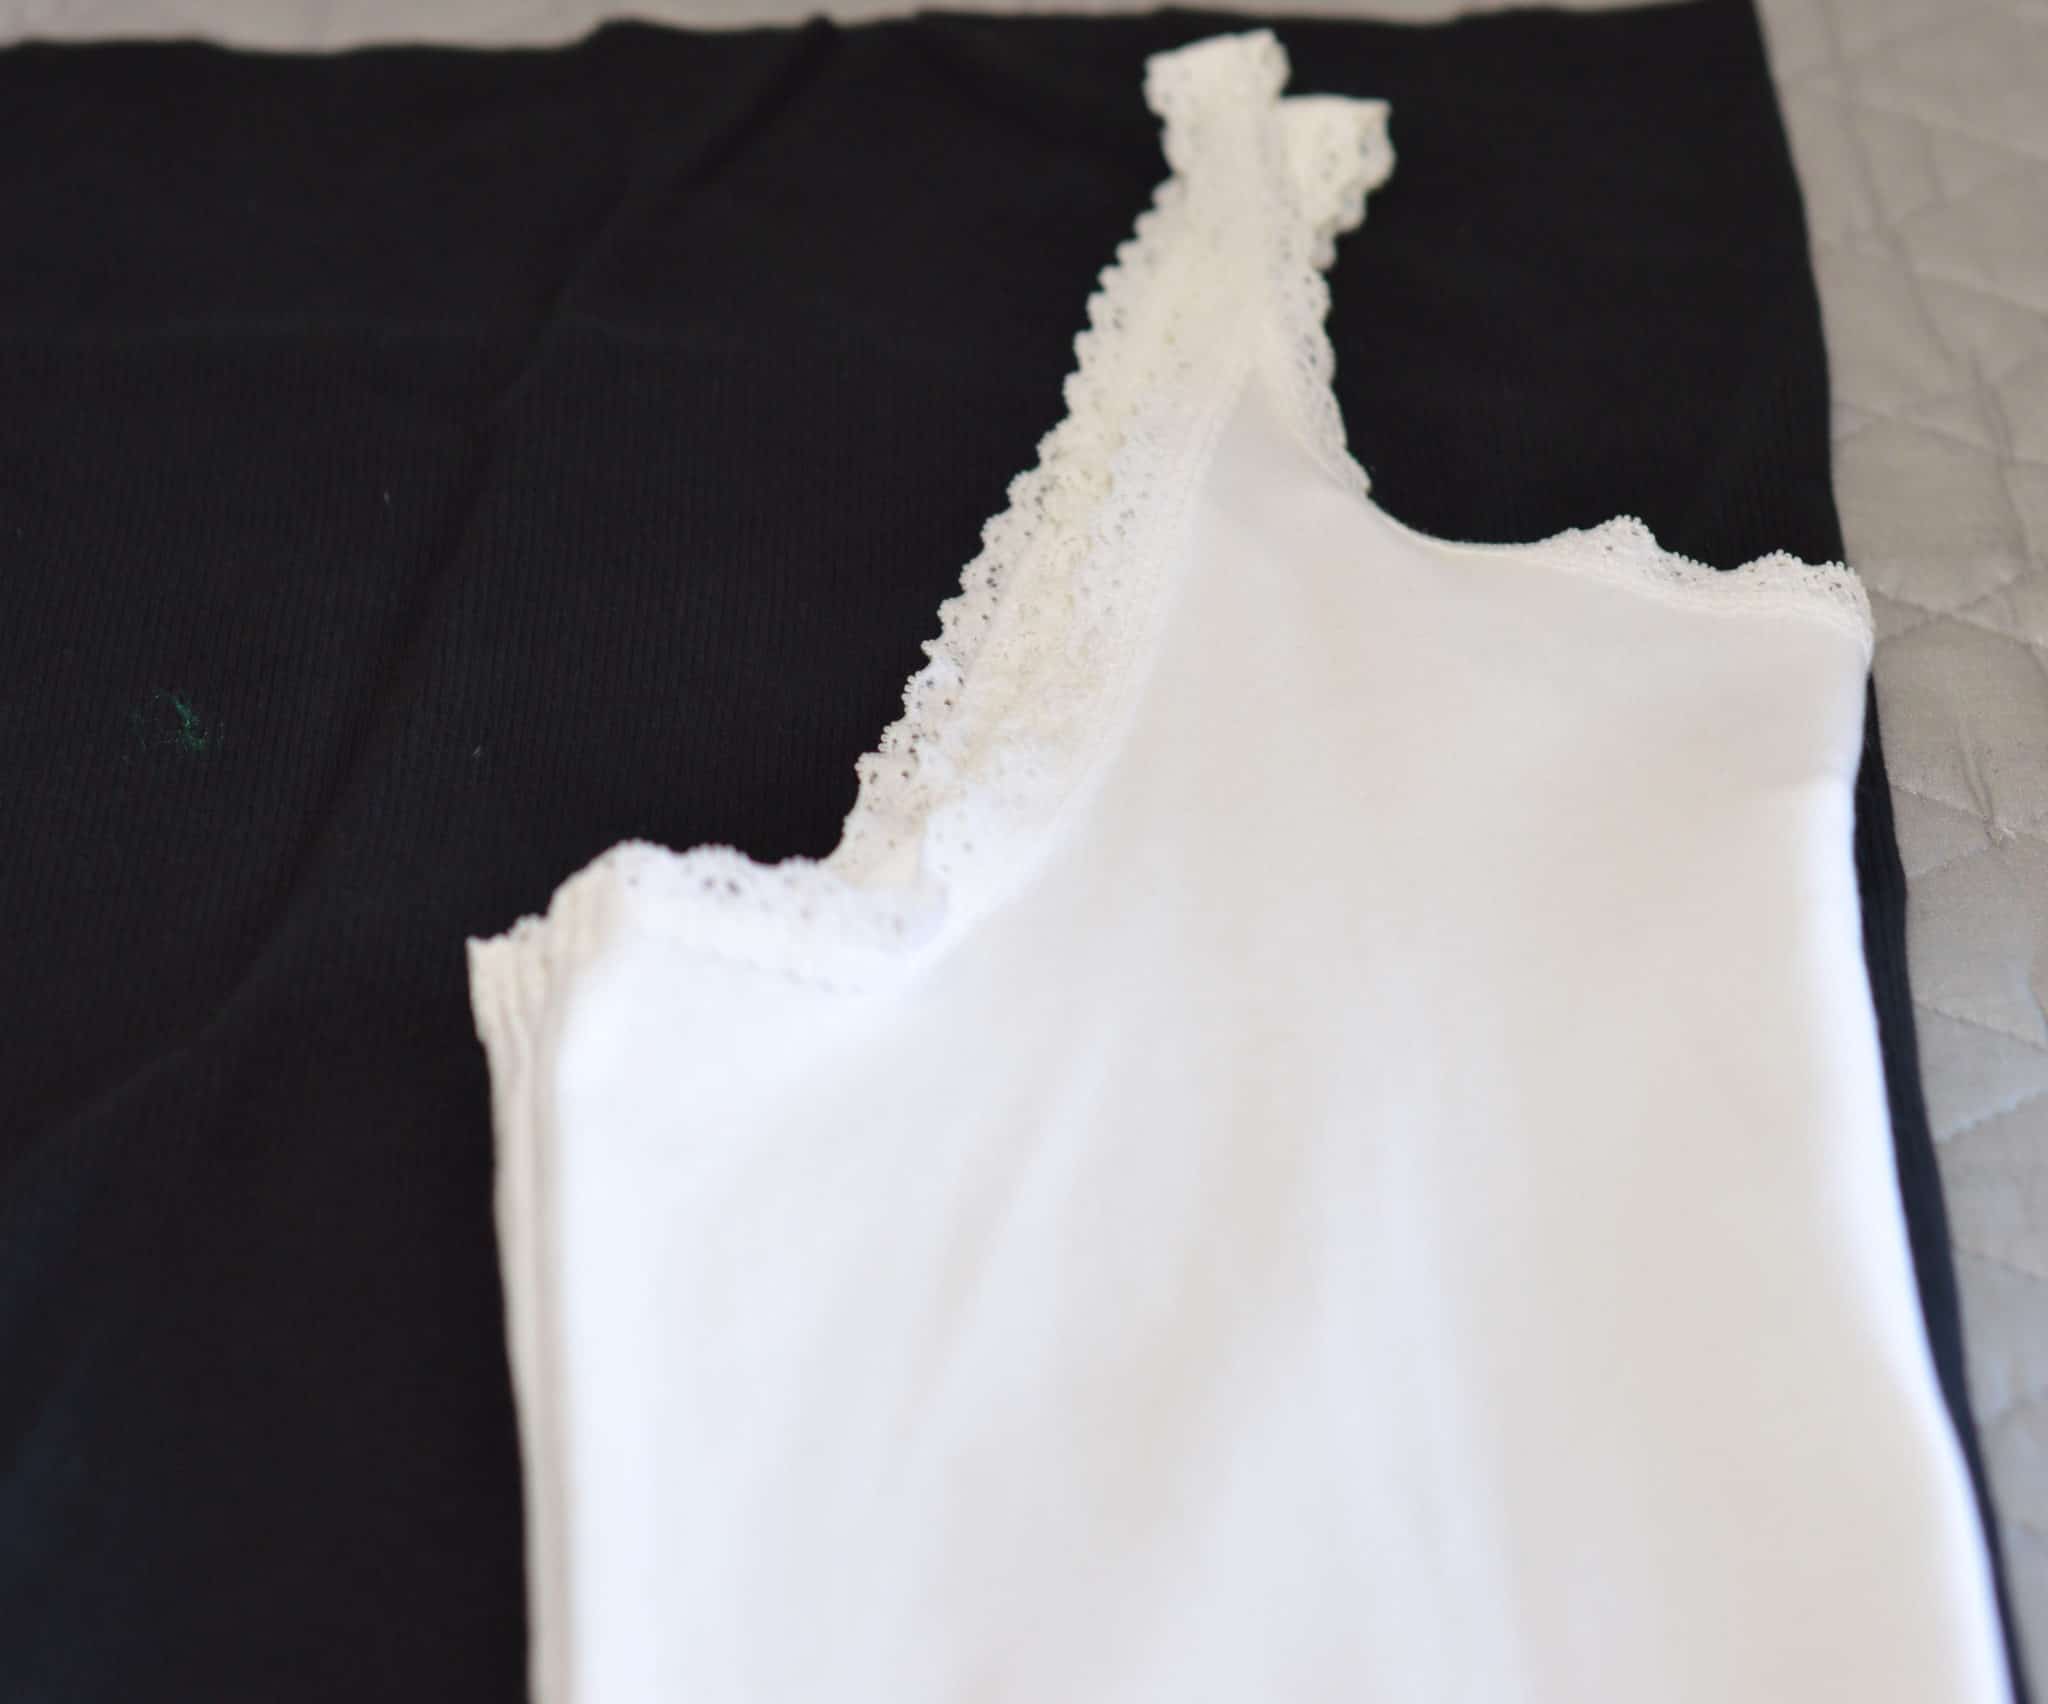
The first thing I did was find a tank top that fit me well. I then Folded the tank in half lengthwise and placed onto the fold of black ribbed fabric. I did the same for the backside of the top as well.


I cut out the pattern pieces making sure not to cut the folded edge.
Note: You can draw these pieces onto paper for future use if you want.
Once the two Pattern pieces were cut out, I opened them up and sewed the front to the back at the shoulders and then along the sides.
This completes the shell of the tank top and all that is left is to add the matching bias tape.
Step 2: Sew on the Bias Tape
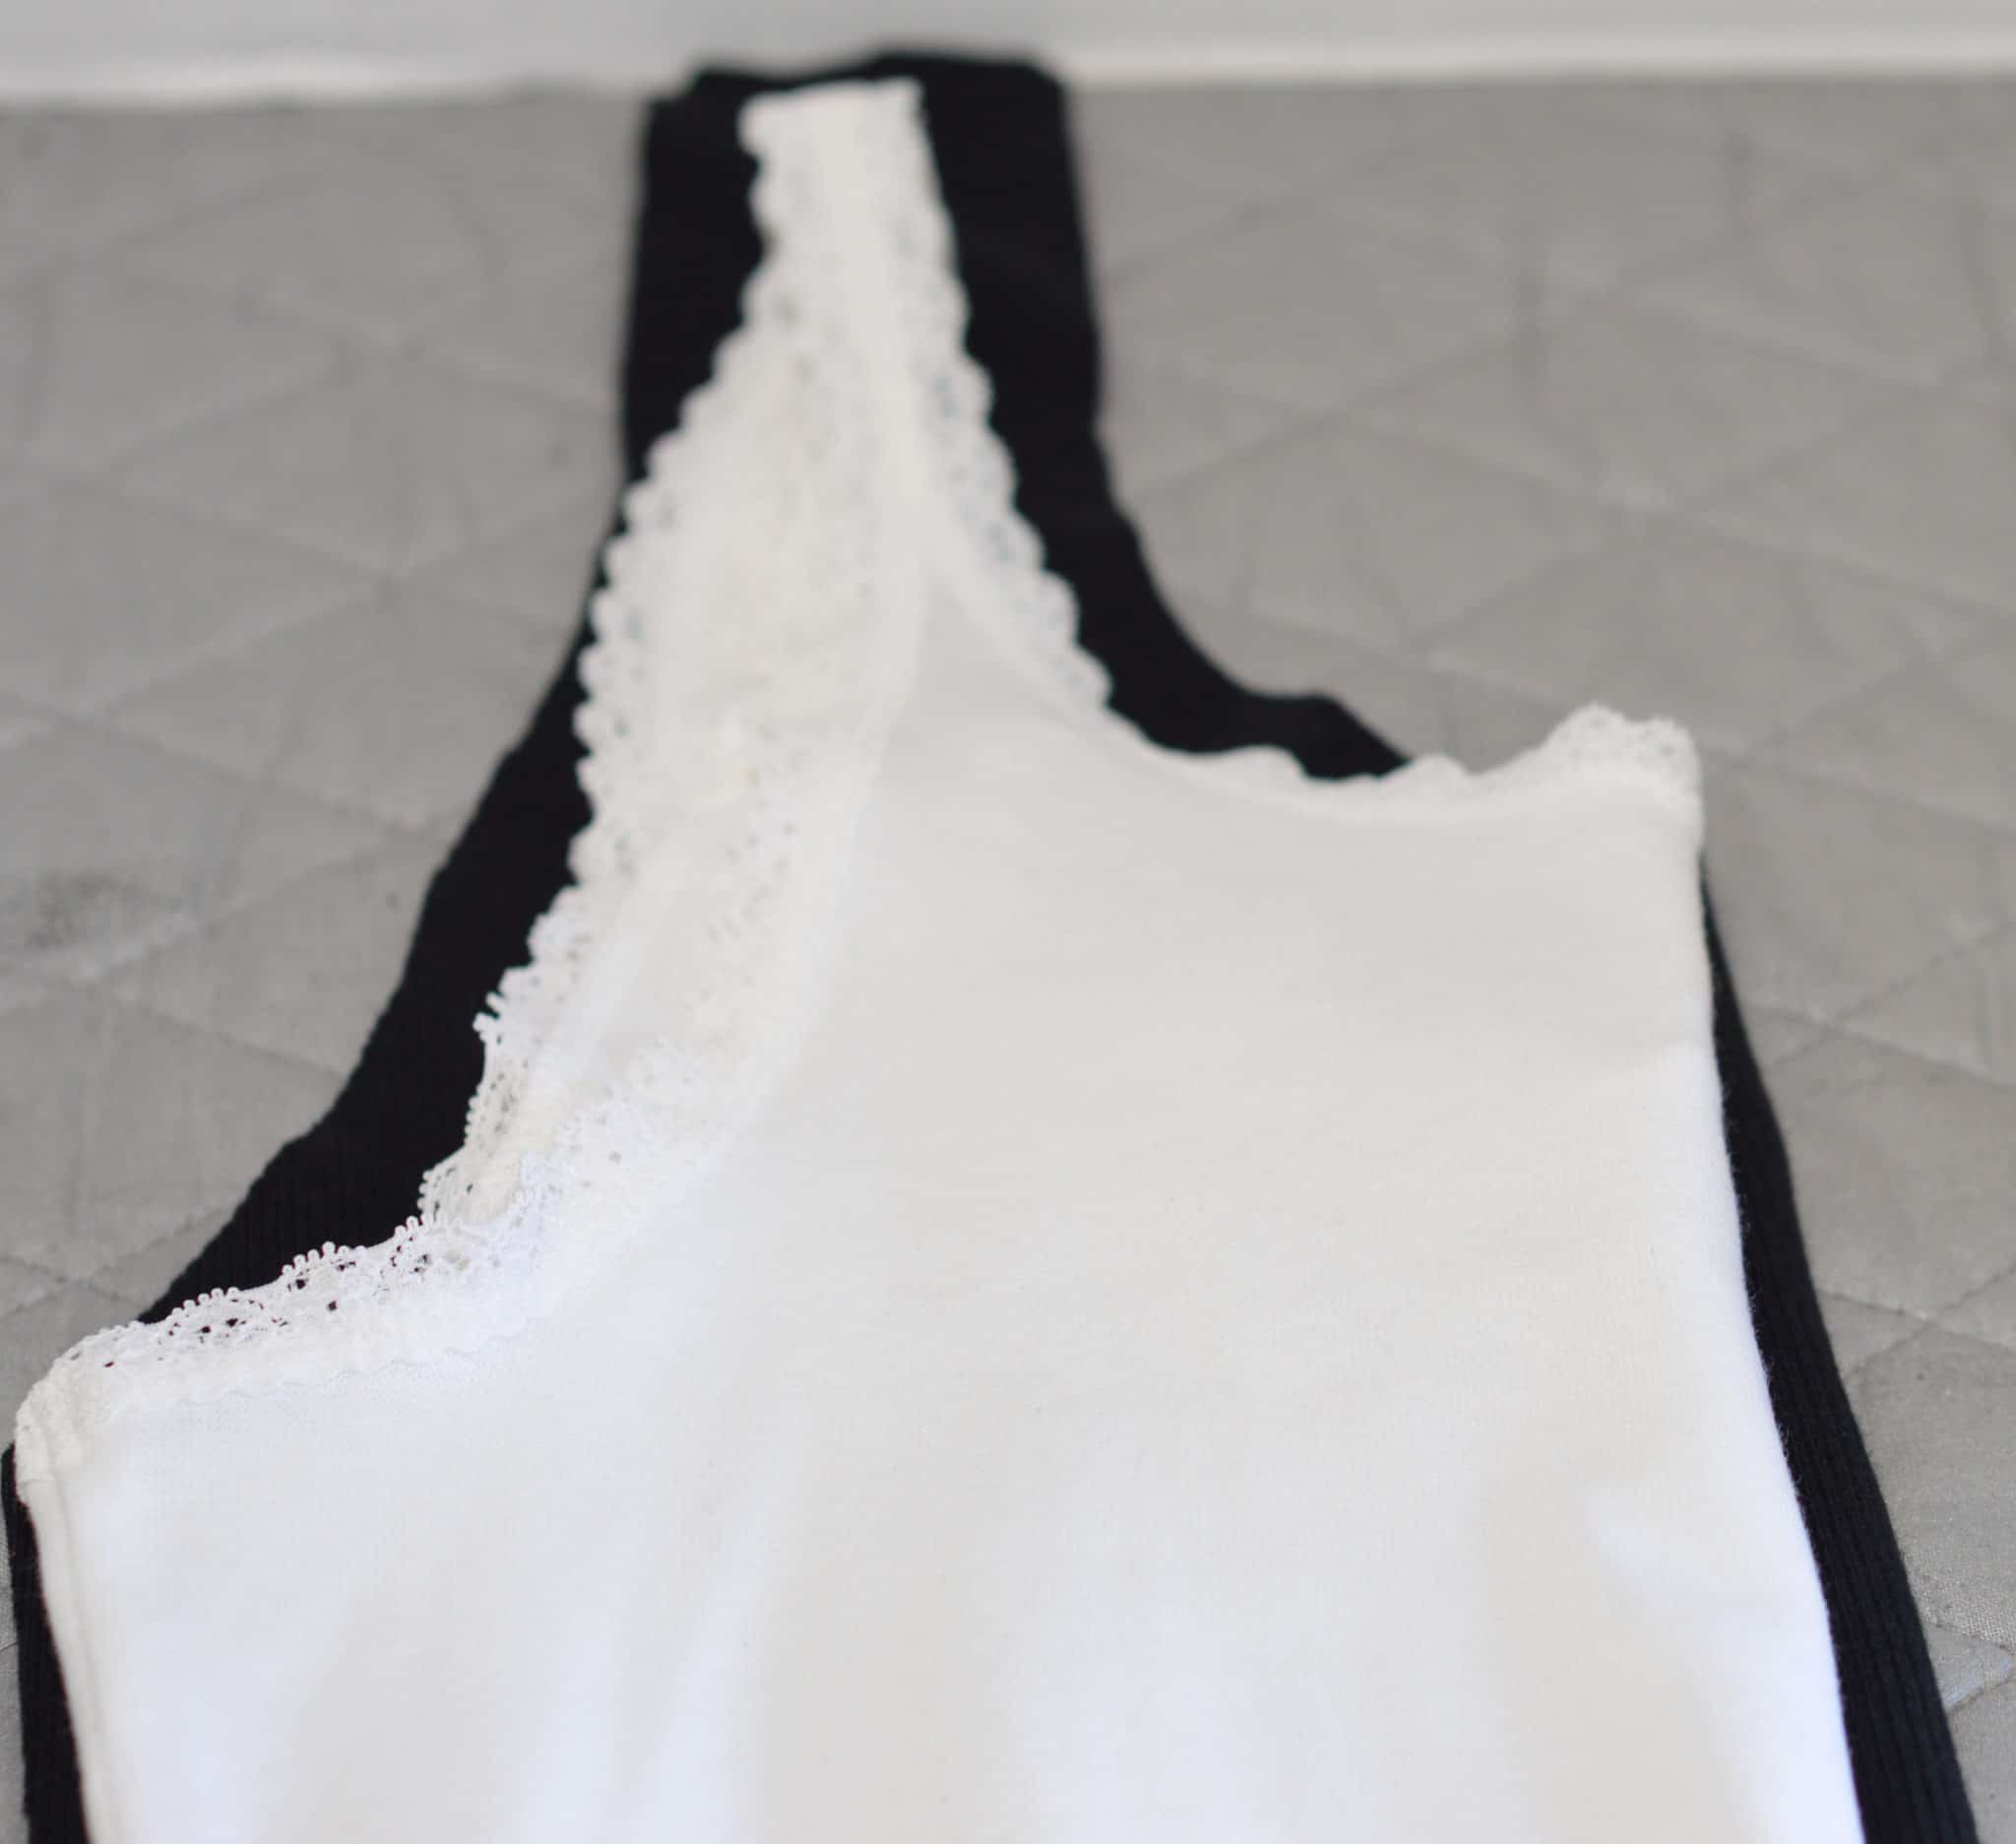
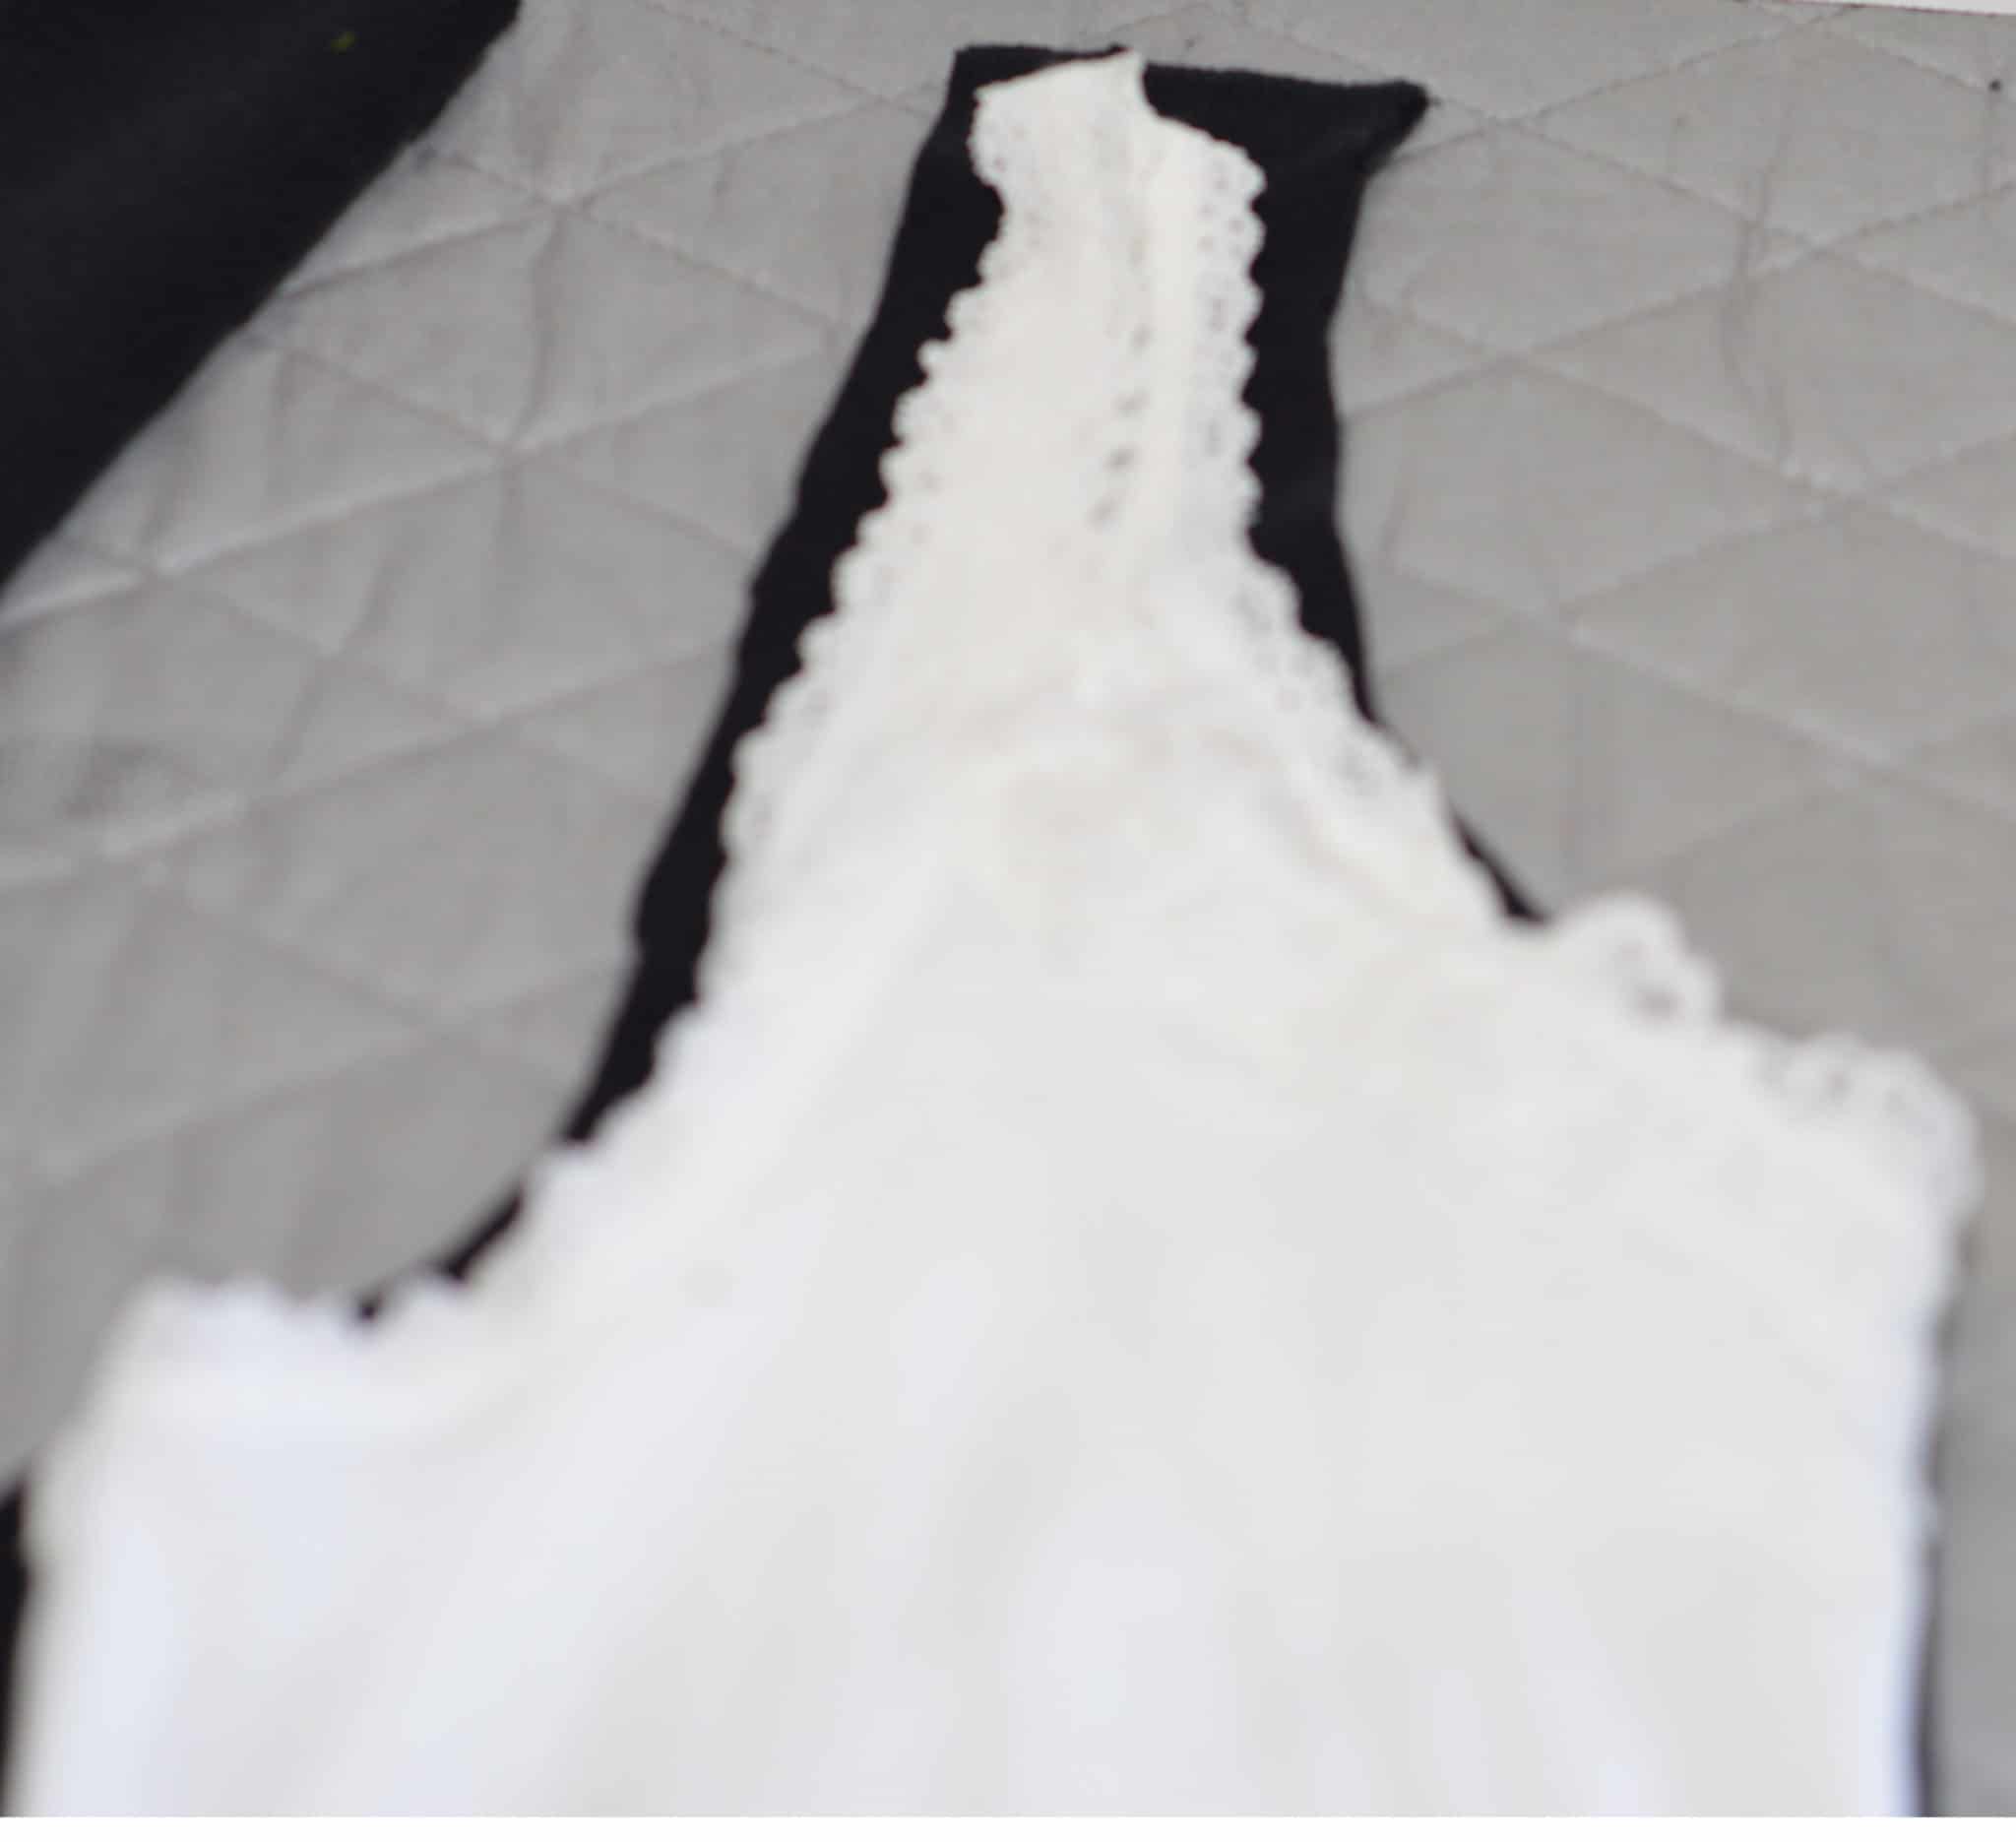
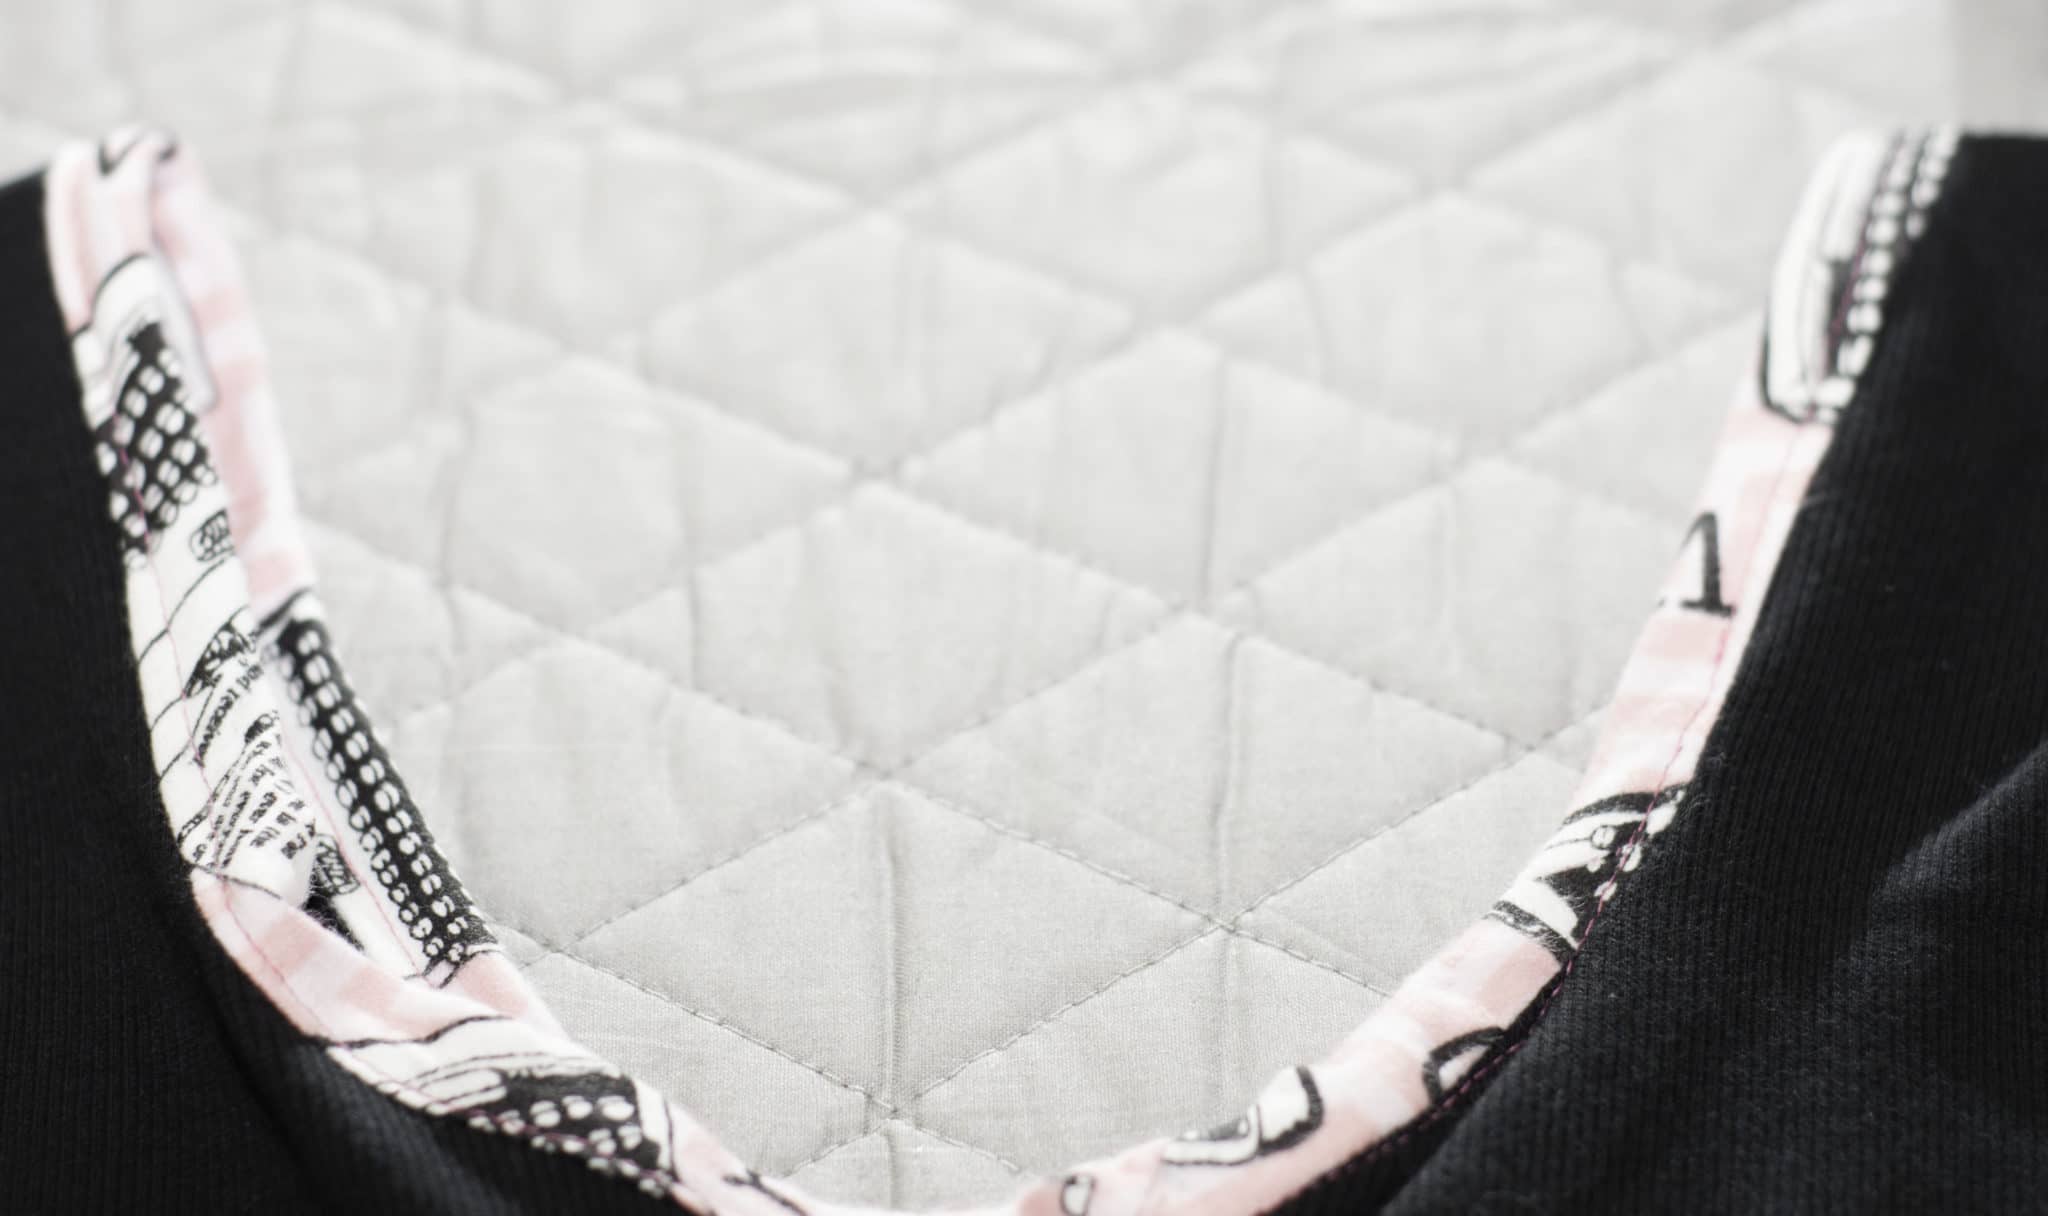
Once you have made your coordinating bias tape or purchased pre-made bias tape you can begin by pinning it to the neck line of your tank. If you would like to make your own bias tape I have included a short tutorial here. I took one raw edge of the bias tape and attached it to the raw edge of the neck line beginning at the shoulder seam. I left a little overlap at the shoulder. I pinned the bias tape all along the neck line until I reached the beginning. Because the tape is cut on the bias of the fabric it stretches and will easily lay flat all around the circular neck line.

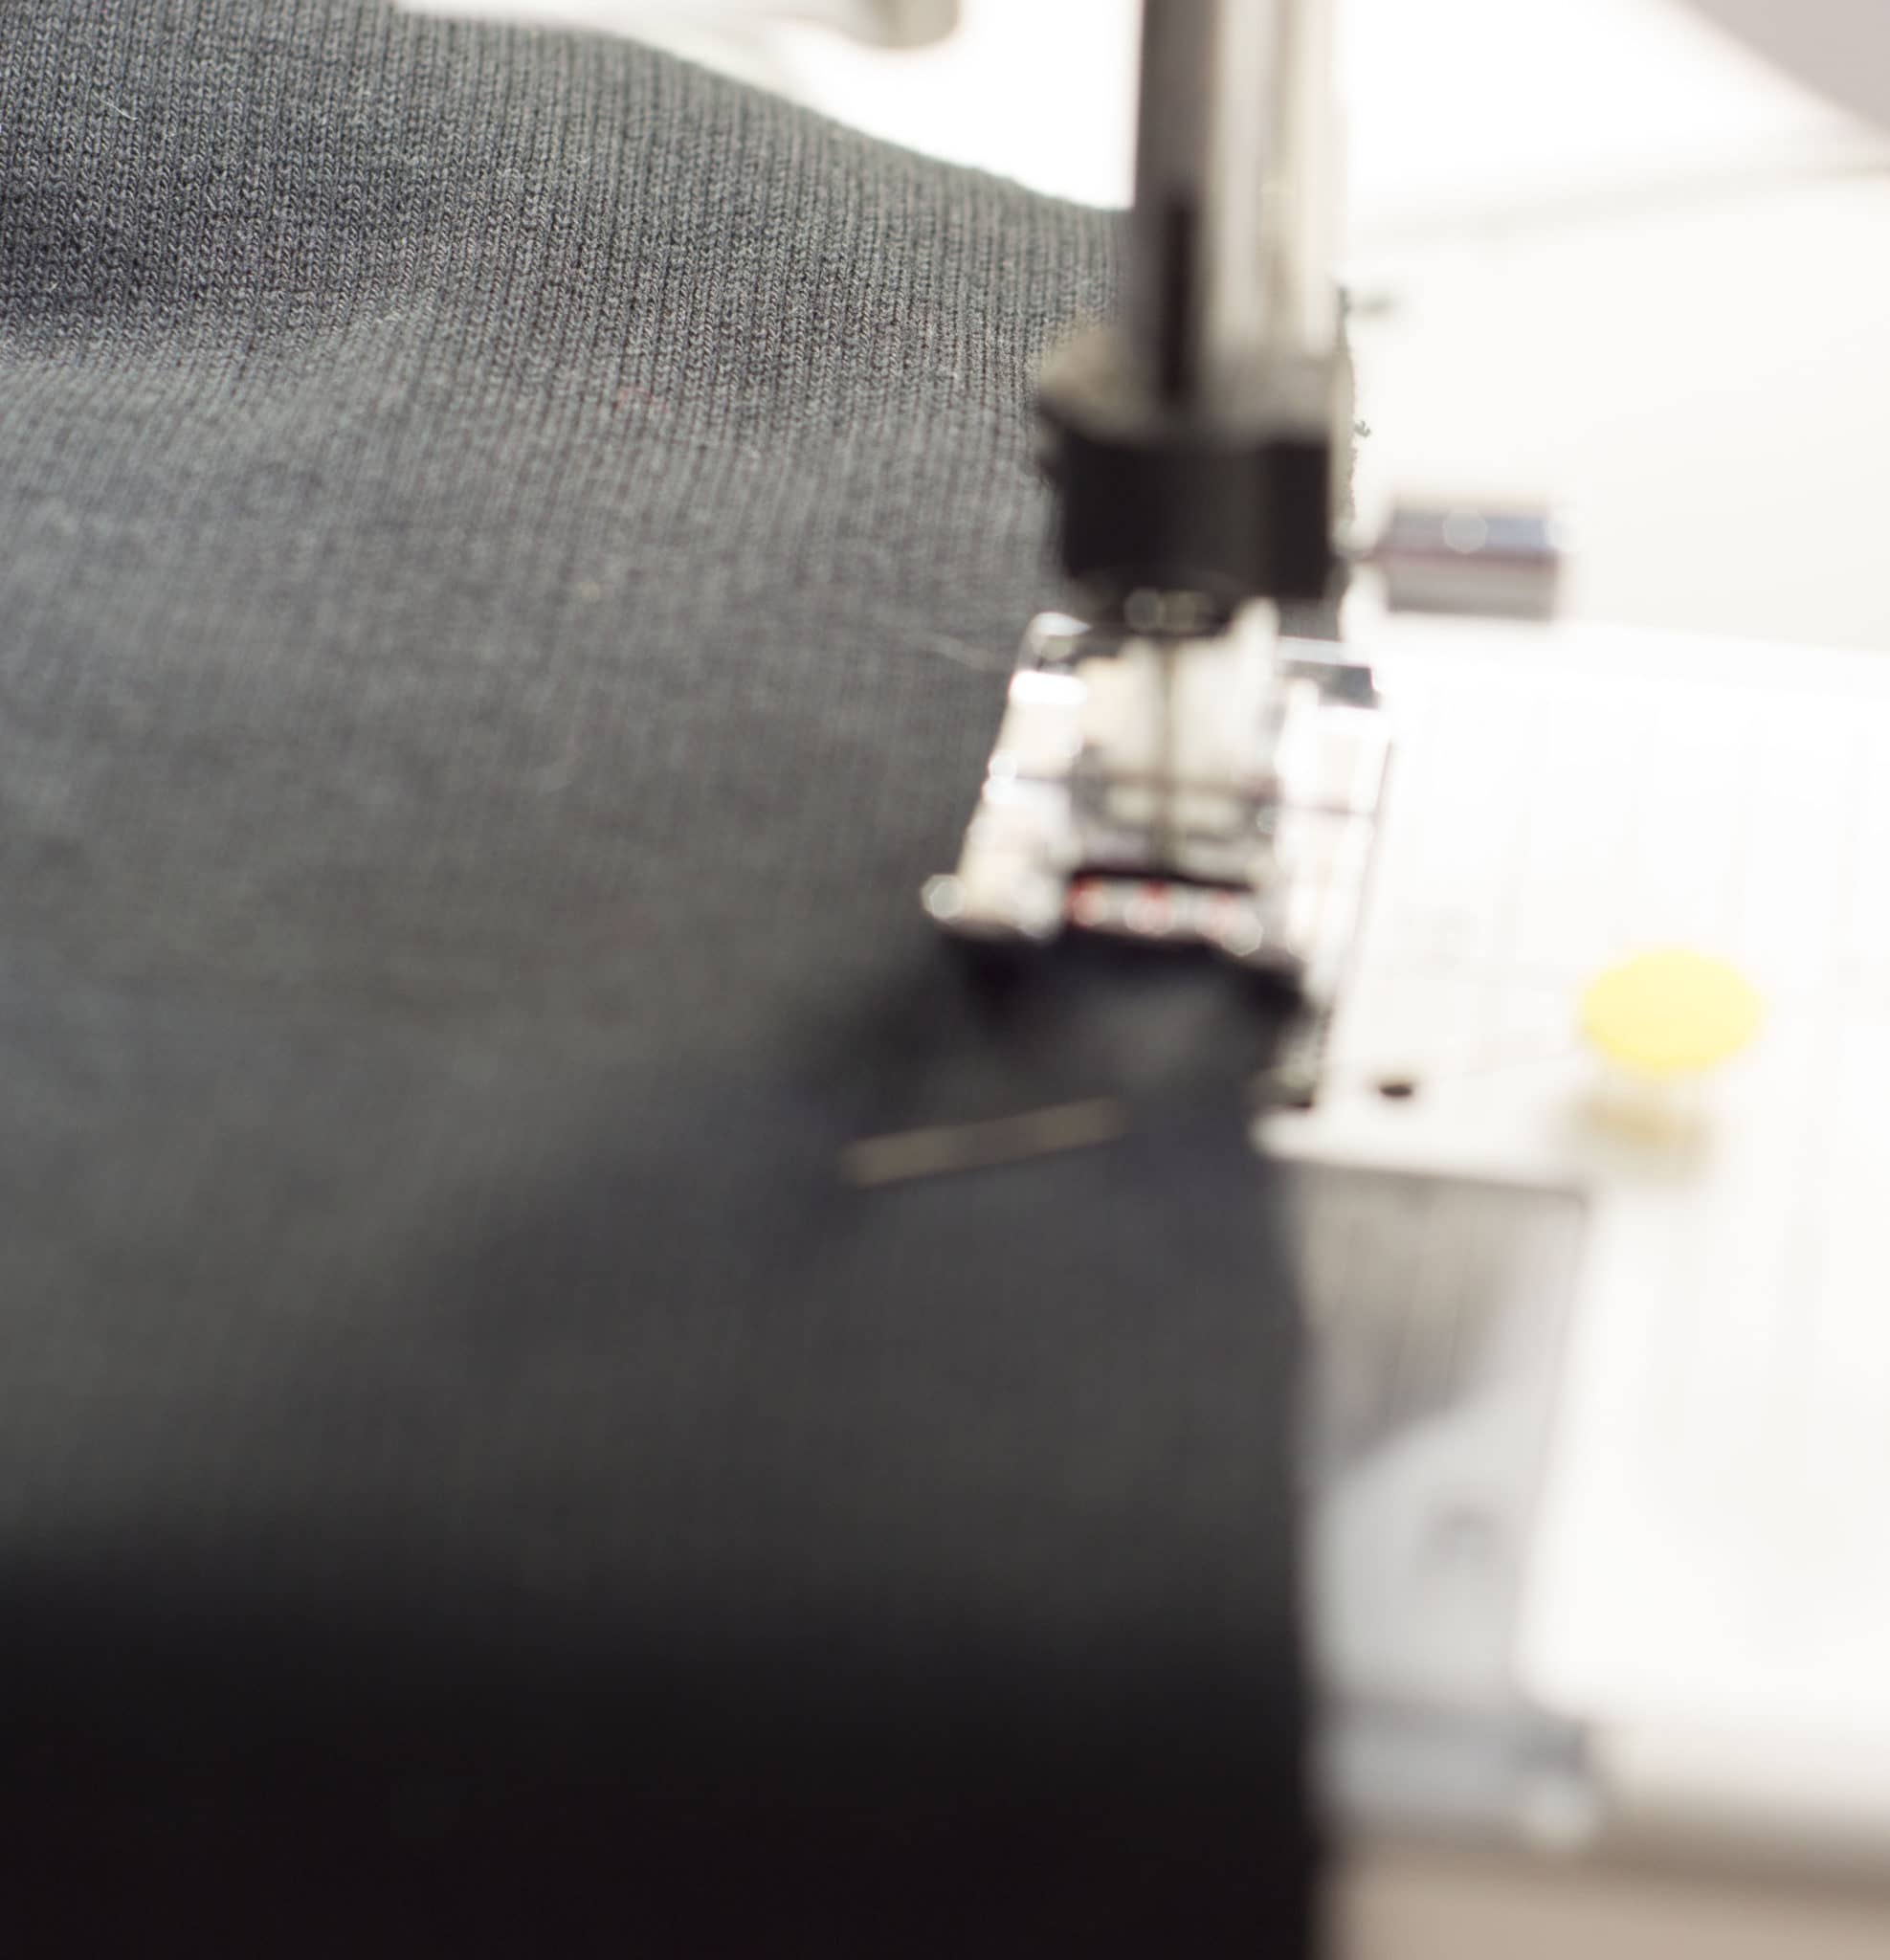
Once you have pinned the tape fold under the excess at the shoulder to make a clean finish then sew close to the edge. Once you have completed sewing all the way around the edge, fold the bias tape over so that the other folded edge covers the seam you created. Pin the tape then sew around the neckline again.
Once you have completed the neckline, do the same process for each of the arm holes. Then you have a tank top with coordinating neckline and arm holes. All you need to do is sew a small hem on the bottom of the tank and you are finished. You now have a pair of sleep shorts with a coordinating tank top.
