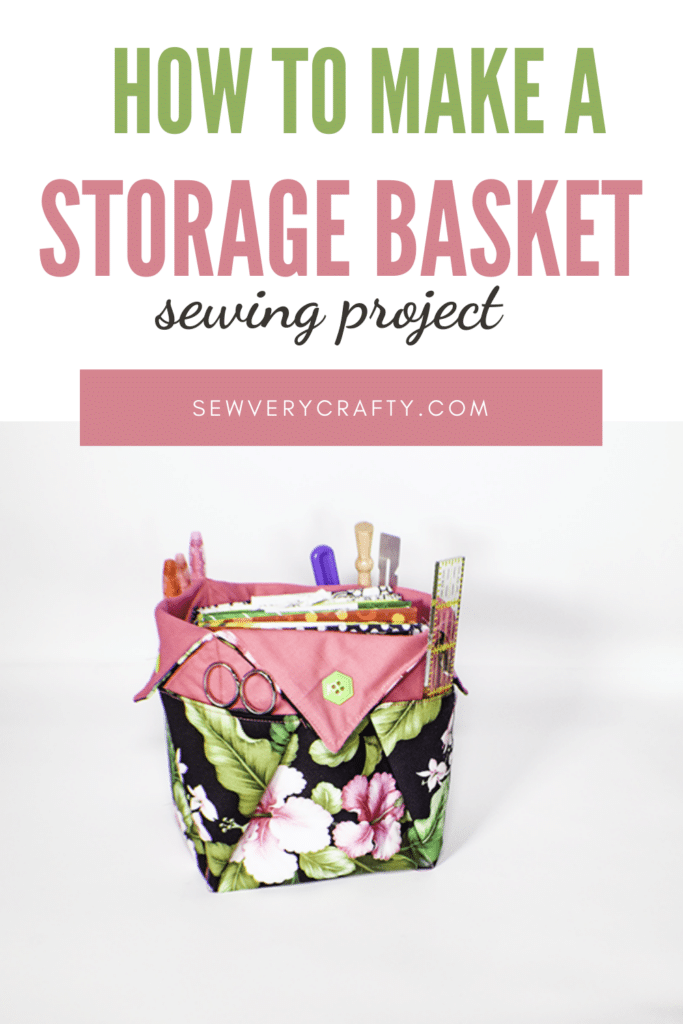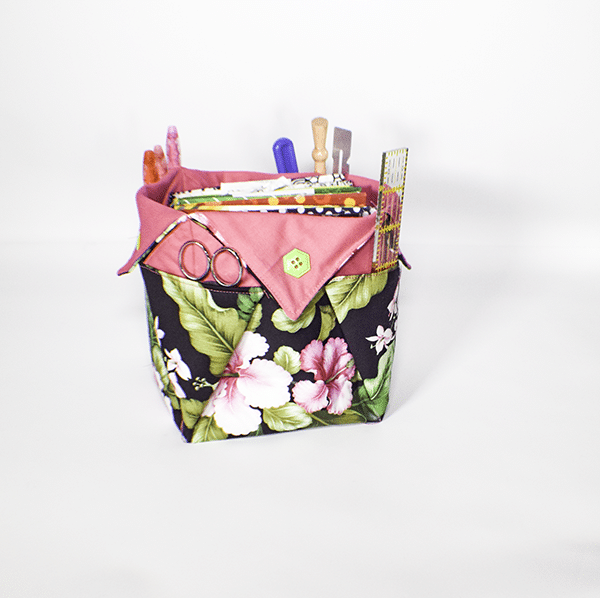
I love to make storage baskets and store all kinds of things in them. I recently made a large storage basket with handles that I store other storage baskets in. This storage basket with pockets pattern came from Sewing Times on YouTube. It is a super simple basket pattern to make so I thought I would share it with you. All you need is fabric, buttons, fusible fleece and your beginner sewing skills to create this cute fabric basket.
I used cotton fabrics for my storage basket with pockets and fusible fleece to give it some structure. I had some cute triangle shaped craft buttons to give my basket some pizzazz. As I often do, I delved into my stash for this project but you could head to JOANN Fabric & Craft Stores![]() ,
,
What you will Need: How to Make a Storage Basket with Pockets
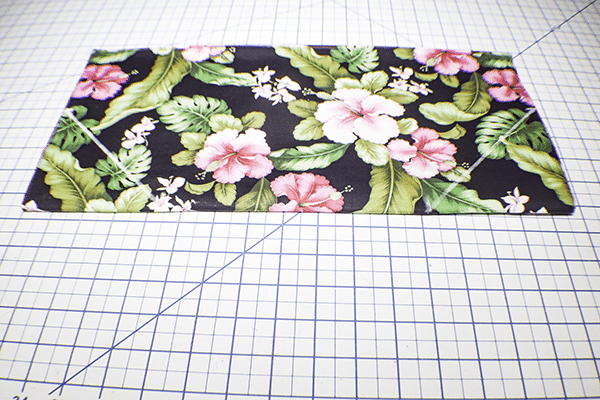
- 17 3/4″ x 17 3/4″ outer and lining fabric
- 17″ x 17″ fusible fleece piece
- 4 buttons
- Standard sewing supplies
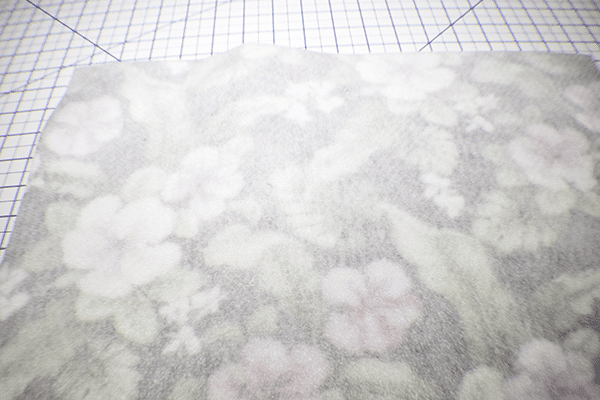
Step 1: Fuse the Fleece
Fuse the fleece to the outer fabric following the manufacturer's instructions and using a hot iron.
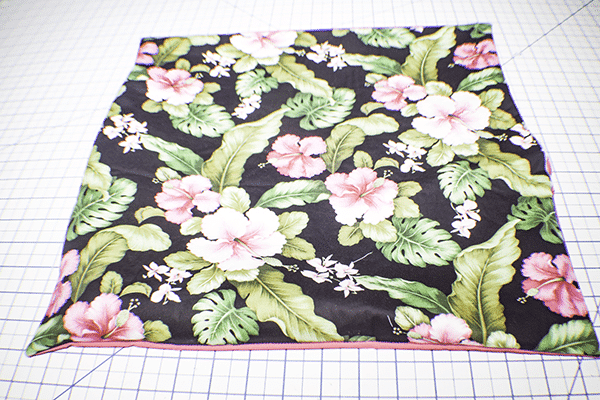
Step 2: Stitch the Two Pieces Together
With right sides together stitch the outer and lining pieces together using a 1/4″ seam allowance but leaving an opening on one side for turning the pieces right sides out. Clip the corners and turn right sides out. press.

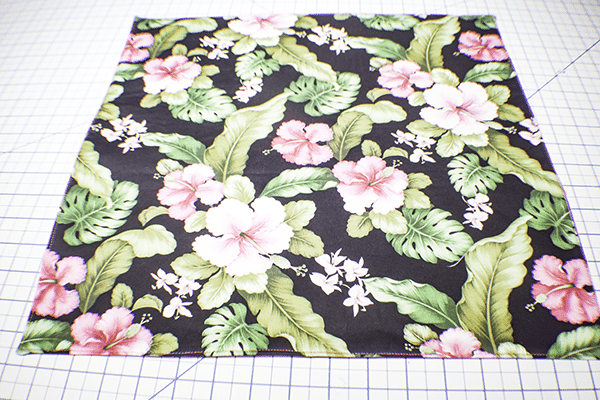
Step 3: Topstitch
Topstitch all the way around the square using a 1/8″ seam allowance closing the opening as you go.
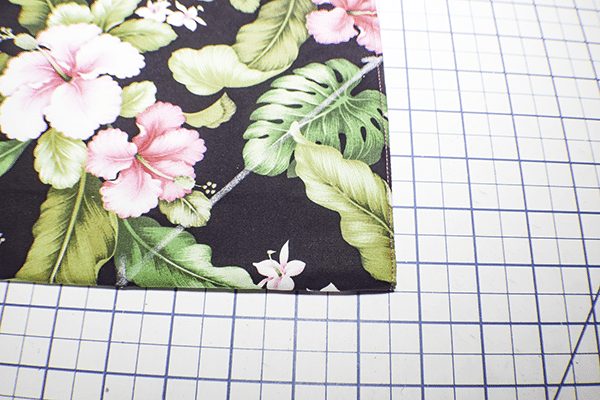
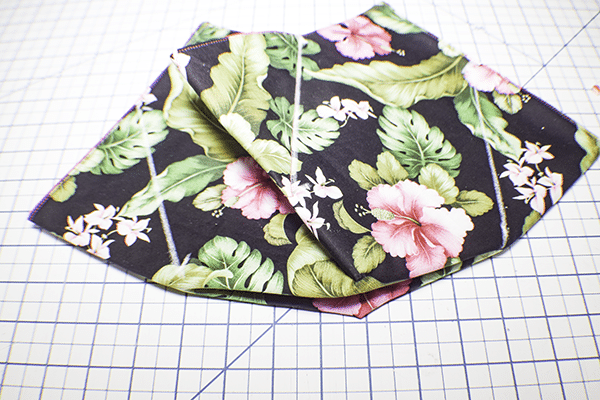
Step 4: Stitch the Corners
Fold the square in half so that the lining sides are facing. Measure 4 3/8″ from the folded bottom and make a mark. Measure 4 3/8″ from the side and make another mark. Draw a line diagonally connecting the marks. Repeat on the other side of the folded piece. Stitch on the diagonal lines that you just drew. Fold the piece in half the other way but still with the lining sides together. Stitch those corners in the same way you stitched the first two corners.
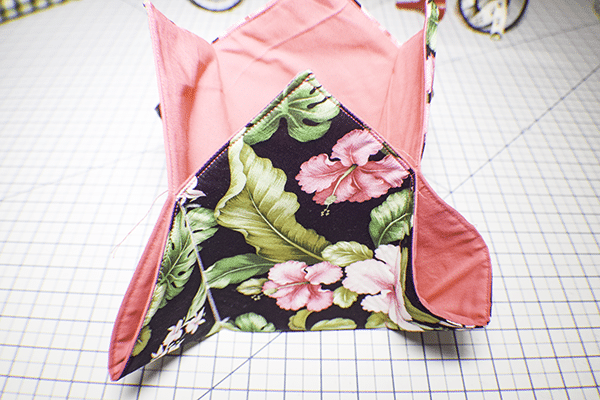
Step 5: Create the Pockets
Fold the corners flat creating a triangle of lining fabric on the top of the corner. Do this for all four corners. Topstitch the top edges of the triangles.
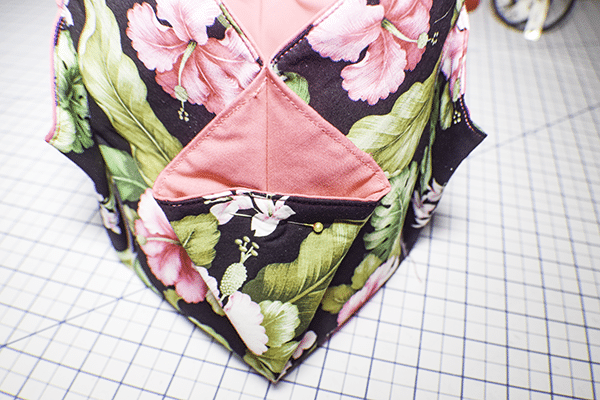
Step 6: Add the Buttons
Fold down the points create the basket. Place a button at each point to secure and you have finished your storage basket with pockets.
I hope you enjoyed this storage basket with pockets. if you would like more sewing and crafting projects subscribe to our newsletter and receive access to our free printables Library.
If you would like video tutorials of some of Sew Very Crafty's most popular posts subscribe to our free YouTube channel here.