
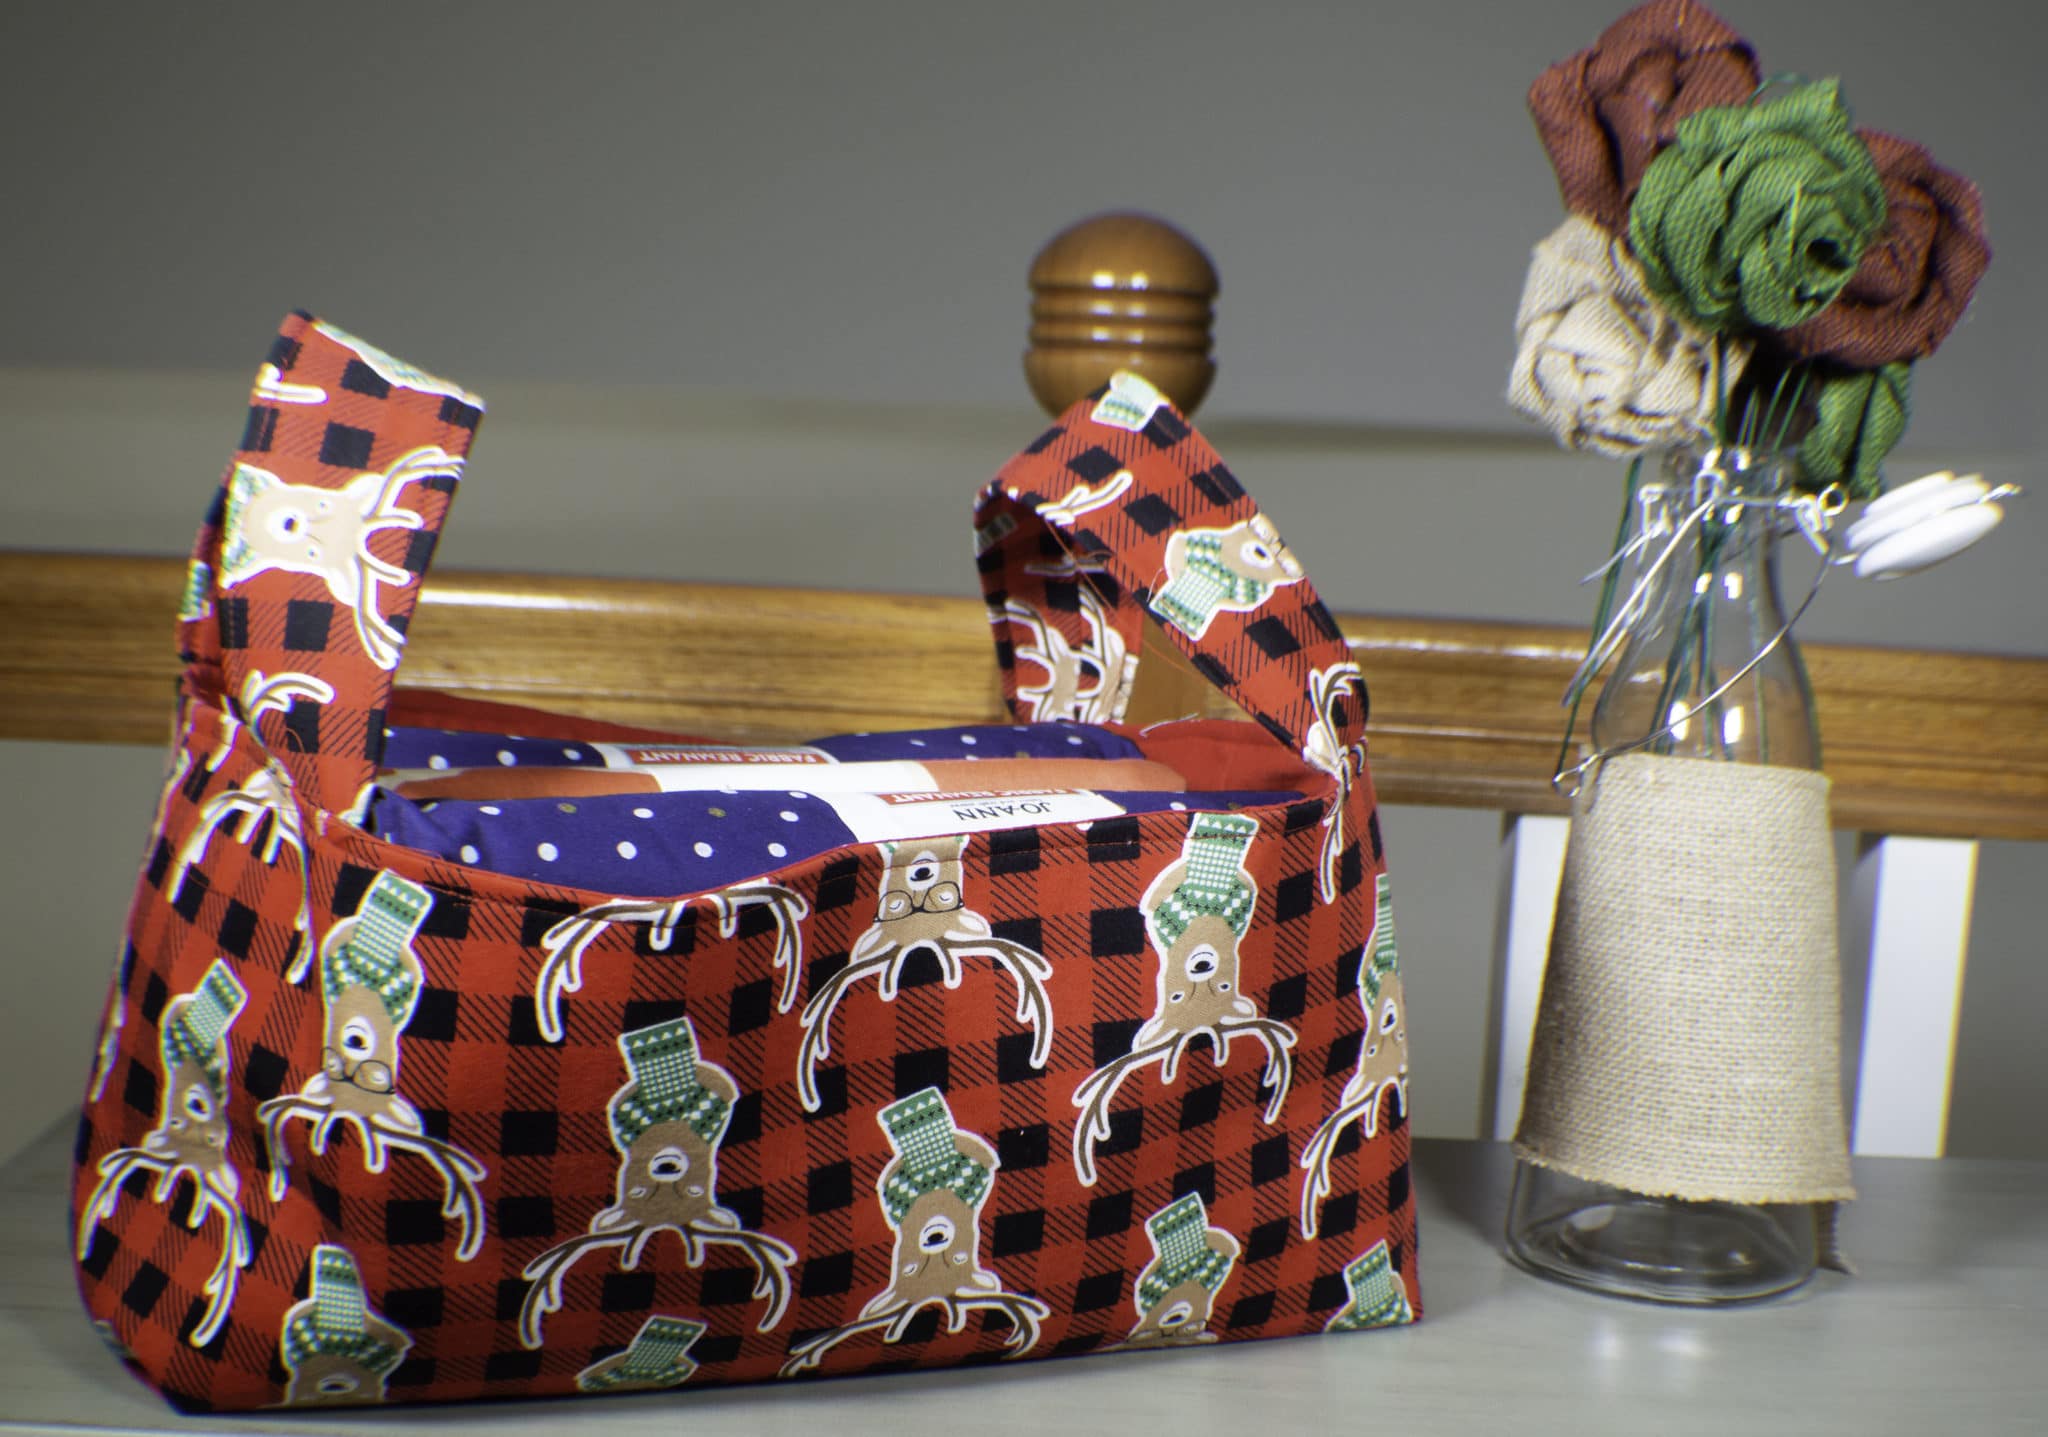
How to Make a Fabric Basket
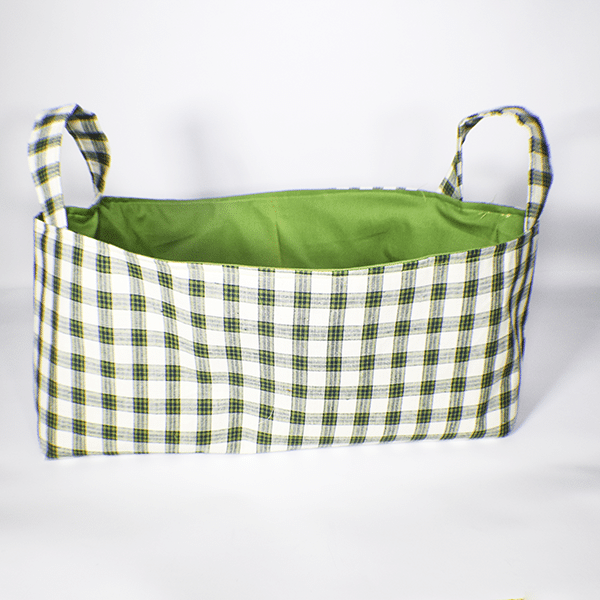
I had this really cute fabric that I really wanted to use. I came up with this really simple project that anyone with basic sewing skills can make in no time at all. A fabric basket was the perfect solution for the print in this fabric. I made it the perfect size to store a bunch of my fabric remnants and to decorate my house for Christmas all at the same time. Unfortunately, I had nearly completed the project before I realized my print was upside down. Nevertheless, I am going to show you how to make this terrific fabric basket with the warning that if you have directional fabric make sure you are sewing it in the right direction.
I had a remnant of this fabric but if you need fabric for this project feel free to head over to Hobby Lobby or Fabric.com to get exactly what you need. You only need about 1/3 yd of fabric and 1/3 yd of lining to complete this project so remnants are the perfect size. I would recommend home decorating weight fabric for this project but quilting cotton will work as well. I actually used a knit fabric with double interfacing for my project because I liked the print but I would not recommend this particularly although it did work pretty well for me.
If you would like to see a video tutorial of this project heads over to YouTube and check out my video. While you are there subscribe to my free Youtube channel.

What you Need: How to Make a Fabric basket
- 1/3 yd outer fabric
- 1/3 yd lining fabric
- 2/3 yd pellon 808

- Standard sewing supplies
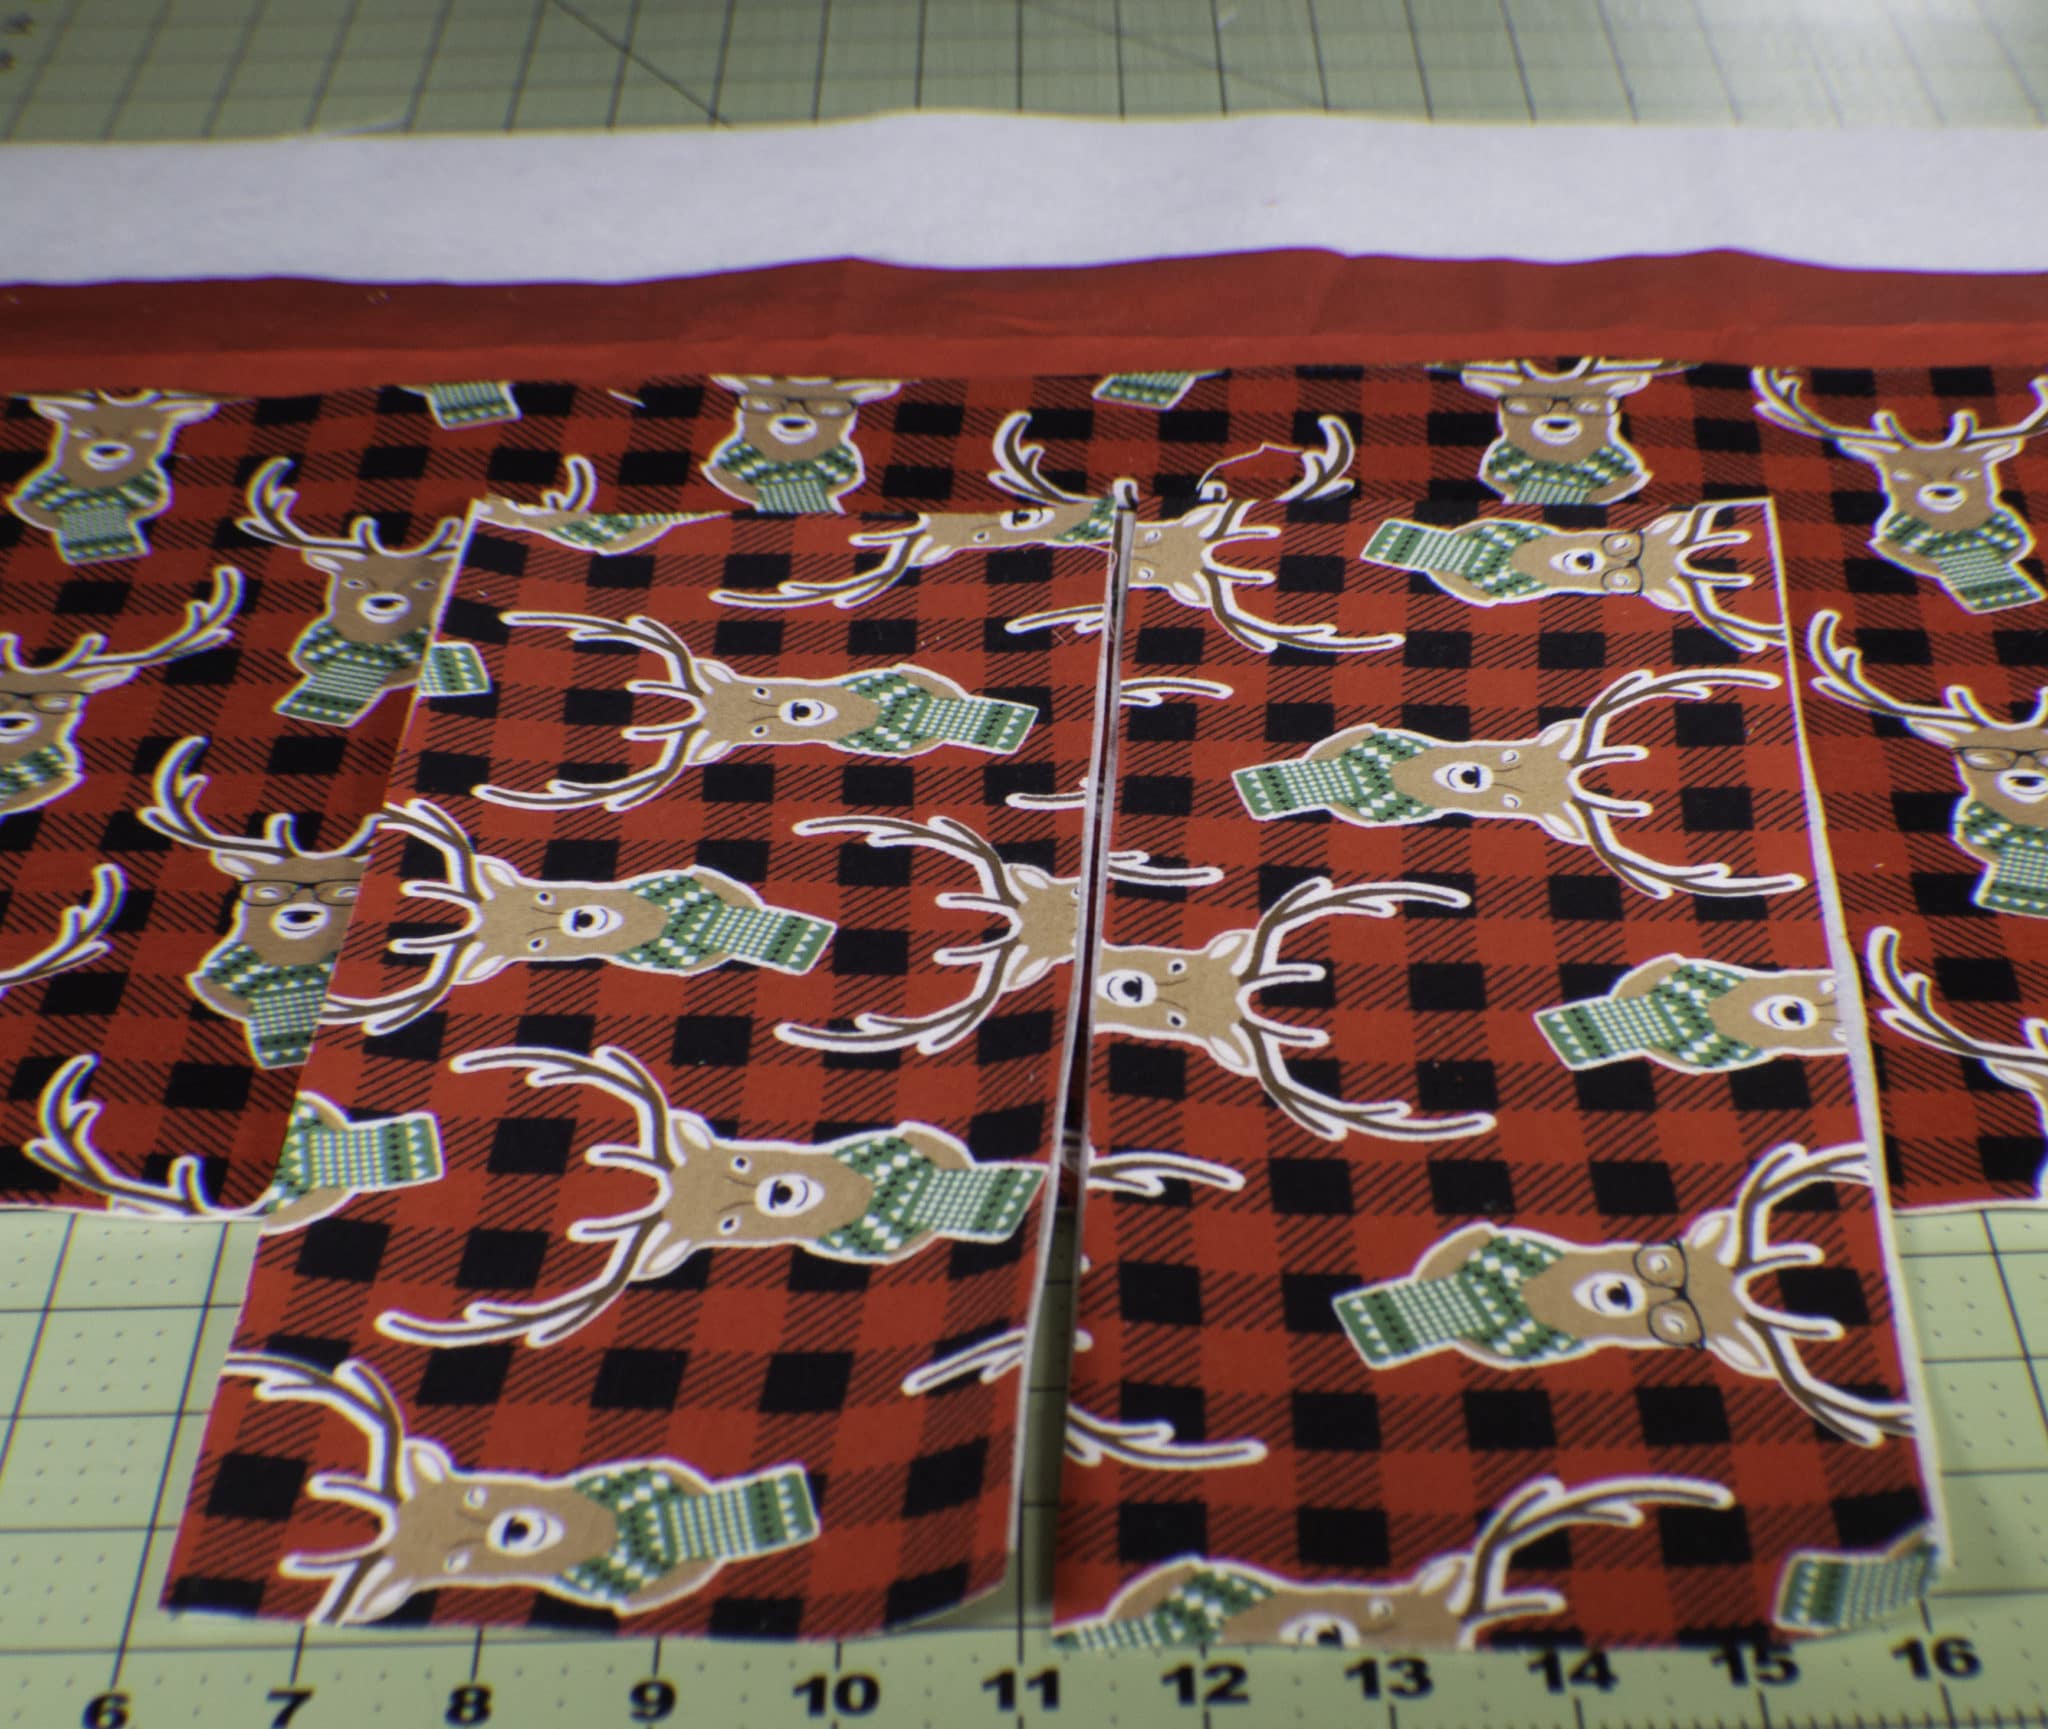
Step 1: Cut the fabrics
Cut two pieces of outer fabric, lining fabric and interfacing 11″ x 22.” Cut 2 pieces of outer fabric and interfacing 5″ x 10.”
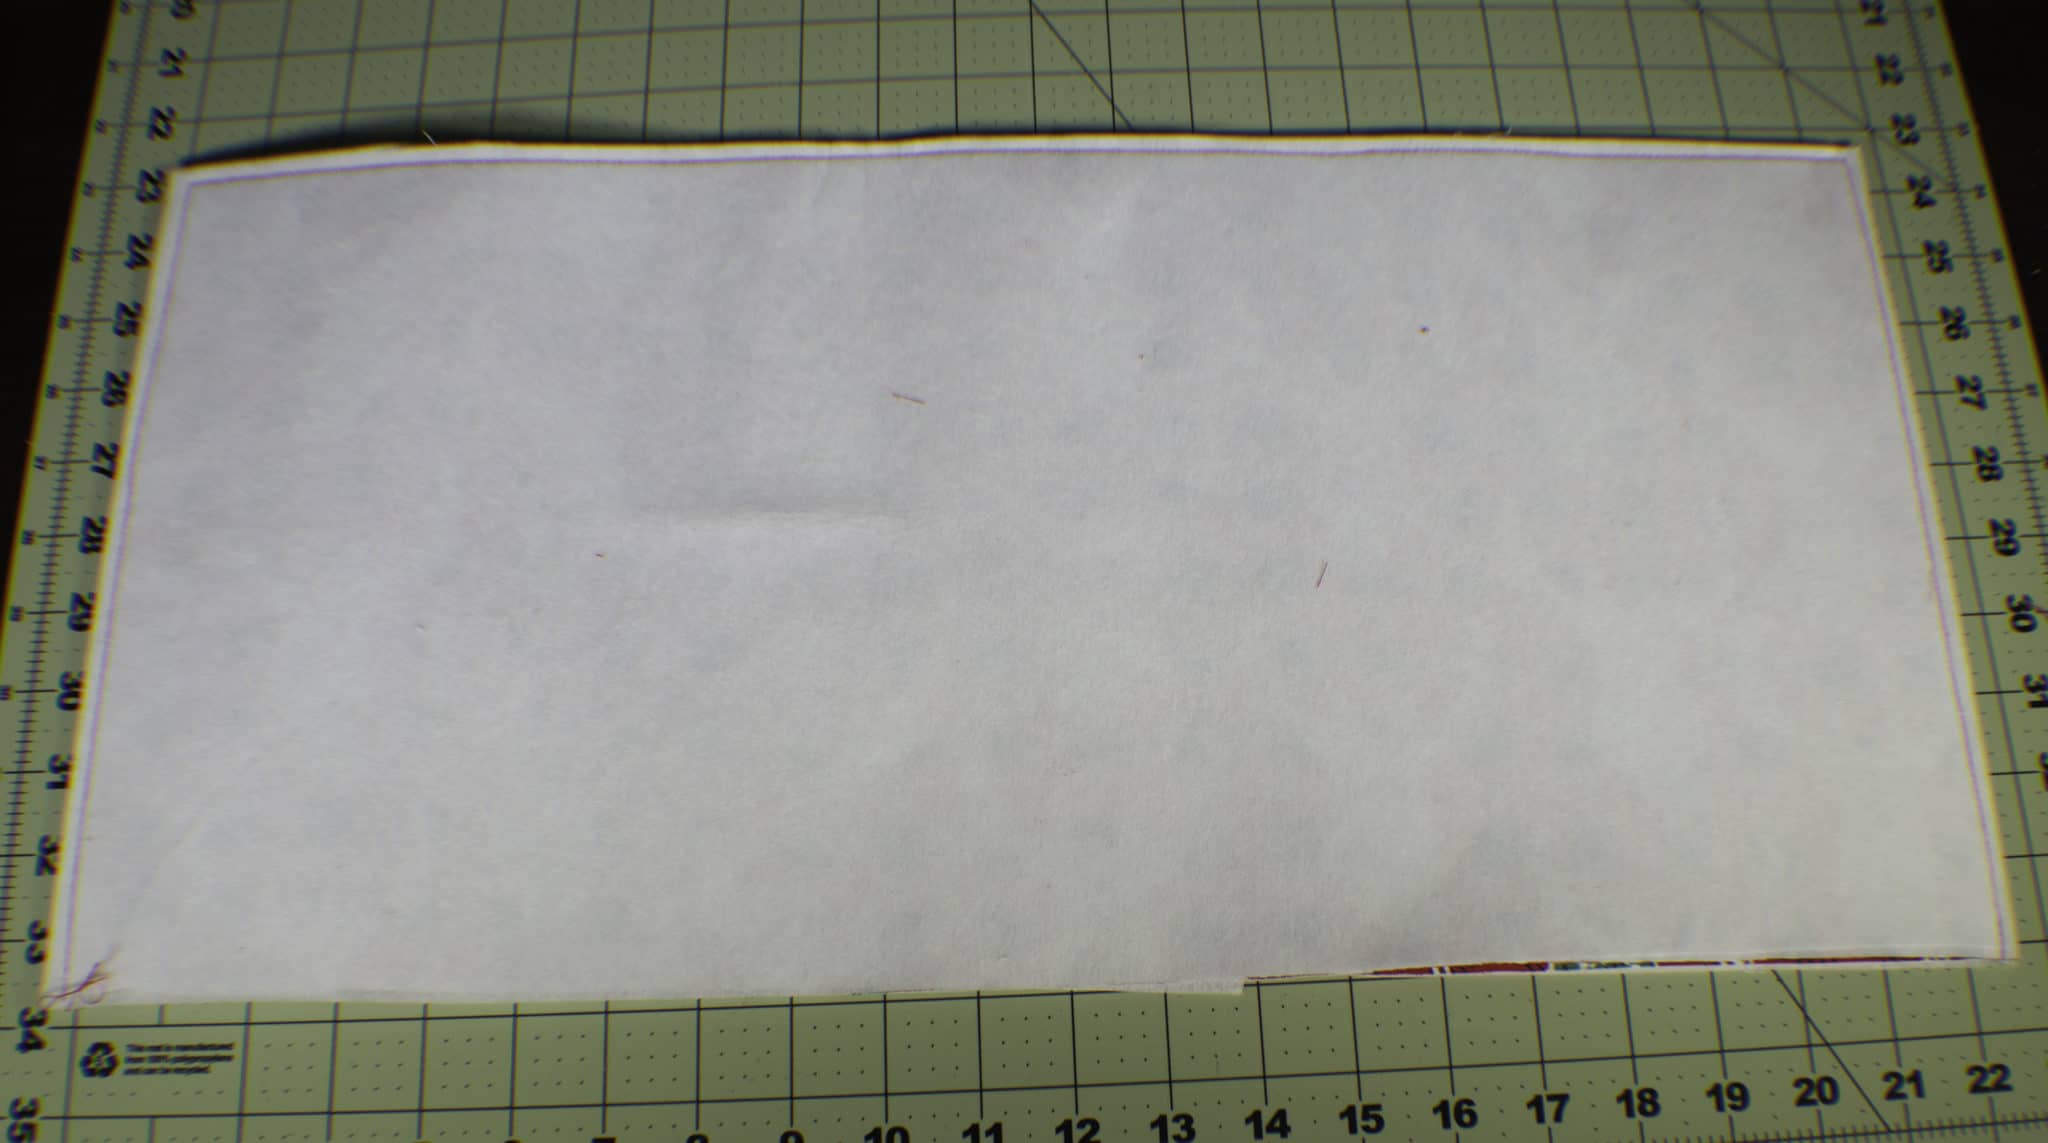
Step 2: Fuse the Interfacing
Fuse the interfacing to the outer fabric. If you are unaware of how to use fusible interfacing just follow the directions that come with it. You will find that there is a shiny side and a matte side. The shiny side has glue on it. Place the shiny side against the wrong side of the outer fabric and press with a hot iron until the glue melts and the interfacing fuses with the fabric and you can treat the two pieces as one. The interfacing will provide structure to your bag.
Step 3: Stitch the Outer Basket
With right sides together sew around three sides of the outer fabric.
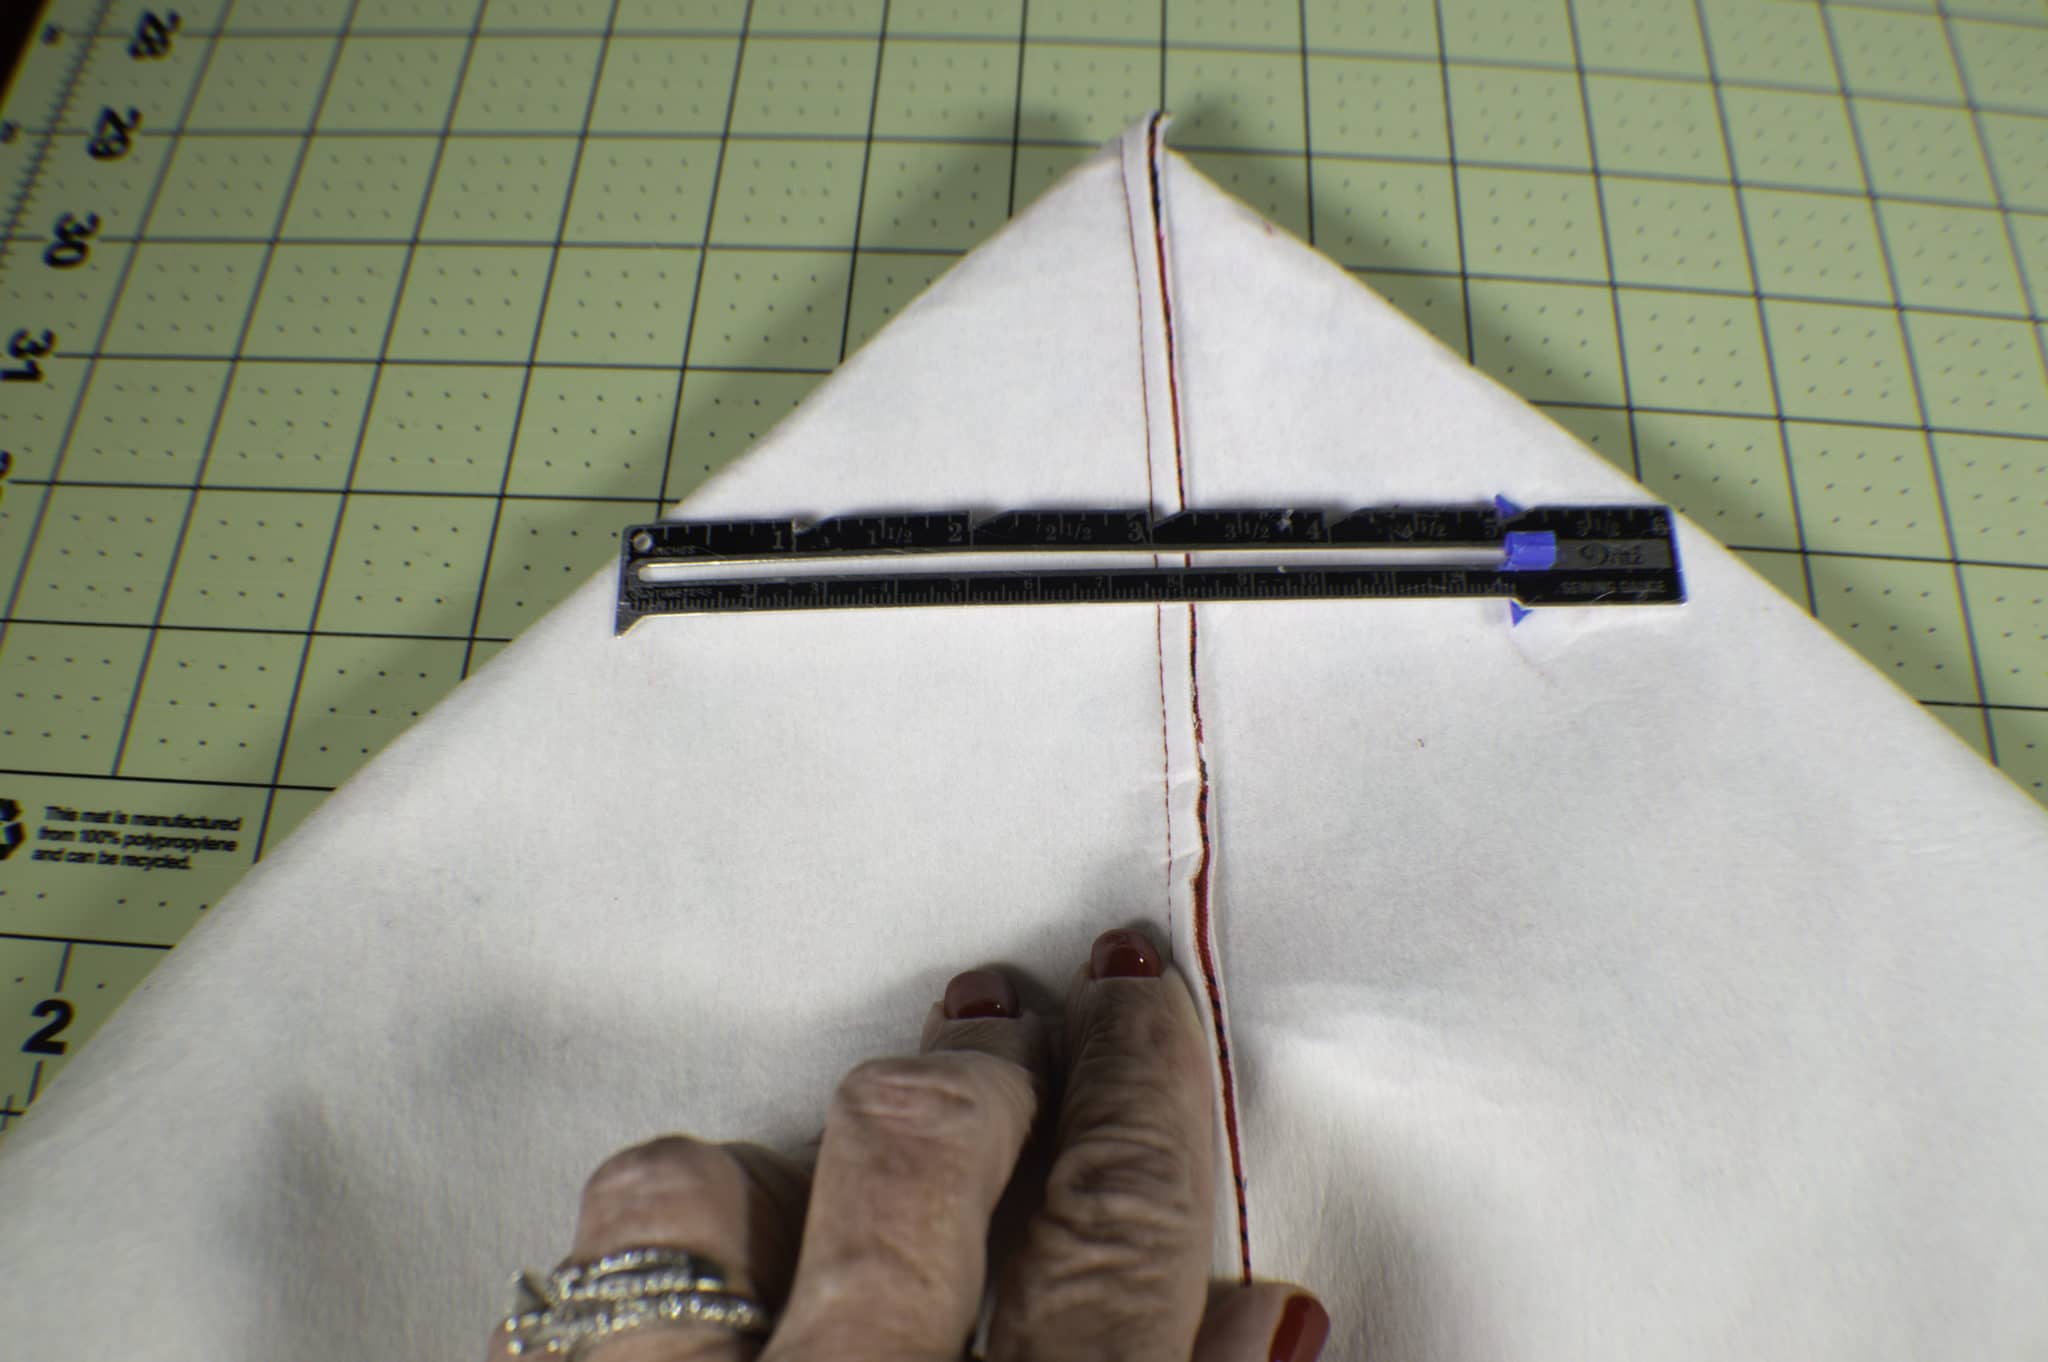
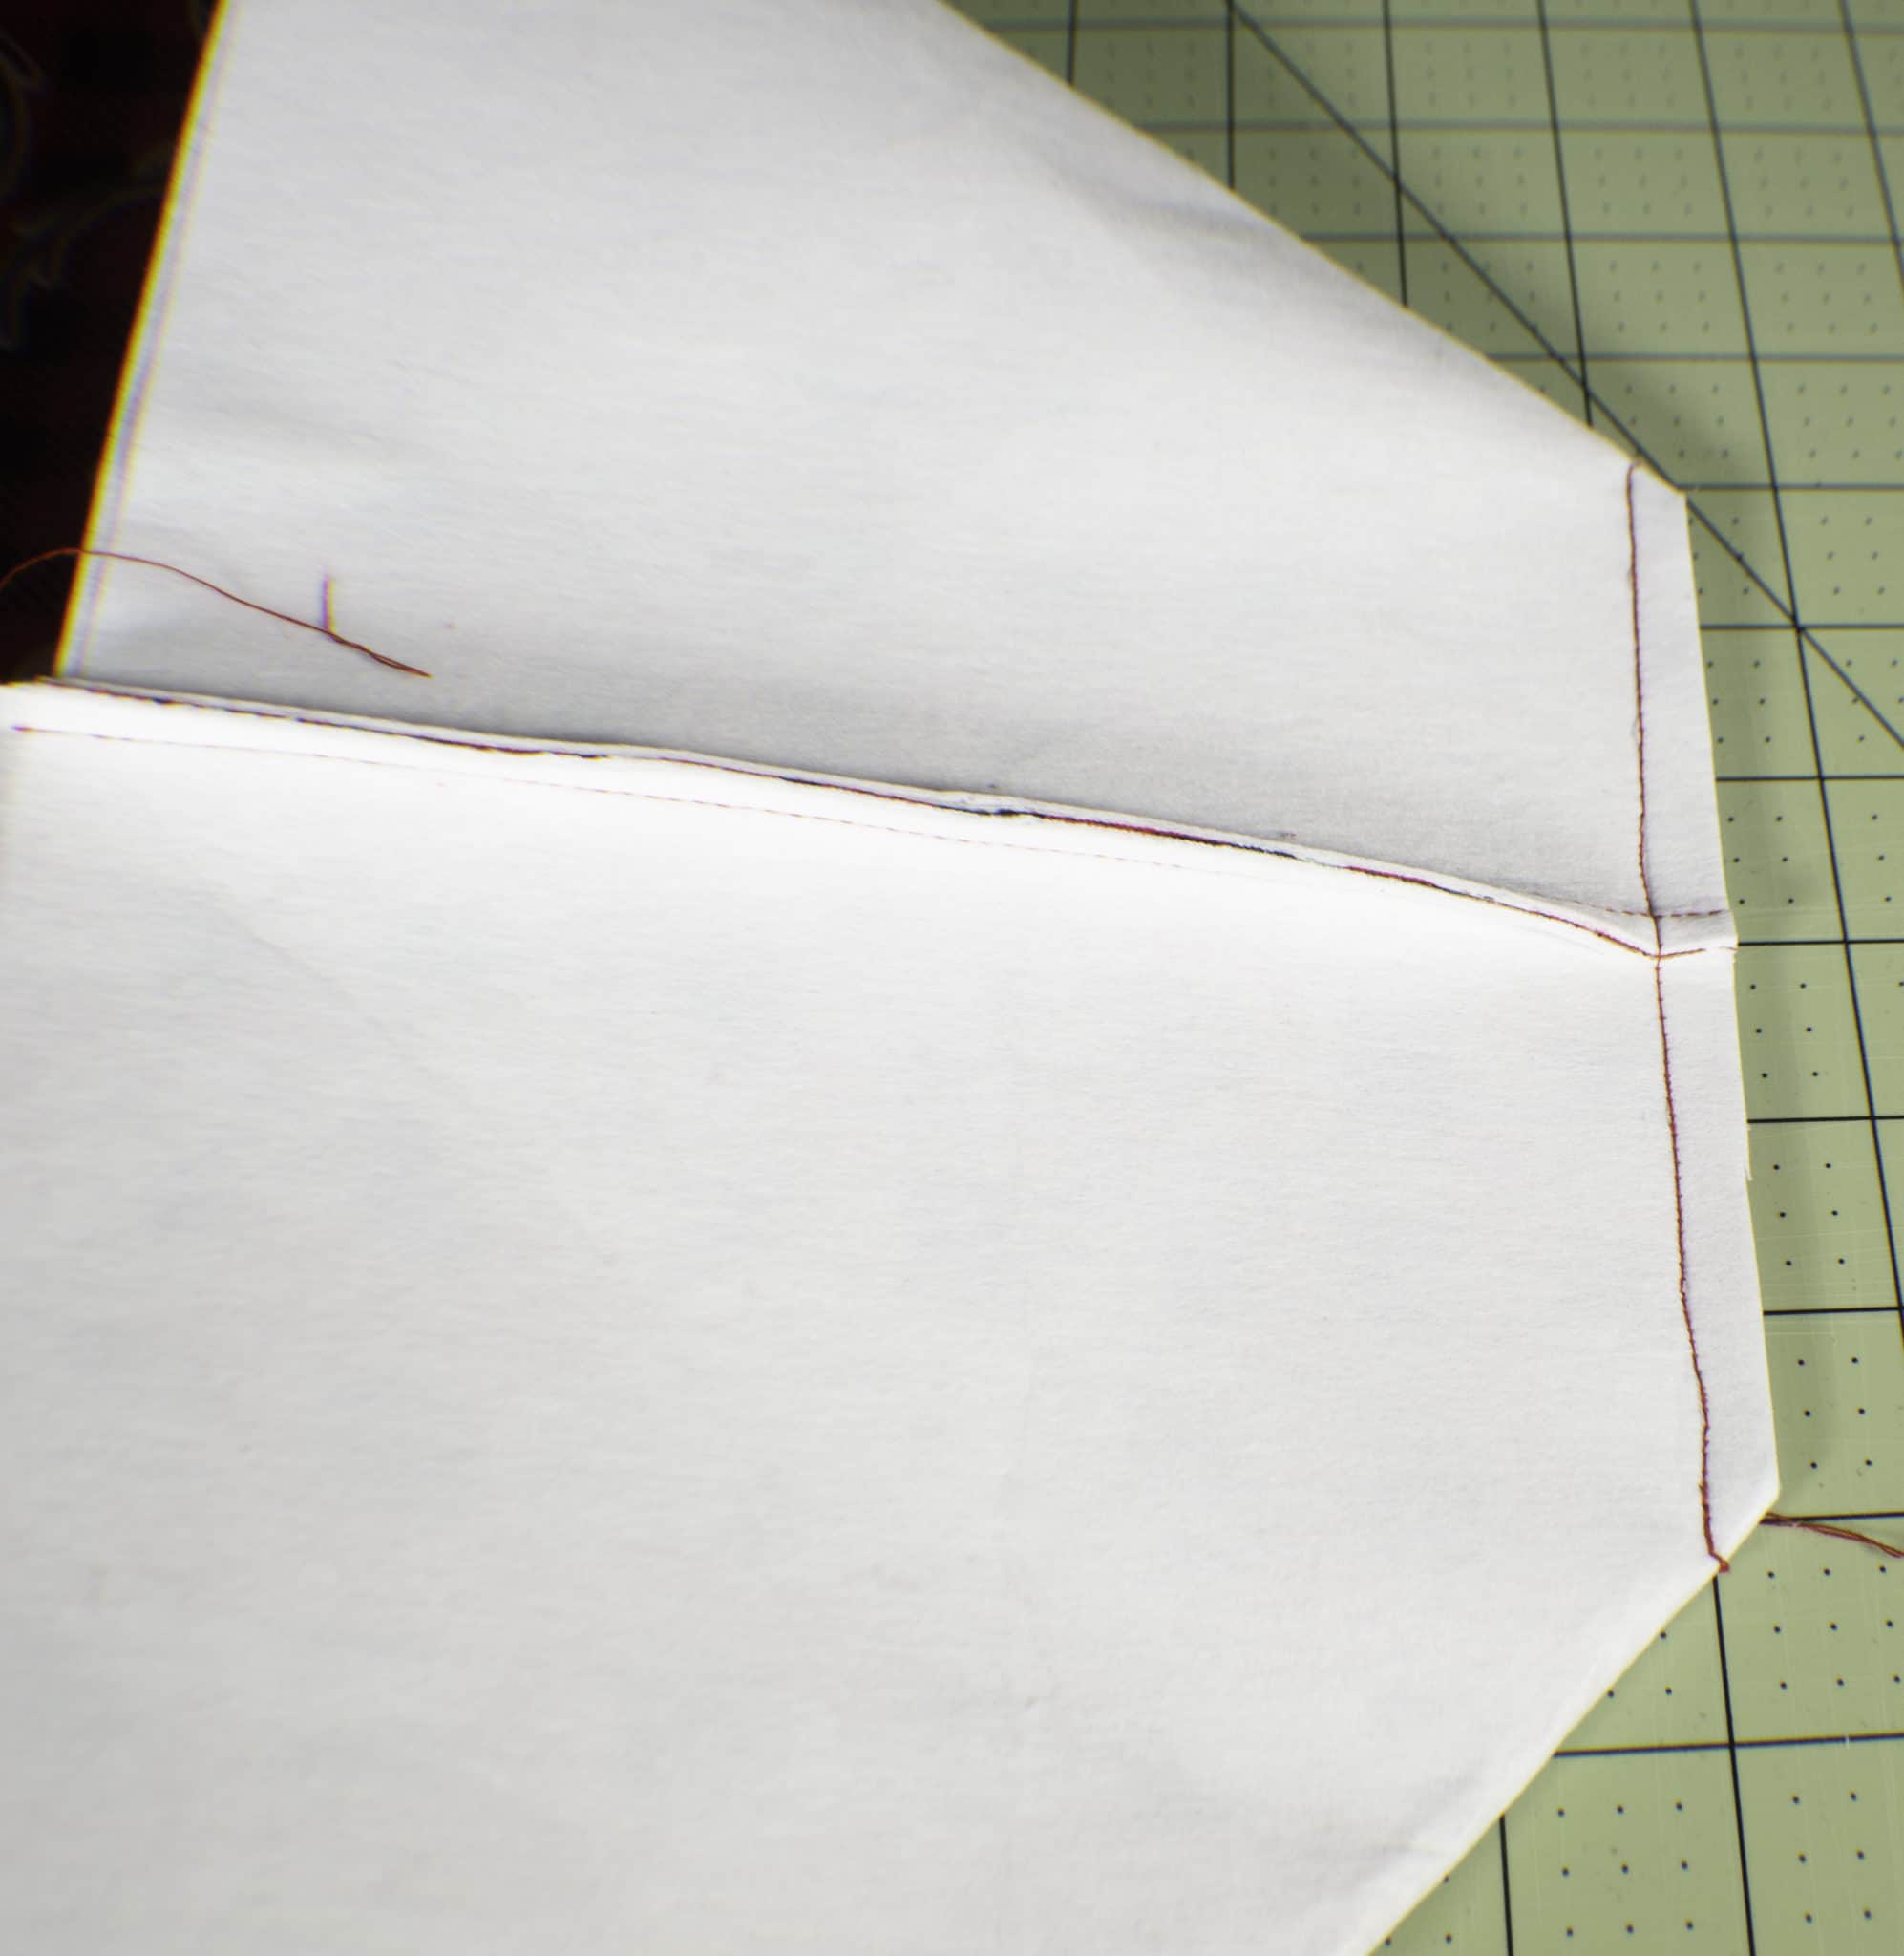
Step 4: Box the Corners
Box the corners. This is a simple process. Match up the side seam with the bottom seam to create a triangle. Measure down from the tip of the triangle until the width is 6″ and draw a line. Sew across the line. Repeat for the other corner. Cut off the excess fabric and turn the outer fabric ride sides out.

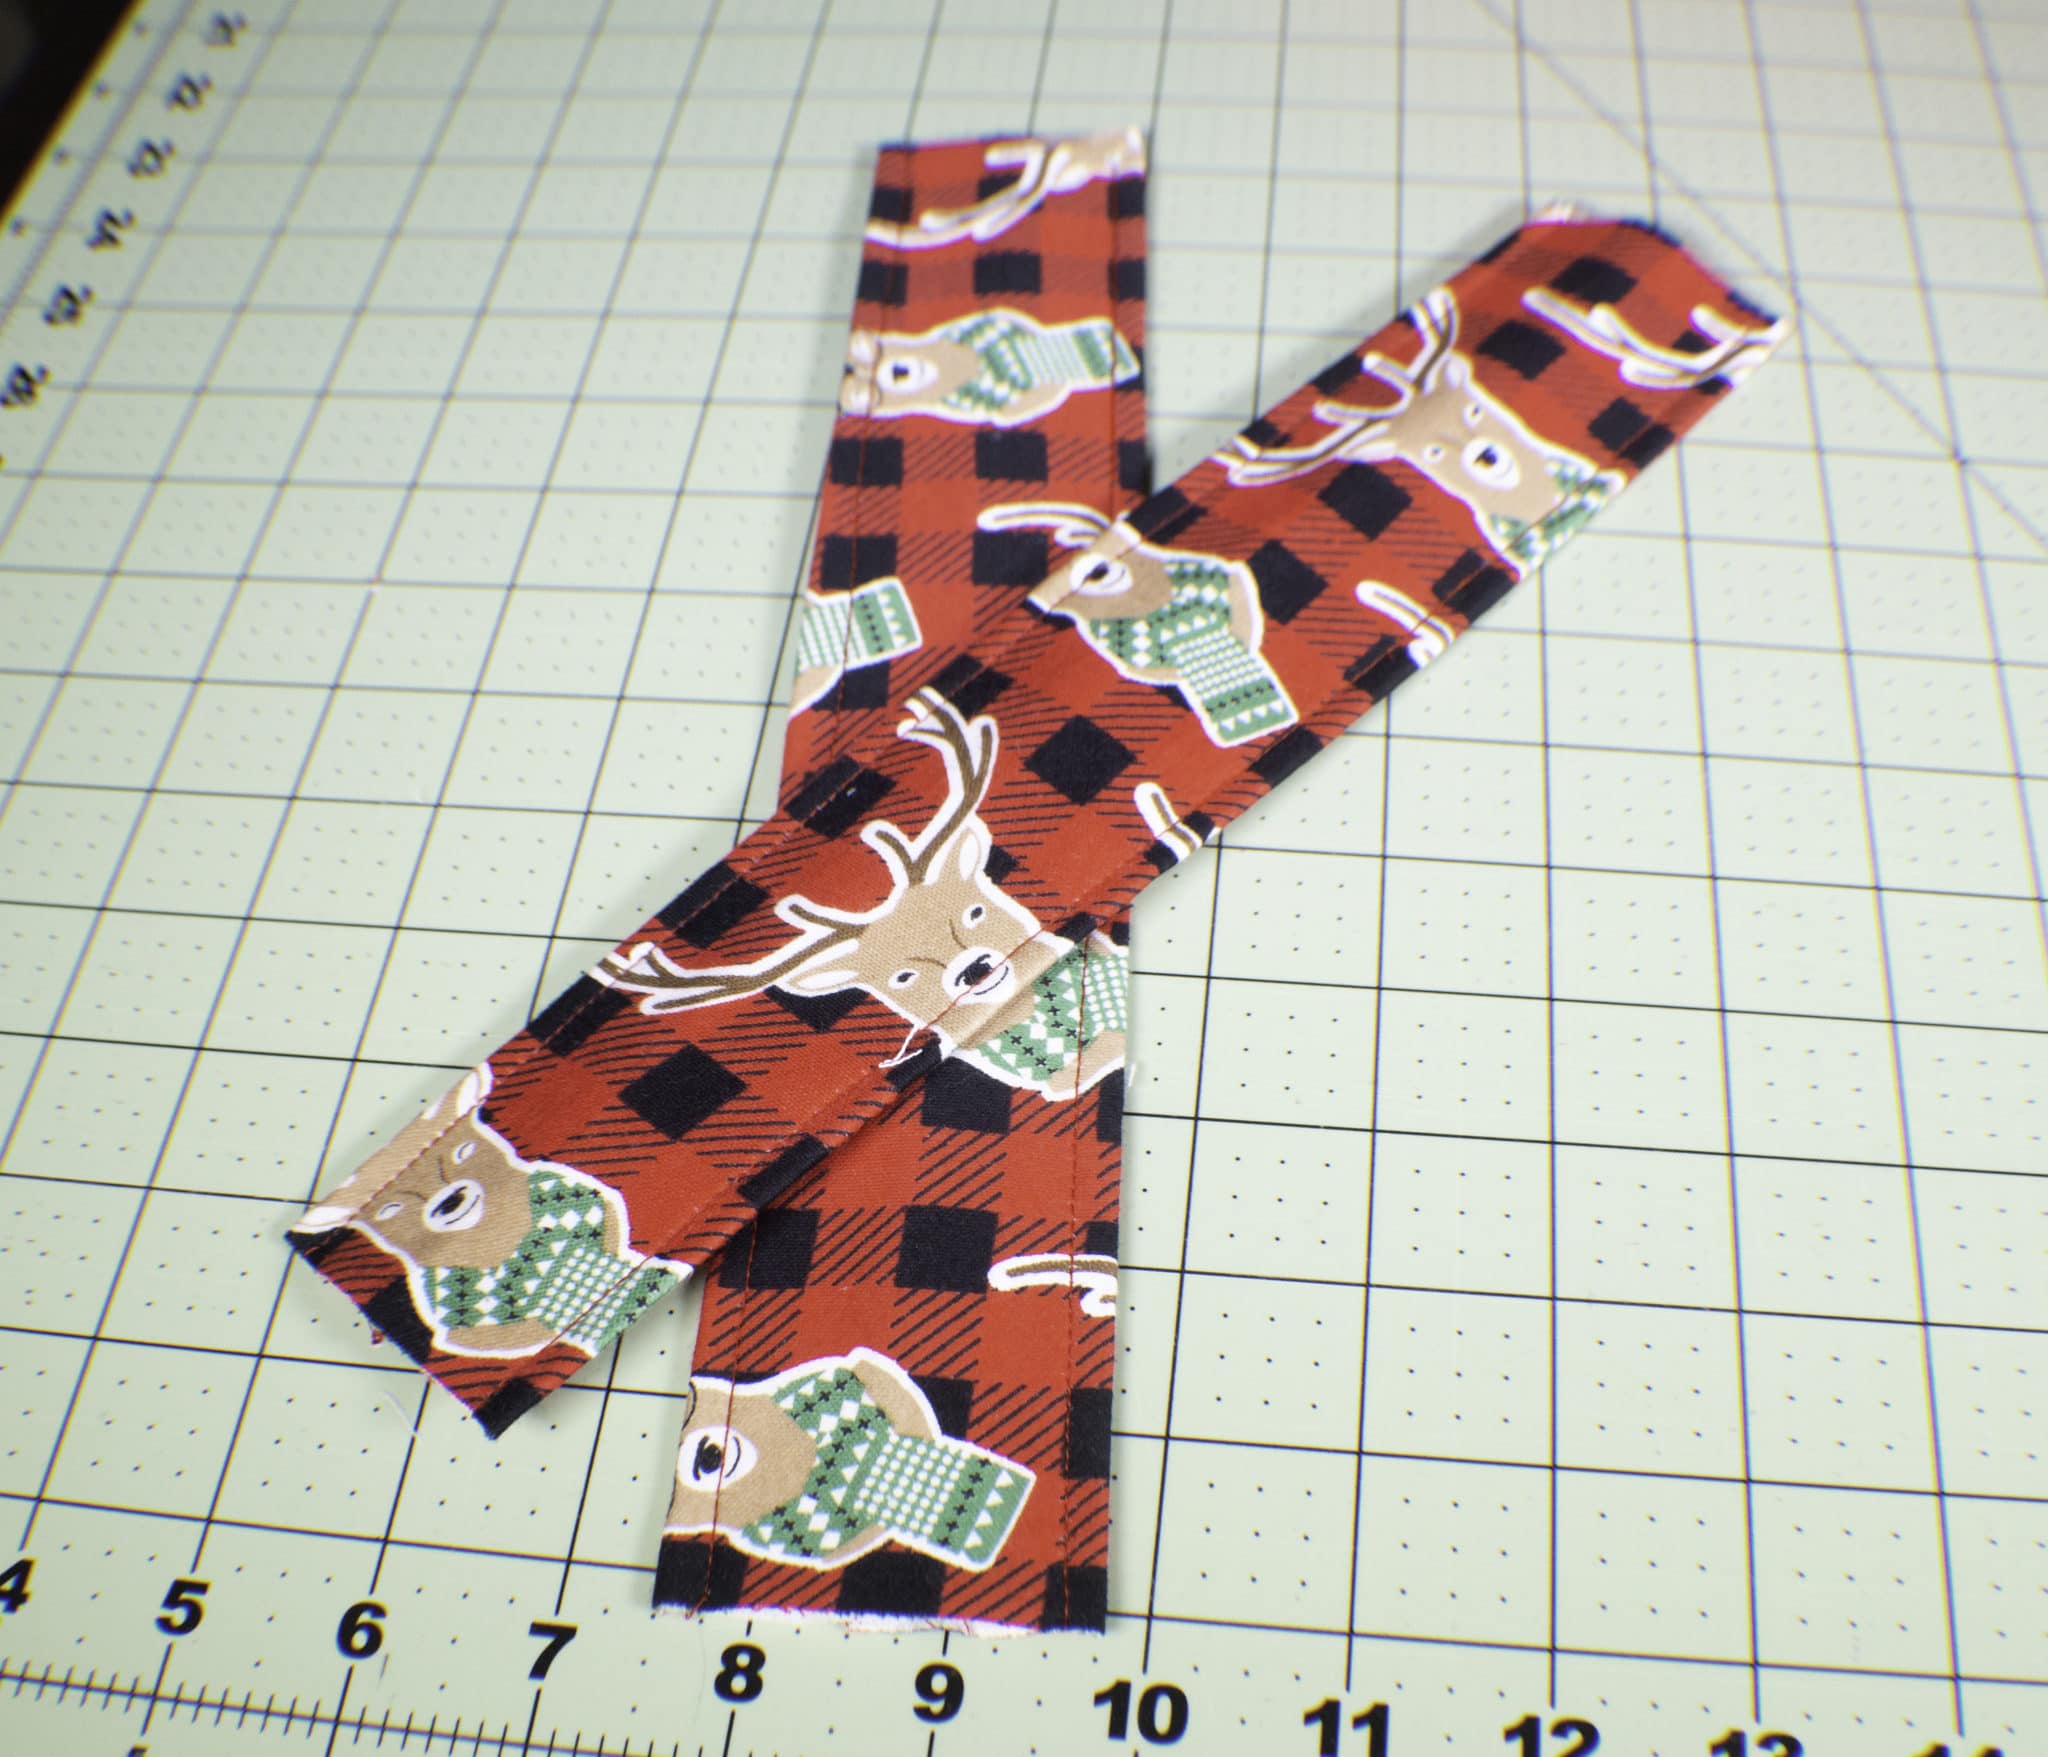
Step 5: Create the Handles
Make the handles. Fuse the interfacing to the 5″ x 10″ outer pieces. Fold the pieces together lengthwise right sides together and sew along the long edges. Turn the pieces right sides out and press so that the seam is in the center. Top stitch along each long side.
Step 6: Create the Lining Basket
Sew the lining pieces together in the same way that you sewed the outer pieces but leaving an opening in the bottom center for turning. Box the corners in the same way.
Step 7: How to Make a Fabric Basket
Place the outer basket inside the lining basket so that the pieces are right sides together.
Step 8: Add the Handles
Add the handles. I measured 3″ from both sides of the side seam and placed the handle ends so that they were sandwiched between the lining and the outer fabric and the raw edges matched the raw edges of the outer fabric and lining and pinned. I did the same for the other side. Make sure that when the basket is turned that the seam in the handles will be facing toward the inside.
Step 9: Stitch the lining
Sew around the entire circumference of the basket making sure to catch the handles. I used a 1/4″ seam allowance.
Step 10: Turn the Fabric Basket
Turn the basket by pulling the outer fabric through the opening you left in the lining. Stuff the lining into the outer basket. Top stitch around the circumference of the basket so that the lining lays flat. Sew the opening in the lining closed using ladder stitch and you have completed your fabric basket.
If you would like more sewing and crafting projects sign up for our newsletter and receive your free eBook of 15 handbag patterns and tutorials.
If you would like video tutorials of some of Sew Very Crafty's most popular posts subscribe to our free YouTube channel


