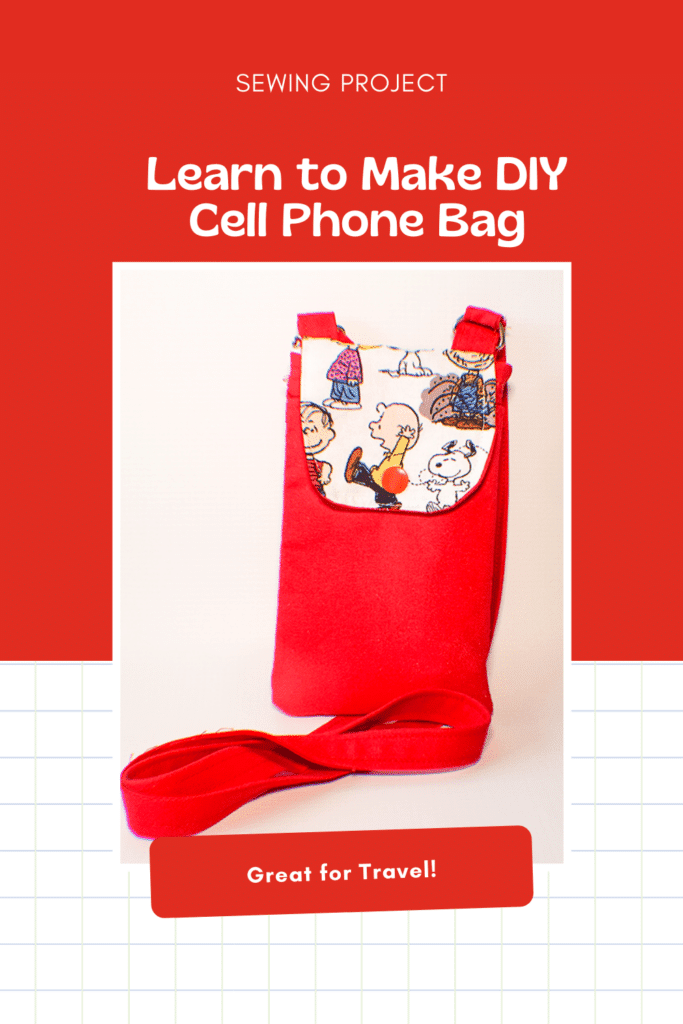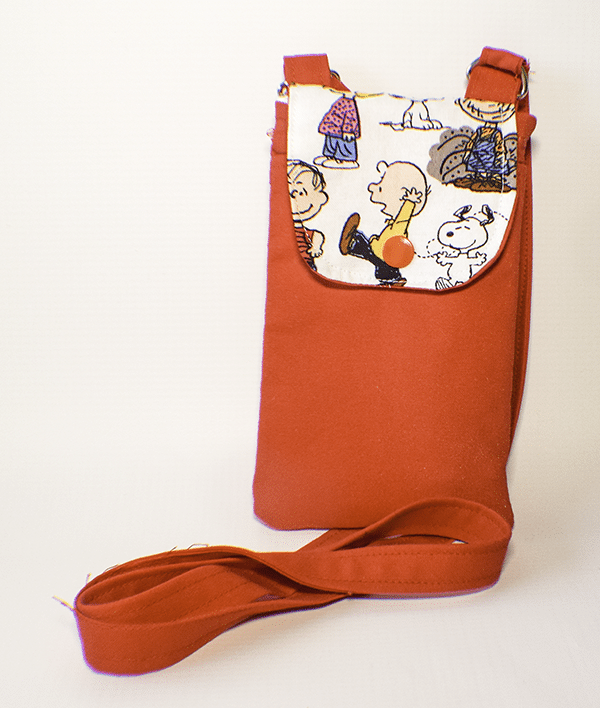
I love little bags when I am traveling. I can put just the necessities in them and head off to far-off places. This bag is perfect for that purpose. It fits my phone. credit cards, id, and money in a small package that I can wear crossbody. Given that I am hoping to take a trip to Ireland this summer, fingers crossed this bag will be perfect. Not only is it a great size it is a pretty easy bag making project that you can use to expand your bag making skills. I would not say that this is a beginner project but an intermediate sewist could easily stitch this up in no time.
I used basic cotton fabrics for this project that I purchased at JOANN Fabric & Craft Stores![]() but you could head to Hobby Lobby, Fabric.com or Onlinefabricstore.net to get exactly what you want for your DIY cellphone bag. This post contains affiliate links that if you click on them and make a purchase I may receive a small commission at no extra cost to you.
but you could head to Hobby Lobby, Fabric.com or Onlinefabricstore.net to get exactly what you want for your DIY cellphone bag. This post contains affiliate links that if you click on them and make a purchase I may receive a small commission at no extra cost to you.
What you will Need: How to Make a DIY Cellphone Bag
- 1/2 yd outer fabric and lining fabric
- 1/8 yd accent fabric
- 1/4 yd fusible fleece like Pellon 987F
- Scrap of Pellon SF 101 interfacing
- 7″ zipper
- 2 1/2″ D-Rings
- 1 Kam Snap
Step 1: Cut your Bag Fabrics
- Cut one outer piece and two lining pieces that measure 7 1/2″ x 4 3/4″
- One piece of fusible fleece that measures 6 7/8″ x 4″
- Cut one outer and one lining piece that measure 6 3/8″ x 4 3/4″
- One piece of Pellon SF 101 that measures 5 1/2″ x 4″
- One outer piece that measures 6 3/8″ x 3 1/2″ and a corresponding fleece piece minus 3/8″ seam allowance
- Cut another outer piece that measures 6 3/8″ x 1 1/8″ and a corresponding fleece piece minus 3/8″ seam allowance
- One outer piece that measures 2″ x 4 3/4″ and a corresponding fleece piece minus 3/8″ seam allowance
- One lining piece that measure 6 3/4″ x 6 3/8″
- Cut a contrasting piece and an outer piece that measures 4 3/8″ x 4″
- One fusible fleece that measures 3 1/8″ x 3 1/8″
- Two tab pieces that measure 2 3/8″ x 2 3/8
- One outer piece that measures 2 3/8″ x WOF (Width of Fabric)
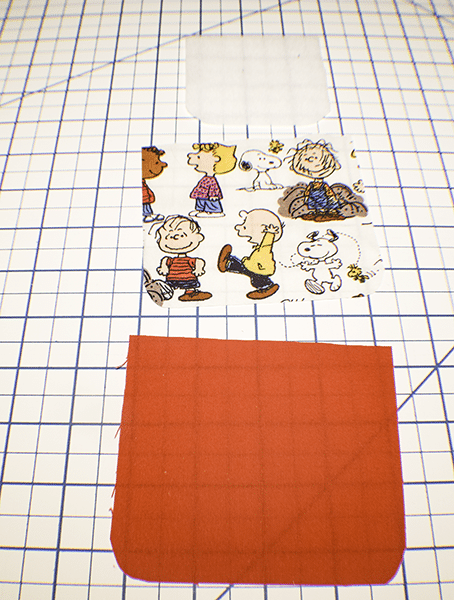
Step 2: Cut the Flap Piece
Take the contrasting piece, corresponding outer piece and the 3 1/8″ x 3 1/8″ piece of fusible fleece and round the bottom corners of each piece as shown.
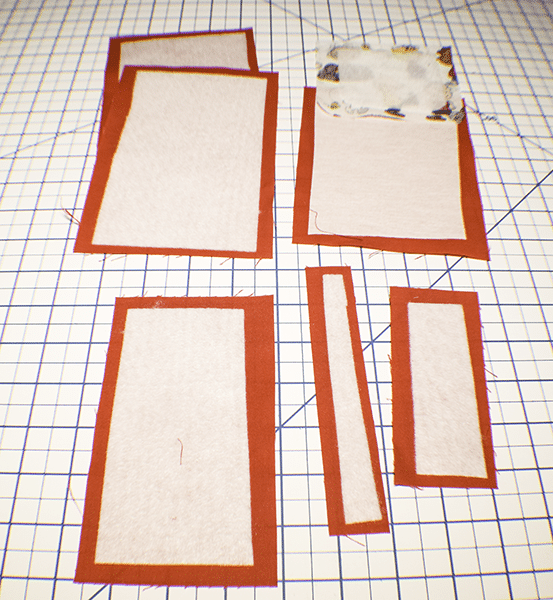
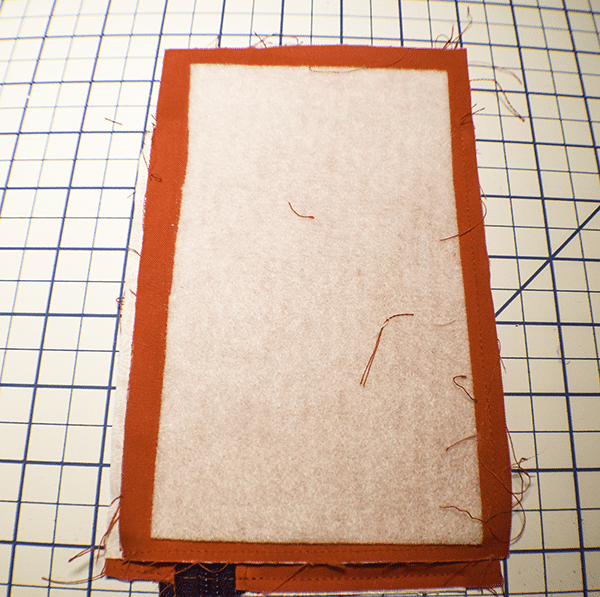
Step 3: Fuse the Fleece and Interfacing to the Bag
Fuse the pieces of fleece and interfacing to the corresponding outer fabrics except fuse the fleece to the contrasting fabric piece rather than the corresponding outer piece. Follow the manufacturer's instructions when fusing. You will have six pieces that have have been fused with interfacing or fleece.
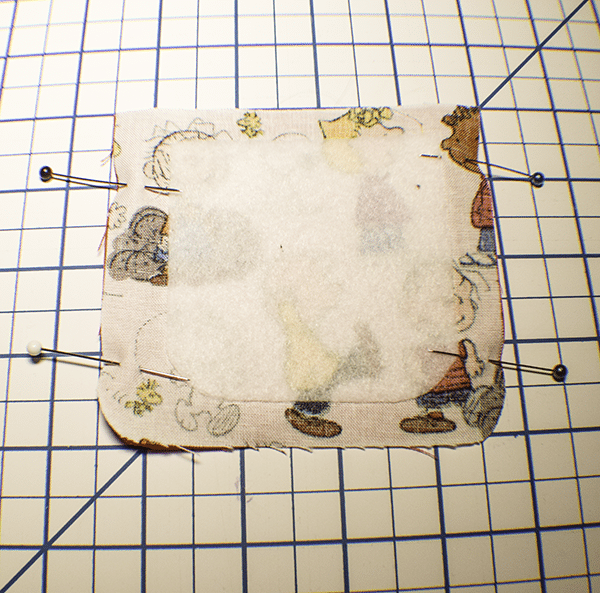
Step 2: Create the Flap
Place the two flap pieces right sides together. Stitch the sides and curved bottom using a 3/8″ seam allowance. Clip the curves and turn right sides out. Press. Topstitch around the outer edge of the flap.
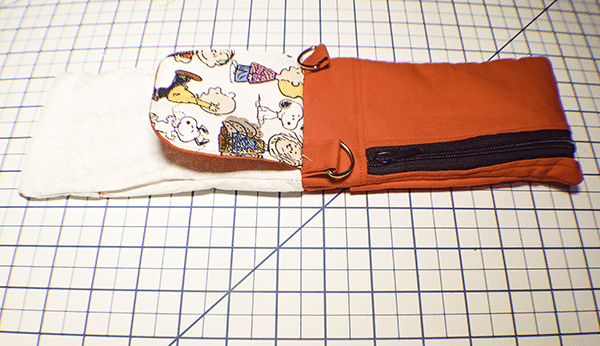
Step 3: Add the Zipper
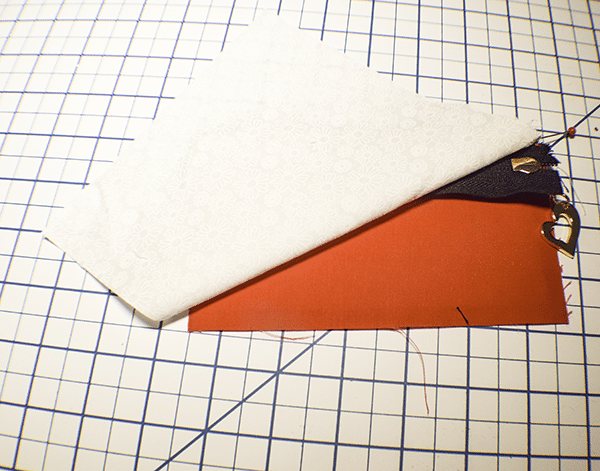
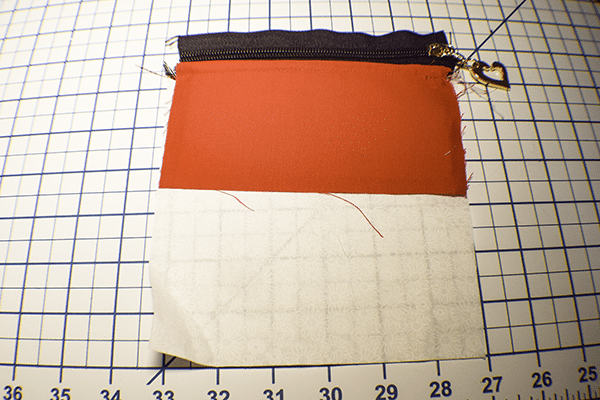
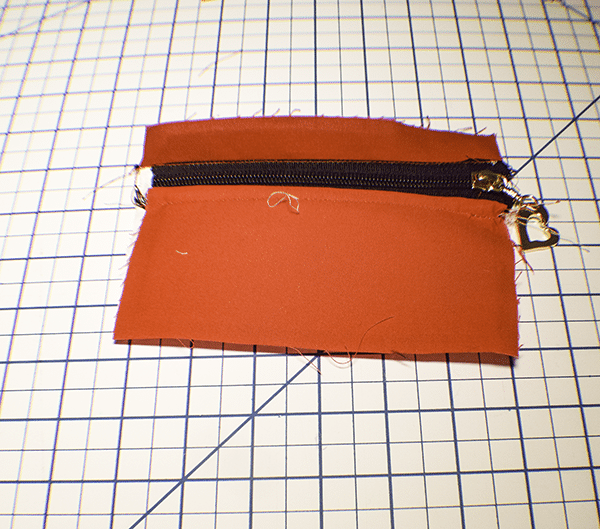
Shorten the zipper to 6 3/8″ by clipping the top and bottom of the zipper. I used a #5 zipper by the yard for my project but you can use a standard zipper for yours and make adjustments. Take the 6 3/8″ x 3 1/2″ piece of outer fabric and the 6 3/8″ x 1 1/8″ piece of outer fabric and place them on your work surface. Take the 6 3/4″ x 6 3/8″ piece of lining fabric and place it on your work surface. Place the 6 3/8″ x 3 1/2″ piece of outer fabric right sides up on your work surface. Place the zipper right sides down on the outer fabric and the lining right sides down on the zipper making a zipper sandwich. Using a zipper foot stitch the zipper through all layers. Turn the piece right sides out and topstitch along the zipper.
Stitch the other side of the zipper by folding the lining up to meet the zipper raw edge. Place the 6 3/8″ x 1 1/8″ right sides down on the zipper again making a zipper sandwich. Stitch the zipper. Turn right sides out and topstitch.
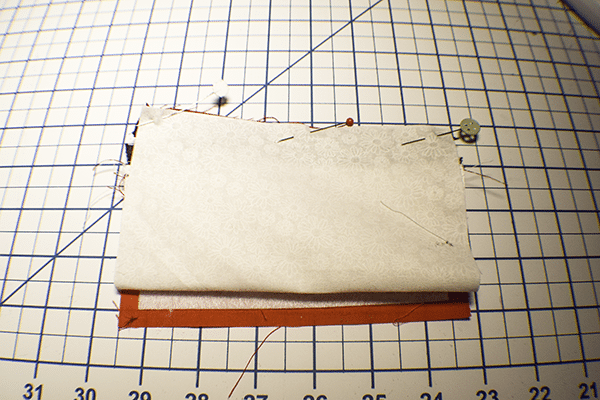
Step 4: Add the Side
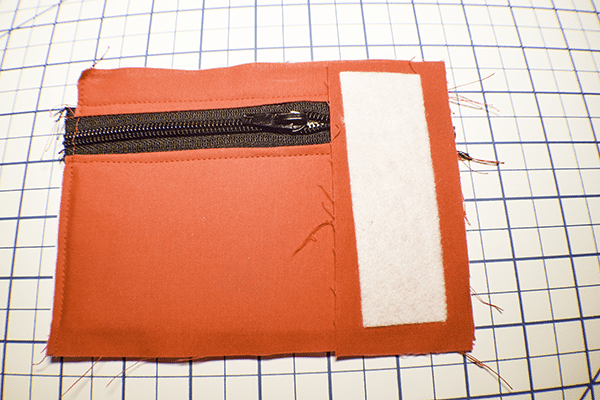
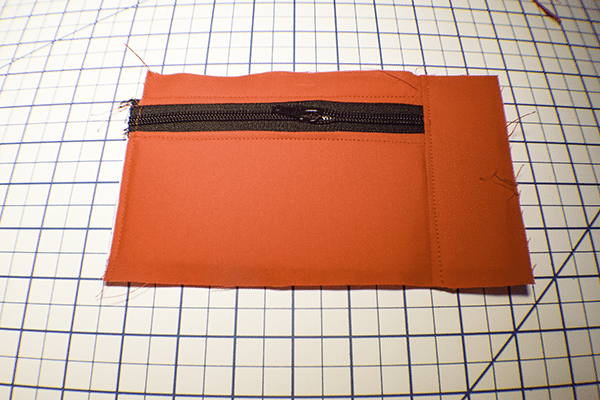
Take the 6 3/8″ x 3 1/2″ outer piece and place it right sides together on the right sides of the zipper pocket you just made and stitch using a 3/8″ seam allowance. Topstitch along the seam. Stitch along the left side of the zipper pocket to secure the end of the zipper.
Step 5: Create the Front Pocket
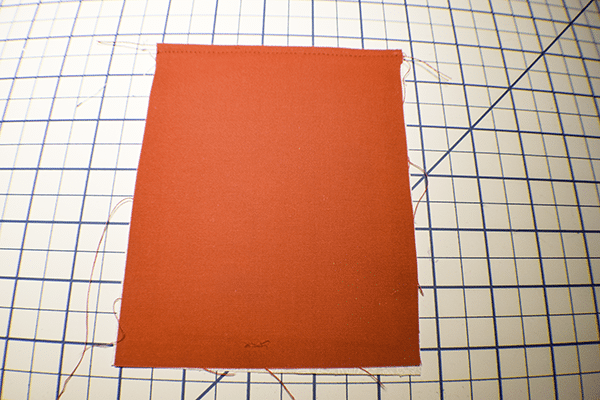
Take the outer and lining pieces that measure 6 3/8″ x 4 3/4″ and place them right sides together. Stitch along the one short end only using a 3/8″ seam allowance. Turn right sides out. Press and topstitch along the seam.
Step 6: Add the Front Pocket
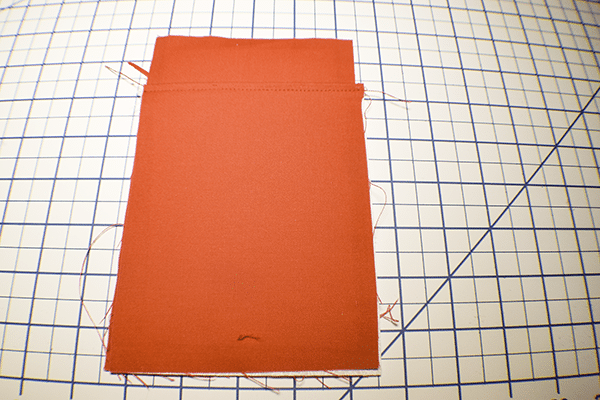
Place the pocket piece you just created to the outer piece that measures 7 1/2″ x 4 3/4″ as shown. Stitch along the sides and bottom to secure.
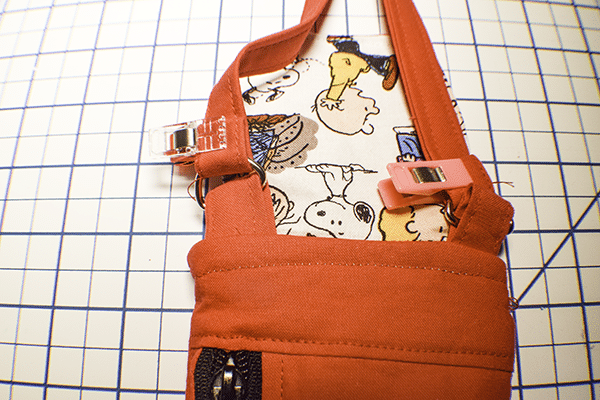
Step 7: Create the Tabs
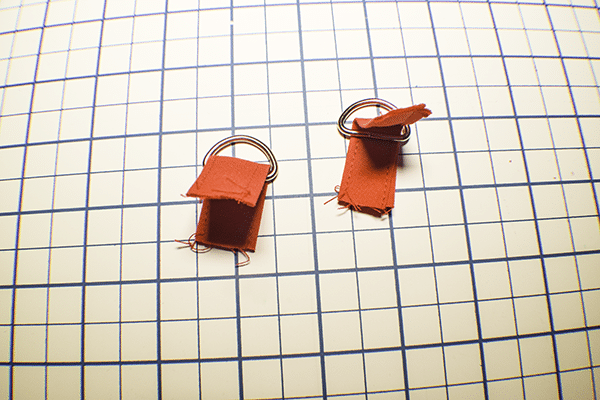
Take the tab pieces and fold the raw edges into the center and press. Fold in half to enclose the raw edges. Topstitch along both sides of the tab pieces. Wrap the tab pieces around the D-rings and stitch the raw edges together.
Step 8: Add the Tabs
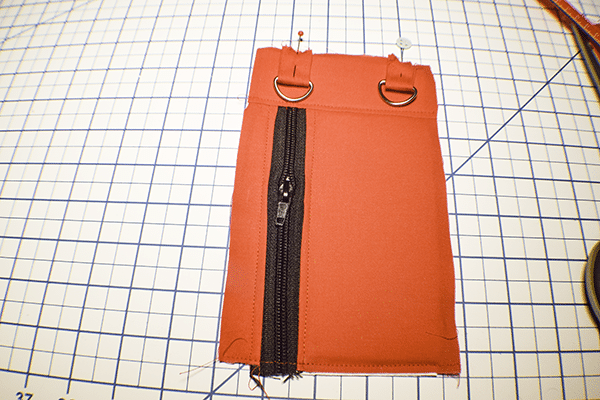
Take the zipper pocket and measure 1″ from each side of the side piece and place the tab pieces. Stitch them to the zipper pocket piece to secure.
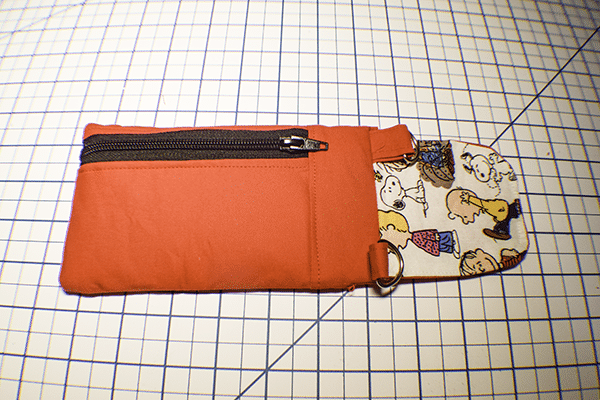
Step 9: Add the Flap
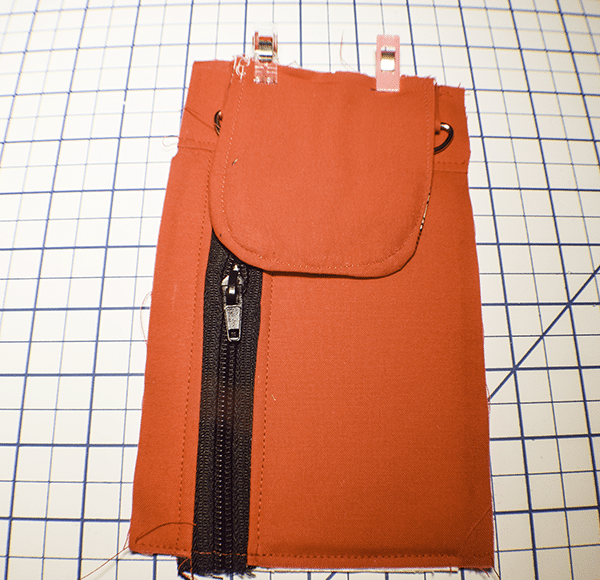
Find the center of the zipper pocket side piece and the center of the flap and mark. Place the flap piece with the contrasting side down onto the zipper pocket piece and stitch using a 3/8″ seam allowance.
Step 10: Add the Back
Take the back piece with the outer pocket and place it right sides together with the zipper pocket. Stitch the sides and bottom together using a 3/8″ seam allowance. The bottom is the part with the zipper not the part with the side piece. Turn the bag right sides out and press.
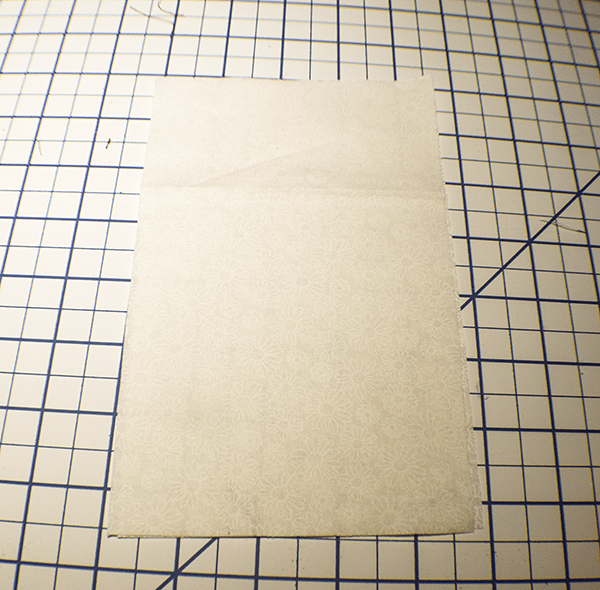
Step 11: Create the Lining
Take the two lining pieces that measure 7 1/2″ x 4 3/4″ and place them right sides together. Stitch the pieces together along the sides and bottom using a 3/8″ seam allowance and leaving an opening in one of the sides for turning.
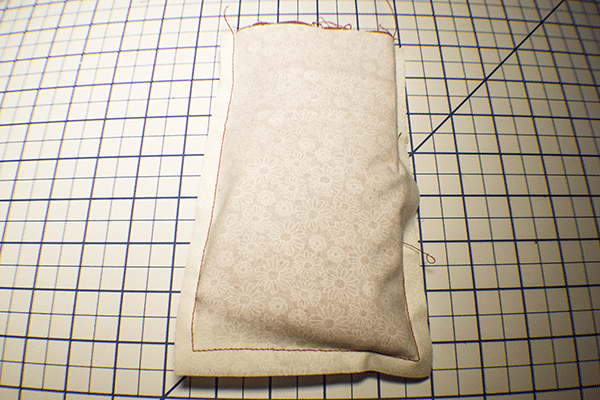
Step 12: Add the Lining to the Cellphone Bag
Place the outer bag into the lining so that they are right sides together. Stitch all the way around the top of the bag using a 3/8″ seam allowance.
Step 13: Turn the Cellphone Bag
Reach inside the opening you left in the lining and pull out the outer bag. Push the lining into the bag and topstitch all around the top to secure the lining and for a finished look. Stitch the opening closed using your machine or ladder stitch.
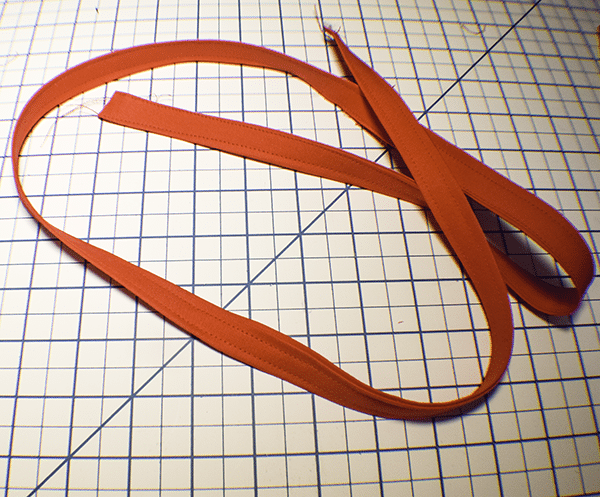
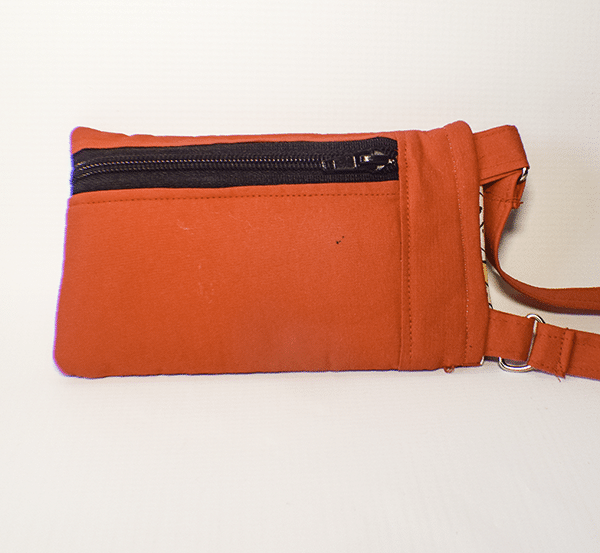
Step 14: Create and Add the Strap to the Bag
Create the strap the same way that you created the tabs. fold the long edges to the center and press. Fold in half to enclose the raw edges and press again. Topstitch along both sides of the strap. Add the strap to the D-rings by folding under the raw edges twice, wrapping them around the D-rings and stitching the ends to the strap pieces as shown.
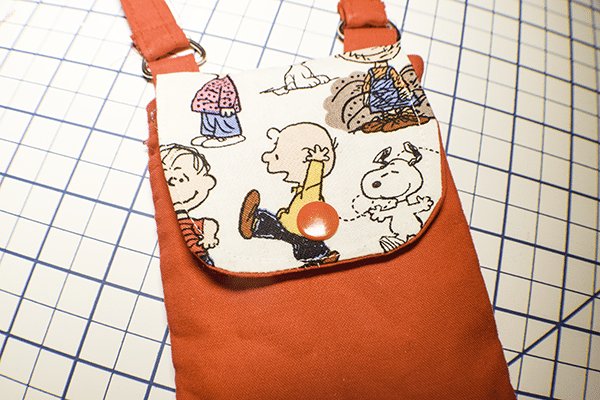
Step 11: Add the Kam Snap to the Bag
Fold down the flap and mark the location of the Kam Snap using the awl that comes with the Kam Snap kit. You will notice that the Kam Snap has two sides. If you are unfamiliar with how to install Kam Snaps just watch my YouTube video on how to do it. Place one side of the Kam Snap on the flap and the other side of the snap on the front part of the pocket piece. Once you have installed your Kam Snap you have completed your DIY Cellphone Bag.

I hope you enjoyed this DIY cell phone bag. If you would like more sewing and crafting projects Sogn up for our newsletter and receive your free eBook of 15 handbag patterns and tutorials taken from the blog
If you would video tutorials of some of Sew Very Crafty's most popular posts subscribe to our free YouTube channel here.