Learn to Sew: How to Easily Thread your Sewing Machine
Learn to sew: How to easily thread your sewing machine. Are you one of those people who has a sewing machine that sits and gathers dust? I was like that. I learned to sew as a child and then again in high school and off and on as an adult and always had a machine that sat in my house and did nothing, but no more. My machine is now put to good use and will continue to be used because I enjoy the process of creating so much and I know that once you get beyond the fear you have of your machine that you will want to get to creating too. If you haven't yet purchased a machine I recently wrote an entire post on just how to go about buying your first machine if you are a beginner sewer. Check it out here. If you already have a machine this post is for you. Learning to thread your sewing machine is simple and fast.
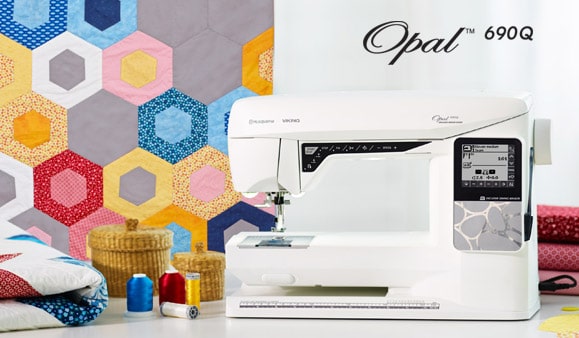
Whether you have a machine or are about to buy your first one this tutorial will help you on the path to threading and using your machine like a pro in no time. Most machines are threaded in the same way so I am going to demonstrate with my own machine. I have a Husqvarna Viking Opal 690Q which is a mid-range electronic machine but most mechanical machines are configured the same way. One of the primary differences is that my machine sets the tension automatically but we will talk tension in a later post. If you are interested in a good electronic sewing machine like mine I recommend that you head over to Sewing Machines Plus and check out their wide selection of machines and free shipping of items over $49.
Familiarize yourself with your Machine:
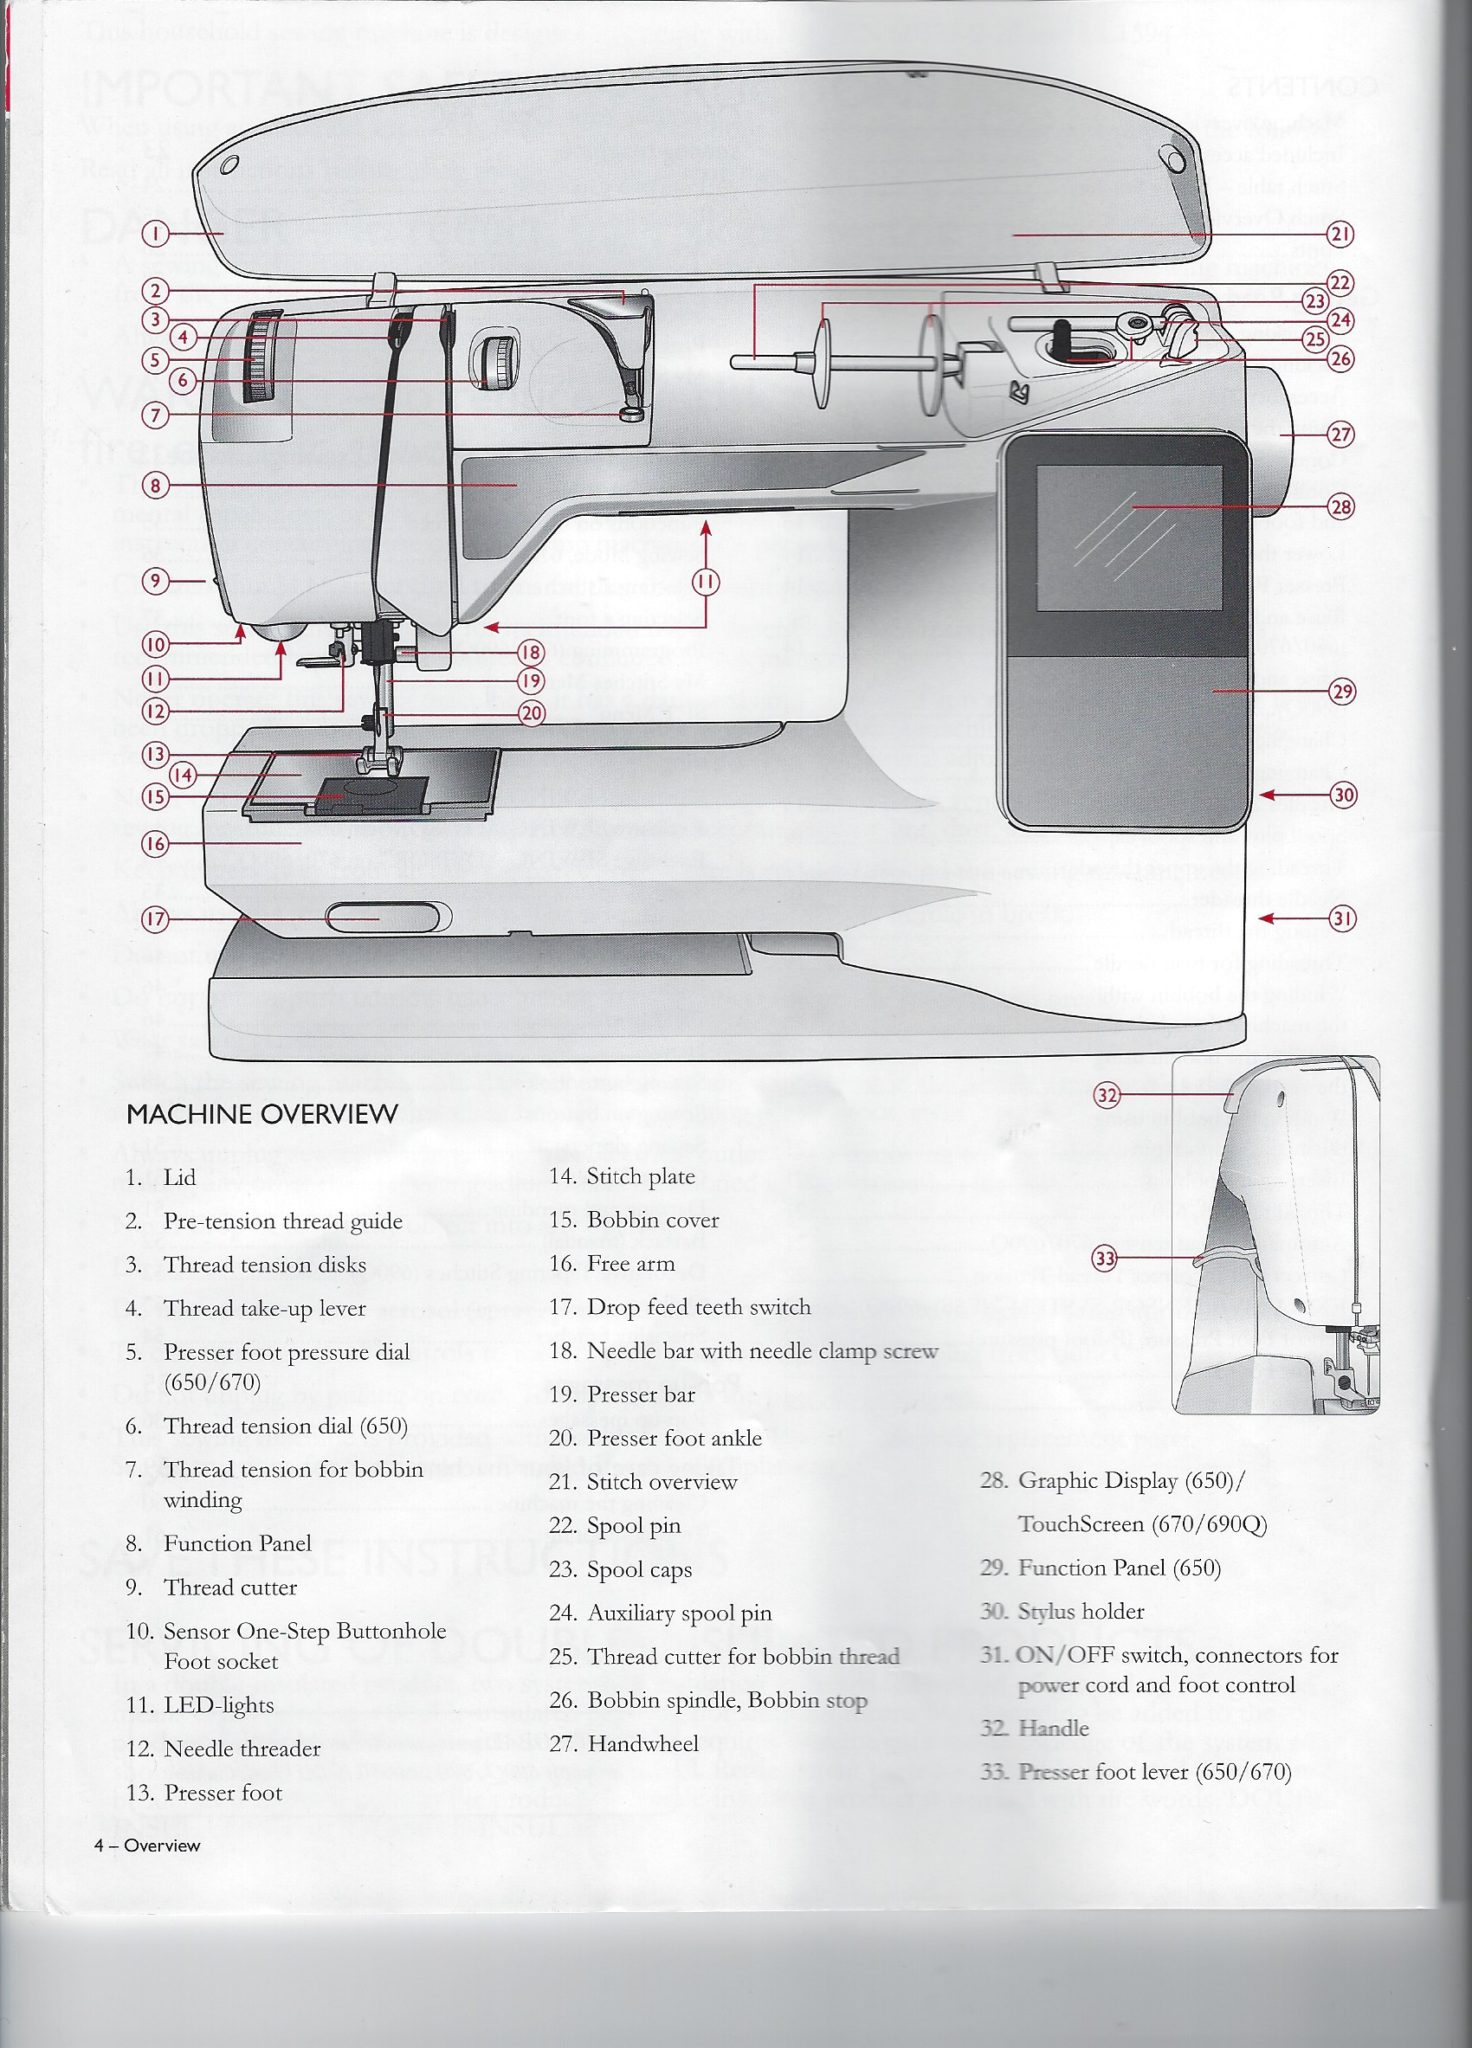
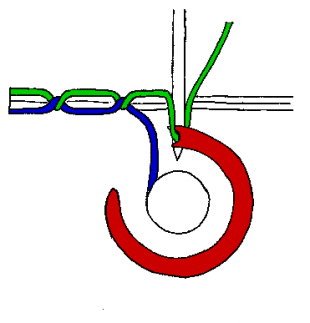
The first thing you should do is read through your owner's manual and familiarize yourself with your machine. There should be a diagram like the one above that tells you all of the main parts of your machine. These parts will be important when it comes to threading and using your machine. Proper threading of your machine cannot be overemphasized. Failure to do so will result in either stitches that pucker or stitches that loop. Neither is sturdy nor attractive.
What you will Need:
- Sewing machine
- Thread
- Empty bobbin
Wind your Bobbin
The first thing that you will need to do before you actually thread your machine is to wind or fill your bobbin. What is a bobbin you ask? A bobbin is essentially a smaller, second spool of thread made of either plastic or metal that you fill with thread yourself. Bobbins come in different sizes so make sure you have the right size for your machine by reviewing your user's manual. The purpose of the bobbin is to weave the spool thread and the bobbin thread together to form a stitch that is secure. It is more complicated than that but for our purpose that is essentially what it does.
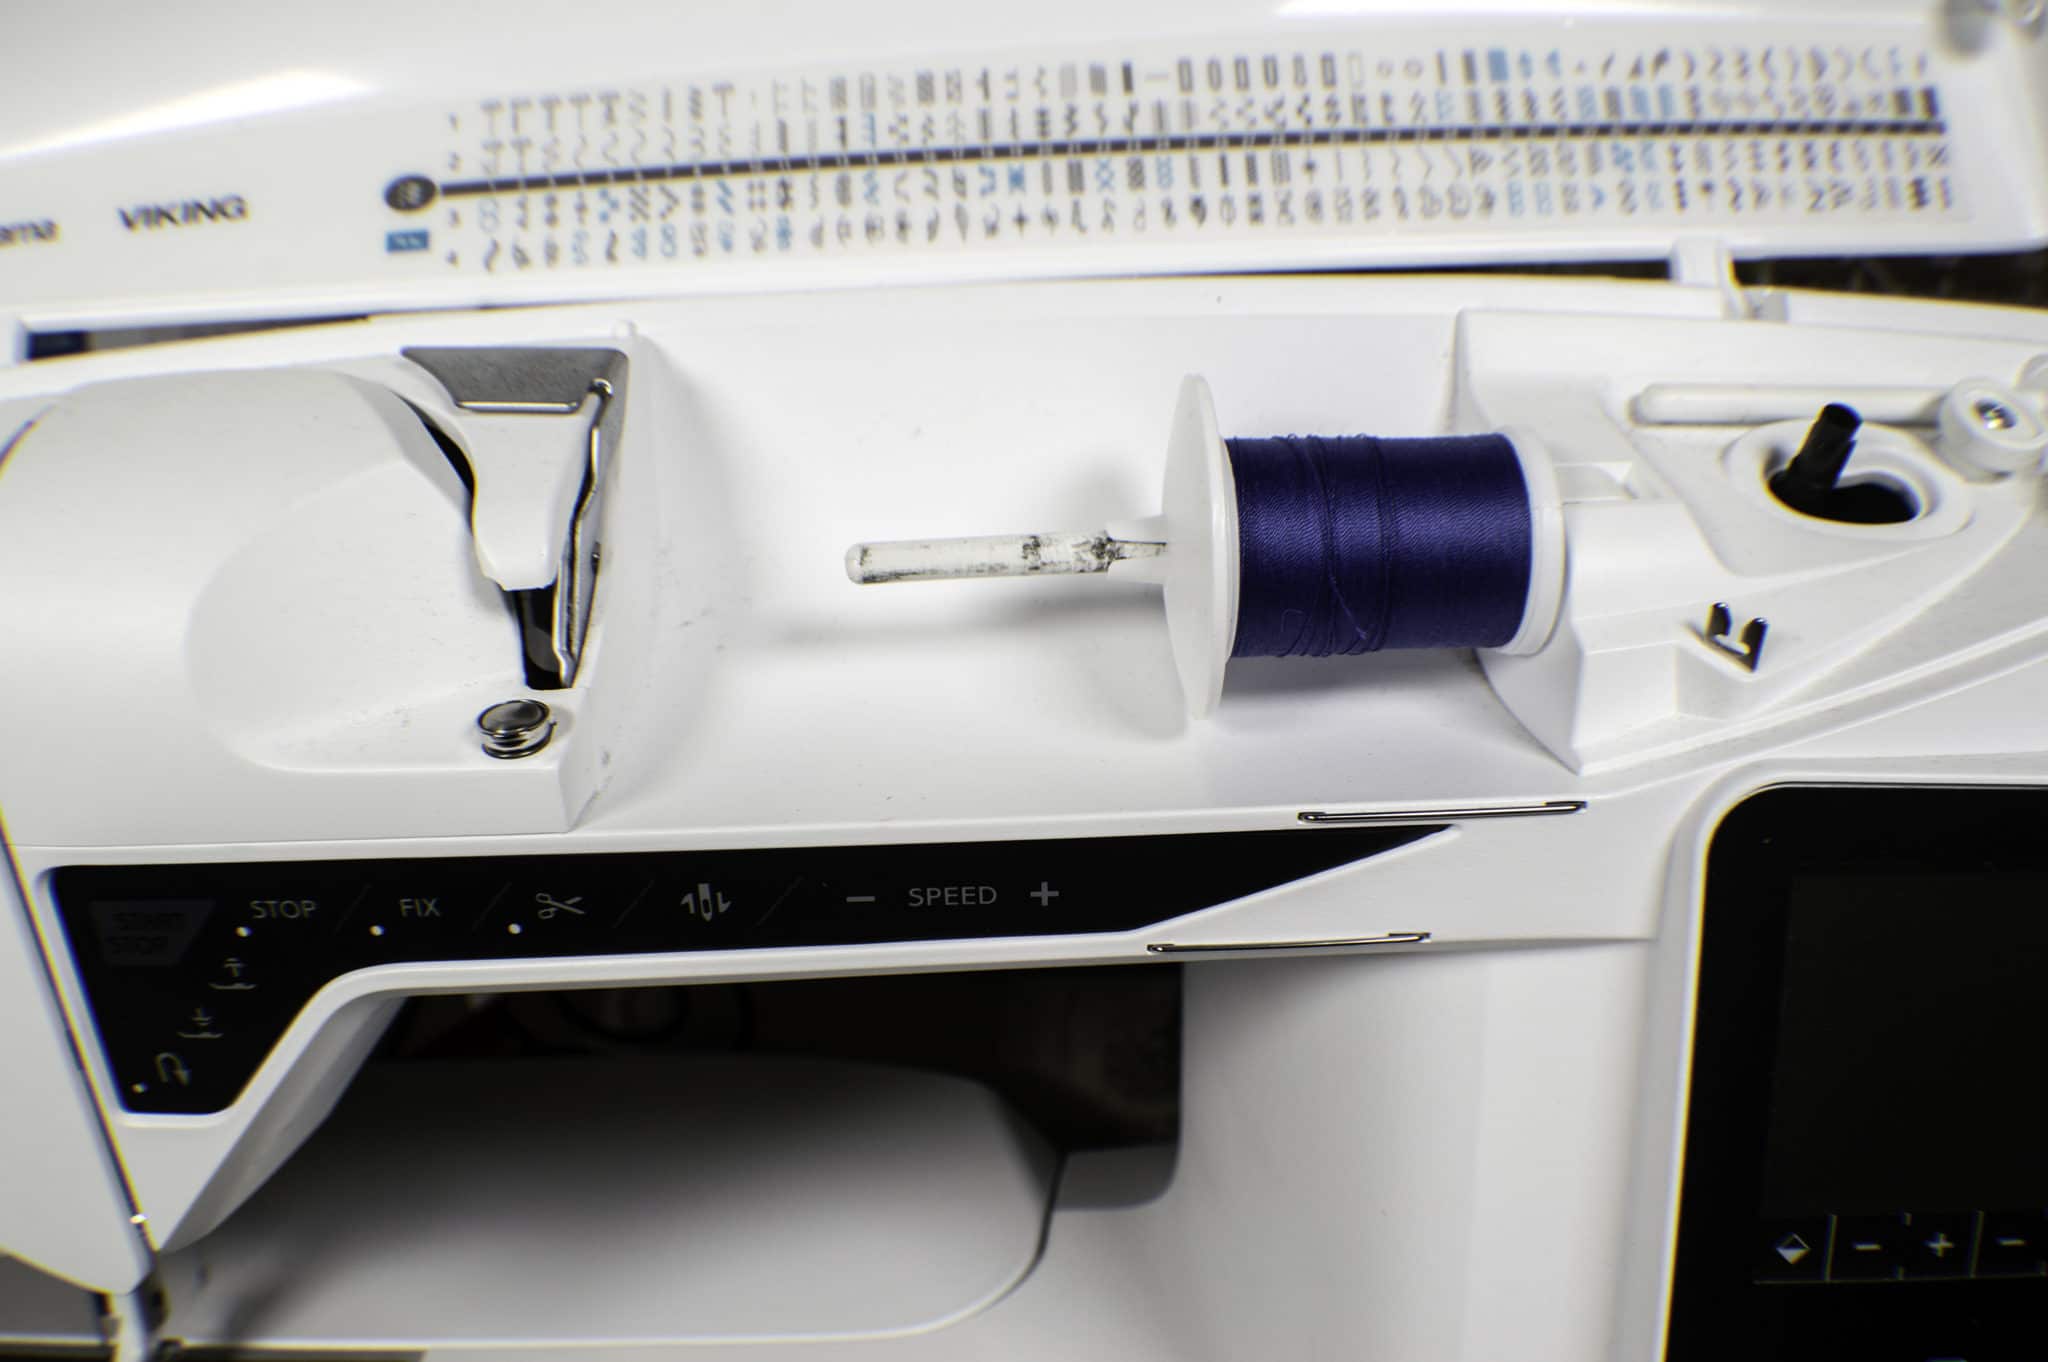
So, it is up to you to wind your own bobbin thread. How do you do that? Easy. Just attach your spool of thread to your spool pin located at the top of your machine and place the spool pin cap on the spool to secure it.
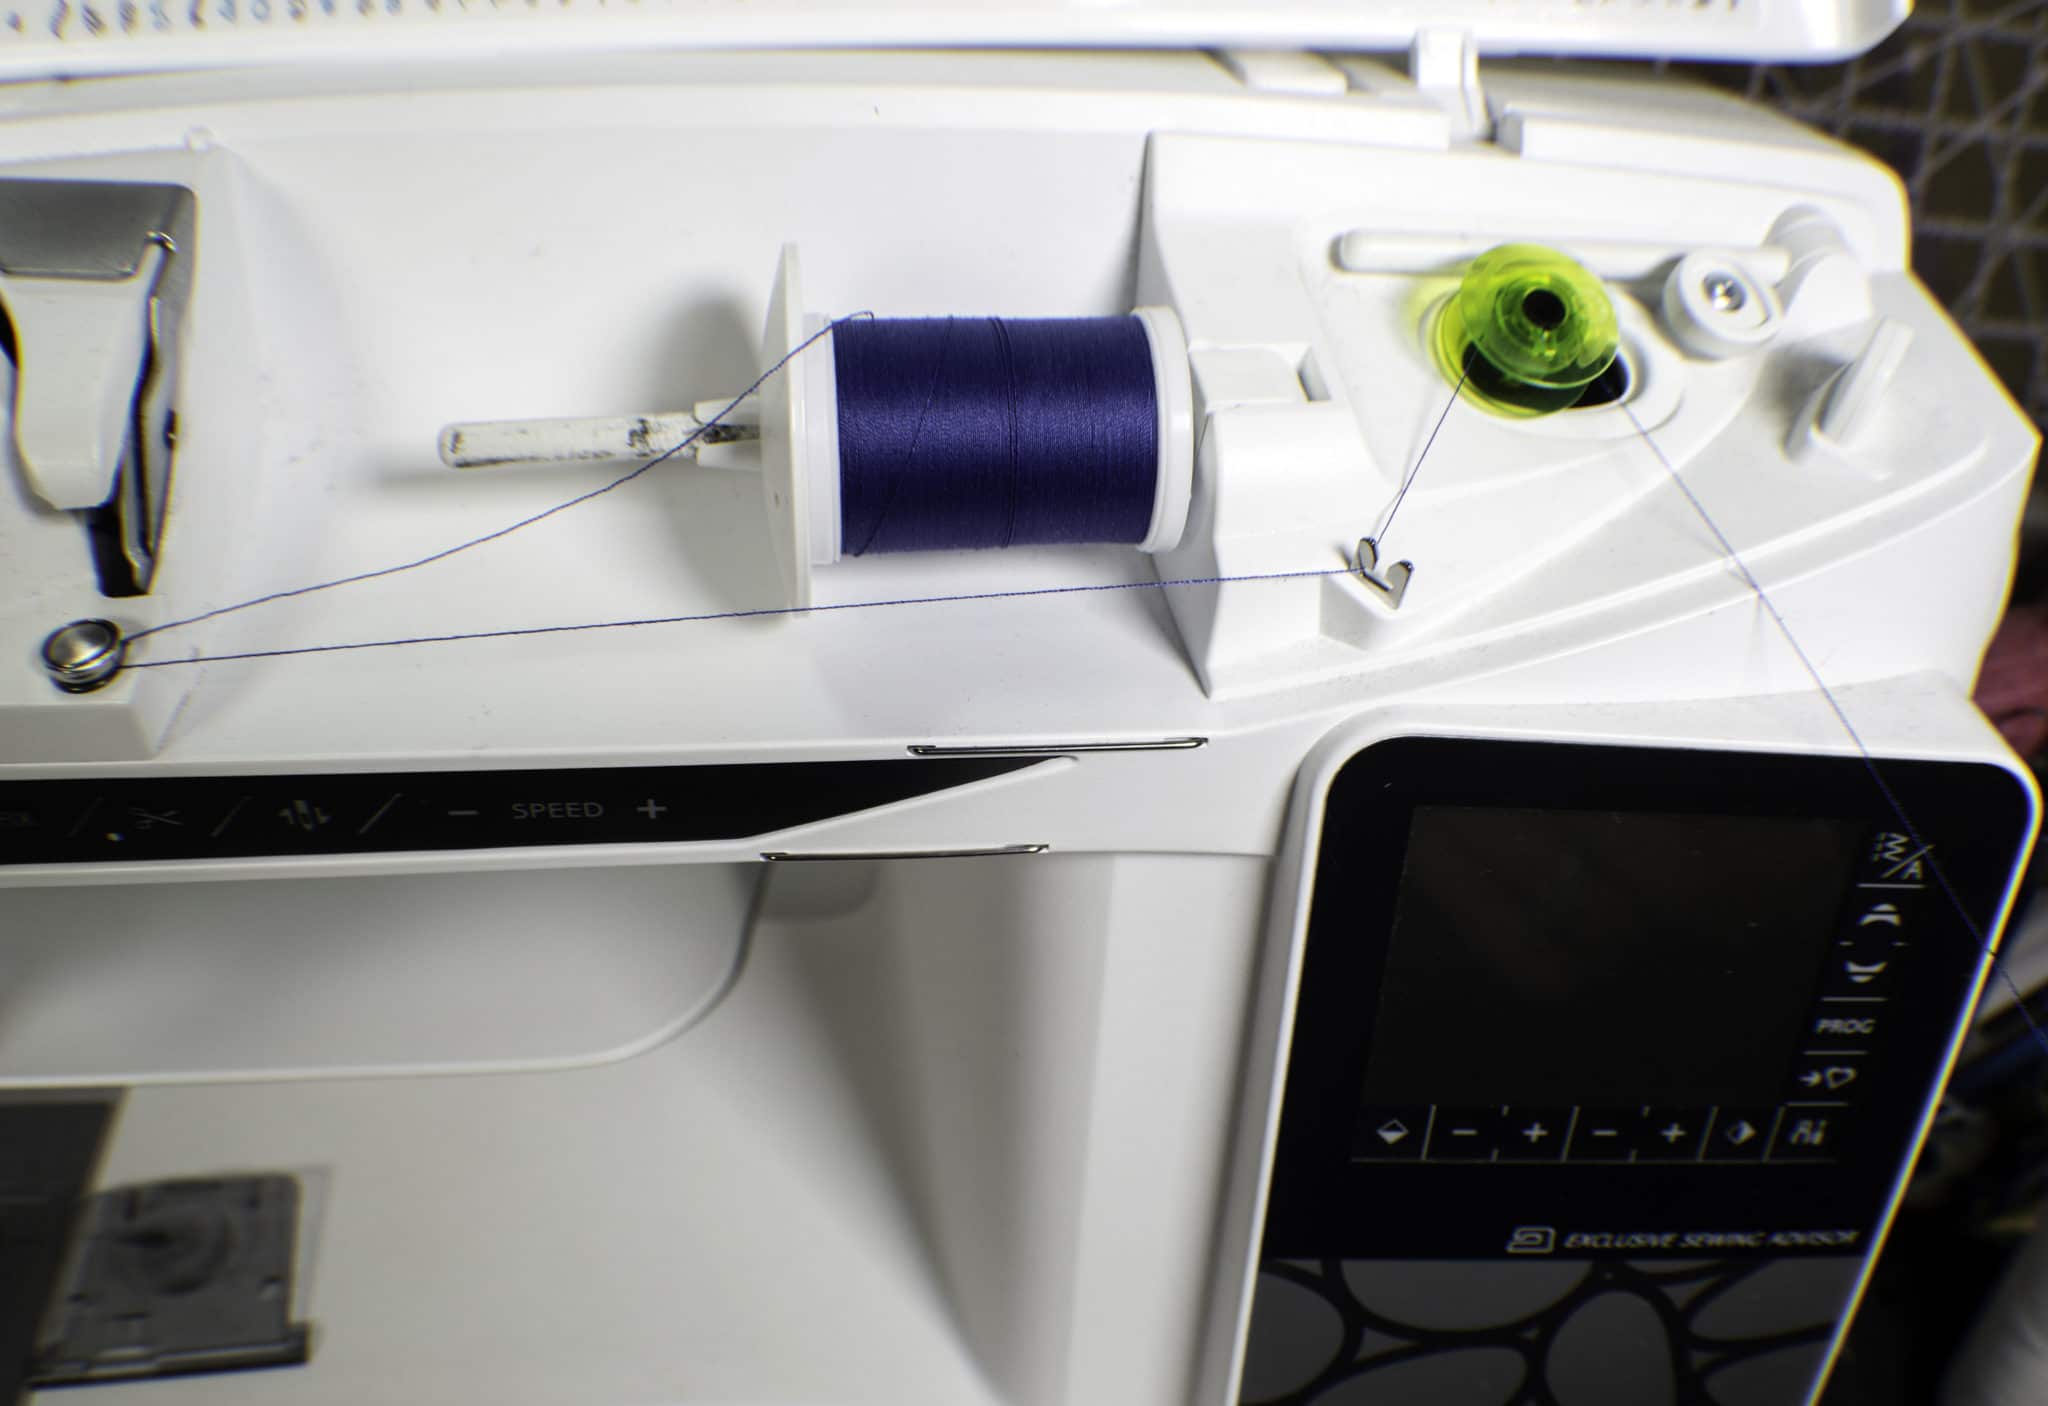
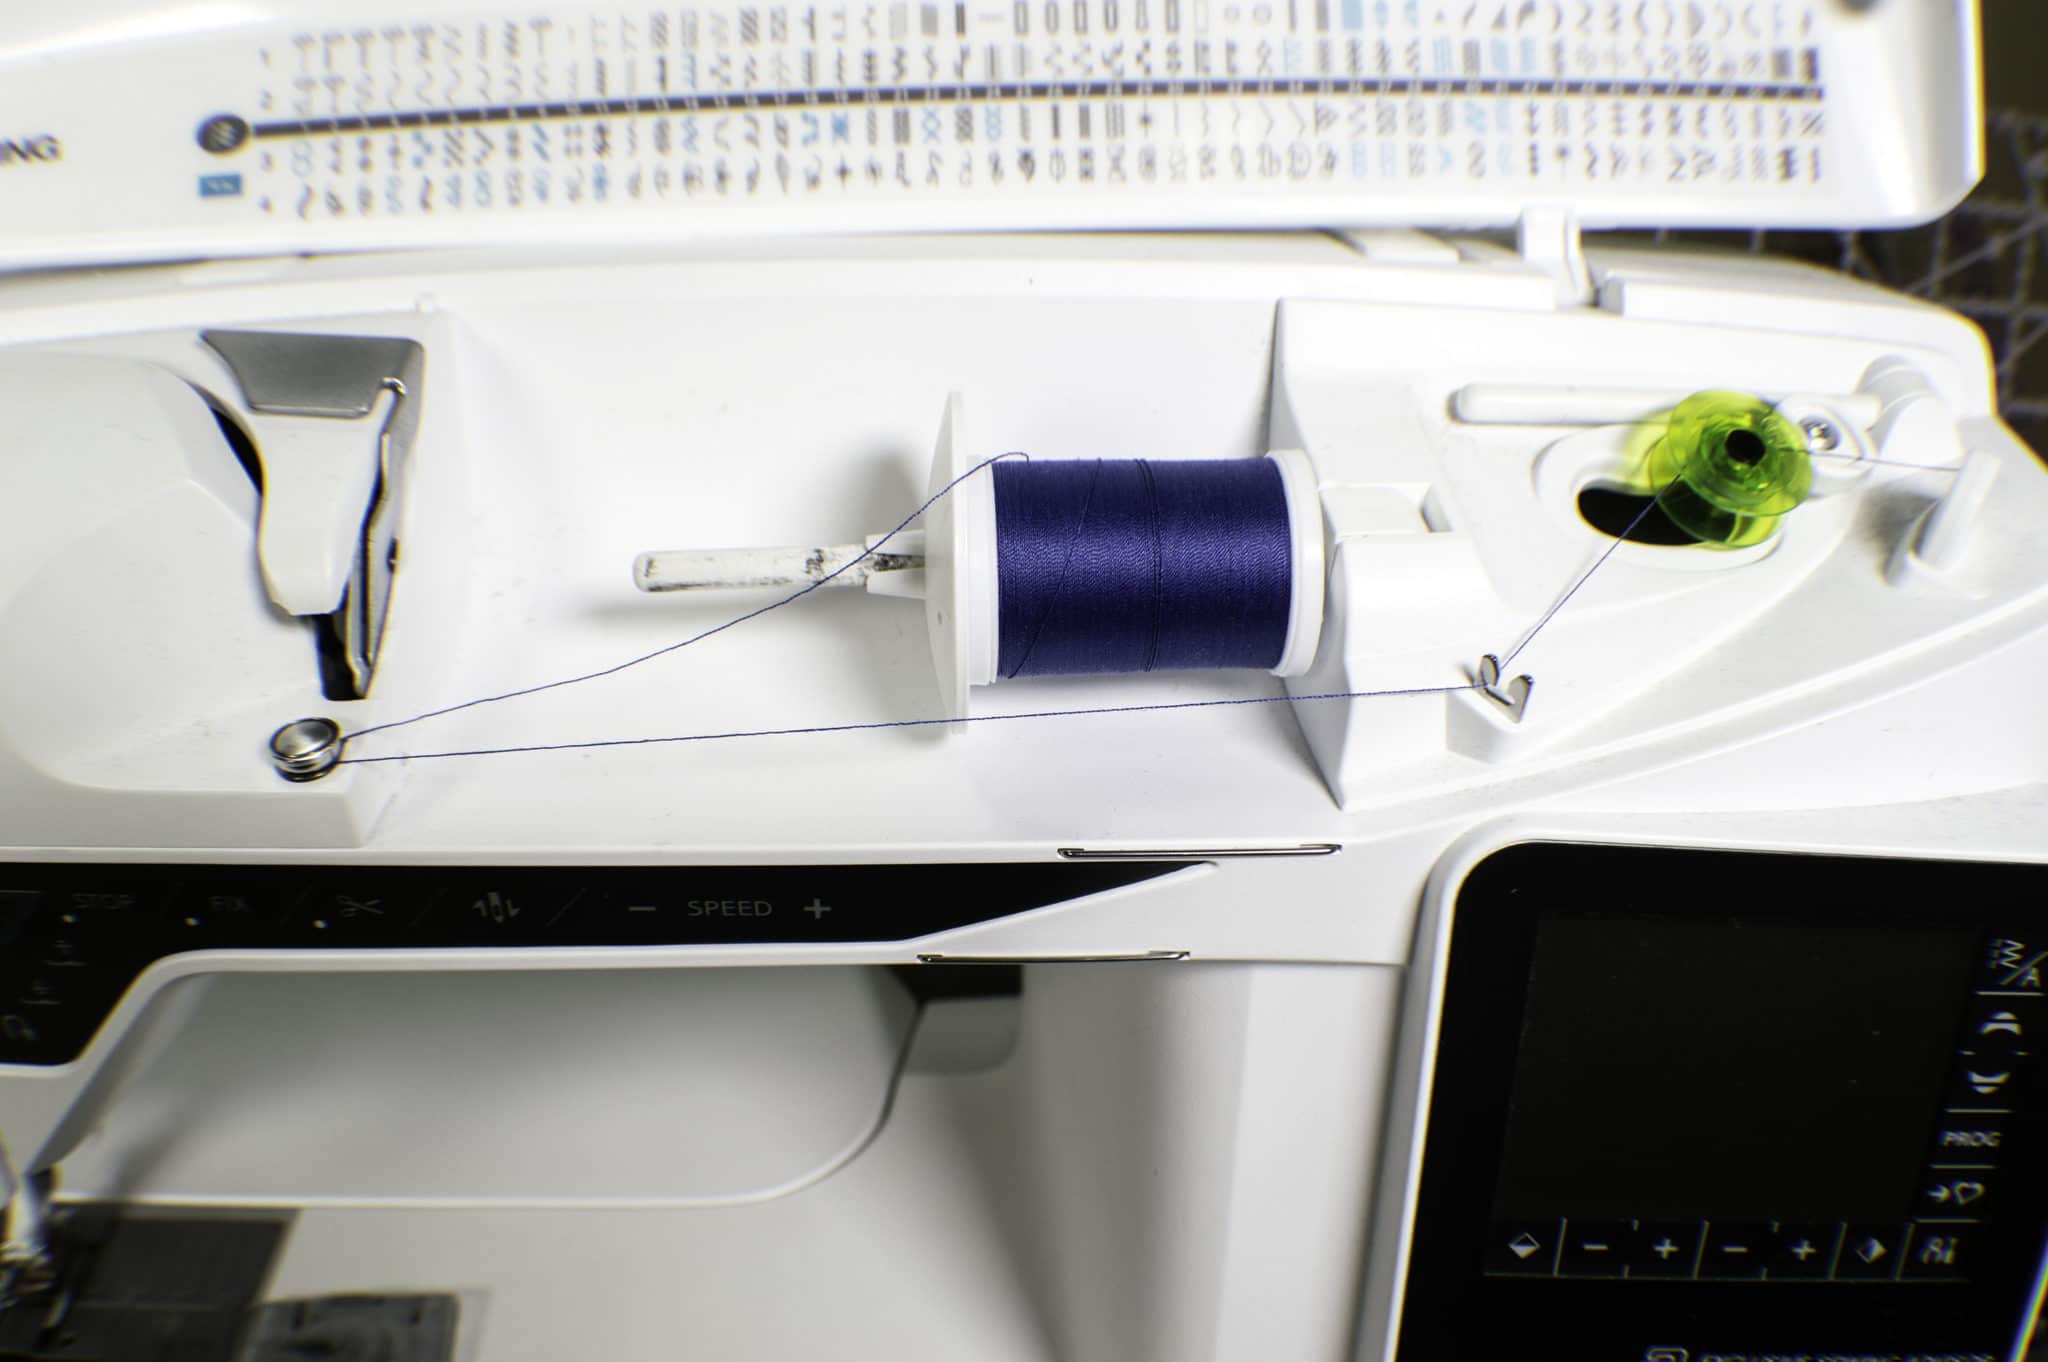
Place the bobbin on the bobbin spindle. Wrap the thread around the bobbin winding tension pin and through the guide prongs. If your bobbin has a hole in the top, place the thread through the hole otherwise wrap it a few times around the bobbin by hand.
Push the bobbin winder to the right toward the bobbin stop until it clicks. This will stop the needle on the machine from moving up and down and will limit the machine to only winding the bobbin. Press your foot pedal or on off button to begin winding the bobbin. Continue winding the bobbin until it is full or you feel you have enough bobbin thread for your project. When the bobbin is full the bobbin will stop rotating. Simply move the bobbin winder to the left away from the bobbin stop and clip the threads and remove the bobbin from the bobbin pin.
You have now winded your own bobbin. It is just that simple.
Thread your Machine
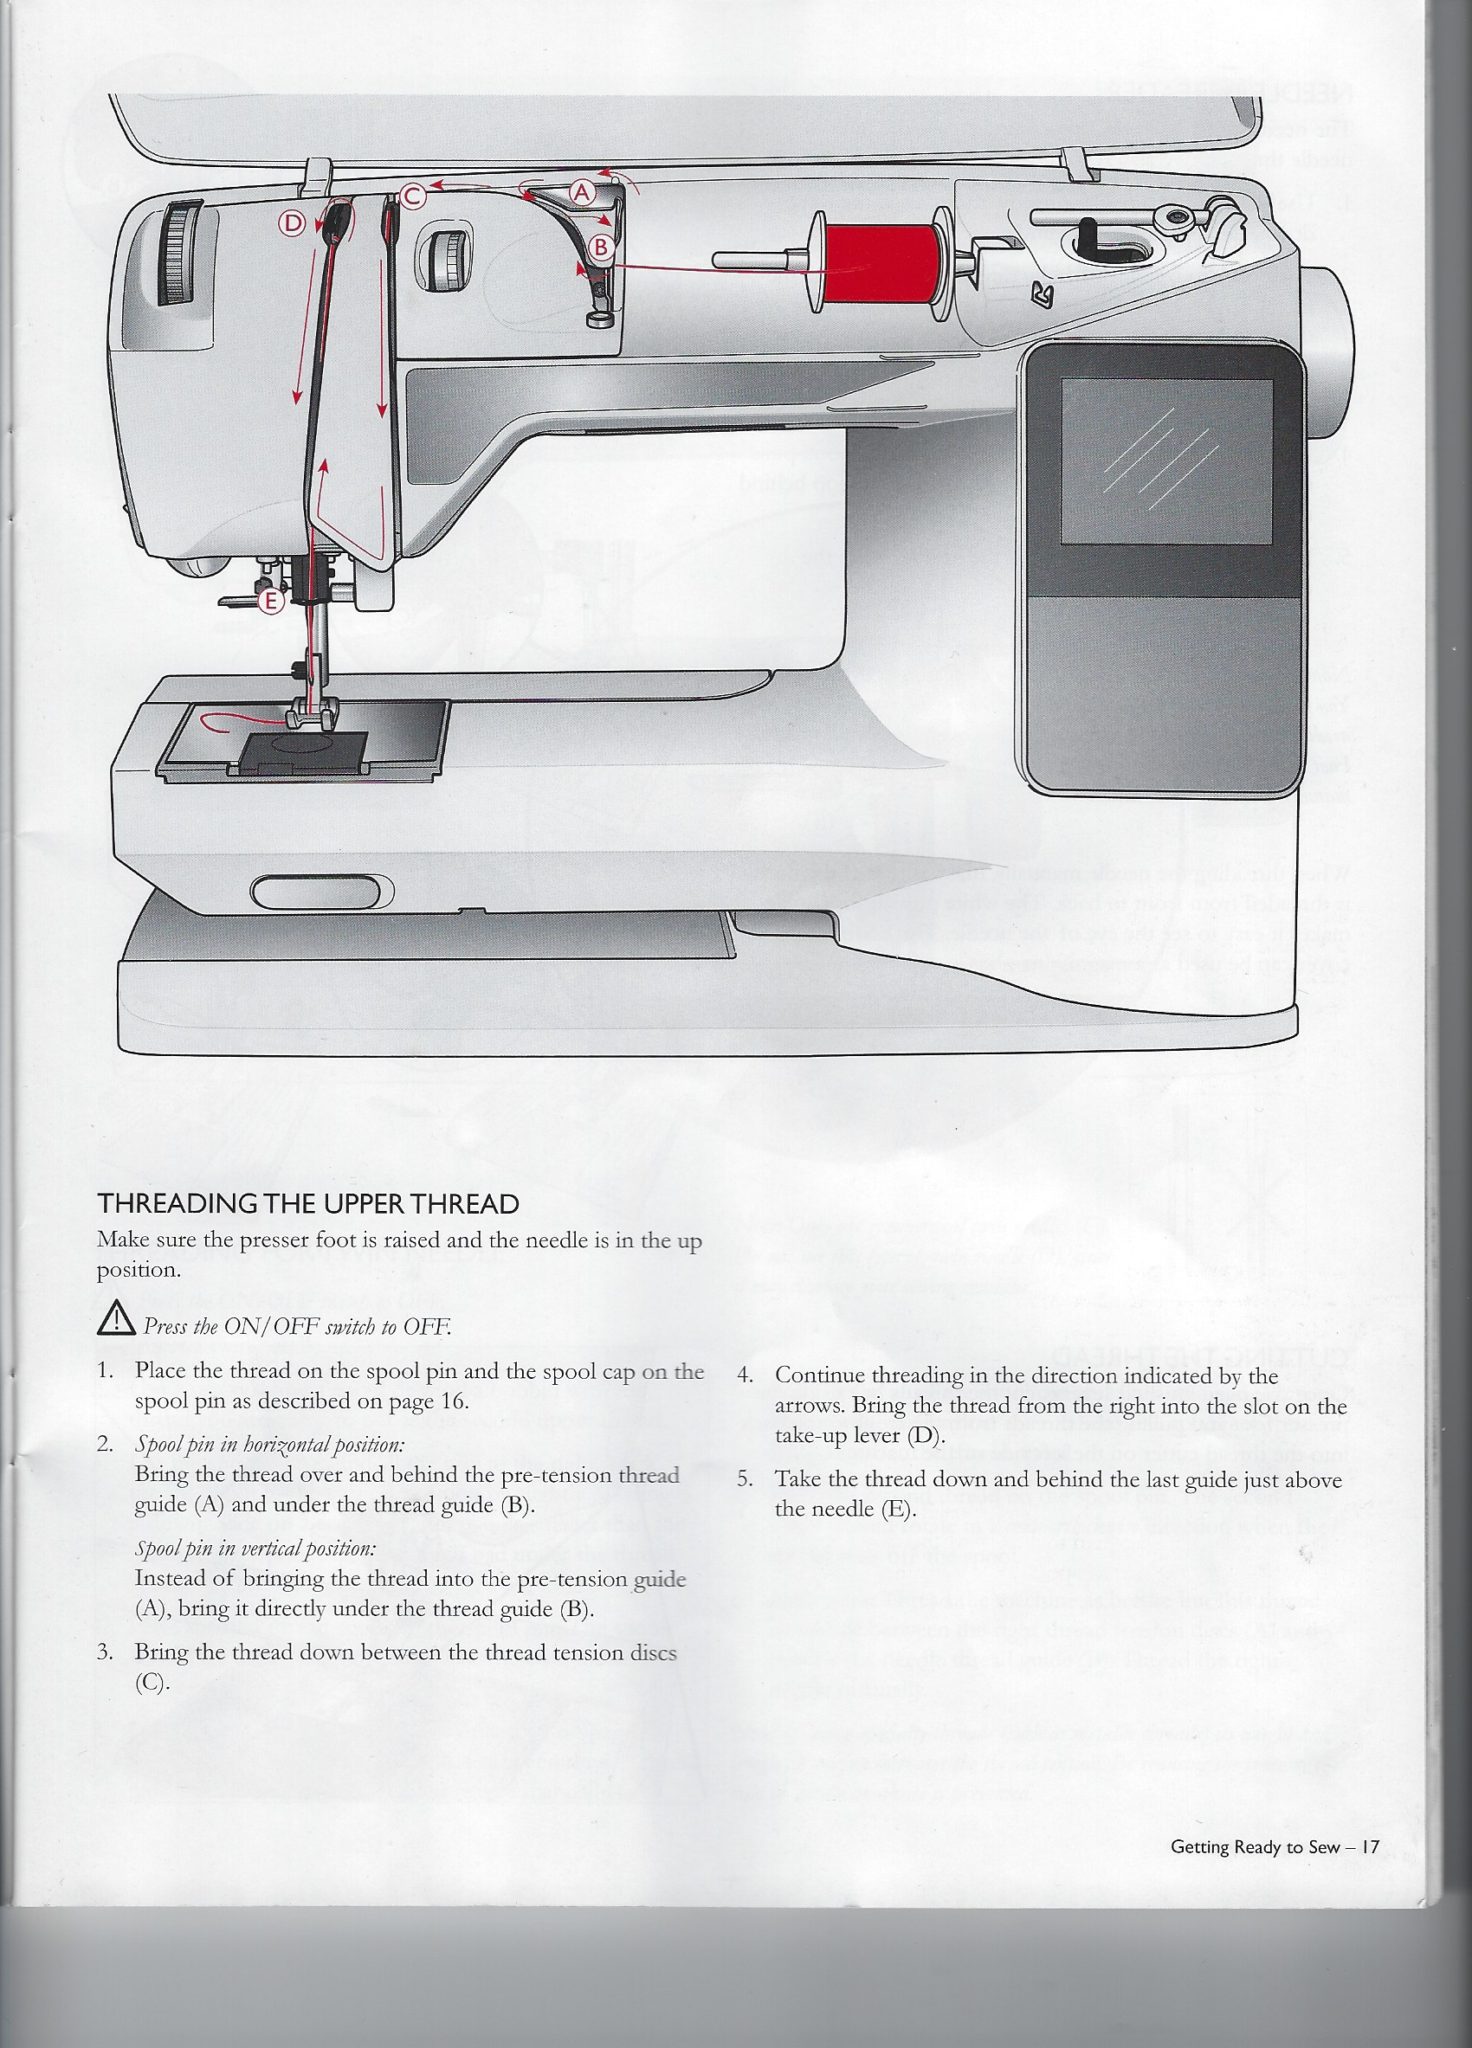
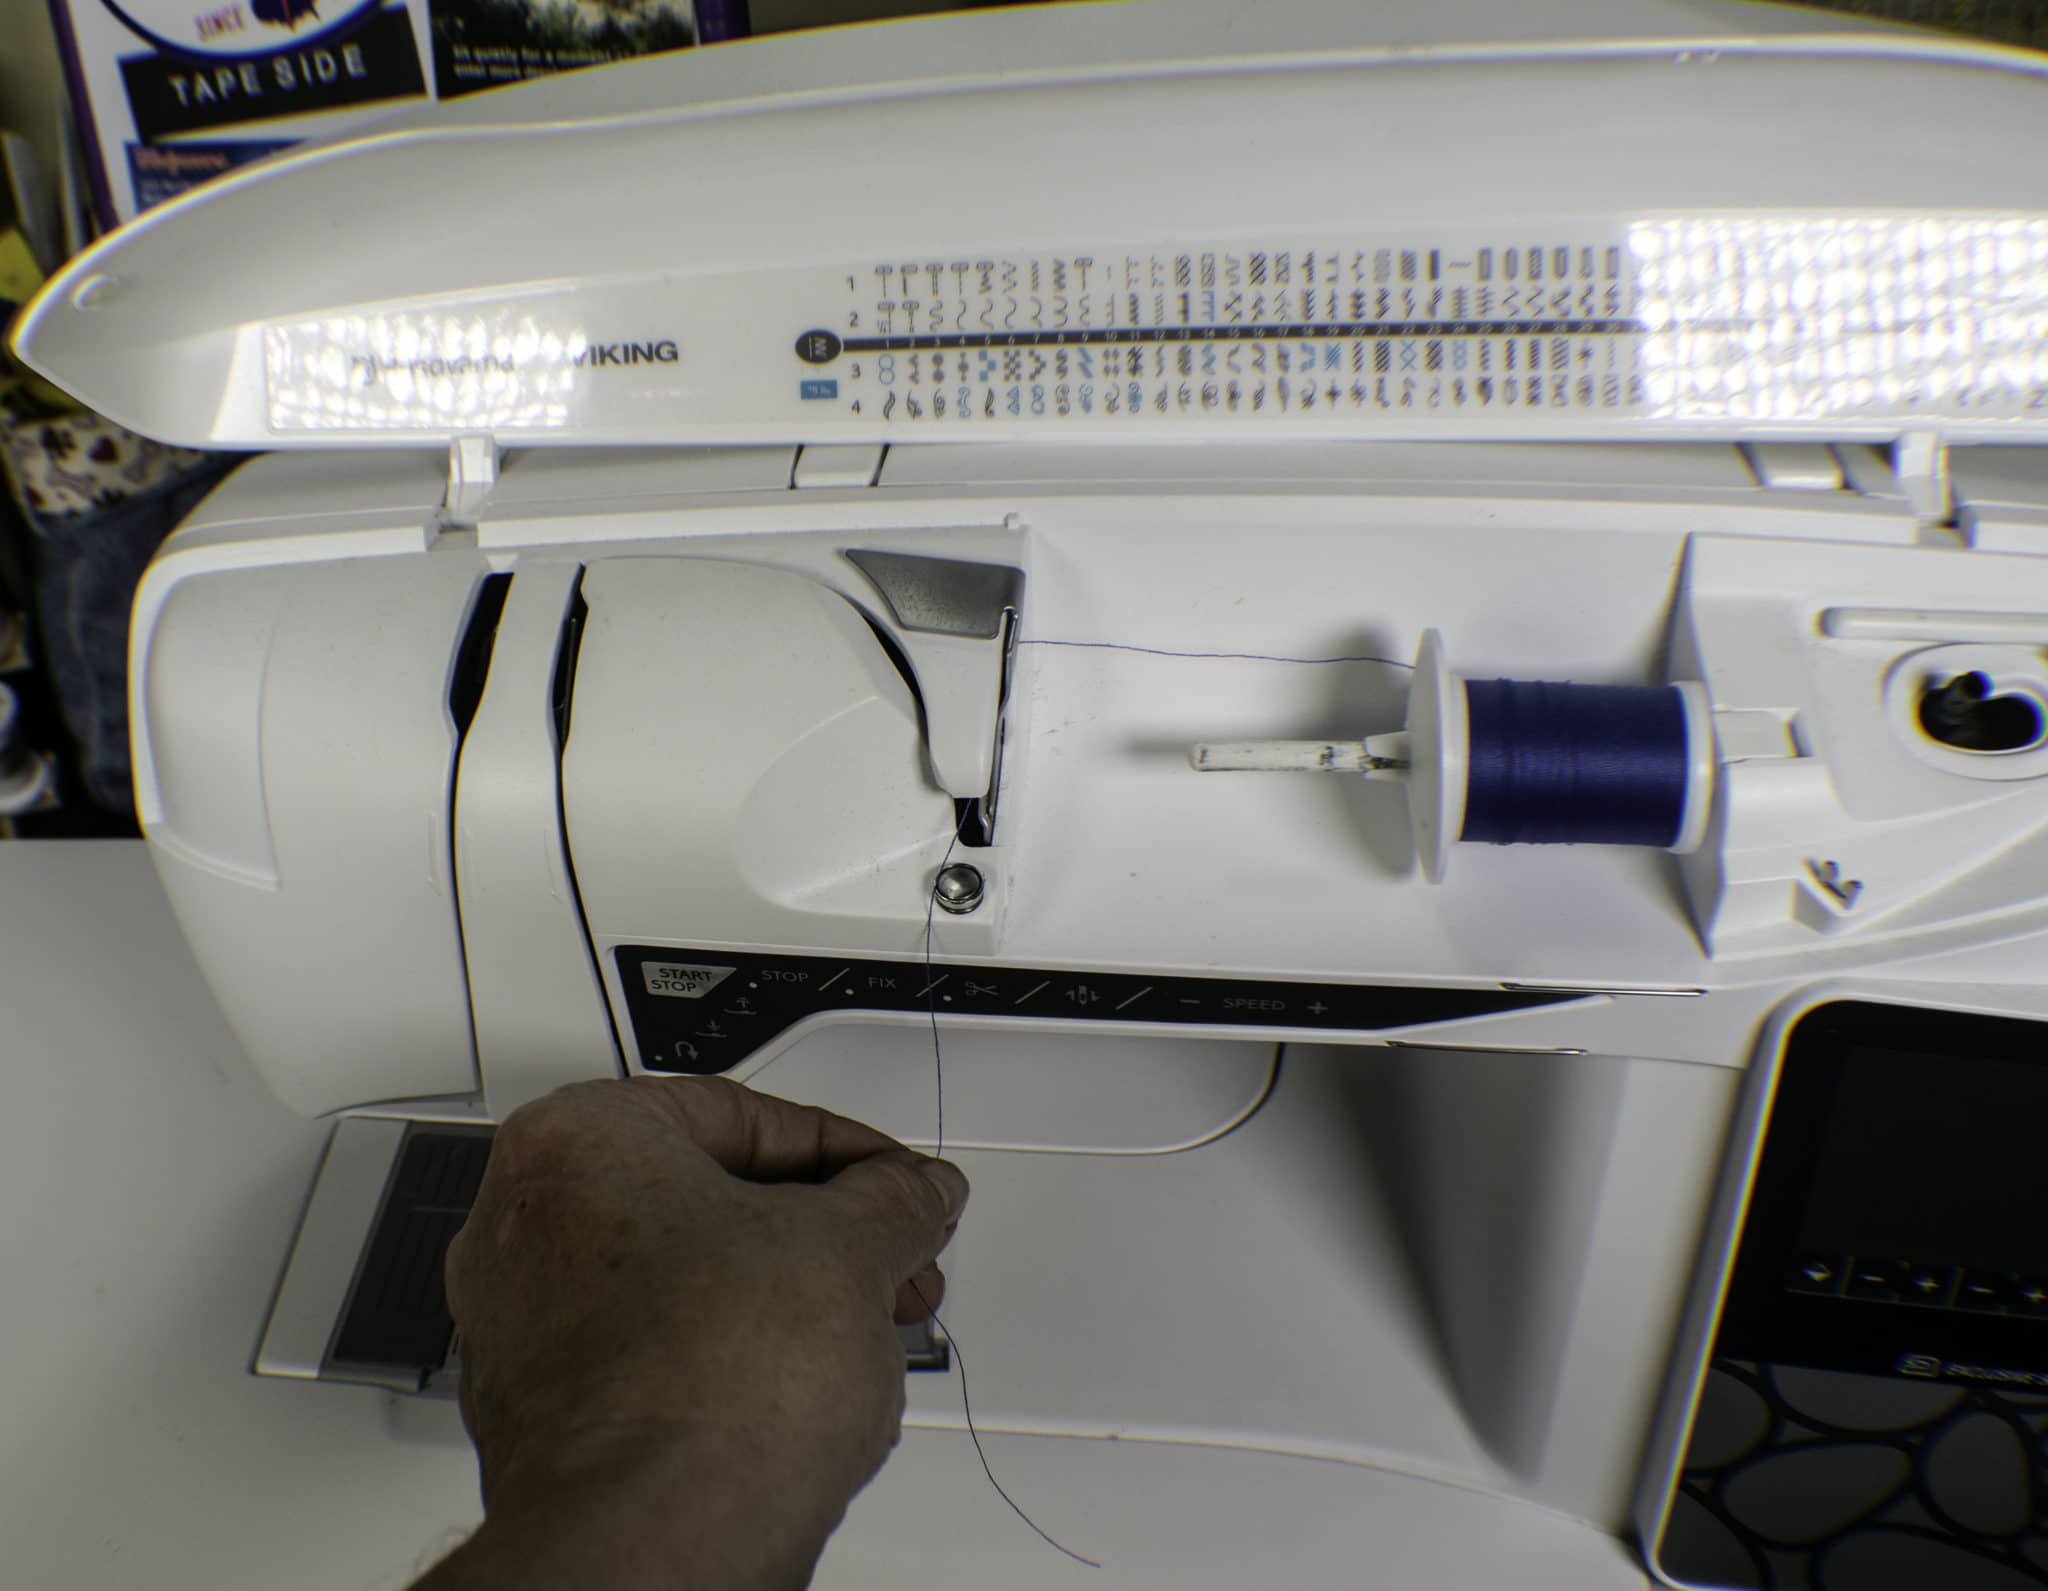
Place your thread on the spool pin then place the spool pin cap on the spool pin to keep the spool secure. Make sure that the thread feeds counter clockwise.
Pull your thread to the left through your pre-tension thread guide then underneath the guide.
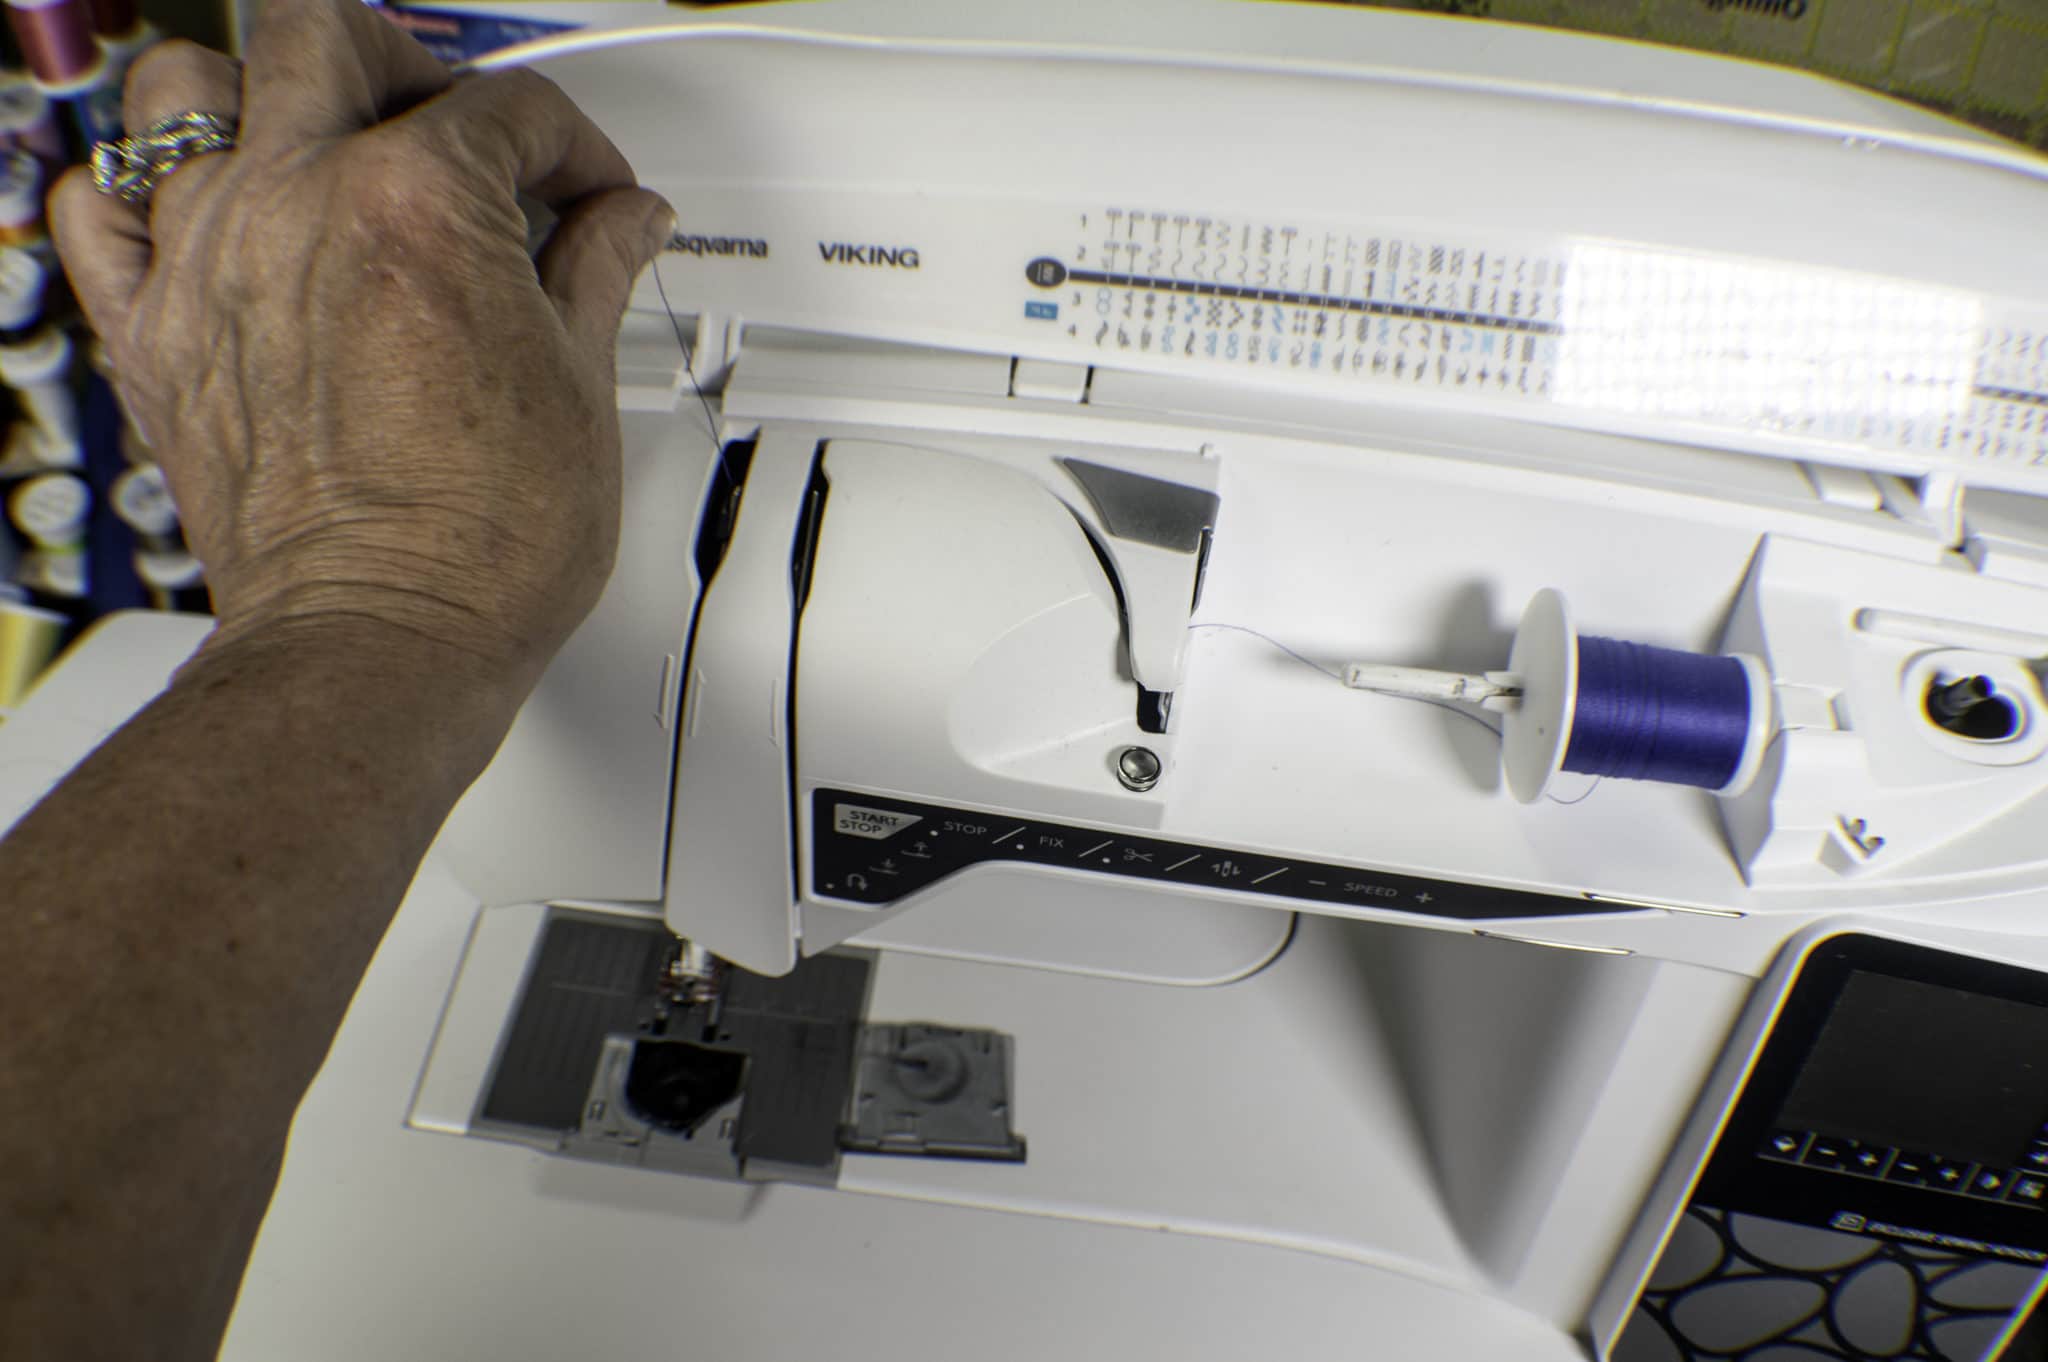
Follow the channel up and to the left toward the first perpendicular channel which contains the tension discs. Pull the threads downward through the tension discs toward the bottom “U” shape of your machine. Your machine may have tension knobs that your thread will feed through but the process is essentially the same.
Once you are at the bottom of the tension discs, pull your thread to the left and upwards under the “U” shape. This next perpendicular channel contains the take-up lever. Pull your thread around the right side of the take-up lever and around the top. Then pull the thread back down the left side of the take-up lever toward the needle.
Once you are in the area of the needle you will see a thread guide that looks like a hook. Draw the thread through this final thread guide.
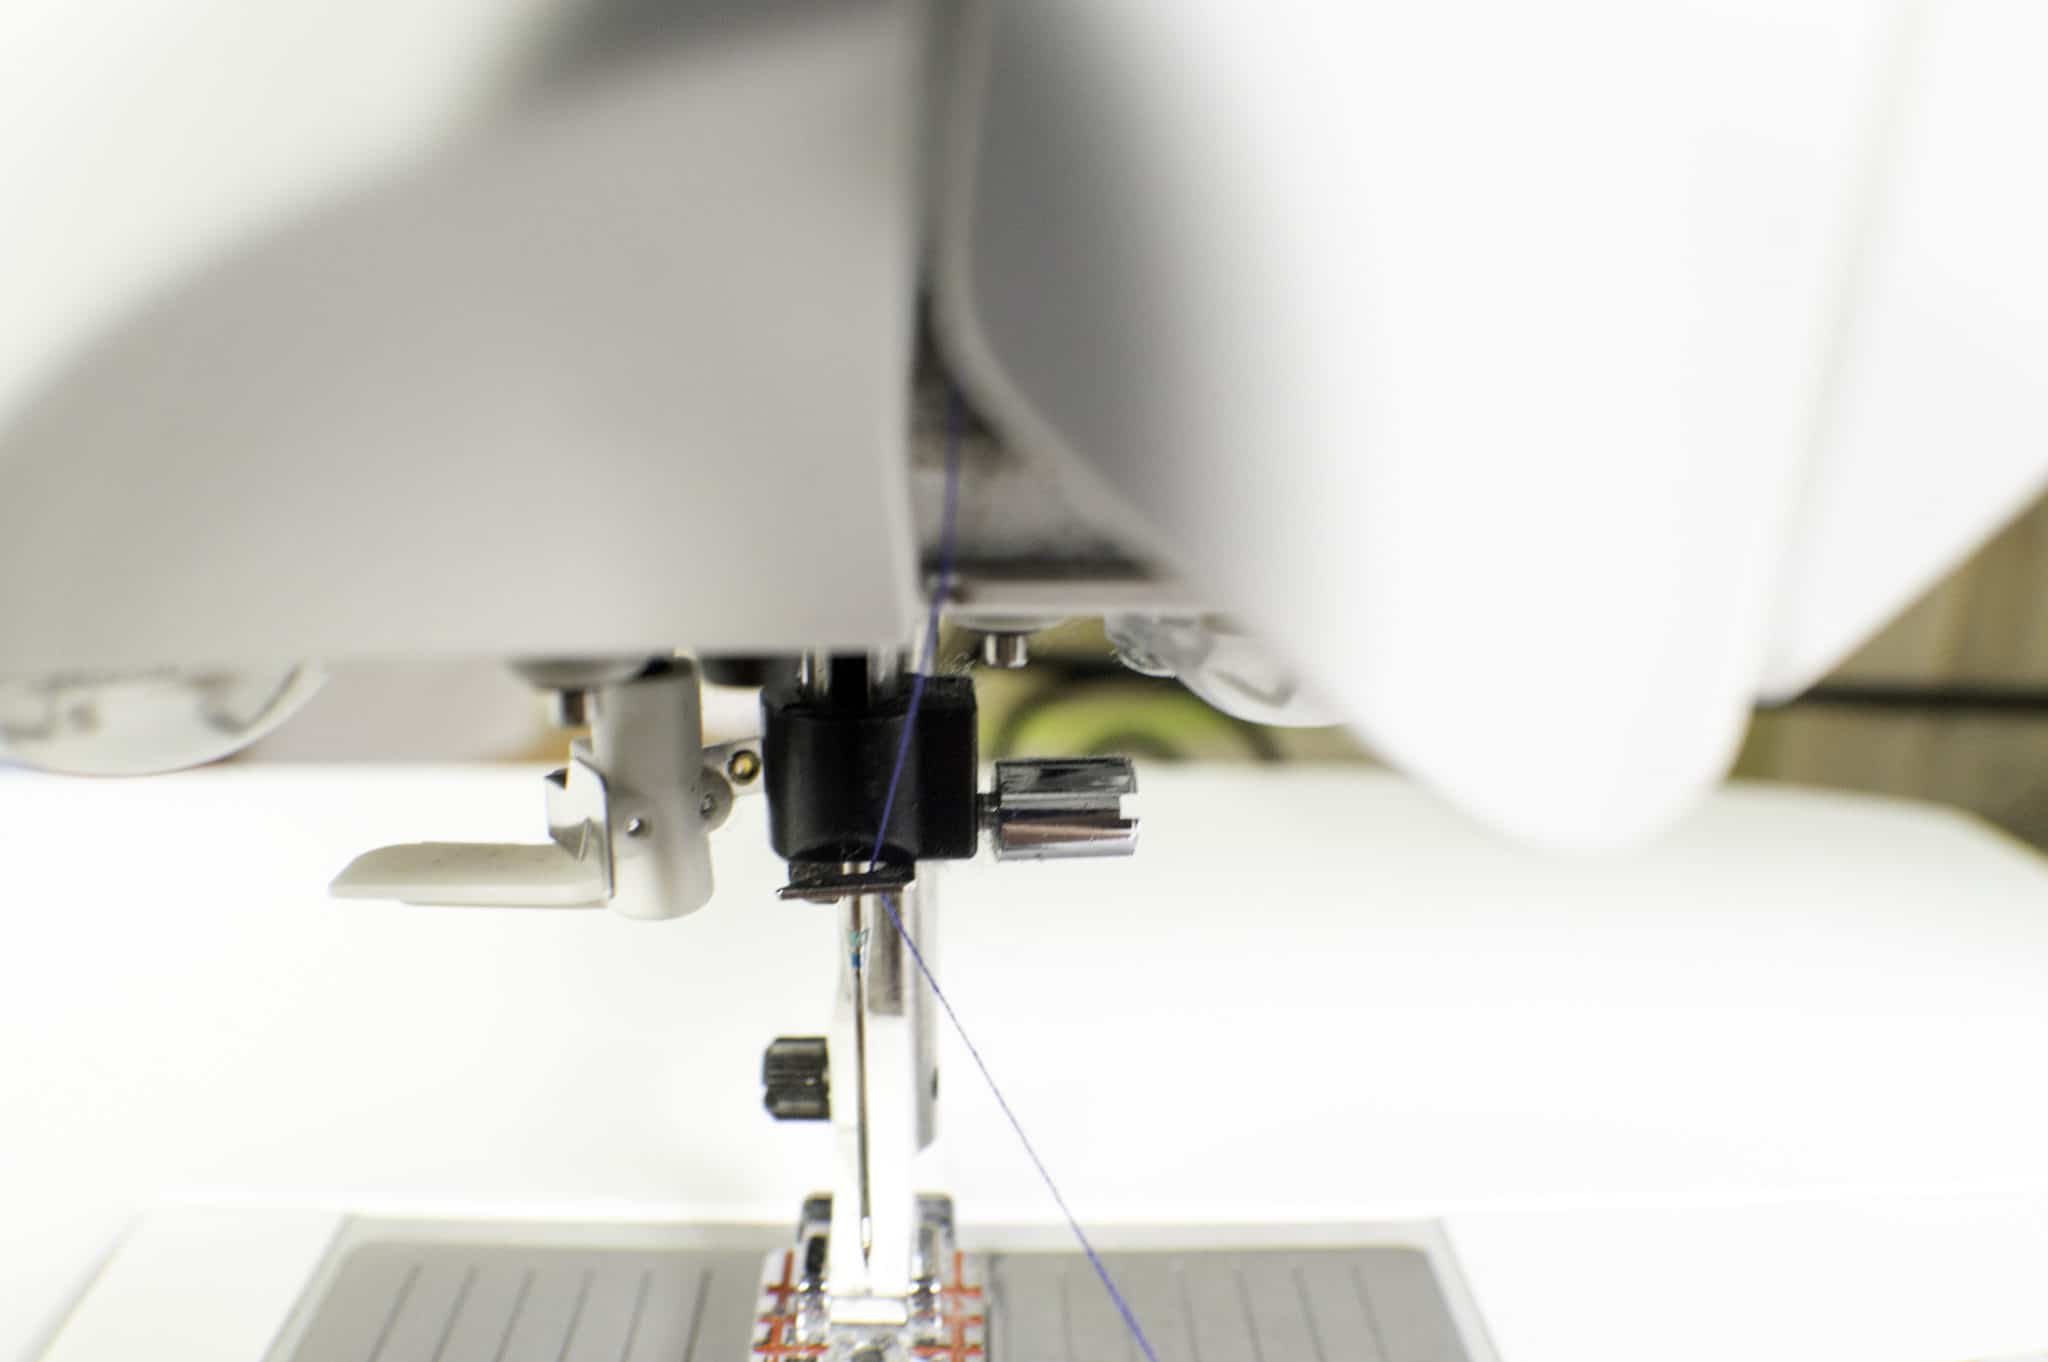
Thread your needle. If you don't know how to add your needle to your machine it is a simple process as well. Every needle Has a flat side to it. Your owner's manual will let you know where the flat side should go. My machine requires the flat side of the needle to be facing the back. To add or change out my needle, I simply need to loosen the screw that holds the needle in place and remove the old needle. Replace with a new needle being aware of where the flat side is. Tighten the screw and you are finished. We will get into the different types of needles in a later post.
Thread your Bobbin
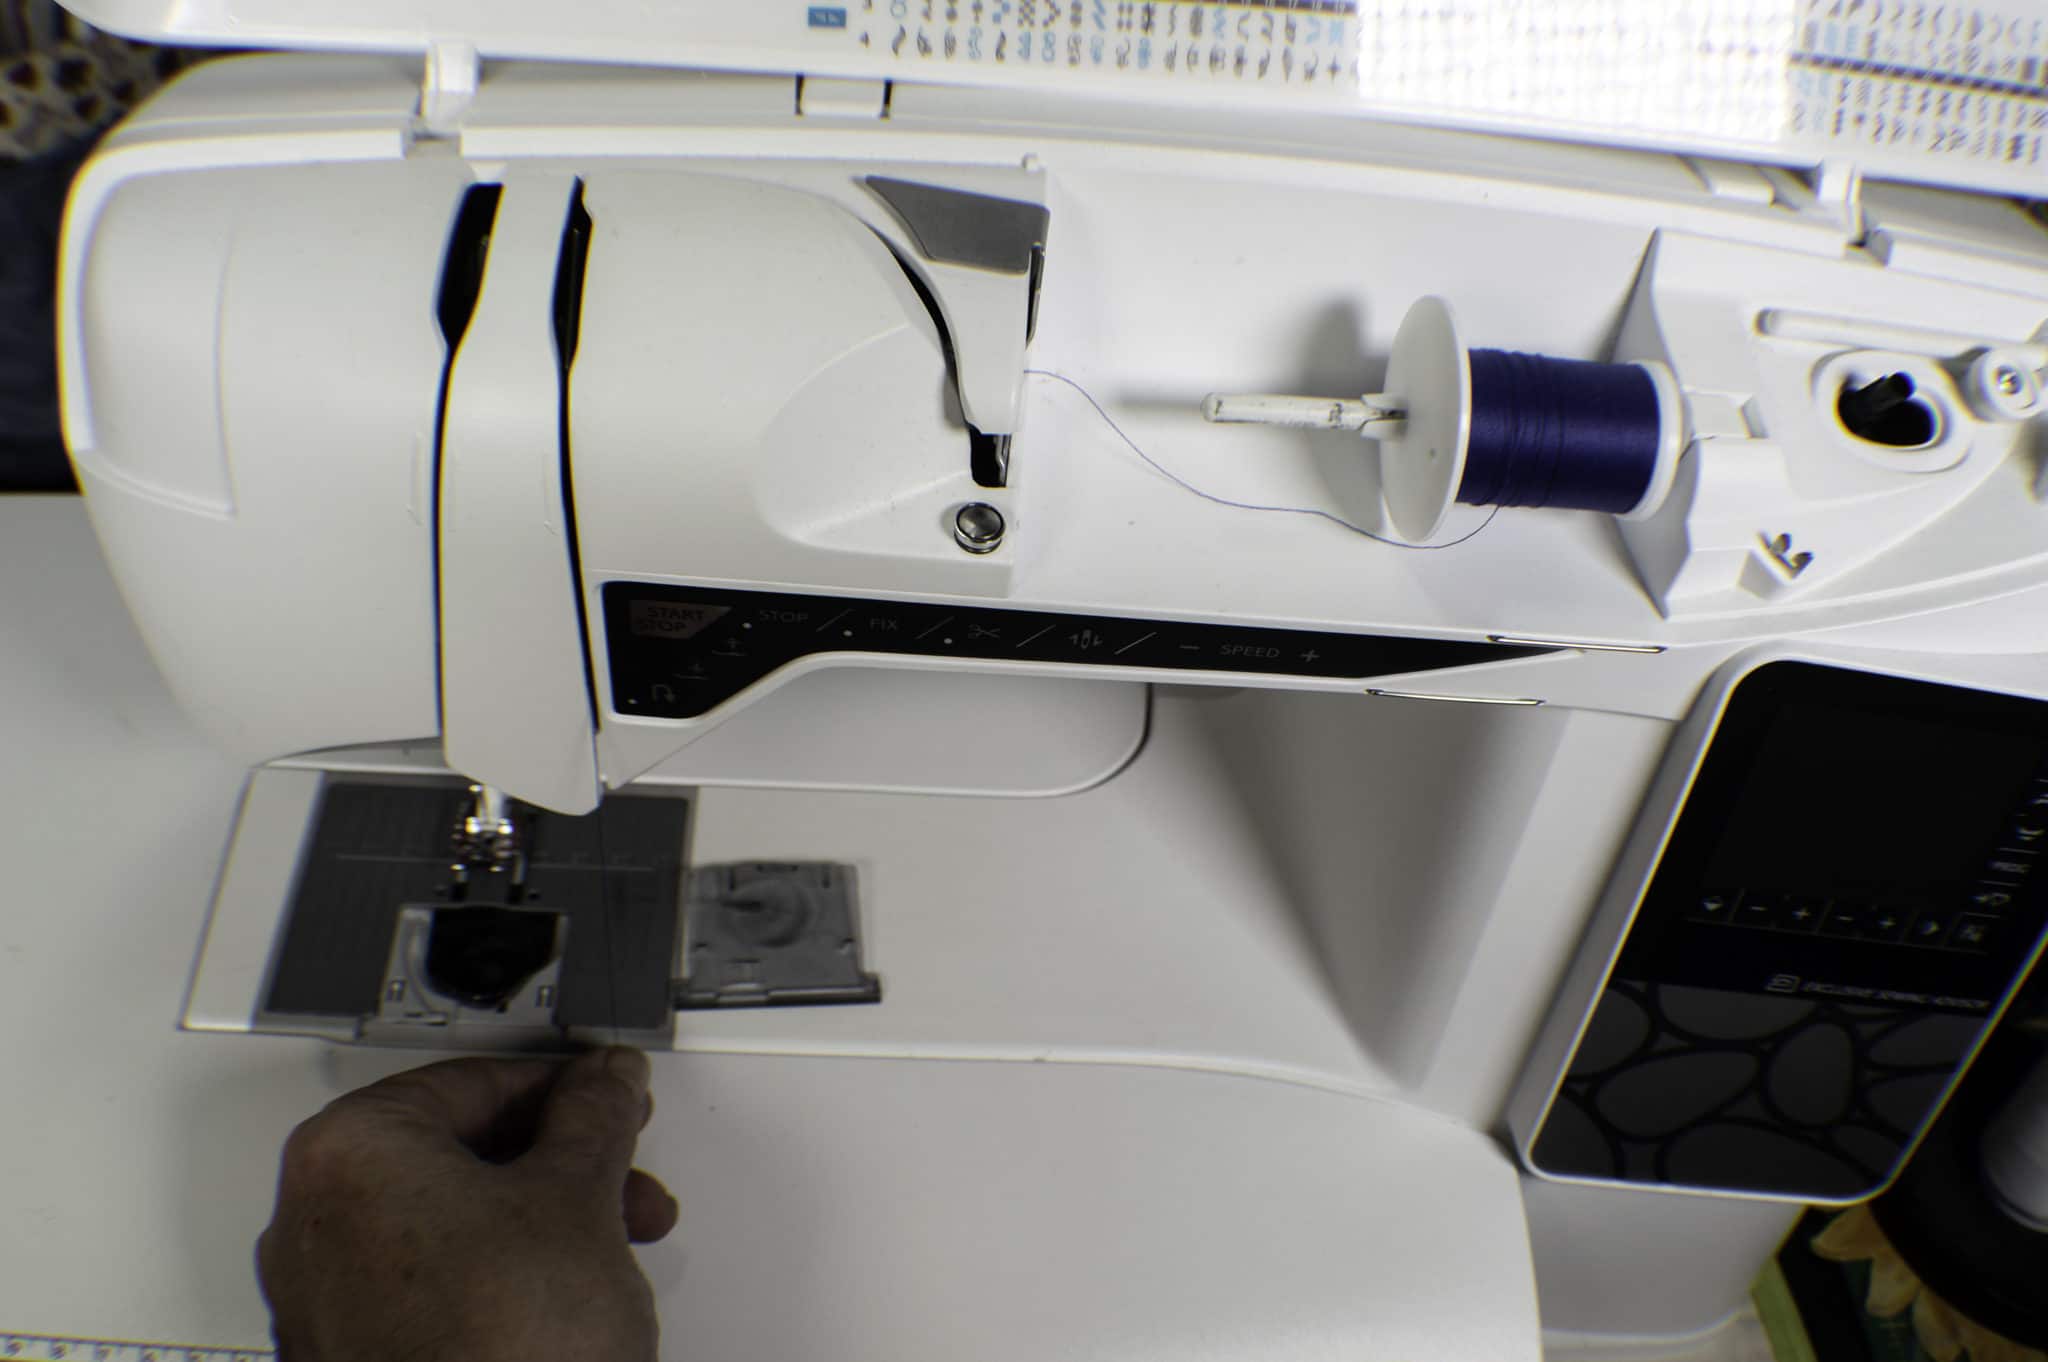
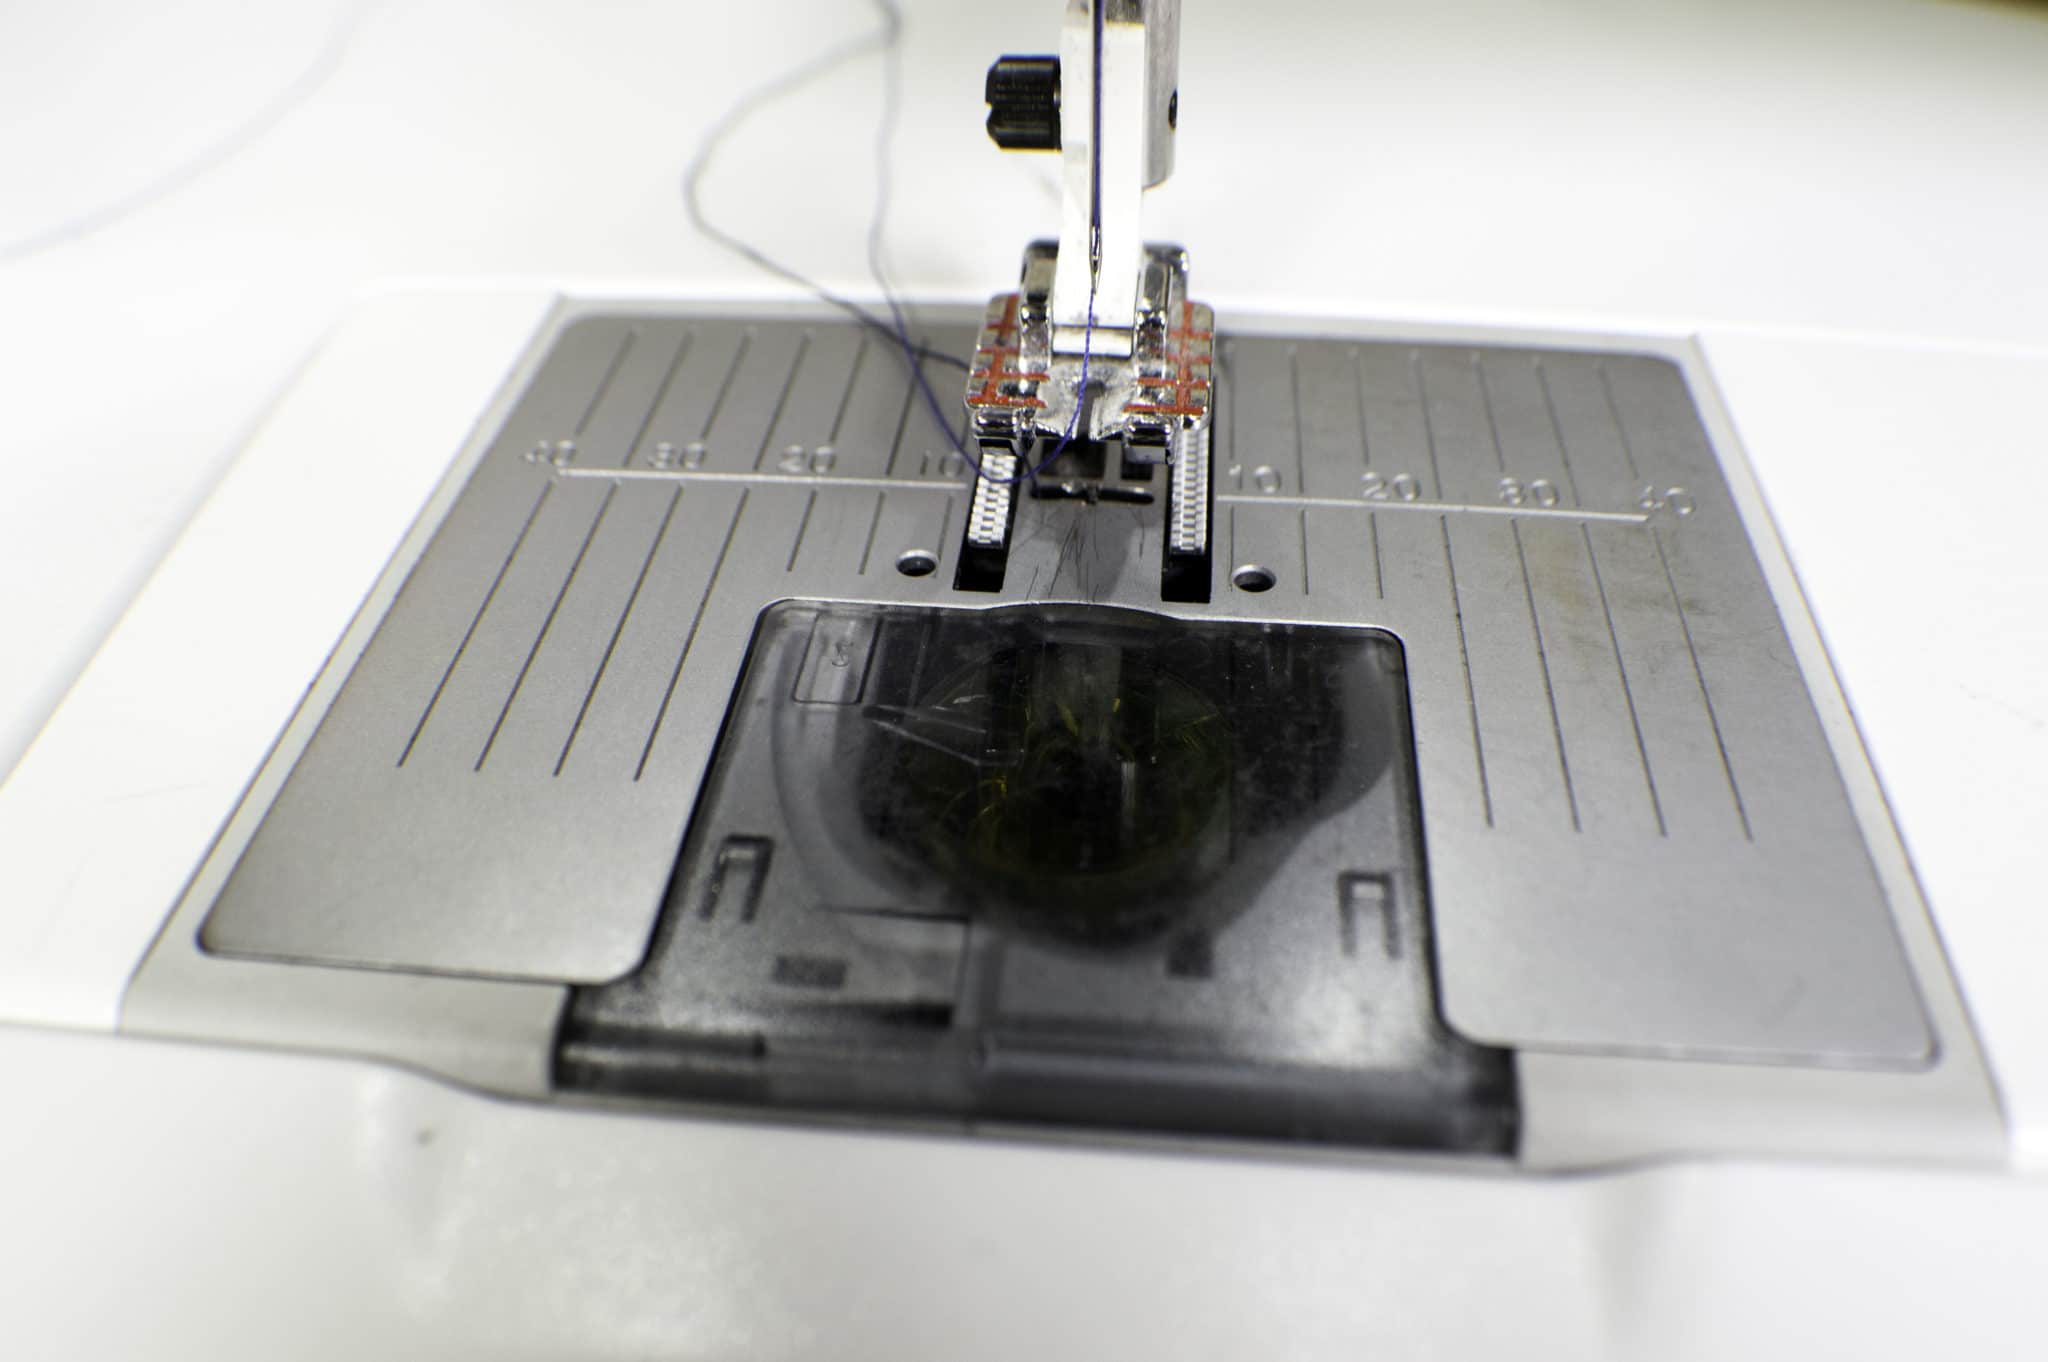
My machine has a top drop-in bobbin which I find to be the easiest to use and thread. Definitely consider this option when you are looking to purchase a machine. The first thing you need to do is to remove the clear plastic cover plate by sliding it toward you and place the bobbin in the metal bobbin case with the thread running counter-clockwise.
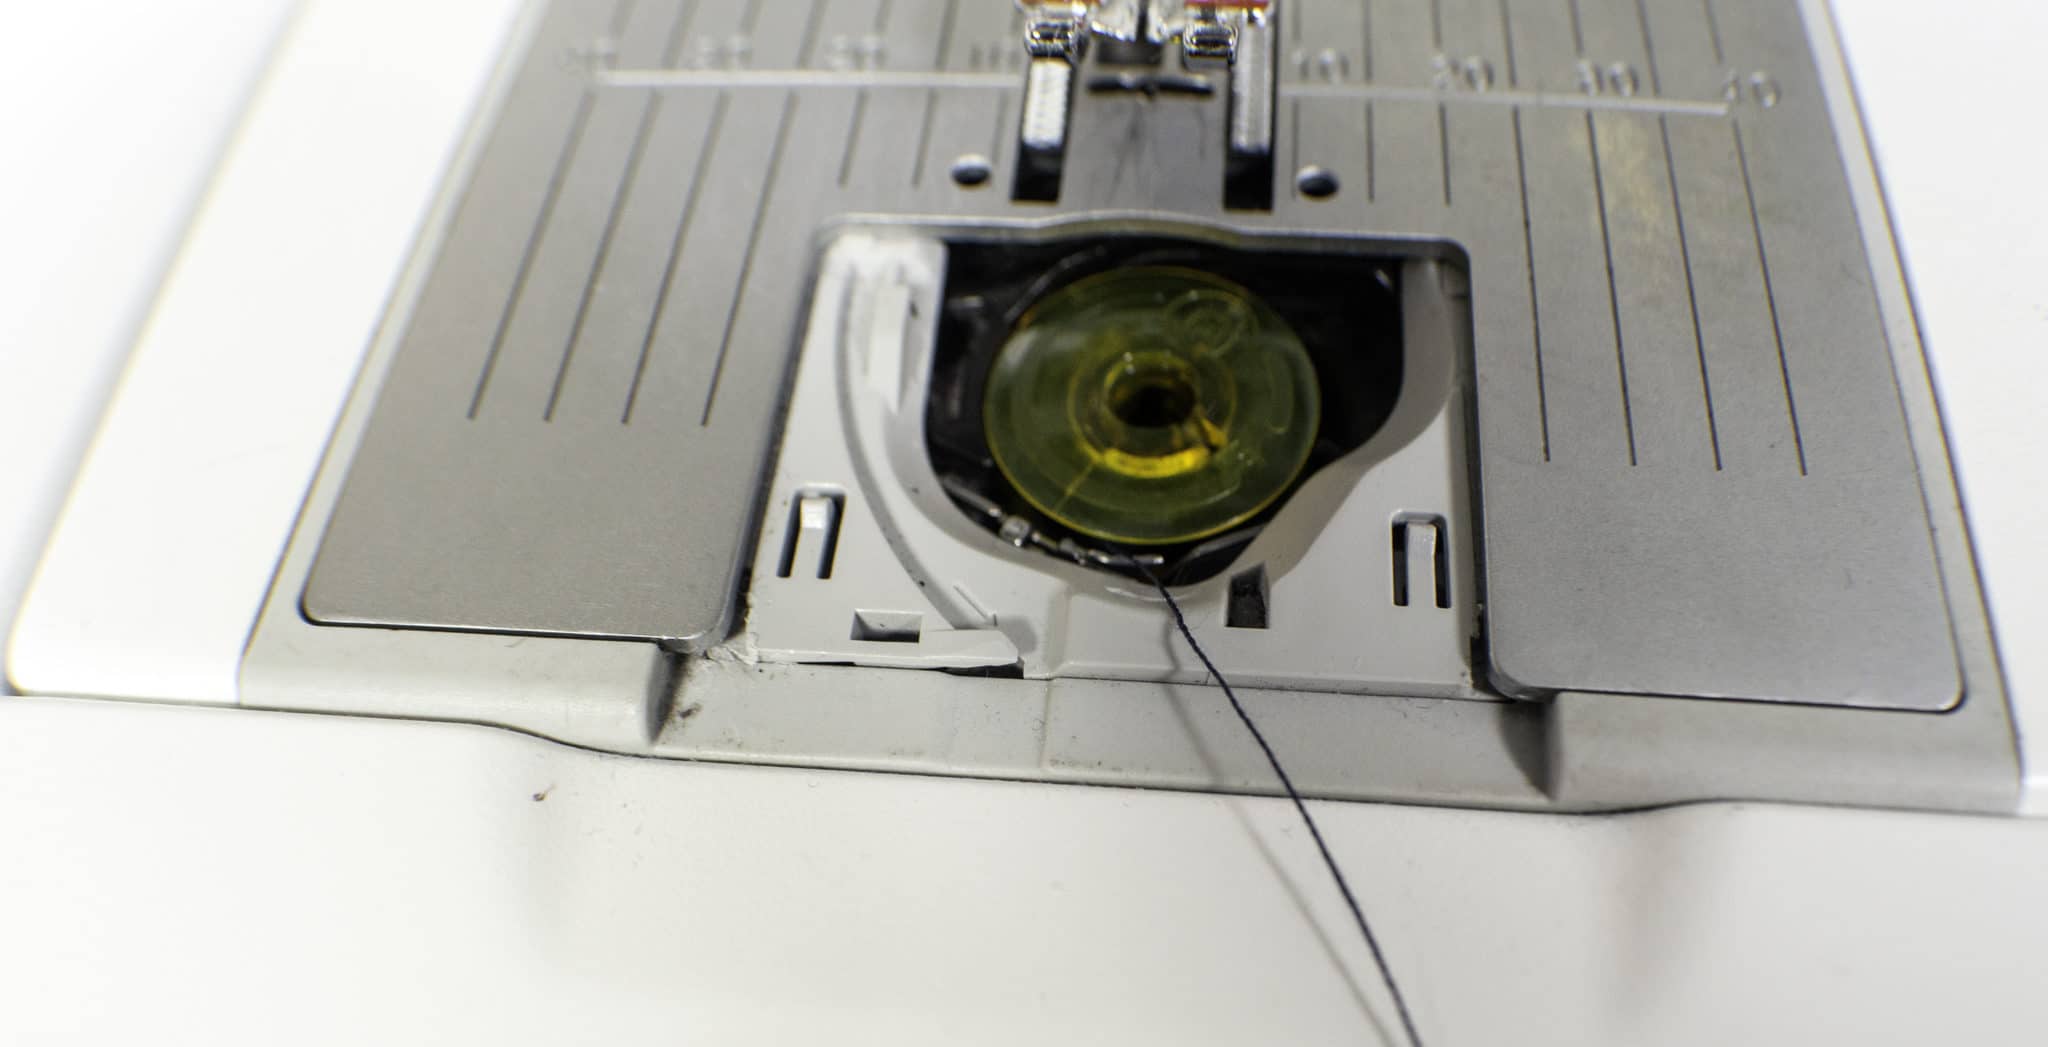
While holding the bobbin with your hand, pull the thread to the right and then to the left into the bobbin tension spring. You will hear it click. That is when you know that the bobbin has been properly threaded.
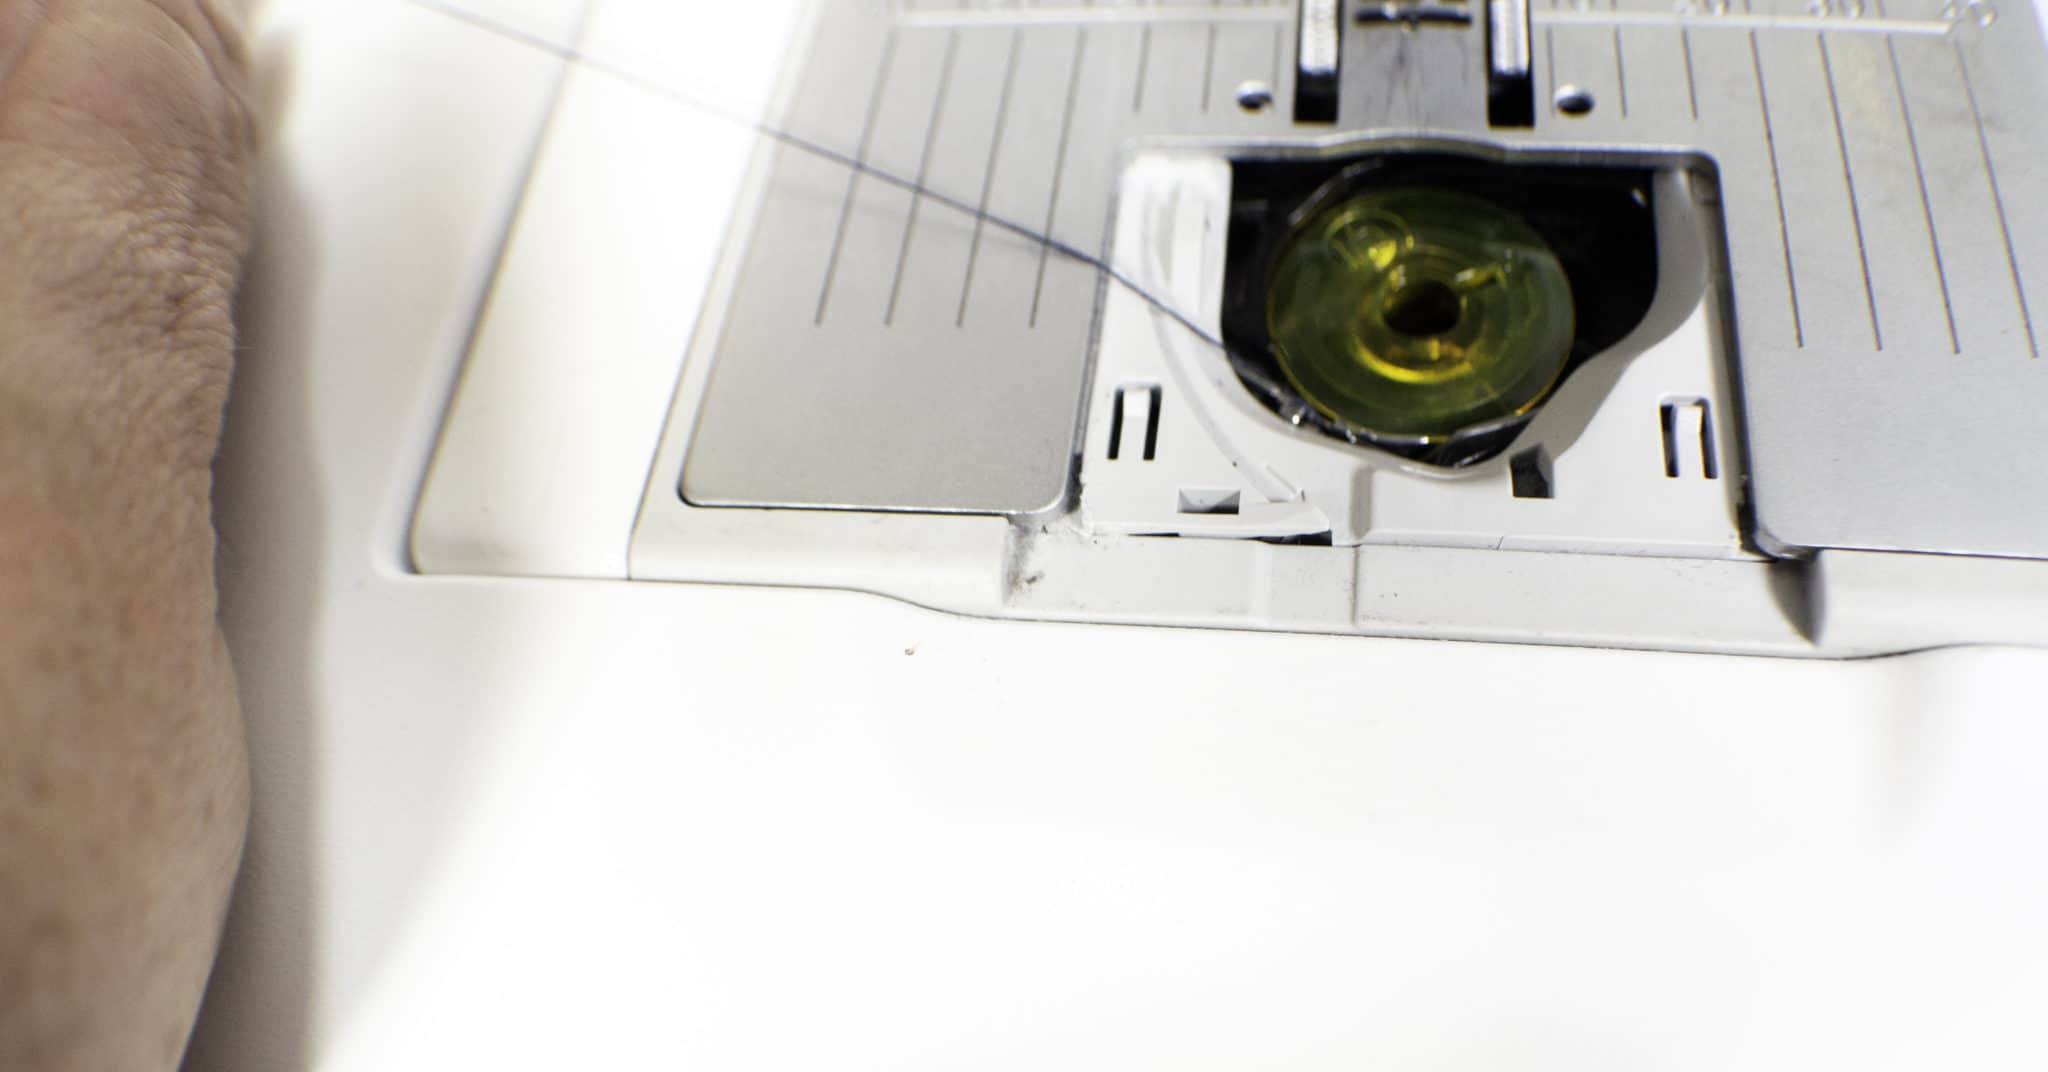
Pick up the bobbin thread with the machine thread by holding the top thread taut and turning the hand wheel to lower then raise the needle. You will see the bobbin thread come up from underneath the sole plate. Pull up the bobbin thread and push it to the back of the machine along with the top thread. You are now ready to begin sewing.
I hope that this tutorial on how to thread your sewing machine has been helpful. You too can realize that there is no reason to leave that machine to be a dust collector. Threading your machine is a simple process and so is using it. Our next lesson will be all about how to sew a straight line. There are many projects that you can make from garments to handbags to crafts just by knowing how to sew a straight line so look out for the third lesson in this Learn to Sew series.
Now that you are ready to start sewing sign up for our newsletter and get some simple sewing and crafting projects and receive your free list of sewing room must haves.