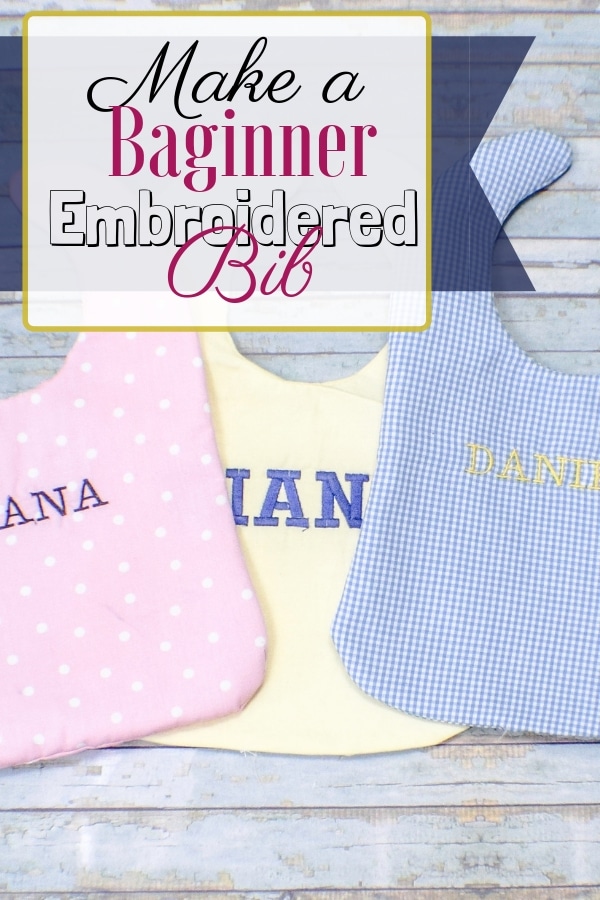
How to make a Beginner Machine Embroidery Bib
I am finally getting around to learning how to use my Brother PE-770 embroidery machine. I started out with a simple project that anyone can make using just the machine and without buying any embroidery designs or importing them to the machine. This simple project can be made with the built in fonts that are already on the machine and nothing else but fabric, stabilizer, and thread. I thought this would be a perfect first embroidery project to share with you while at the same time learning how to use this terrific machine. This post contains affiliate links that if you click on them and make a purchase I may receive a small commission at no extra charge to you. I understand it's kind of pricey so if it's out of your budget I'd recommend getting the Brother PE 535. It doesn't have as many features, but it's smaller and can get the job done.
I'll admit, machine embroidery can be challenging to get started with. There are just so many different things you have to keep in mind and then to top it off you actually want to make something that looks great. Part of the process is using a good embroidery machine and life is crazy enough without having to learn how a whole machine works and all of its settings. That's why I like the Brother PE-770. There are so many built in fonts and designs that I can use to learn the basics before moving onto more complicated designs and features.
There are thousands of designs that can be imported into this machine via usb port. You can even use machine embroidery software like PE-Design to create your own designs and transfer images into embroidery files that can be used by the PE-770. The PE-770 is great for the beginner machine embroider like me as the hoop is large enough to accommodate most designs without having to move the hoop around like you would with a 4 x 4 hoop machine. I definitely recommend the PE-770 if you are going to take the leap into machine embroidery. This machine will last you even into the advanced stages of your embroidery knowledge so it is well worth the investment. So lets get started on how to make a beginner machine embroidery bib.
What you will Need:
- Pattern
- 1/4 yd cotton fabric
- Scrap of fusible fleece
- Embroidery Machine like the PE-770
- Machine Embroidery Thread
- Tear away stabilizer
- Kam snaps
Step 1: How to Make a Beginner Machine Embroidery Bib
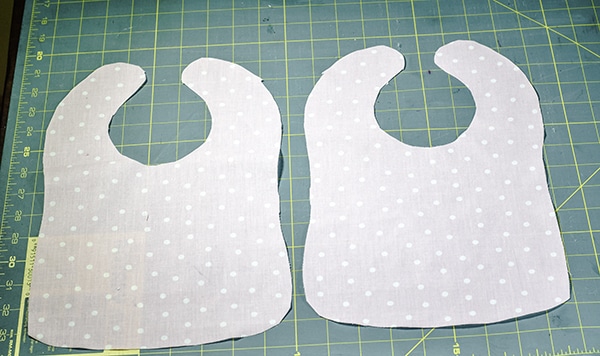
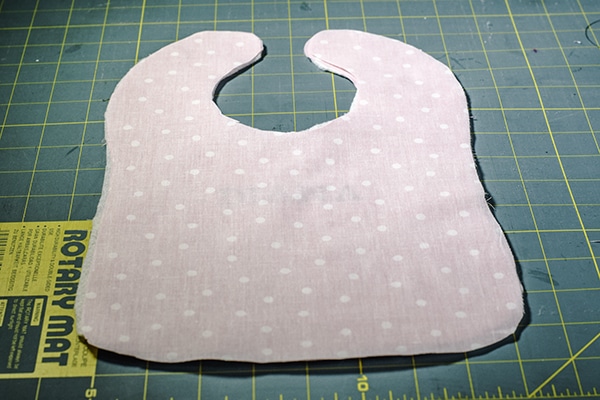
Print out the pattern and tape the two pieces together. Cut out two pieces from the cotton fabric and one from the fusible fleece.
Step 2: How to Make a Beginner Machine Embroidery Bib
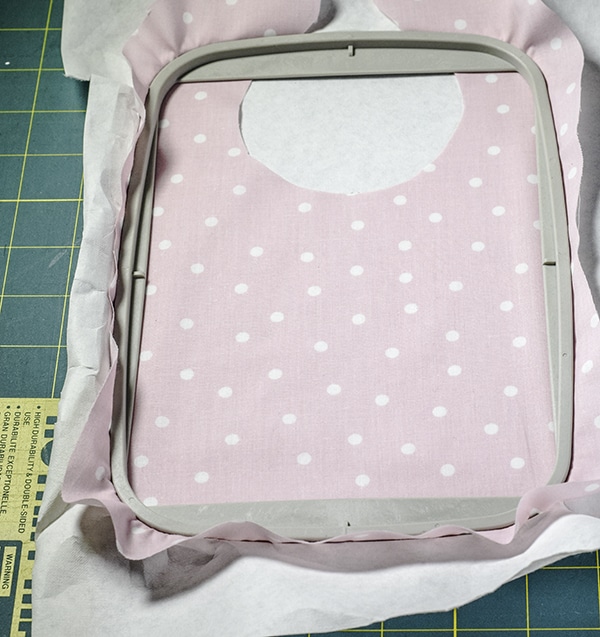
The hoop to your machine comes in two pieces. Place the piece with the metal turnings on your work surface so that the metal channels are on your left. Lay a piece of tear away stabilizer so that it covers the entire of the bottom of the hoop. Place one of the fabric pieces on top of the stabilizer. Put the second part of the hoop on top of the fabric and stabilizer so that it is sandwiched between the two hoop pieces. The second part of the hoop will fit inside the first part of the hoop. You may have to unscrew the screws on the bottom to get the pieces to fit together. Re-screw them to make sure that the fabric is taut and the hoop pieces fit snugly together. This is like a standard embroidery hoop.
Step 3: How to Make a Beginner Machine Embroidery Bib
Once the Fabric is taught bring the hoop to the machine and place the channels on the two knobs connected to the machine's carriage until they click. The hoop with your fabric is now installed on the machine.
Step 4: How to Make a Beginner Machine Embroidery Bib
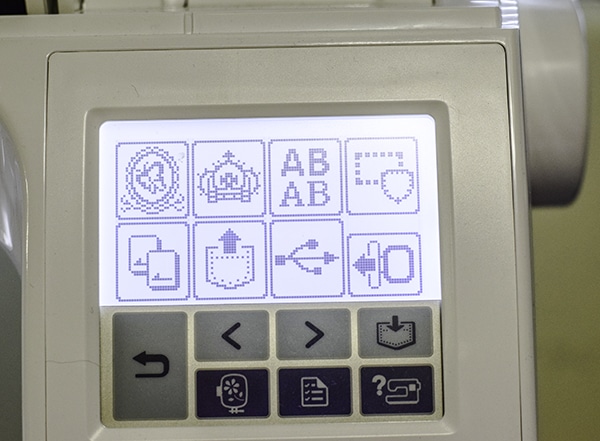
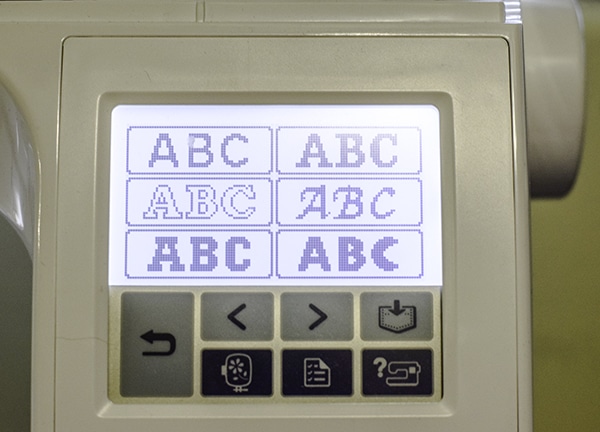
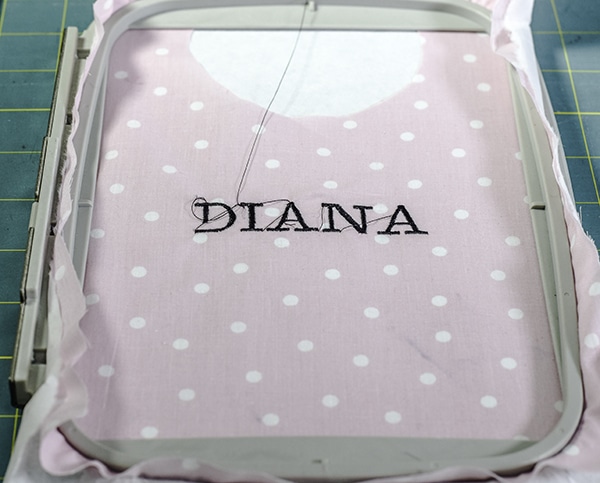
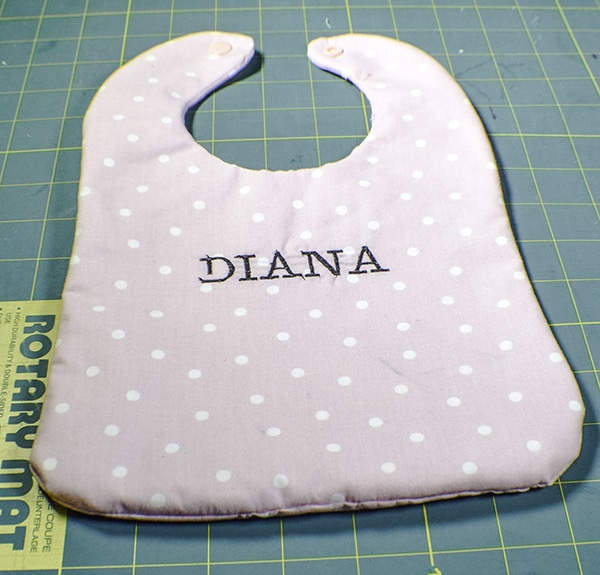
Choose your design. Since this is a beginner project I chose a simple name design for my bib. This was done by clicking the font icon on the screen which is denoted by the AB. Then I chose one of the built in fonts by just clicking on it. Once I clicked on the font I determined the size. There is a choice of small, medium, and large. I chose medium for my font.
Step 5: How to Make a Beginner Machine Embroidery Bib
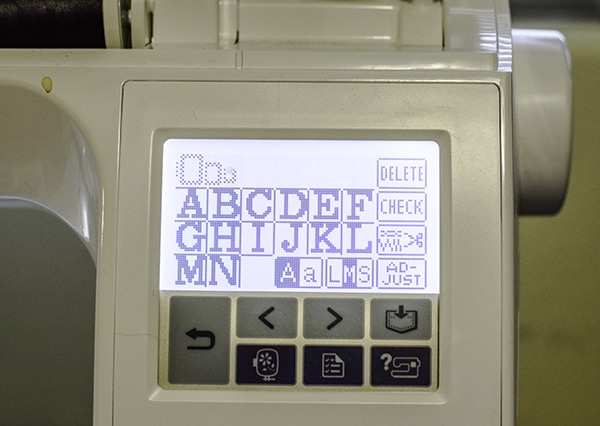
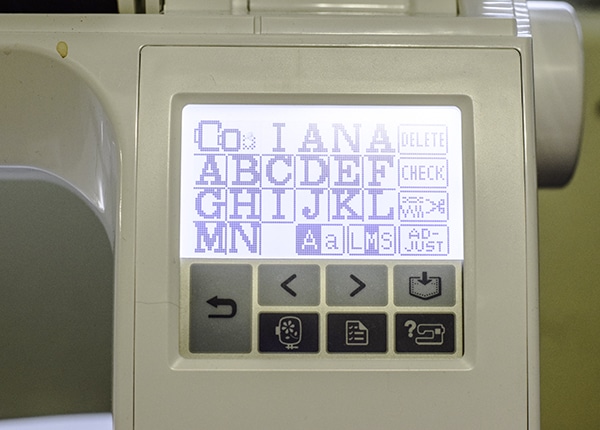
Next I type in the name I wanted to embroider by clicking on the letters. You will notice that there is the option to choose both upper and lower case. I chose all upper case for mine but you could choose a combination of both or just lower case. It is entirely up to you.
Step 6: How to Make a Beginner Machine Embroidery Bib
Thread the machine according to the manufacturers instructions. Lower the presser foot and push the green button. The machine will embroider your name perfectly on your front bib piece.
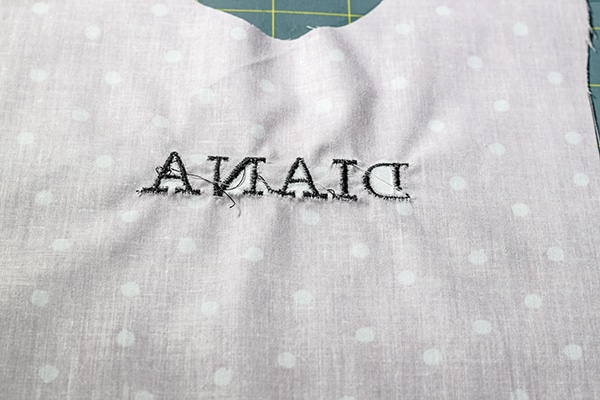
Step 7: How to Make a Beginner Machine Embroidery Bib
Once the machine has stopped sewing, Remove the hoop from the carriage and take the apart the hoop pieces. Take the fabric and stabilizer out of the hoop and tear away the stabilizer from the sewing. Clip any excess threads from the front stitching.
Step 8: How to Make a Beginner Machine Embroidery Bib
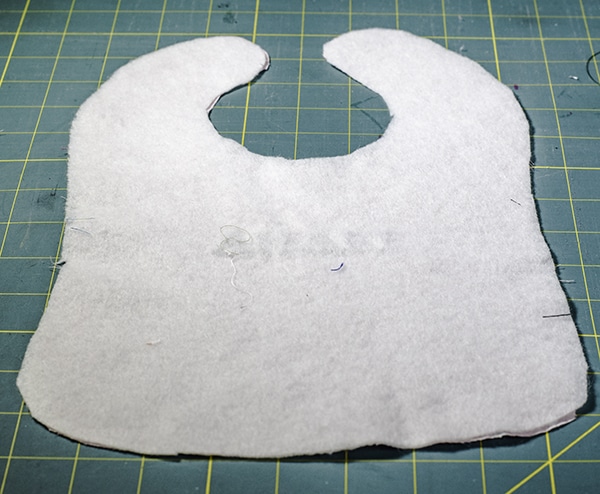
Fuse the fusible fleece to the bib side with the stitching following the manufacturers instructions. If you are unfamiliar with fusible fleece there is a glue side and a plain side. Place the glue side to the wrong side of the bib piece and heat with a hot iron until the glue melts and the fleece fuses with the fabric so that they can be treated as one.
Step 9: How to Make a Beginner Machine Embroidery Bib
Place the other fabric bib piece right sides together with the fused piece and stitch around the perimeter using a 1/4″ seam allowance leaving an opening at the bottom for turning. Turn the bib right sides out and press. Sew the opening closed using ladder stitch. If you are unfamiliar with ladder stitch check out this video.

Step 10: How to Make a Beginner Machine Embroidery Bib
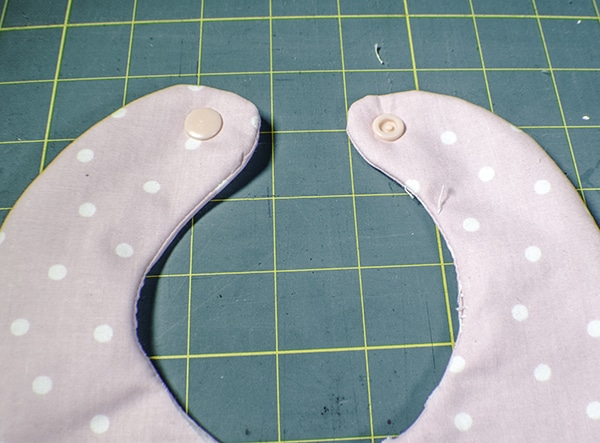
Place the Kam snaps on the ends of the bib. If you are unfamiliar with how to install kam snaps check out this video. You have now completed your beginner machine embroidery bib.

I hope that you enjoyed this project. If you would like more sewing and crafting projects sign up for our newsletter and receive access to our free printables library.