How to Make a Jeans Pocket Turtle
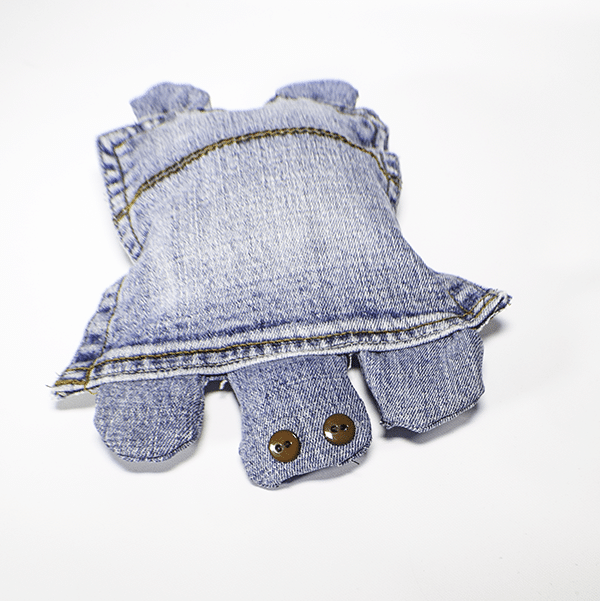
I have been in the mood for making jeans up cycling projects lately and this jeans pocket turtle came to mind. This is a super simple jeans upcycling project to make. It makes a great little toy for a child or a dog. All you need is an old pair of jeans and some polyester fiberfill. You could pick out the stitching on two pockets to make these turtles but I cheated and just cut out one pocket and picked out the stitches where I put the legs. It was so much easier. if you would like more jeans up cycling projects check out my post here.
What you will Need: How to Make a Jeans Pocket Turtle
- 1 pair of jeans
- 2 small Buttons
- Pattern Pieces you can get by clicking on this link.
Step 1: Cut out your Pieces
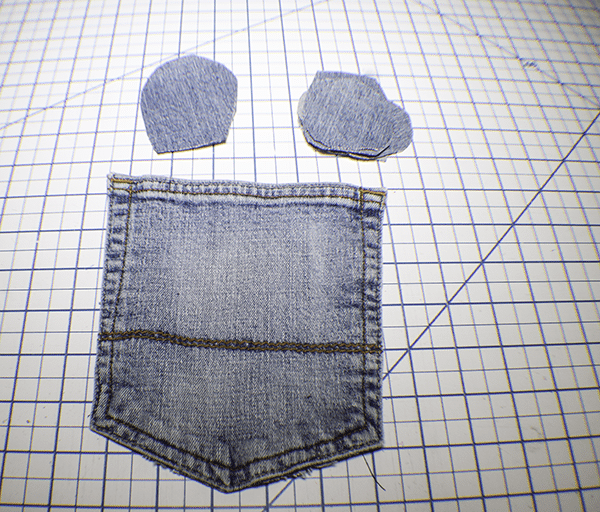
Cut one pocket inside and out so that it is one piece. Using the pattern pieces cut eight pieces for the legs and two larger pieces for the head.
Step 2: Add the Buttons to the Head
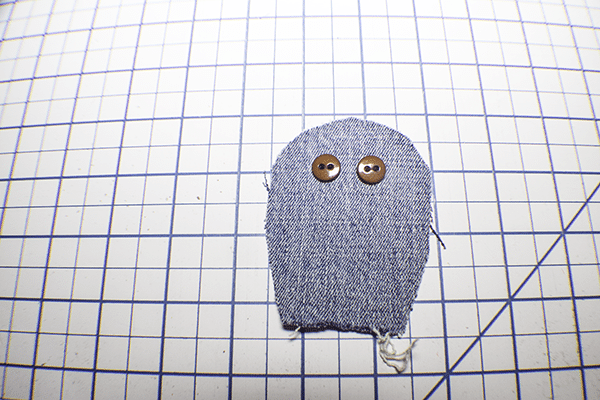
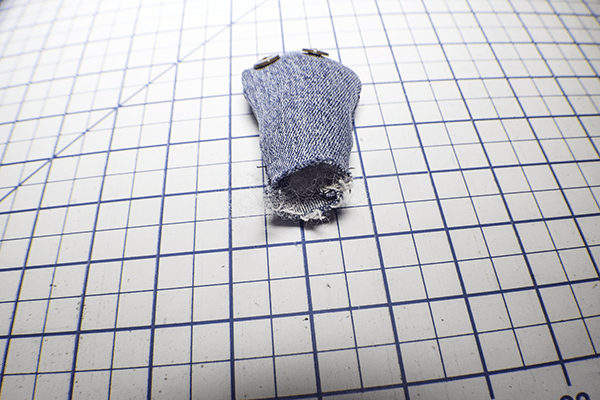
Stitch two buttons to one of the head pieces to act as eyes for your turtle. you could also embroider some French knots as well.
Step 3: Stitch the Legs and Head
Place the leg pieces right sides together and stitch them using a 1/4″ seam allowance leaving the straight end open for stuffing. Repeat the same process for the head. You should have four legs and one head.
Step 4: Pick out the Seams
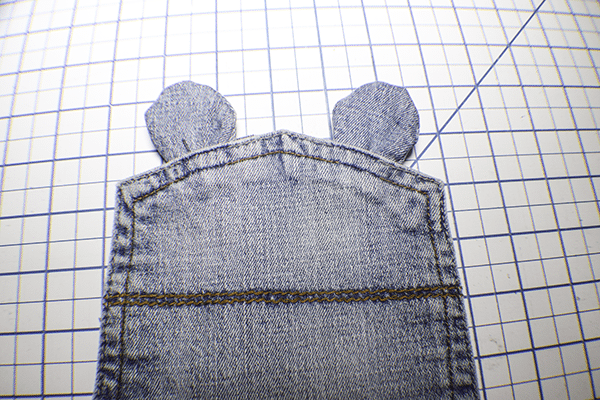
On the bottom right and left of the pocket unpick the seams of the pocket creating an opening for the legs to be inserted into.
Step 5: Stuff the Head
Using the fiberfill stuff head.
Step 6: Stitch the Bottom Feet
Insert the feet into the bottom openings you just created and stitch them together.
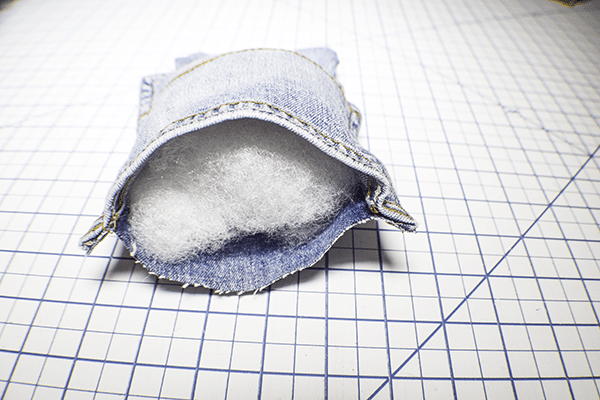
Step 7: Stuff the Pocket
Stuff the pocket with the fiberfill.
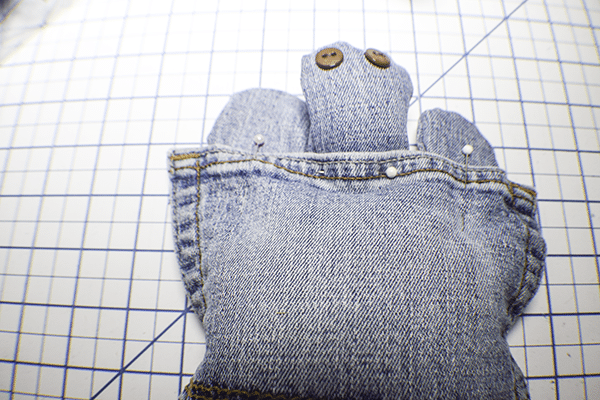
Step 8: Add the Head and Feet
To the top of the pocket add the head to the center and the feet to either side. Pin or clip the pocket together and stitch along the top securing the head and feet. You have now finished your jeans pocket turtle.

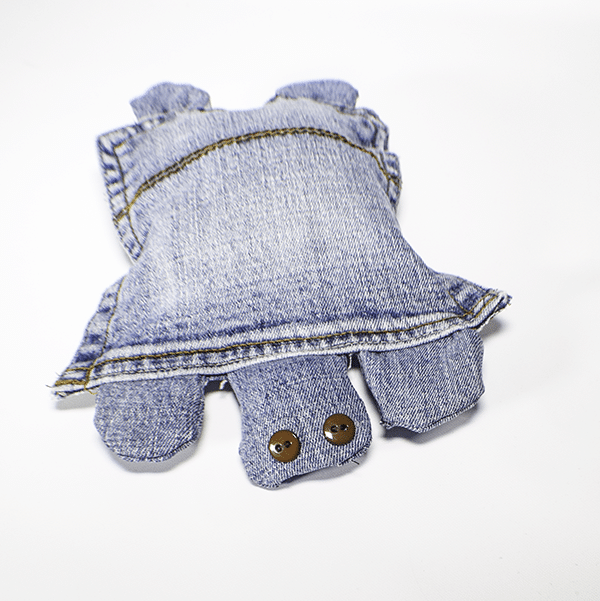
I hope you enjoyed this simple jeans epicycle project. If you would like more sewing and crafting projects subscribe to our newsletter and receive access to our free printables library
If you would like video tutorials of some of Sew Very Crafty’s most popular posts subscribe to our free YouTube channel here.


